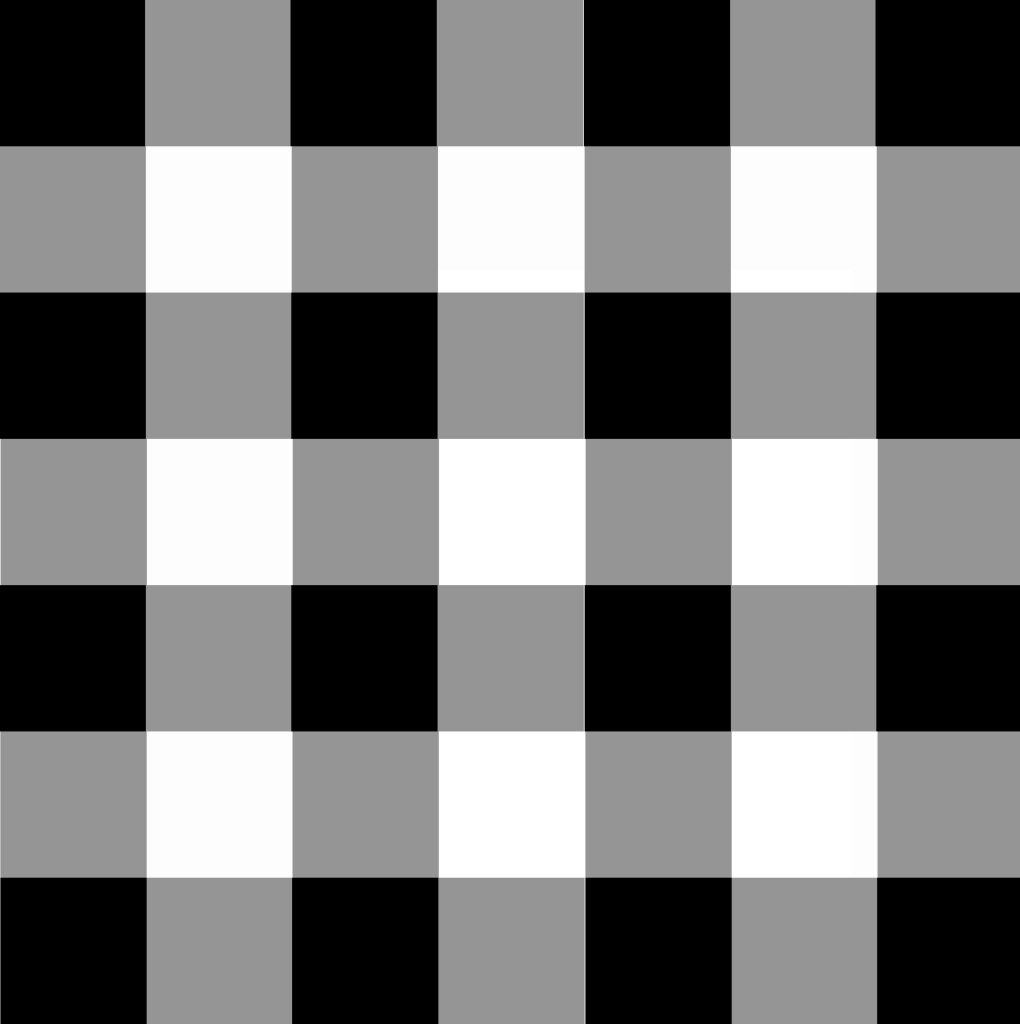
I’m a fan of buffalo check, so I decided to paint it on one of the arrows for SNAP conference! It’s a super fun pattern, and painting it isn’t that hard!
Tip # 1: Have a buffalo check pattern in your hand at all times. It was easy for my brain to get confused, so I had to constantly look at the pattern to reassure myself that I was painting the correct color!
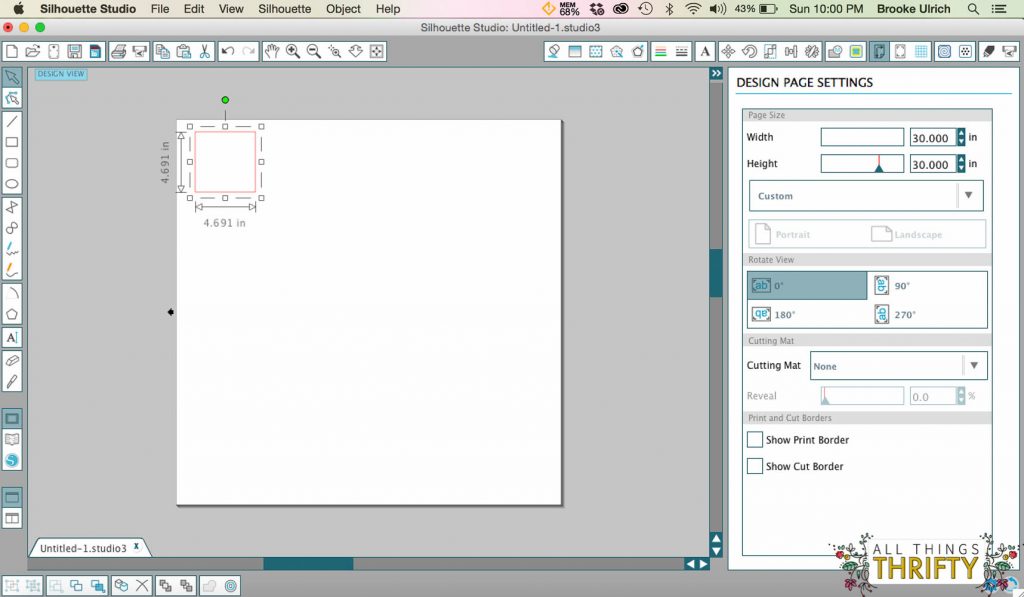
Step 1: With a vinyl cutting machine, cute a few dozen squares. I made mine around 4 1/5 inches. Make sure they are exactly square.
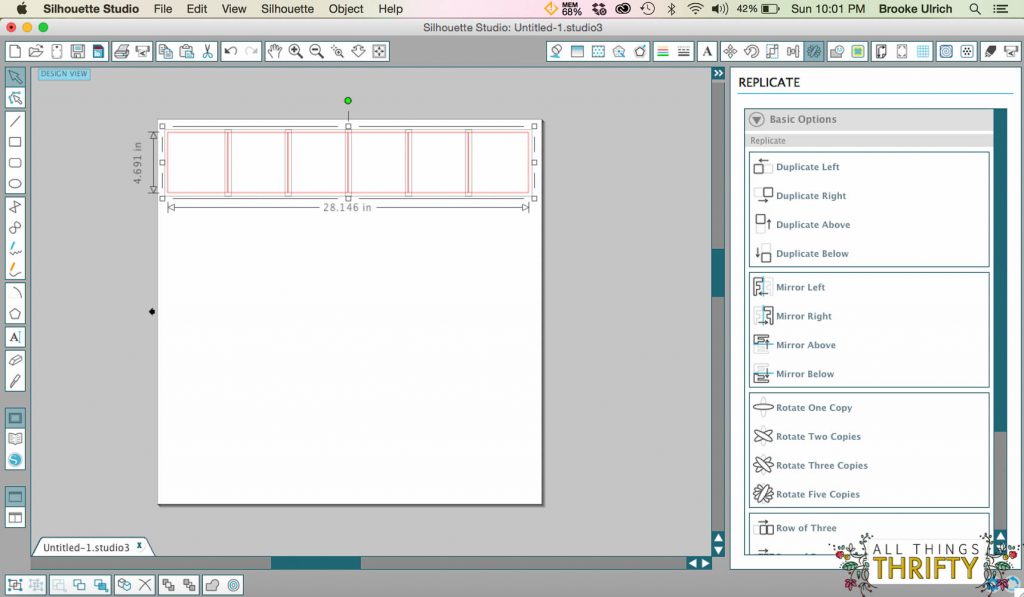
With the “Replicate” button, make an entire row of your squares.
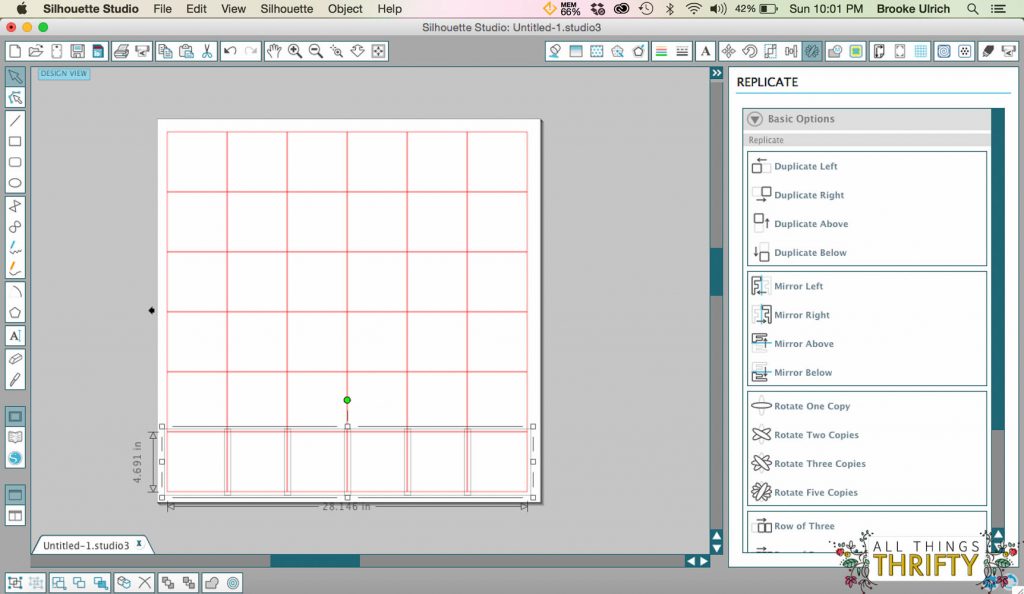
Fill the page by duplicating that row until you have enough to fill whatever you are painting.
Step 2: {not shown} Paint the entire project white. I used Rustoleum Chalked Paint for this project. I didn’t use the spray kind, I used the brush on kind. 🙂
Step 3: After the white dried, I sanded it carefully with my favorite super fine sanding sponges. These sanding sponges make it feel like a babies bottom it’s so smooth!
Step 4: Wipe off the dust with a cloth, and place the vinyl squares along your project. Make sure they are straight. 🙂
Step 5: Remove the vinyl of one color at a time and painted it. {Refer to your pattern for help on this}. Let that color dry completely and place the vinyl square back over that spot to protect it from the next color.
Step 6: Repeat the process until all of your colors are painted.
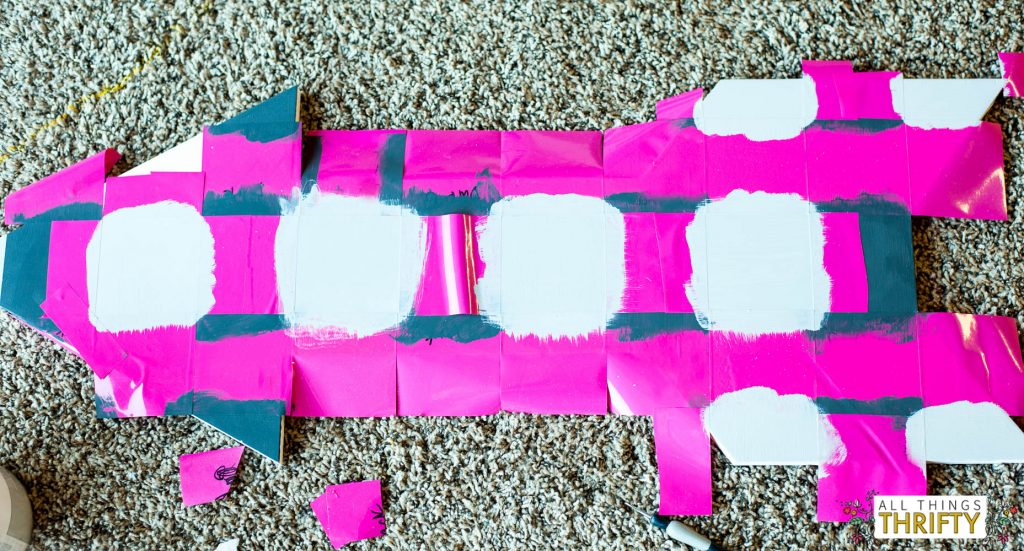
It turned out perfect! I actually tried this project first with spray paint, and I soon decided to change to brush on paint when the lines weren’t perfect. I’m a perfectionist.
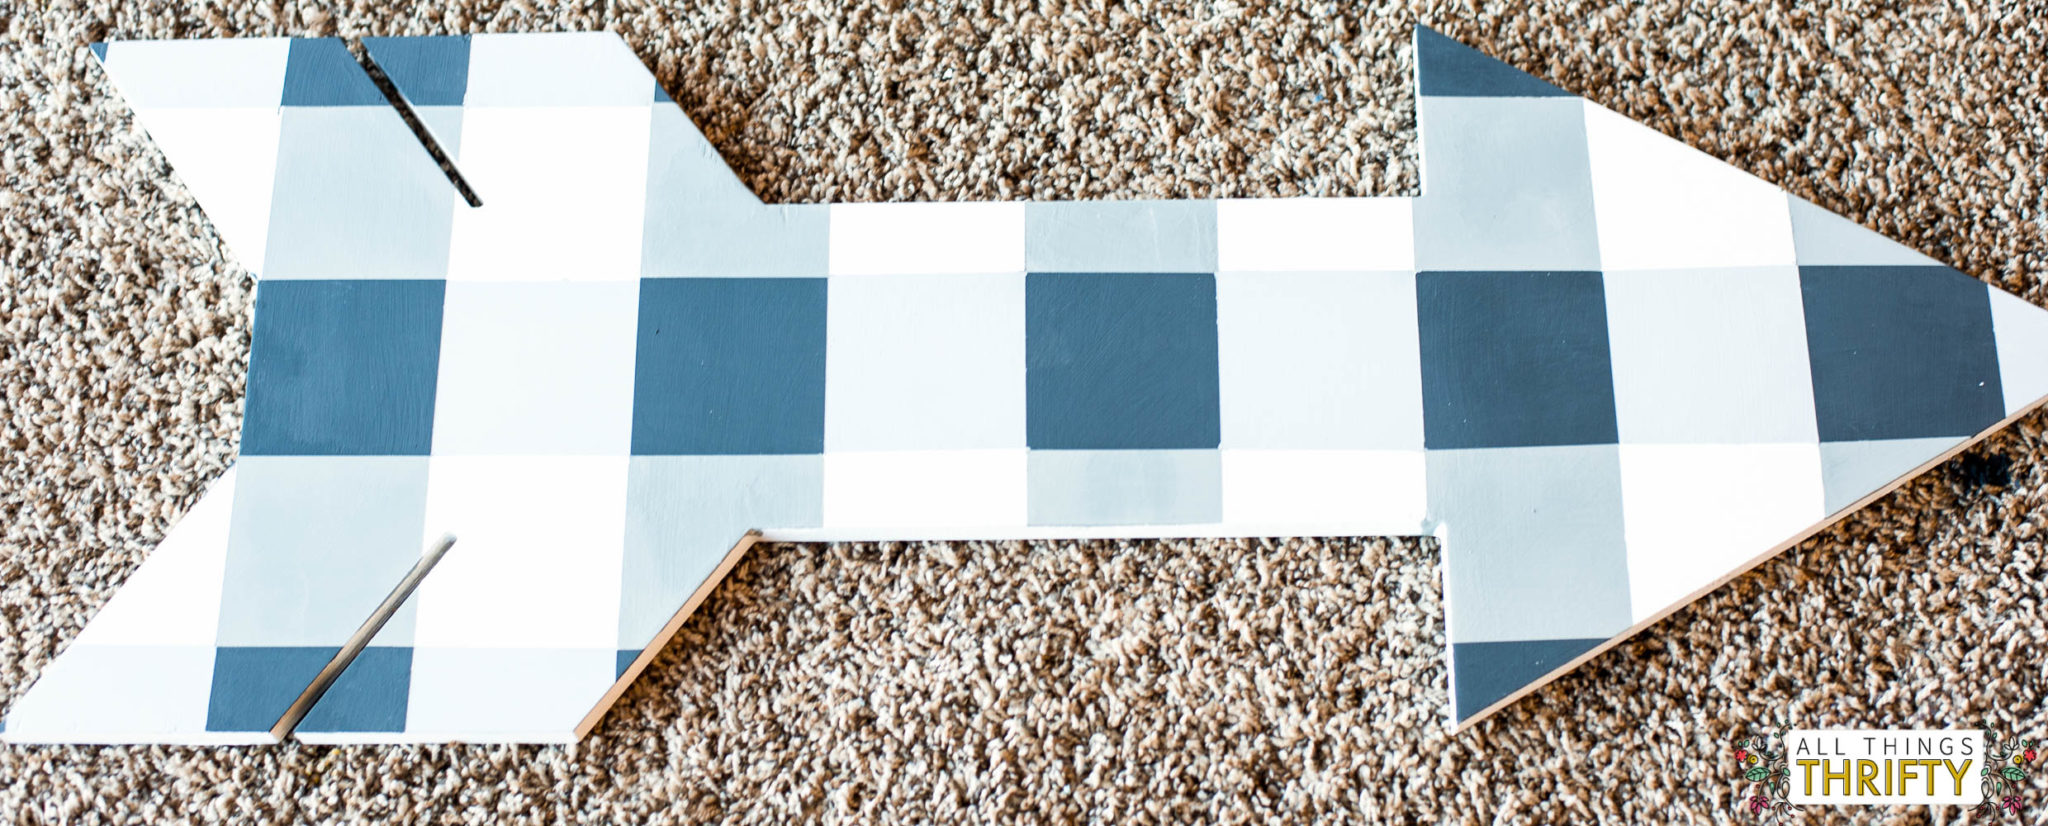
I know I could have used paper to cover the arrow, but I wanted it to last longer than that! Paper never sticks long term in my opinion.
Tip: Don’t use textured wood on your project either, or your lines will not be crisp.
xoxo,
Brooke

Looks really nice!! But I thought the idea of stenciling was not crisp edges? Of course I like the perfect better, but I kinda like the fact someone may say ‘she did that!’
Super smart girl! I love it!!