Woah, if you are on instagram, you know we’ve been busy busy these last few weeks doing upholstery, painting projects, stripping {not the kind you are thinking} ahem stripping paint, and traveling to SLC for a wedding. So, hopefully you’ve missed me as much as I’ve miss you. We got home late Sunday night after driving through a snow storm going 35 mph for hours and hours. So, today I didn’t do much to say the least. I brushed my teeth, unpacked a few bags, and was plain ‘ol lazy. Unpacking the bags for a family of six competes with the worst activity on the planet. It’s right up there with packing the bags for a family of six. Can anyone relate? Ha!
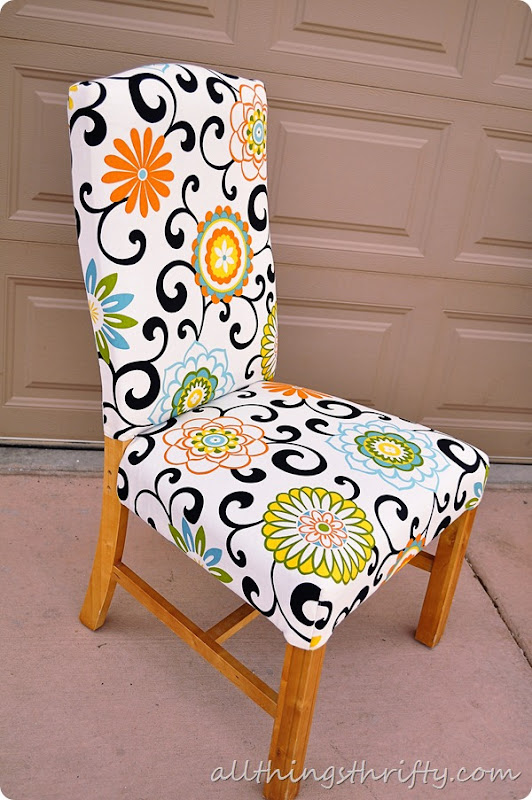
The chairs turned out absolutely darling! This chair is Tiff’s. Two thumbs up for Tiff!
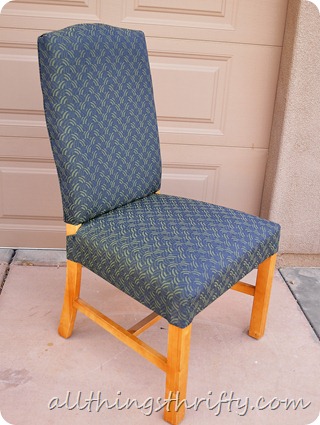
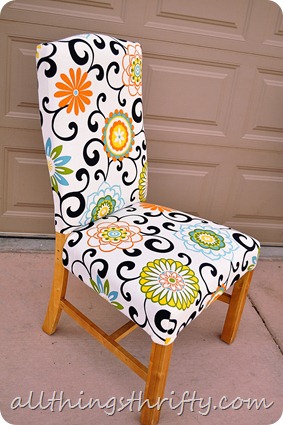
For the next few days, I’ll show you some tips, tools, and tricks that will hopefully help you with your next upholstery project.
First before you get started on an upholstery project, you will need to gather some tools to help you with the process. Having the right tools will save you time in the long run.
In my opinion you need these 10 tools:
1. A rubber mallet
2. Fabric Scissors
3. Pliers {the heaviest duty pliers you can find}
4. Large Flat Screwdriver
5. Small Flat Screwdriver
6. Box Knife
7. Hot Glue Gun
8. Pneumatic Staple gun {first choice} or a Heavy Duty Staple Gun {second choice}
9. Hammer
10. Butter Knife
 Every single upholstery project brings something new, so don’t stress. BUT, just like I say in my upholstery 101 post, you need to pay attention to how the chair is upholstered.
 Removing the fabric is a big task, and doing it without the right tools can literally add hours to your project time. Just ask my friend Dani. 🙂 But, the good thing about doing projects with friends, is that it’s FUN!
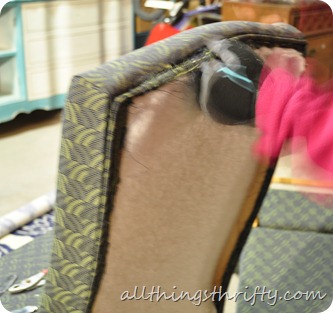
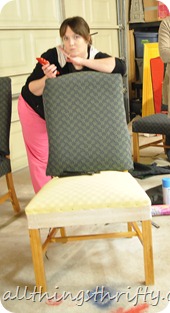
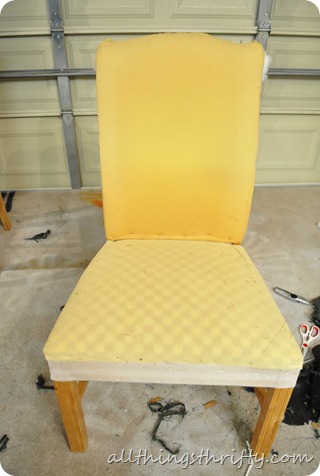
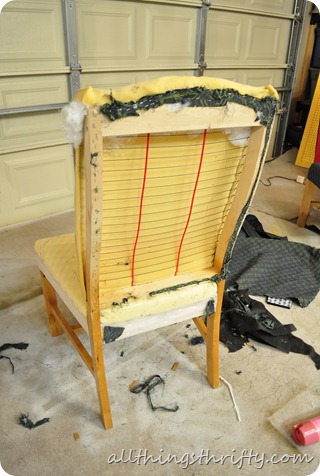

Use the old fabric as a pattern.


And stay tuned for more tips and tricks about the upholstery process.
Didn’t Tiff’s chair turn out cute?

If you’ve missed some of our past upholstery projects, check out the posts below by clicking on the images:
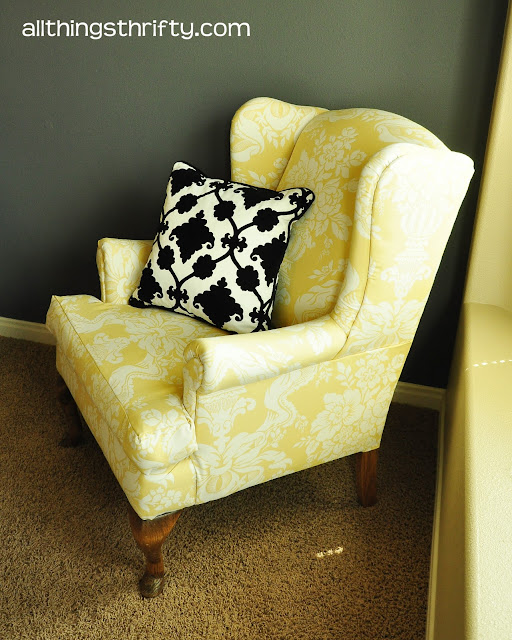
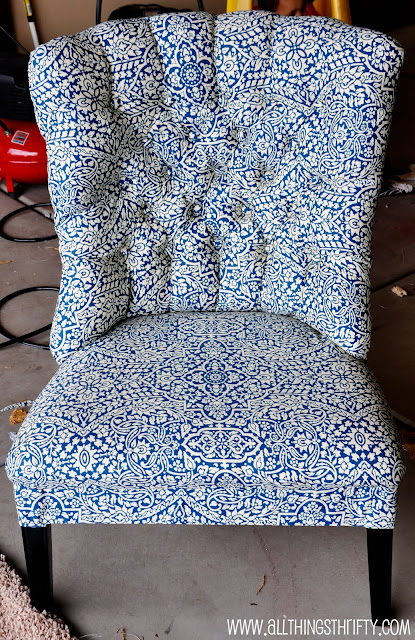
Yellow wingback chair, Blue tufted chair upholstery, Orange dotted chair {upholstery tips and tricks}

Squee!! SOOOO CUTE!!!
I need to stop gawking over those redone chairs, or I'll lose my spot in the garage to some craigslist ugly ducklings 🙂
I LOVE that fabric! The chair came out great! 🙂
Can't wait to see your other tips/tricks, as we have a bunch of chairs covered in late 70s/early 80s gold/yellow. Definitely need some love 😉
I have a garage full of ugly ducklings too! Do you know what the fabric is called or where it came from? It is fabulous & would go perfect with some fabric I have for my next project
Where did you get your fabric? I love it!
thanks- very helpful to read!
where did you get that fabric! love!
Ali- You just described my garage! It's constantly full of "ugly ducklings" waiting for attention!!
Wow. I love how the chair turned out. I have always been intimidated by upholstering a whole chair. You make it look a lot less intimidating. Thank you!
You'd never know that those chairs weren't bought that way, new, in a store. Bravo!
Sinea from Ducks 'n a Row
Great job! Love thst fabric, too.
One thing that has helped me with upholstering is buying a staple remover. it is way easier than using a butter knife and believe me I ruined some butter knives!
Great stuff.
I love the fabric you chose! But, then again, I always love the fabrics you choose!
I always show your posts to my husband to show him some new project I want to try but this one I will keep a secret. When I starting redoing furniture I insisted I have a few more tools than you pictured and I don't want to hear "I told you so" next time I want to redo something. You are my reference for all my must haves. Thanks for the help and inspiration!
The butter knife is not for removing the staples, it is for tucking the fabric on folds before we staple it! -Mr All Things Thrifty
Andi- a staple remover?!? I don't know of such a thing. Mr. All Things Thrifty is right, we don't use the butter knife for that, but a staple remover sounds like heaven!! Off to Google "staple remover." 🙂 thanks for the tip!
It is a great choise of fabric!!! I like it.
We bought the fabric a year ago at Dorell Fabrics in Southern California, but the fabric is called Pom Pom Play by Waverly. It also says "Modern Essentials" on the side. So, hopefully you can find it!
HA! This comment made me laugh. I can TOTALLY relate!!
Dorell Fabrics in Southern California, it is called Pom Pom Play from Waverly. 🙂
Thank you!! YEAH you need to attack your chairs!! 🙂 Send me pictures!
Thanks Nancy!
Um, amazing. I will be forever grateful that you shared this. I've been wanting to tackle reupholstering an old chair. It's so nice to get tips and tricks and knowledge on what tools to use!
My husband and I have been reupholstering for a few years and another great tool is a nail puller. I'm not sure what it's called, but it looks like a screw driver, but the end is forked and bent like a mini crow bar. It's indispensable for pulling out tacks and staples. We got ours at Menards. Check out my latest bit of fun.
http://misspinklemonade.blogspot.com/2013/02/wing-back-chair-before-after-and-after.html
You are so awesome!!!!!!!!!!!!!! I stinking love your site… Out of the “gazillions” out there, you are my “go to ” for it all.. thank you soooo much for sharing:)
I love it. It´s a great step-by-step-tutorial, that really helped me do my first upholstery. Thank you so much.
I have done small things over the years and recently attempted a wing back chair. When I read your list of supplies I agreed with the ‘gun’ you had listed. I have wanted to shoot the chair a number of times. Then I realized it was a staple gun you were talking about but it did give me a good laugh. Thank you.
Brooke,
Thanks for these tips. I am doing my first upholstery job, usually I just make a slipcover or some draperies so this was encouraging and helpful.
I need all these info, thank you for sharing!
This looks great!!! I am getting ready to cover my daughters dining room chairs. I can’t wait! I have upholstered a few chairs now and getting better and getting cut on staples and frustrated pulling all of them out!!!
Can I offer up one of my tricks? This trick makes good use of what would normally be a throw away piece of plastic. It is plastic strapping, the stuff that holds boxes closed for shipping. I harvest this stuff whenever I find it.
Here is my trick – when you take your fabric to the underside to staple fold in a length of this plastic strapping. It will give your fabric an even edge and it will hold the staples in place with less stress on the fabric when you staple through it. PLUS it makes it easier/nicer to pull your fabric taunt when you are working alone.
GREAT TIP! Thank you!
I’ve been following your page here for a few days helping me through a couch I am reupholstering. Using your tips and how to’s, and just for a bit of inspiration and I’m having great results!
Awesome page and you do great work.
I’m an upholsterer by trade. Since I was about 8 or 9 years old I’ve been around upholstery. I have several relatives both sides of the family who are upholsterers so upholstering a piece of furniture is second nature for me.
I looked at the work you’ve done on those chairs and I can say on a professional opinion, I’m impressed with the end results. Bravo and kudos!
Thank you!