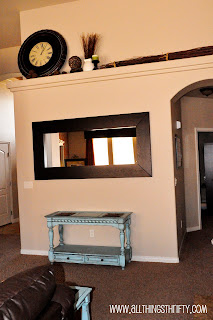
As I told you before, Halloween is a big deal around here, and the decorating process for Halloween will most likely continue until our annual Halloween party at the end of Oct. A few months ago, I got the “itch” to change my IKEA mirror. I got some amazing suggestions! I just couldn’t decide what to do.
So, the other day, I got an idea. Why not make a temporary change for Halloween!?! So, my brain started coming up with ideas. Lots and lots of ideas, but I had to make sure that whatever I chose would be completely reversible. In other words, I would NOT want a Halloween mirror year round. Are you surprised? 🙂
So, I got on Photoshop and started to play. I started with a few cobwebs…and that turned into this:
After consulting the experts (my sister Natalie and my friend Jo), we decided that paper would be a better option than vinyl lettering. I loved the idea of vinyl, but it was a lot more pricey than paper. So, Jo let me borrow her Cricut machine (which I have never used before) to cut the letters. To all of those Cricut owners, I was in awe at how fast and efficient that machine did the job.
I bought the card stock at the local Robert’s crafts store with a 40% coupon. Here’s a tip, if you go to buy paper, make sure you buy it in the large pack of 25 sheets. That way, you will get the discount on the entire lot of paper. For 25 12X12 sheets, the price was $6.99 but I used a coupon. So, it came to $4.45 after tax. But, I also have a bunch of paper left over.
After I got done cutting the letters, I found that I couldn’t fit them all on exactly as I designed, so I improvised a bit. I stuck them on using “removable” double sided tap.
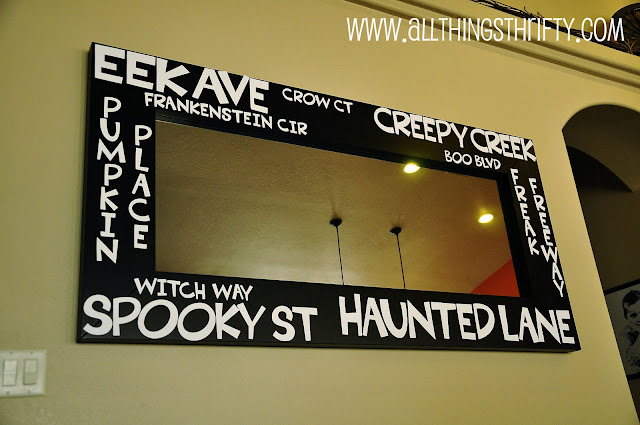
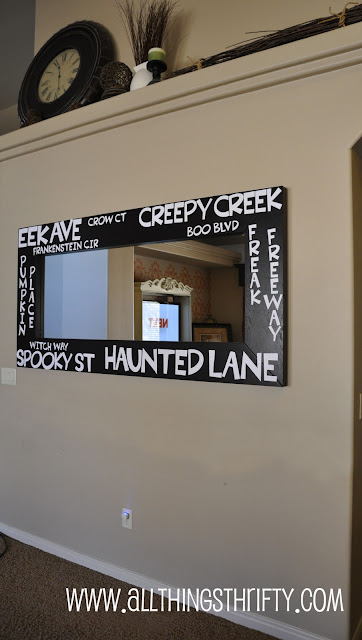
Here is the end result:
I think it is the perfect “temporary” and thrifty indoor Halloween decor. It doesn’t look cheesy, and yet it still says Halloween. I think decorating for a holiday like Halloween can be a challenge.
You could use this idea on a plain black piece of MDF and it would be darling too. I love the different levels of the words and there are sooo many possiblities. There were a few street names that I wished I could have fit that I didn’t have room for: Ghost Lane, Slim Cir, and Skeleton St. 🙂
Now, I just need to put the table back and gussy it up a bit with some Halloween items too. Stay tuned!


very cool!
What a FUN idea – love it!
Very cute! I love it! Halloween is my birthday so I love decorating for it too!!
so cute! love this idea
you could still add the cob web on there..just use a dry erase marker! It's temporary and wont hurt the mirror. I use dry erase markers for everythinggg 🙂
The mirror turned out great! I love the use of the street names instead of just random halloween words.
Adorable!
this is possibly the CUTEST mirror in the world!!1 Kudos…it is adorable!
Neat idea! I love the type you use over black. So bold!
great idea!
i got to borrow my friends cricut for the weekend, SO fun!!
Awesome! We're just getting ready to move so I didn't want to go all out for Halloween but still wanted to decorate, this is perfect! Thanks!
Another good place to buy your card stock is at Walmart. I bought a package of plain white to make business cards for my homemade jewelry business and got 150 sheets of 8 1/2 x 11" for less than you paid for 25. :o)
AH!!! I love IT! It seriously looks amazing. I want to get a closer look to see what the circut machine does. I LOFFFFF IT~~~~!!!
I thought of your blog and passion for Halloween when I wrote my last post – it isn't exactly something you'd find in Anthropologie, but its beyond thrifty, fast, and durable, not to mention darling! I hope you have a second to check it out!
http://tylerandkrista.blogspot.com/2010/09/mr-bones.html
Enjoy!
This is so very cute! I always find something I love when I visit your place!
Adorable! One of my favorite projects from you! Now I am off to find a spot in my house I could do this…!