Ok Peeps, I am super excited to announce a fun addition to the All Things Thrifty family. Sawdust and Embryos has been on my radar for awhile now. I love all of their amazing furniture transformations. If you know me, you KNOW I am a sucker for furniture transformations! Out of the blue a few weeks ago, I got an email from Beth. We’ve been talking off an on ever since. Let me tell ya a little secret about this blogging business, if you have someone that you can ask questions, it helps a LOT. She has a lot of talent. She works her tail off. I can tell by the posts on her blog. Her stuff always blows me away. I knew immediately that Beth would be a perfect contributor here at All Things Thrifty. So, I asked Beth if she would like to contribute on All Things Thrifty once a month. {I was really nervous because I have never asked anyone to contribute before, and I was worried she would say no!} SHE SAID YES, and I was pumped! She is going to share her talent and YOU ARE GOING TO LOVE HER. She will be posting once a month for as long as she would like to, so without further adieu, I’m going to let her take the stage. {She is going to blow you away with her first post….just wait…you are going to LOVE IT!}
Hi All Things Thrifty readers! When Brooke offered Nick and I the opportunity to contribute monthly to her amazing blog, to say we were overjoyed would be an understatement! I mean, you wouldn’t be reading this right now if you didn’t already know how crazy-talented she is. We’re ecstatic to be a part of it all!
Before we jump into sharing one of our projects, let me tell you a little about us. Nick and I married in 2009, bought a 112 year old house in the country. We started a blog to document our journey as newlyweds, experiences as country bumpkins, and the saga of our slow-but-steady transformation of this old house! We’ve shared our trials and triumphs alike, including our unexpected and emotional fight to conceive our twin baby girls, Paisley and Adelyn. Feel free to snoop around our blog Sawdust and Embryos!
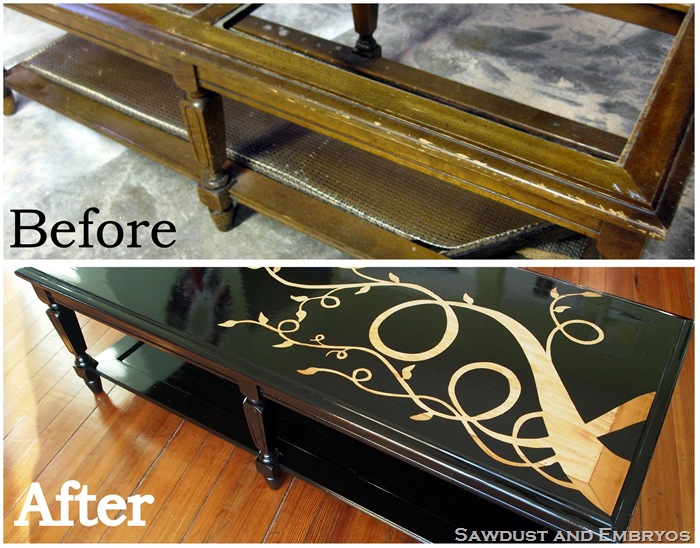
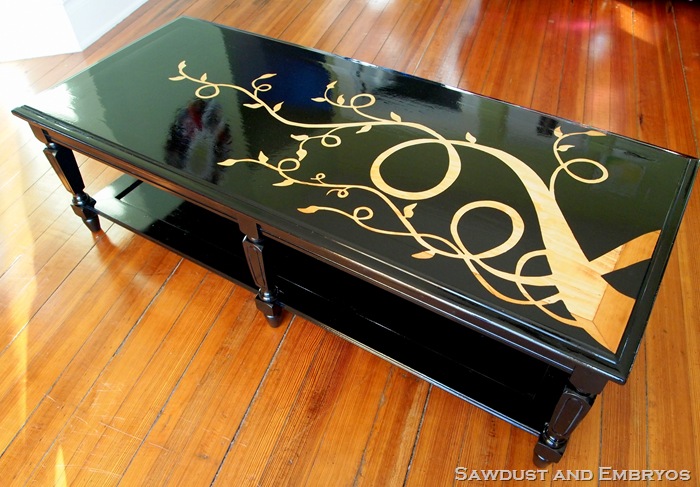
On to business! We’re excited to share one of our most recent transformations… and show you how to do a similar technique on your own! Here’s what you’re getting yourself into:
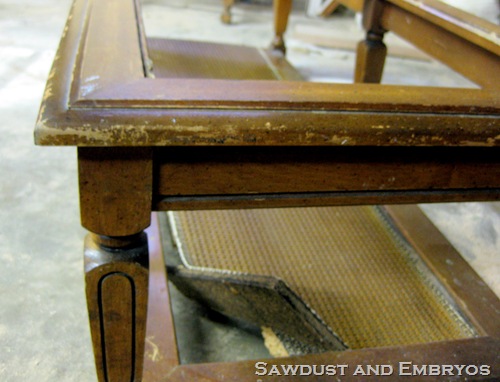
We picked up this coffee table abandoned on the curb, and we toyed with making it into a bench, or repurposing it as firewood (HA!).
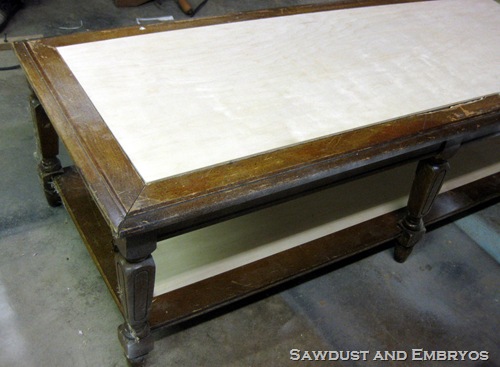
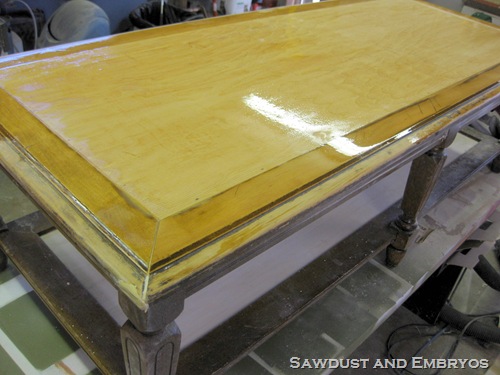
But finally we agreed on allowing it to maintain it’s identity as a coffee table. Girlfriend just needed a face-lift! We started by replacing the unfortunate wicker panel with a sheet of 1/2 inch pine, as well as the two open panels on top where glass likely was at one point.
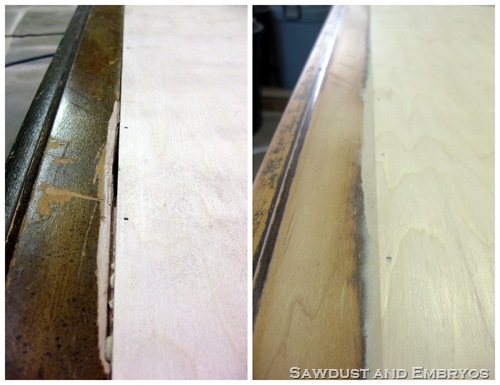
We used wood putty to fill in the cracks and sanded everything down to make it smooth and flush.
Next we applied a coat of Polyurethane and let it dry overnight at least! You don’t want the poly to be tacky at all, so if you live in a colder climate, you may want to let it dry even longer.
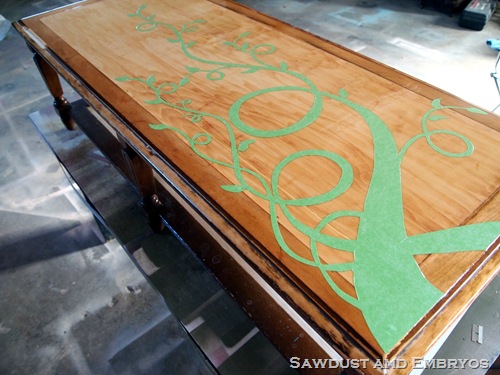
We have a friend that has a vinyl machine, and she cut us this amazing leafy vine-y design. If you’re fortunate enough to have your very own Silhouette or Cricut, you may cut your own design without having to bribe a friend. You can use ANY DESIGN you want! (if you’d like contact info for my ‘vinyl dealer’, send me an email.)
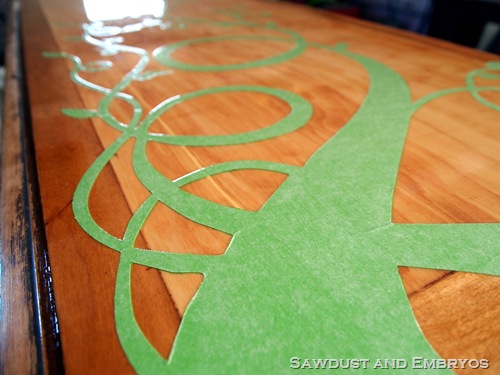
Slap that sucker on, kids. Slap it on.
Next we polyed again to seal ‘er on tight and keep paint from seeping under the edges.
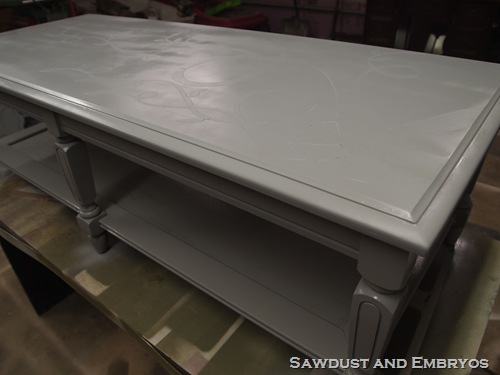
And after letting that dry for 4 hours, we primed.
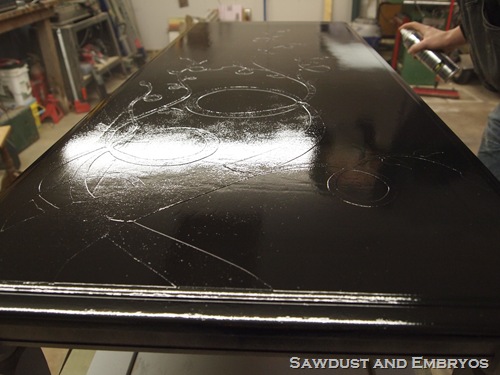
And then painted using a glossy black.
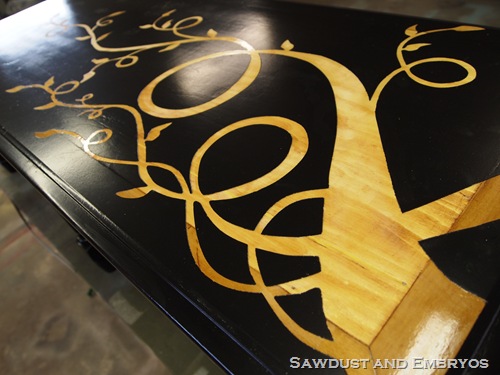
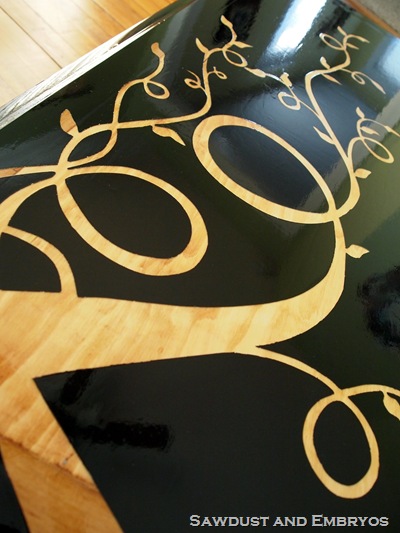
While the paint is still wet, start carefully removing your decal. I used a needle to pull up the edge and started peeling back the vinyl. I wish I would have taken pictures of this process… but I was really focused, and the hubs was at work. This step is so fun and rewarding… instant gratification! You’ll love pulling back the vinyl to reveal that beautiful woodgrain!
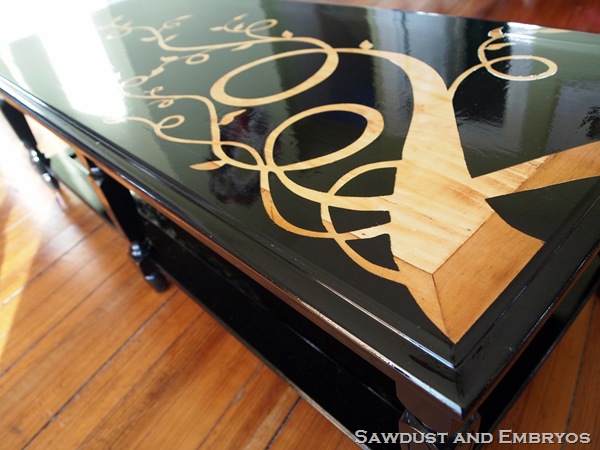
Finally, for super glossified lacquered look (and to make it crazy-durable), poly the whole thing down real good.
So polished and stunning, and oh so simple!
Hopefully we got your creative juices flowing, or at least inspired you to try this technique after seeing how simple it is! We hope you enjoyed us stopping in here at All Things Thrifty as much as we did, and welcome you hop on over to our blog to see some more furniture/home transformations and tutorials. Happy weekend!
{YO, YO, Brooke here again…I told you…she’s a freakin’ furniture genius.} Go check out her blog, and add her to your reader. You are going to want to keep an eye on this little lady.



My jaw just hit the floor. I love love LOVE this!!! So excited to read more of your posts!!!
This is gorgeous! I don't usually go for glossy black furniture, but the contrast against the wood underneath is spectacular!
I didn't realize that it was okay to paint over poly. Does the primer make it possible? What kind of primer is it?
I could use some sort of coffee table, and something like this has definite potential. If I can't manage a coffee table, I have a little chipped antique side table that this could work for (and it's a bit less daunting 🙂 ). Thanks for sharing this project!
I have been following both of your blogs for quite awhile…so fun that you are joining forces!
WOW! I'm speechless. I've been looking for a great idea to re-finish the top of a credenza and I think I just found it. Thanks for sharing!
This might be my most favorite project featured on All Things Thrifty. So beautiful!
Wonderful!!!
I just happen to have a coffee table in my garage at this very moment that has an open top (where glass used to be) and a very thrashed whicker bottom!! I've been looking for something amazing to do with it & I believe I've found it!!
One question: Did you sand the poly or spray paint inbetween steps at all? You have a great finish and I want to make sure I do it right!:)
Thanks so much for the idea, now I'm super excited to get going on this one!!
Excellent.
OMG this is so gorgeous. I have a huge square coffee table that is gonna need refinishing…done too many crafts on her. I think she'd love this technique. Great….awesome.
becky@reinventingtheordinary.com
Beautiful!! My grandma actually has this table! When I was little I accidentally spilled nail polish remover all over it, and it's been in the garage ever since. Humm This gives me many ideas!
Wow – that's amazing! off to check out Beths blog right now!
my husband has been trying to convince me of having some type of black furniture in our house… this could be the perfect compromise!
My creative juices are flowing!! Now tell me… are you using poly (water base) or solovent base? Then latex paint over it? It is beautiful~ ;~}
thanks for the tip on polying after the vinyl is on, in order to get a good seal so the paint won't leak on. i didn't know that step was needed and have a coffee table waiting for this to be done (when i can find that perfect stencil…)
Pretty much the most unique and beautiful piece of furniture I've seen in a long time in blogland.
This is beyond fantastic! OMG I have to try this soon!
I follow both your blogs too and really love them 🙂
Patty
this is absolutely gorgeous. I am going to search for a table like this at the thrift stores so i could do this painting effect on it. thank you.
Just loveddddd it! 🙂
Looks so awesome! Love the shiny black!
I recently did the same type of thing on an antique dresser someone put out for the trash! I love how it turned out. If you'd like to see you can find it here:
http://remarkable-home.blogspot.com/2012/02/my-moms-dresser.html
I'm in love with your table and I think I want to marry it *starry eyes*
No seriously, I love it!!!!
I love this! Just one question: how did you get one piece of wood to fit over the top, as there is a divider between the two glass panels. Did you have to cut out a notch in the new wood? Thanks!!
This might be the coolest thing I’ve ever seen!
just beautiful