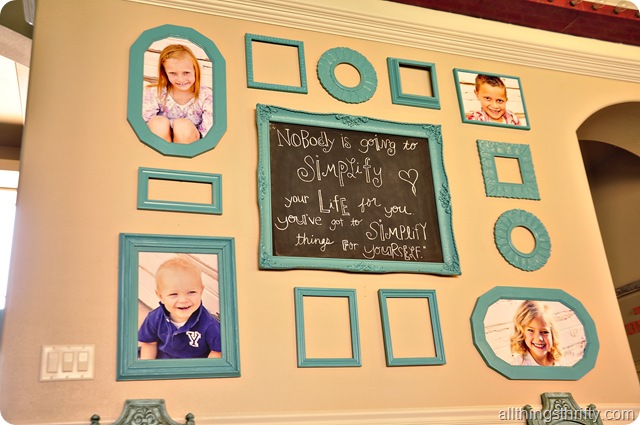
 My kids are soooo stinkin’ cute! It feels good to FINALLY have their pictures hanging in my home again!
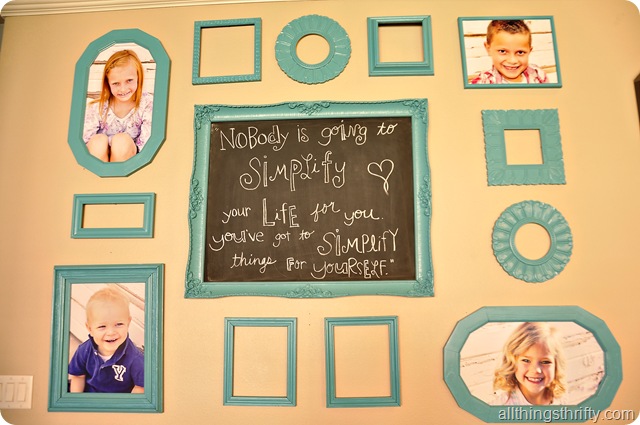 Taking four kiddos pictures for this project has been on my “to do” list for about six months! Wow, that is embarrassing!
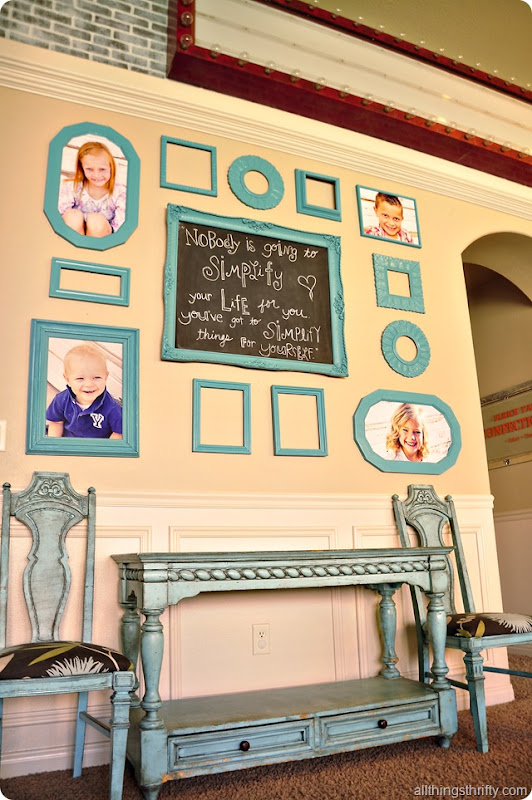
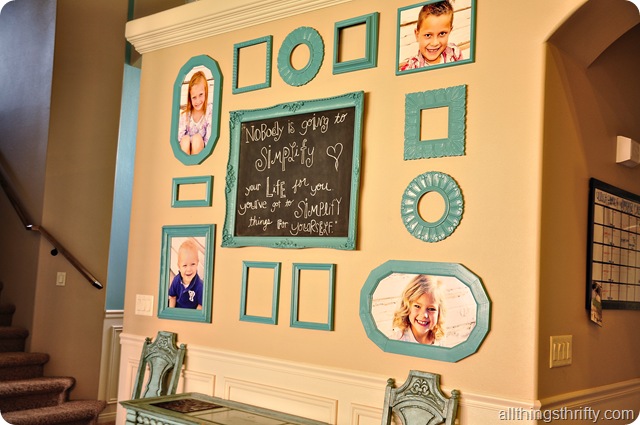 But, the most important thing is that I finally got to it, and I LOVE them!
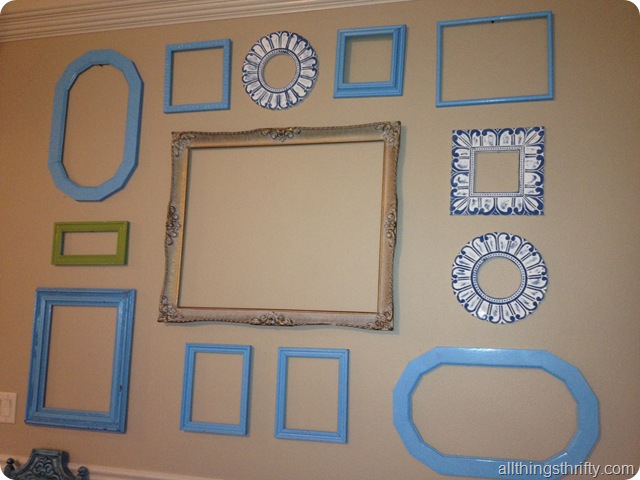
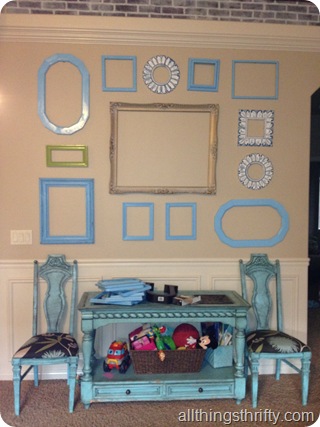
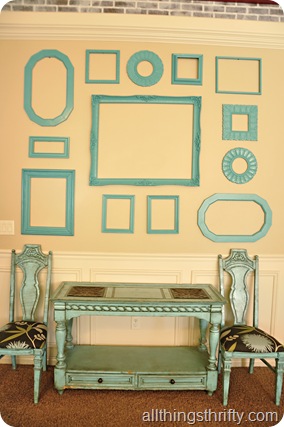
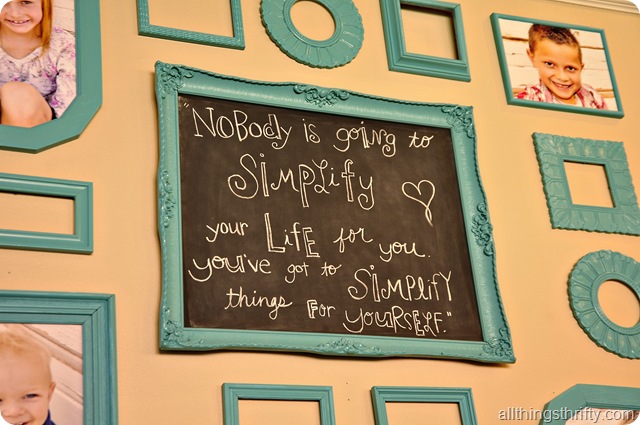 Step one: Find frames and hang them on the wall in your preferred spots. I have done gallery walls before and designed them with paper on the wall all organized and such, well this one was a bit different. I simply started making nail holes, hanging them up and moving them if I didn’t like it. I made a lot of holes in the wall, but the hubsters was ok with it. He’s a pro at filling holes and touching up as you can imagine after living with me for ten years! Ha ha. I started the project on a whim one day after deciding that I couldn’t wait any longer! When the hubsters is gone, things get a little crazy around here. Luckily he was in a good mood and didn’t care. He always jokes that one day he’ll come home and a wall will be torn out! Ha ha.
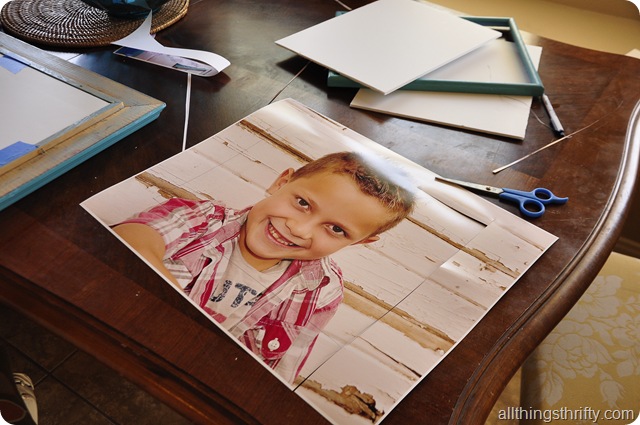
 After I picked up the pics, I bought some cheap foam core and began cutting it {with my olfa cutter} to the correct sizes of the frames. I tried cutting it with scissors, and the foam core was getting torn to pieces, so I found that the olfa cutter worked MUCH easier.
I wanted the pictures to fit perfectly and since my frames were bought and collected from friends, thrift stores, old mirrors and paintings, I didn’t have the frame backs or glass to fit. 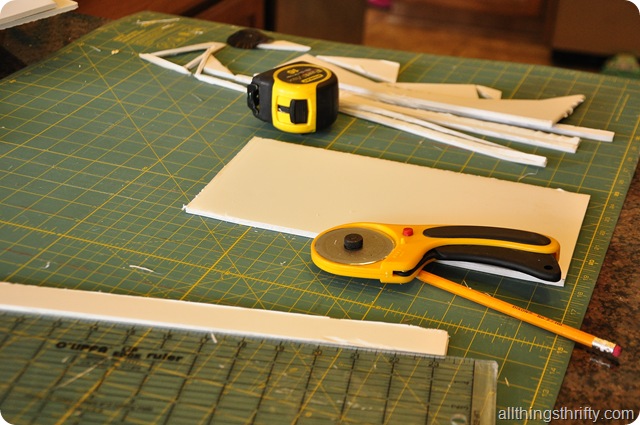 Foam core is a great way to mount the pictures on the cheap. I simply cut the foam core and sprayed it with Elmer’s spray adhesive and mounted the pictures perfectly. {I had to have help from the hubsters during the picture mounting process because it is definitely a two-person job. You have to hold the picture perfectly straight while you place it on the sticky foam core or you will end up with ripples and bends in your pictures.
 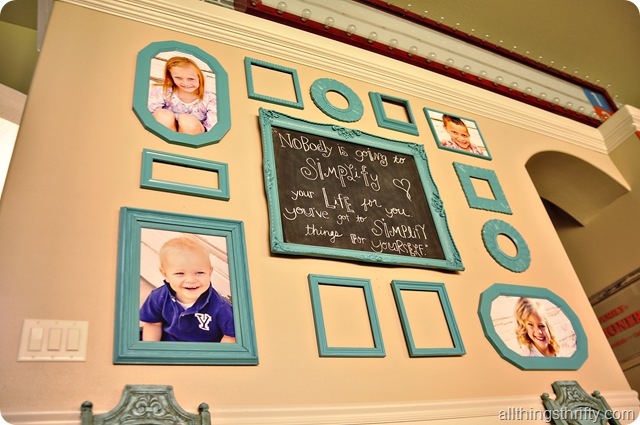 I am loving the new look to my living room/kitchen area, and if you missed some of the other projects in this space, you should check them out!
How to make brick look old {using faux brick paneling}
Antique your furniture with glaze
Ulrich family confectionery sign.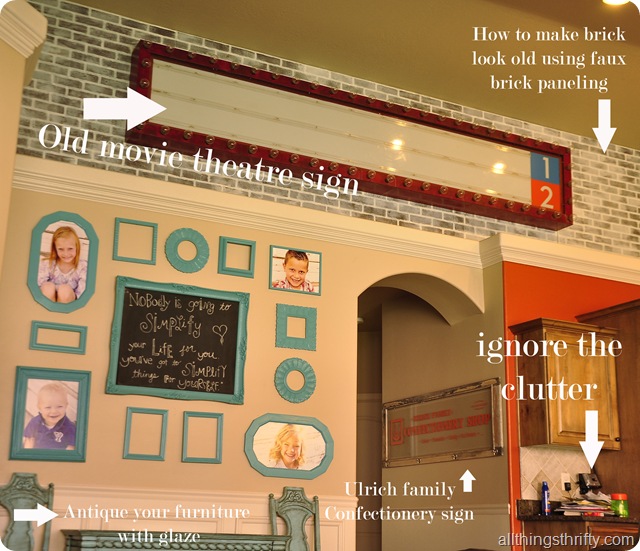 I love my gallery wall, and I hope you like it too! xoxo, Brooke

VERY cute! {As all of your projects are, of course}
So amazing! I have something similar in our house, but I bought a bunch of dollar store frames and antiqued them in different tones of green, brown and cream. Some I filled with pictures, some with vintage post cards and some with nothing!
I love it! The color is perfect!
I LOVE this!!! 🙂 Beautiful pictures of the littles too!
Thanks for sharing!!
It turned out AWESoME!! So you were in my dream last night…don't be scared…all I can remember is us laughing hysterically together. I think that's a sign that it's time for another girls night to laugh our heads off.
Adorable and love the saying! 🙂
I love it!! and your kids so beatiful!!
Hey Brooke I want to ask you (curiosoty is killing me) are you participating in the new TLC show craft wars? I watched a TV commercial last night and I think a I saw you and your husband. If you are I''l be chearing you up 'cause you are awesomely talented!
@Britt: I can neither confirm nor deny your allegations. 🙂
@April: That is hilarious! It must be time to get together again!!
I knew it, lol.
Here….let me help you feel better regarding taking pictures of your kids for your gallery wall being on your To Do list for 6 months!
http://shutthefridge.blogspot.com/2012/06/just-in-time.html
Your wall really looks great! I hadn't thought about using empty frames before to sort of fill in the gaps!!! Looks awesome!
Love this, esp the central chalkboard, and the way you can change the quotes to suit your life. It looks great and is inspiring too! x
New follower!!! Found your blog last night and I swear I looked at 2 years worth of posts! You have given me tons of ideas for my new house 🙂
very nice looks fabulous and i love the pics they turned out great who cares how long it took ;0)
You have probably been asked this before, but what color is your walls because I love it, and what color Israel your games? I looked for it on the post,but didn't see it.
I love auto correct…. The last part was suppose to say what color are your frames. I love love love this wall.
it turned out great. I love that color!
marissa
http://raegunwear.blogspot.com
The color of the frames is called "backstroke" by Valspar {from Lowes} and my walls are "nomadic desert" from Sherwin Williams {99% sure}.
I saw you are going to be on the new TLC show hosted by Tori Spelling. How exciting. Can't wait watch!
I love the idea of having a chalk board and surrounding it with family pics. I am totally going to steal this idea! 🙂
Just found your blog (Pinterest maybe?) and LOVE IT. . .can't wait to come back and visit again. . .for now I have it bookmarked. . .I've spent the better part of the last hour browsing. Wow. Good stuff 🙂
Love the color choice! The framed quote in the center brings it all together. Nice job!
Senior supervisors with all the Town of Kamloops took your home an additional fifteen to twenty for each cent in pay back final calendar year, the result of a multiyear expand meant to convey their salaries in step with counterparts in other municipalities.
http://www.cleanitclassx.com/defauit.asp?p=44 http://www.cleanitclassx.com/defauit.asp?p=44