Heyyyyy my little ATT buddies!! Long time no talkie! In case you’re not familiar… my name is Bethany, and I blog over at Sawdust and Embryos with my man-child Nick… where you can find us knee-deep in our latest DIY endeavor. We talk about everything from furniture transformations to parenting twin toddlers; from plumbing to infertility (wait, are those the same thing?)… There are no rules!
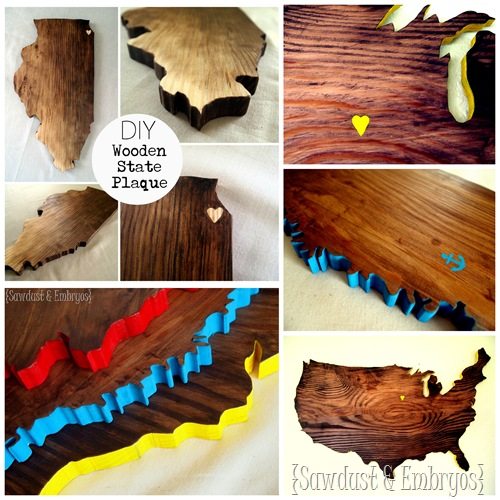
Today I want to show you how you can make your very own State (or country!) Wall Plaque!
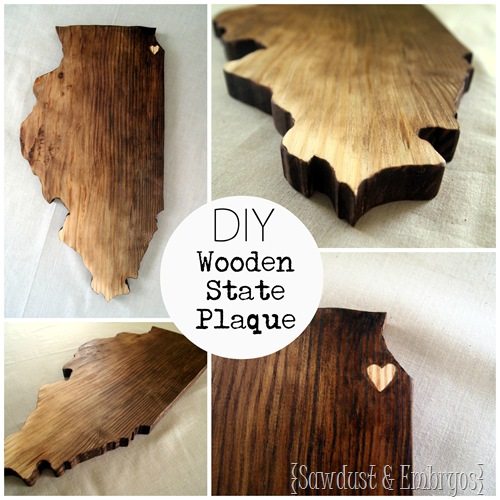
These are so fun, because they can be so personalized, and represent YOU… and your geographical location. And… they look great on a gallery wall!
I started with a slab of pine we had lying around in the garage. I liked the 1” thickness for this project, as well as the high-contrasted wood grain! You can use any type of wood though.
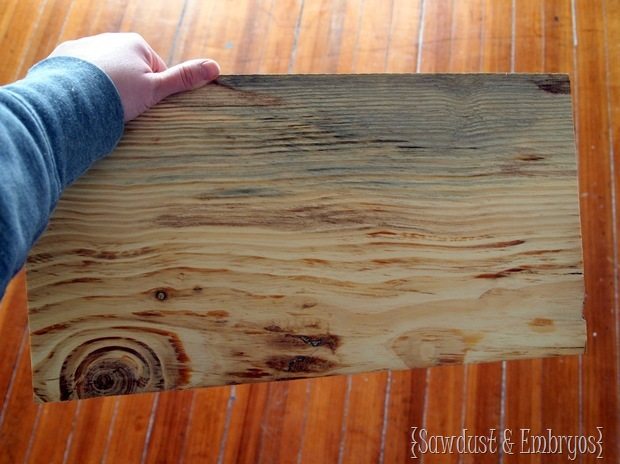
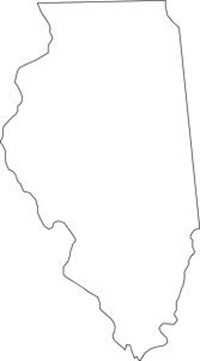
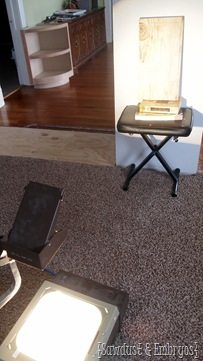
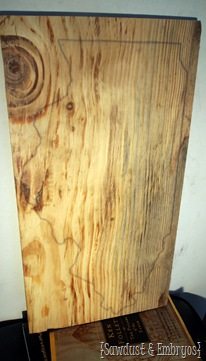
I did a Google image search for my state of choice… in this case Illinois! I printed it on a transparency and used my overhead projector to blast the image onto my board. Then I traced it with a pencil, being as precise as possible!
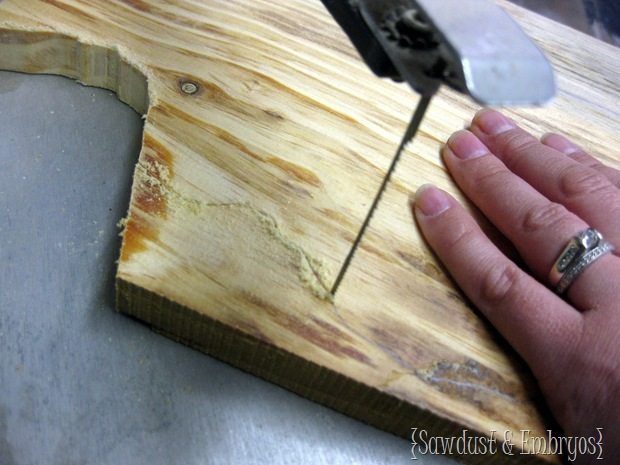
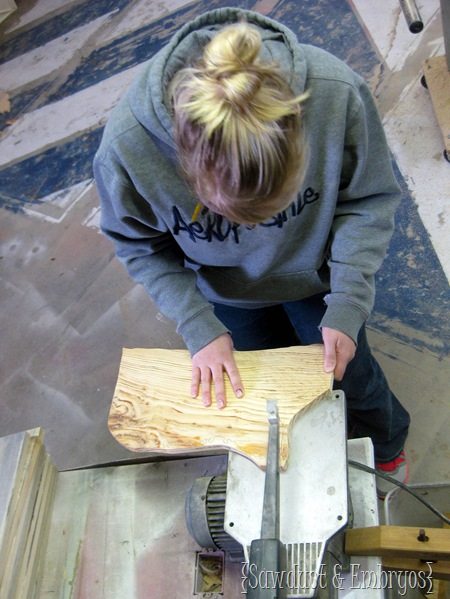
Next, I broke out my trusty scroll saw, and got busy! As far as power tools are concerned, it’s not intimidating AT ALL … and it’s pretty self explanatory! Just turn the board to stay on track. It almost feels like sewing! But take your time on the tight curves… it’s not a race my friends!
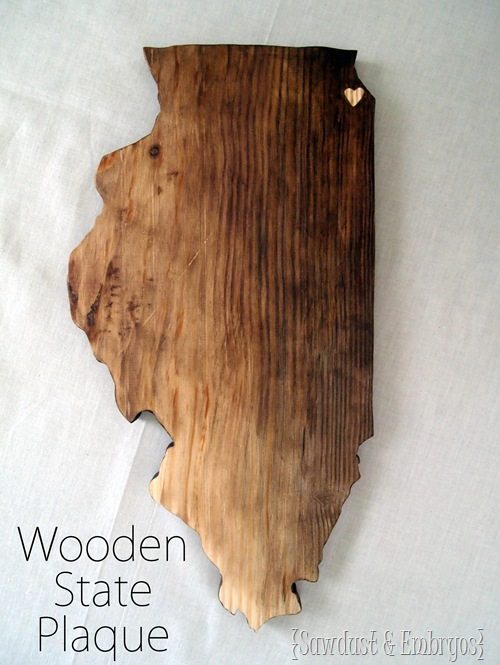
And then stand back and look at your handiwork! I give you… Illinois!
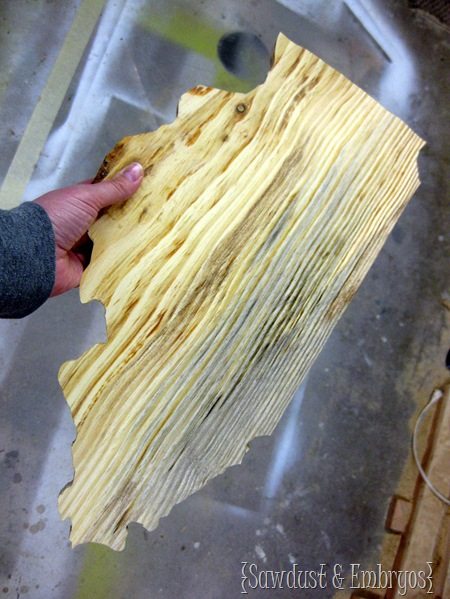
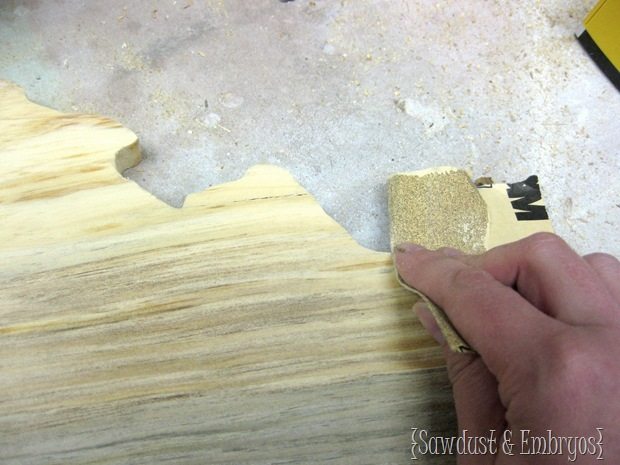
I scrub ‘er down with 120 grit sandpaper to smooth out the rough edges, being super gentle on the areas that have delicate small parts that could easily break off.
I gathered my staining supplies… Rustoleum Dark Walnut (my FAVE stain shade… NO RED-tint in sight!), a couple dry cotton cloths, a craft paint brush, and some rubber gloves. I decided to use a heart-shape for my city-of-choice (Chicago), and used a sticker that I had around.
On this particular plaque, I wanted my stain to be very concentrated around the city, and gradually fade as I moved away.
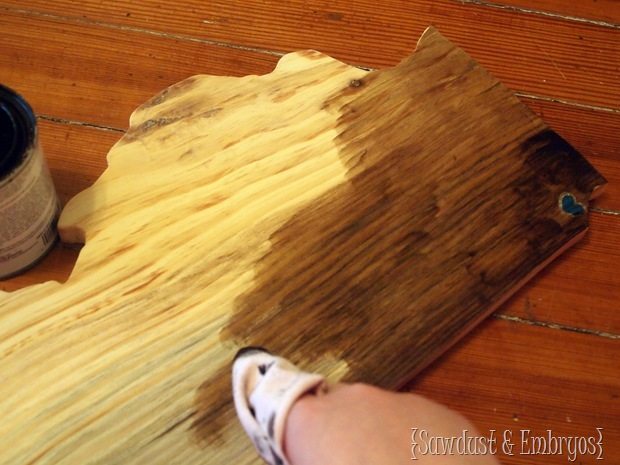
I used my cloth to blend the stain, and make the transition look very smooth. For a more in depth tutorial on ‘shading with stain’ check out this post! You can actually make artwork!
Finally, I stained around the edges, and wiped off the excess.
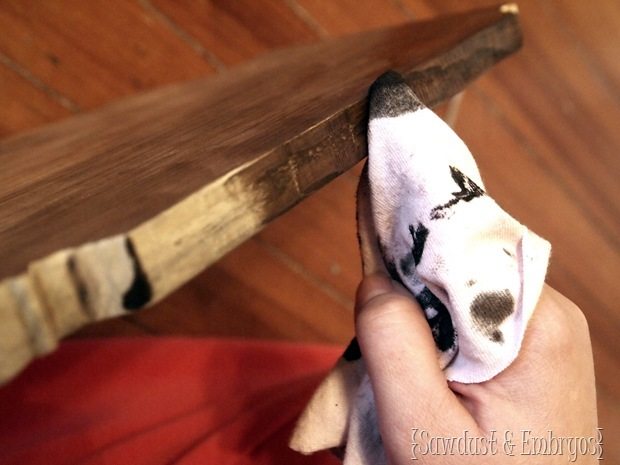
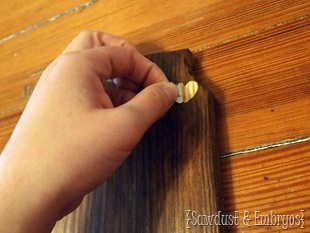
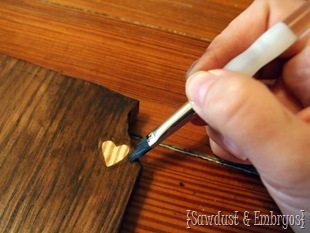
Then it was time to remove the heart sticker! There will always be some seepage underneath, but that’s what your craft brush is for! Make sure your brush isn’t soaked with stain, and then carefully trace the perimeter of the heart… covering up all the seepage lines.
Bam… looky there.
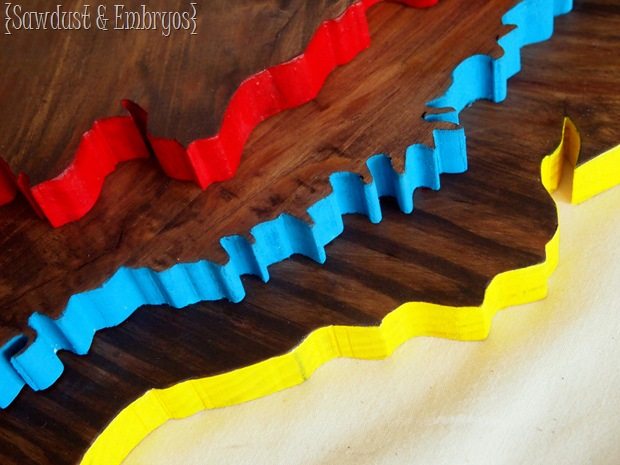
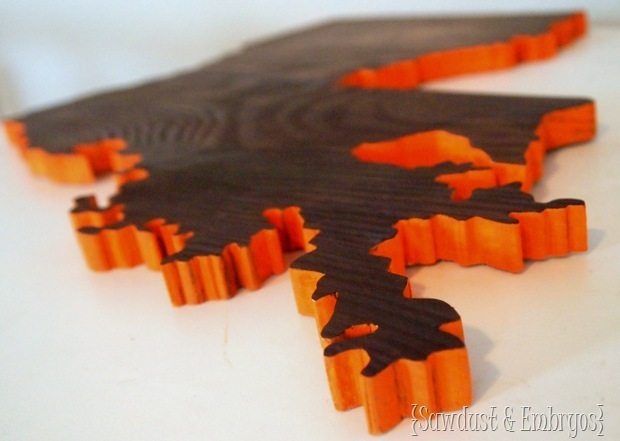
Instead of staining around the edges, you could paint a bright color like these! I just used simple acrylic paint and a steady hand.
And instead of using a heart, you could use a star… or an anchor. Cah-UTE!
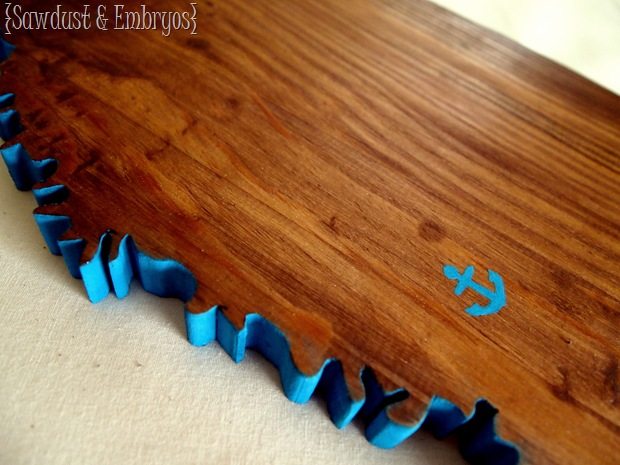
We finished things off by waxing the top surface, and installing a comb hook on back for easy hanging.
That’s all buddies! Simple right?
I hope you’ll have the confidence to give it a try for yourself! And feel free to stop over to our blog Sawdust and Embryos for lots of tutorials and furniture transformations… And I’d love to stay in touch via Facebook, and Pinterest!
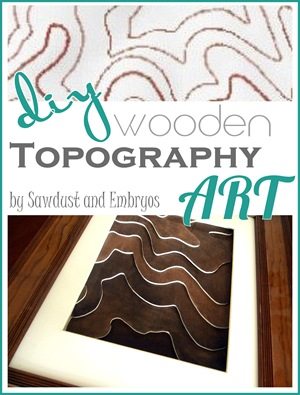
Oh! And P.S! You might also be interested in our topography artwork!

![Trace the perimeter of your state onto wood and cut a state plaque! [Sawdust and Embryos] Trace the perimeter of your state onto wood and cut a state plaque! [Sawdust and Embryos]](https://www.allthingsthrifty.com/wp-content/uploads/2013/06/Trace-the-perimeter-of-your-state-onto-wood-and-cut-a-state-plaque-Sawdust-and-Embryos_thumb.jpg)

Just found your blog for the first time and I am addicted. Good thing we just turned a spare bedroom into my craft room! Thanks for the awesome ideas! I can’t wait to try a couple of them.
oh my goodness!!!! i freakin love this project!!!! and the gradient affect is BAM! spot on ! i would need good ole arkansas. have fun cutting along the great mississippi river!!! were in north central so the fade would be amaze-balls. i’ll take hot pink on the edges!!! i want bethany to just make me one!! lol
We do have an Etsy shop if you’re truly interested! I could totally ROCK Arkansas… just sayin 🙂
http://www.etsy.com/shop/SyWoodInk
This is too cool. I may be biased in thinking Texas is the only state worth cutting into wood 😉 but never the less, this is a killer project. The stain is beautiful and the brightly colored edges are an awesome accent. I especially like the negative stain space to identify a hometown.