Sweet/darling/gorgeous ATT Readers!
It’s me Beth from Sawdust and Embryos! I’ll have you know that Brooke and I fiiiiiinally met in person a few weeks ago at Haven (despite being BFF’s for many moons… I mean OBVIOUSLY).
Contributor and contributee… united at last.
And let me just tell you that she is divine times infinity. And quite possibly one of the nicest people I’ve met. LIKE EVER.
I’m saddened to share that our dwelling places are separated by about 5 of the largest (squarest) states in the country. For you east-coasters, that’s about 20 states. But that doesn’t mean I can post on her blog each month! BWAHAHA!
So today I’m gonna show you another furniture project from our vault. It’s a favorite among our readers (and myself)… but it’s out there. You’ve been warned.
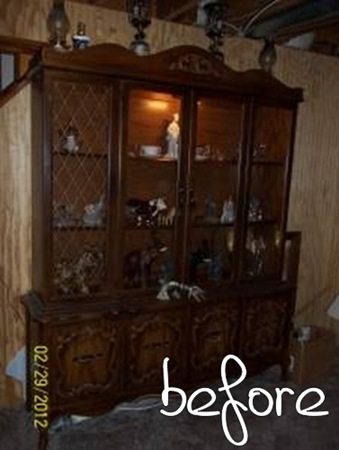
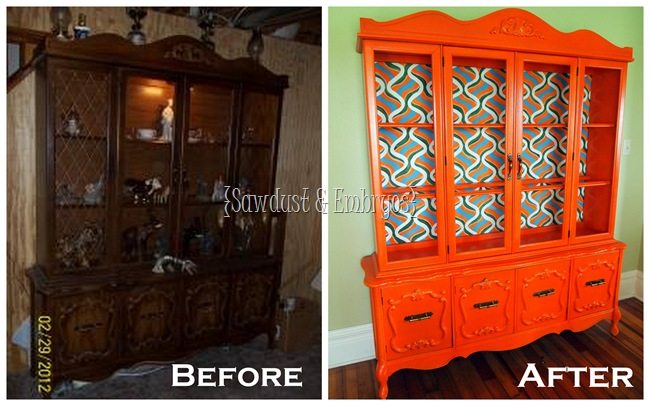
Here’s the before shot (straight off the craigslist ad)!
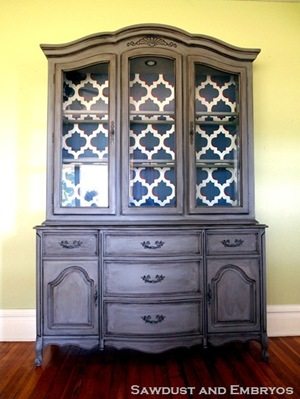
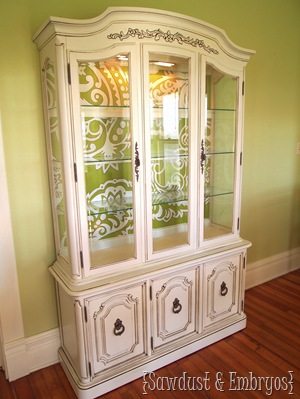
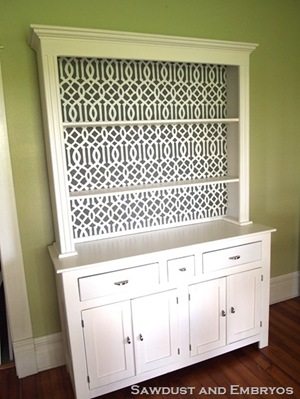
My favorite part of china cabinet or hutch transformations is doing a fun pattern or stencil on the ‘backboard’… Like these that we’ve done in the past (click on the image to be taken to that post!).
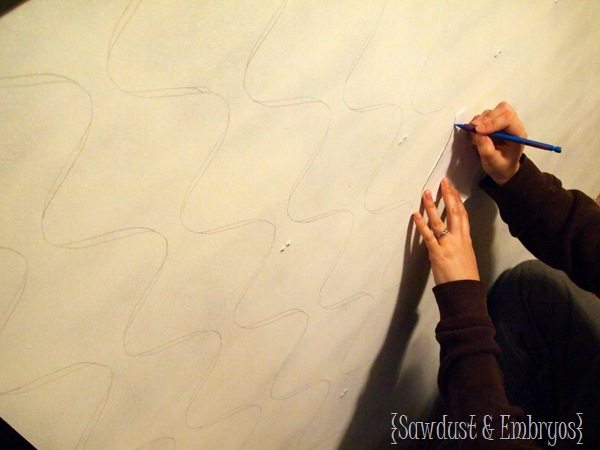
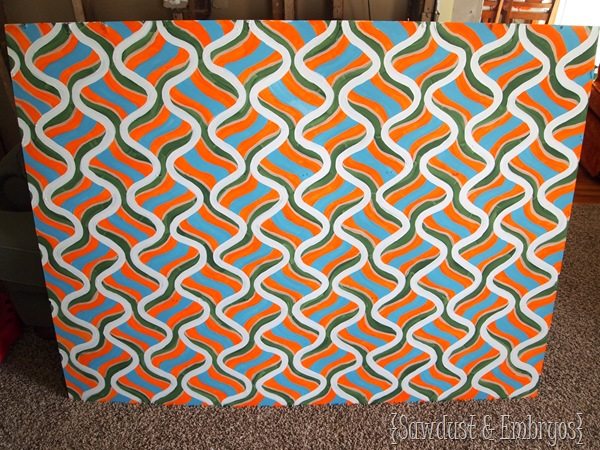
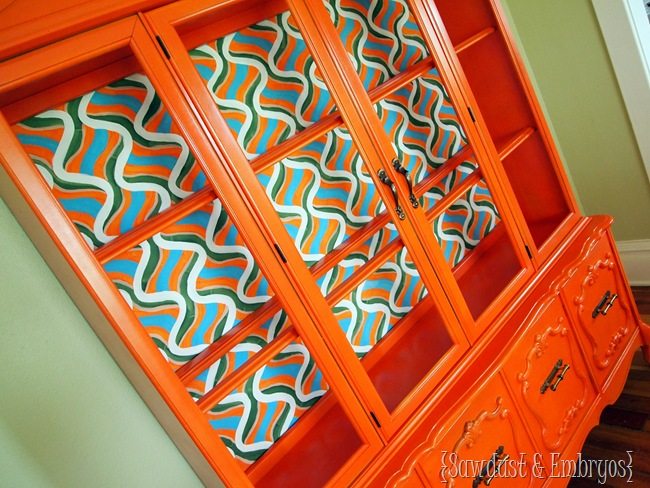
I wanted a funky ‘mod’ feel, so after priming the ‘backboard’ white, I cut out a template from cardboard and started drawing on and ogee pattern with a pencil.
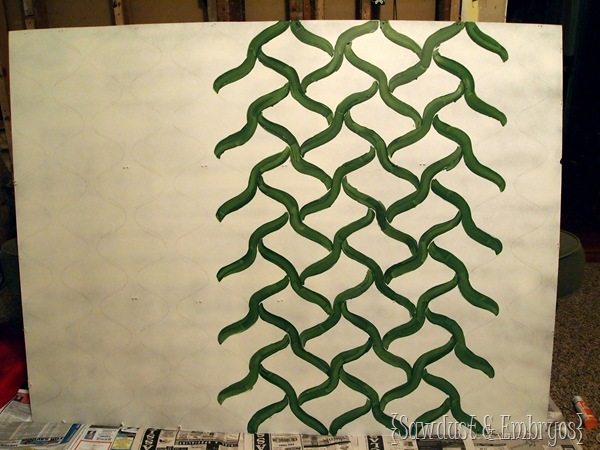
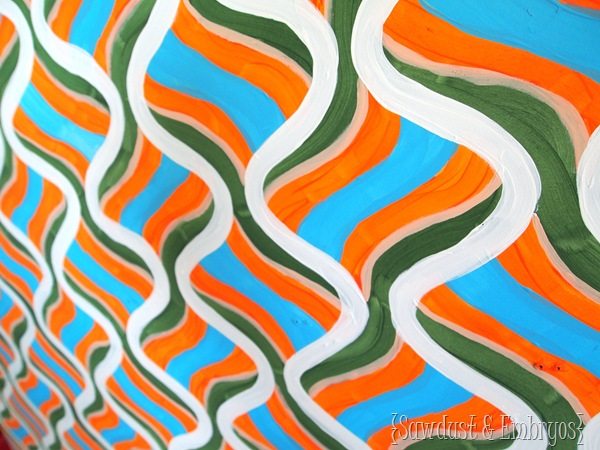
I like super unique color combinations, because they’re unexpected and almost always turn out amazing! So I reached for HUNTER GREEN! I started slapping on the paint with a craft brush in the following pattern. Nick kept saying ‘it looks like a corn stalk’ … then ‘it looks like giant tire tread’. But I persevered.
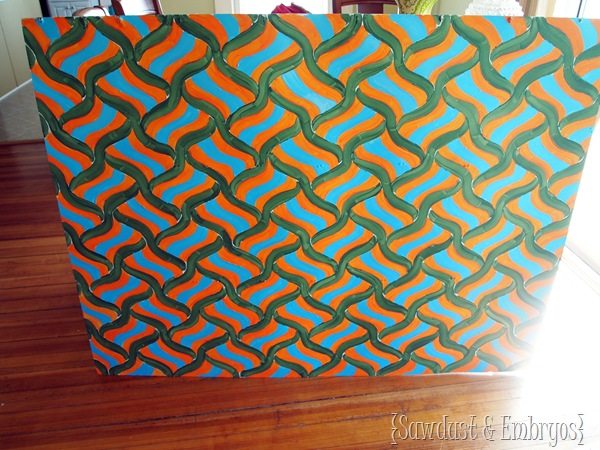
Then I splashed in some orange and blue. Stay with me my friends!
Finally, I added white to separate everything just so. I purposefully left things a little artsy and brush-strokey. I wanted it to LOOK handpainted, and not like someone slapped on some vintage wallpaper (which would have also been cool).
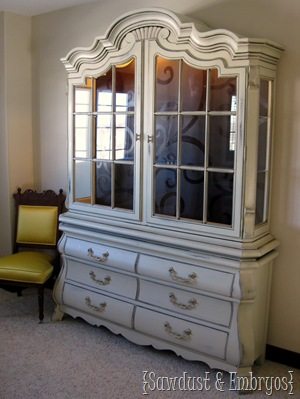
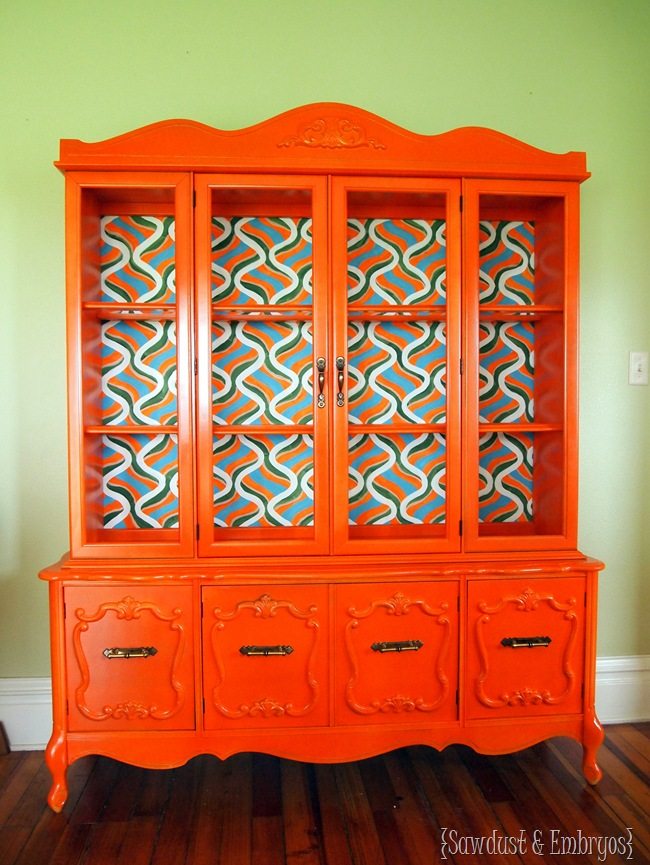
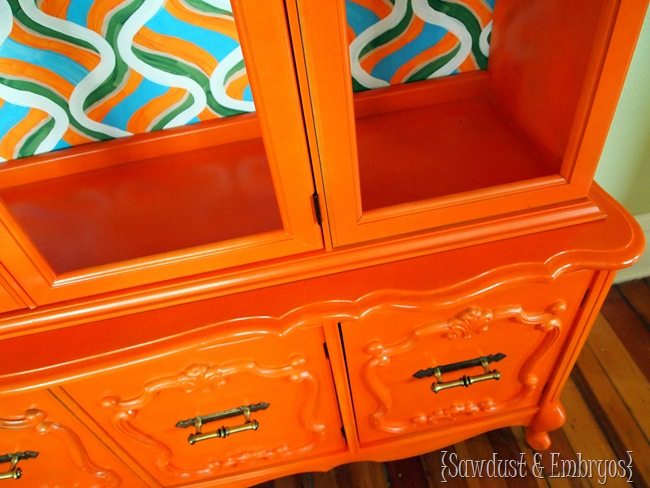
After priming and painting (ORANGE!) the body of the china cabinet, we secured the backboard into place with a nail gun and stood back to admire our work.
You were skeptical there for awhile, weren’t you!
I’ll be the first to admit that it takes a special person to actually be able to make this work with their home décor… but boy was it fun to paint.
This one is easily in my top 10 favorite furniture transformations, and one of the FUNNEST too!
We’ve got a whole page of Furniture Design and Refinishing Techniques if you’re interested in seeing a variety of different ideas. And as always there’s a plethora of inspiration on the furniture gallery and tutorials page! Please come on over to our blog Sawdust and Embryos and say hello!
You might also enjoy these posts from Sawdust and Embryos!



Wow! Stunning transformation! I love the orange!
Thanks Shanna! Isn’t Beth awesome!?! It was so fun meeting you in person at Haven by the way!
I am not normally a fan of painting over natural wood but this turned out amazing. In the right setting this is a fantastic piece.
Totally agree!
I love it! The color is awesome and I love the back! Awesome job!
I totally agree! I love how unique Beth’s pieces are! I love her creative mind! Thanks for stopping by!
Looks like a lot of work, I couldn’t make this work but I am sure someone will.
Gorgeous!! I absolutely love the orange and hand-painted background. So pretty!
xo, Tanya
Squeeeeee!!! Orange!!! It is all so pretty! Thank God you persevered. We just painted our kitchen a 50s mod bright blue with mocha cabinetry and orange is my pop color. I currently have an old oak china cabinet that is in there, and it is now officially going to turn orange. Loooooooove this.
Oh my, you have encouraged me! I just bought an 8 foot wide mahogany bookcase/china that is not dark enough and I plan to paint black….the work involved makes me think twice……..but look at you…the transformation is amazing…I don’t do orange but I do LOVE what you’ve done…I will finish sanding tomorrow…. 🙂
Oh my, you have encouraged me! I just bought an 8 foot wide mahogany bookcase/china that is not dark enough and I plan to paint black….the work involved makes me think twice……..but look at you…the transformation is amazing…I don’t do orange but I do LOVE what you’ve done…I will finish sanding tomorrow…. 🙂
I love the pattern you painted1 It’s so fun and cute!! Love the cabinet!! Very inspiring!!
I wrote on another post, but how did you get clean lines around the glass?
Ellis,
I always take the class out of the hutch. Hopefully you have this option. If not just tape them really precisely with newspaper covering the glass and be careful when spraying around them. It is by far easier to remove the glass, spray the furniture and then put it back in after you are done painting. Good luck!
I am in love and planning to do some work similar to this! What type of paint did you use? Acrylic? Love love love! Great work!
Wow! That’s so B.A.! And I ‘am’ a special person. 🙂 Good job ladies!
how did you remove the gold strips from the glass?