A few years ago I was on Good Things Utah {a local lifestyle TV morning show here in Utah} sharing a project that Dan had cut out for me with a jigsaw. One of the hosts caught me off guard by asking me what to do if you don’t have a handsome handy man around the house to cut out your projects. To be honest, the thought hadn’t crossed my mind because Dan is the best DIY guy I know and I can usually get him on board of a project with little or no coercion. After pondering the question after the cameras had wrapped, I realized that my answer was OBVIOUS. You DON’T need a man to cut it out AT ALL. DUH.
Although this project isn’t my first rodeo with a jigsaw, today I’m definitely proud to show you the project I did all by myself without my Man.
I measured the space that I wanted the letters to go and designed the words on Photoshop. It makes it easier for me to do it this way because I know that it will fit into the space perfectly.

Then, I printed out the words onto a transparency to use on my trusty old overhead projector. Yep, the old school kind that your teachers may have used in middle school. I’m dating myself BIG TIME with that statement.
A 4 foot by 8 foot sheet of 1/2 inch MDF from your local home improvement store is only about $25.00. I actually had this in my garage so I didn’t need to buy it this time. But, if you do need to buy it, just make sure to have the guys cut it for you so that you can fit it into your car!
Next, I got my trusty #2 pencil and traced the letters. I used a ruler so that my straight edges were actually straight.

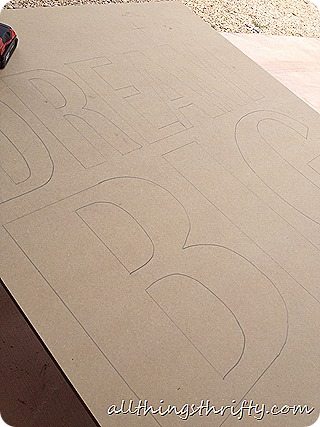
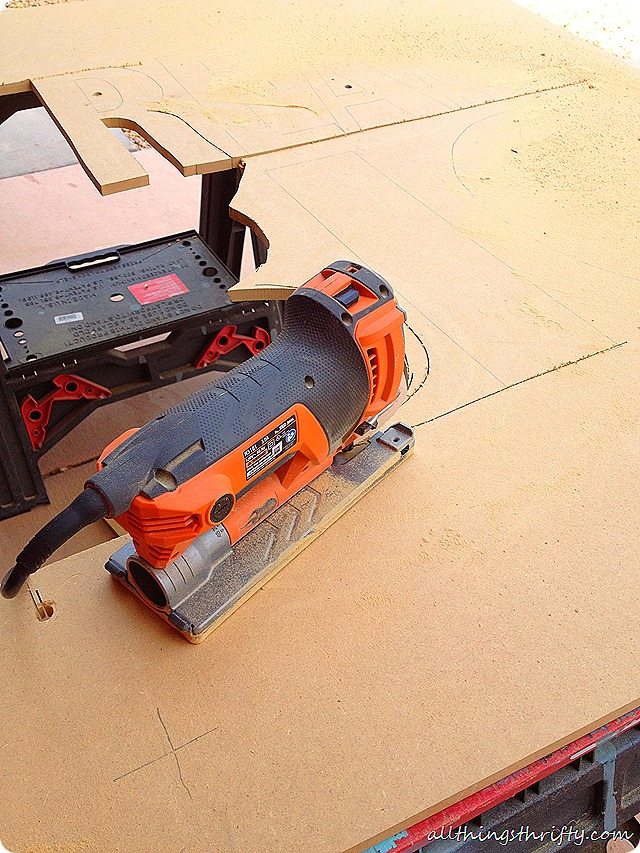
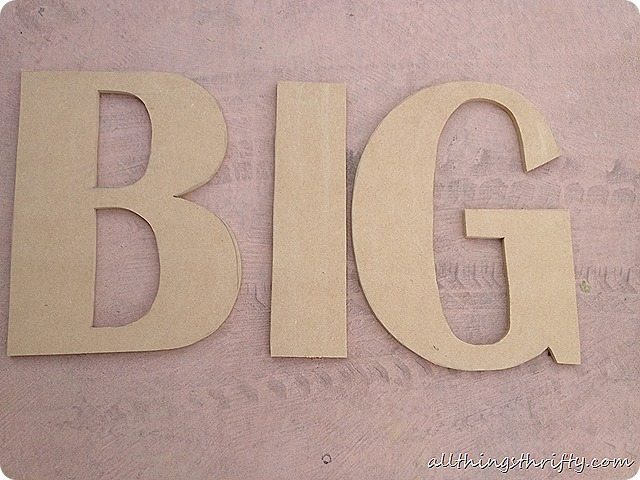
After I traced the letters, I set up the MDF on sawhorses and clamped them on with wood clamps. Next I got my corded jigsaw and started cutting the letters out carefully. It was surprisingly easier than I thought it would be. On the inside of the letters I drilled holes with a large drill bit to give me access to the inside. I used a corded jigsaw because our cordless jigsaw just didn’t have enough consistent power to make the cuts smooth.
Don’t look too closely, but I am quite proud of myself! I wish the pictures did these bad boys justice because these letters are HUGE.
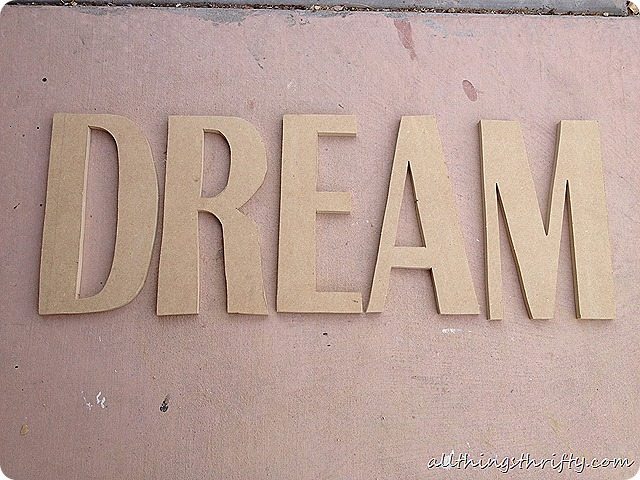
After the cutting was complete, I used my trusty spray painting skills and painted those bad boys.
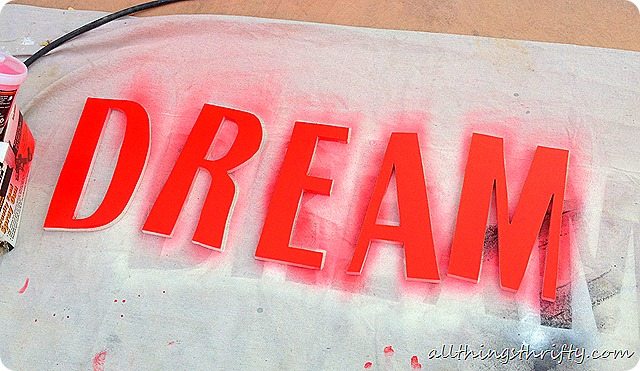
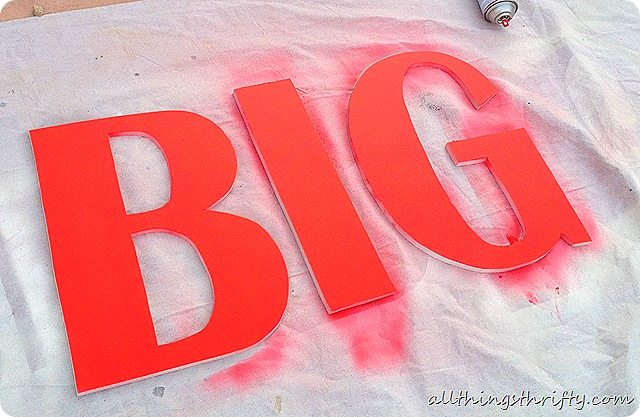
I wish I had pictures of me cutting these out for pure proof that I did it myself. BUT, since I was cutting them out I couldn’t get the shot. ![]()
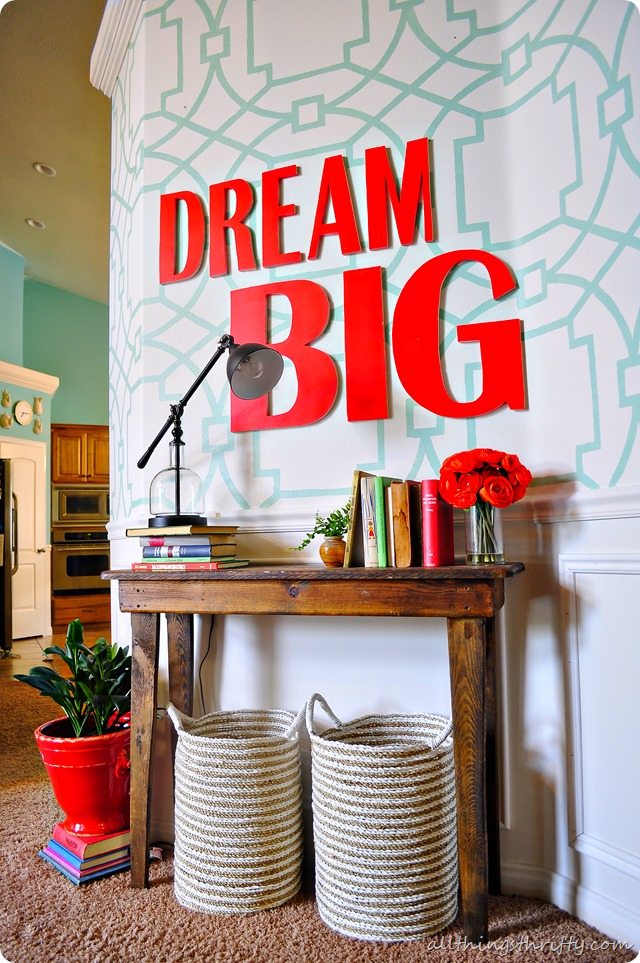
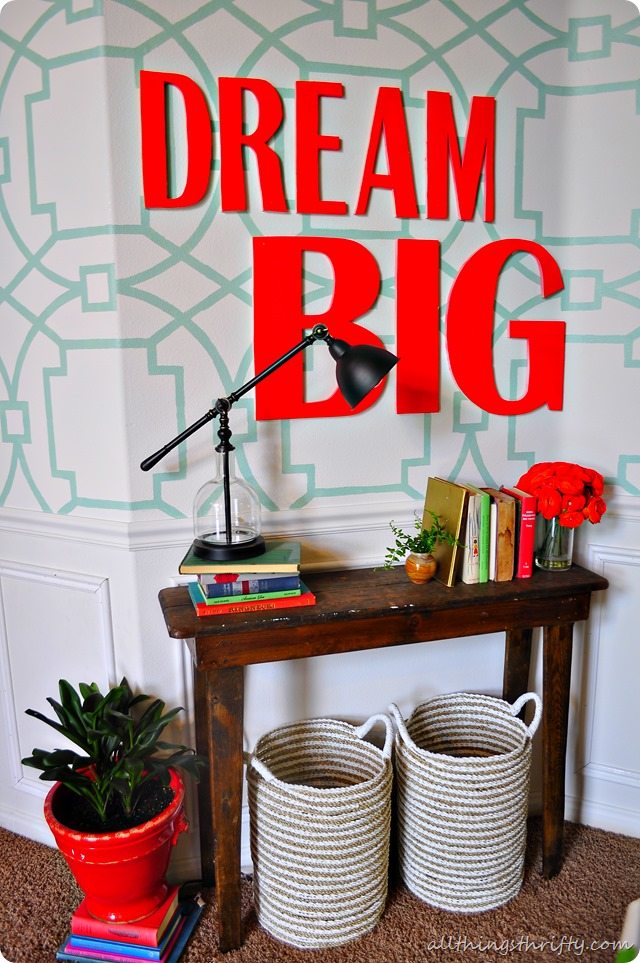
I’m proud that I am slowly and surely getting more comfortable with doing things without the hubs. Using the jigsaw was super easy too! The biggest advice I can give you is to go slow. It takes a few tries to get the angle right on the rounded letters. So, take your time and you will totally be able to do it!
xoxo,
Happy Monday!!
P.S. In other news, I am finally feeling better and I’m basically back to myself after getting a terrible sinus infection after Haven blog conference. On the flip side, the hubby now has a man cold. Wish me luck! ![]()

These are great! Curious how you attached them to your wall.
I took the easy road and simply brad nailed them directly to the wall! I figured that I was going to be making holes in the wall anyway, so I just brad nailed them into place!!
Hi Brooke,
I was in your session at Haven and learned a lot! I love this post because I’ve been waiting on my husband to make and cut out some large letters for a project. Well, I don’t think I have to wait anymore!!! Thanks for the encouragement to tackle tools!
Sweet project! and I’m glad you’re feeling better!
Great tutorial, and your right, women can do it too! You saved a lot of $$$ doing it yourself and you got to choose the font! Will definitely be using your tips soon! And boo for colds!
I bought a jigsaw several months ago on a day when I was feeling particularly empowered… but by the time it arrived I had chickened out and it’s been sitting in the box every since. I don’t know why I’m so scared of something that I KNOW I can do! Thanks for the post 🙂
Wow. This is so impactful. I LOVE the colours! Do you have any suggestions on doing something like this, but without power tools and wood? Sadly, I don’t have access to a wood shop. The styling is so fab!
You could buy the letters at Hobby Lobby? 🙂 But they will be expensive.
Yup, who needs a handy MAN when one can be a handy WOMAN!?!?!?! I love being able to use all my power tools without having to wait for a man to do it for me. (btw I’m in my mid-50’s and just demo’ed my kitchen by myself and hung old cabinets out in my garage for extra storage!!)
These came out great! i’ve always been nervous to free hand it with the jigsaw, straight lines are even challenging with that thing!
I love that you remind us that we CAN do things that seem not “do-able” with just a little forethought! I love this project! Each of those letters would have cost more than $20 a piece at a store…nevermind that you got to design them exactly how you wanted…that is “priceless”.-aimee
Oh, I really love those letters. The colors on the wall are particularly appealing.
Those are awesome! Where do you get a projector, BTW? Thanks for all your amazing ideas!
Did I miss the post about that entry table? I am in love! great job on the letters! That color is to die for!
Wow, Brooks! That looks awesome, and is a very BIG dream of mine 🙂
Whoa, Brooke! Now this I will be doing fo-sho!! It’s just so stinking cute!!
I really needed this tutorial. Really gives me the motivation to use a jigsaw! I’m sharing this on my blog. Thanks!
I am just wondering if you could tell me the paint color of the mint/aqua stenciled wall and which red Krylon spray paint did you use? I absolutely love the color schemes you use!
The mint is called Jazzy Jade from Behr, and the red/coral is called fireworks from Sherwin Williams. I put it into a spray cartridge that I got at Michael’s. The brand is Martha Stewart and it changes any regular paint into a spray paint. It was amazing.
love this tutorial but I have another questions for you …. what is the source for your wallpaper?
Hi Stephanie!
It is actually a custom stencil that I made myself. Check out this post: https://allthingsthrifty.com/2013/07/how-to-make-a-huge-stencil-for-under-15.html
Hi
Love your stenciled wall to !
Quick questions, do you remember where the baskets are from,
I have been searching for the exact thing forever
THANKS
YES! I got them at HomeGoods! I love that store! Good luck! It wasn’t very long ago, so hopefully you can still find them!
I love your talent and determination it took to develope your ability to be such a success…can you please tell me where i can
can find metal stencils to purchase. i’m physcically challenged and the paper stencils would not work for me.
You go girl keep dreaming big. God bless.
mary
.
Letters look great, but i noticed you hung the “M” in dream backwards???? nice job though! Love the color
Well, that’s just the way it goes sometimes. 🙂
I absolutely love these! I was just asking a handy man friend of mine about what types of tools to get to do some small wood projects and jigsaw is on the list! I see some very large letters in my future.
Thanks for sharing this.
xo
Okay, so I know this is suuuper late- but I just found (fell in love with) your blog! And I have to tell you that I ADORE your wall! Gorgeous!!! And I would have never thought of putting *red* letter there- BUT OMG. So good.
Thanks for the awesome posts! Diggin your goodness!
I know I am very late as this was posted in 2013 but You did a great job! This is awesome! I am definitely a beginner when it comes to working a jig saw. I am trying to learn how to cut out shapes. This is great!
Thank you. I have a regular jigsaw n invested on a mini powerful jigsaw to cut corraplast sheets. I just have to practice a like more. You helped with the idea of pouring the board in my garage wall n trace the letters. Thank you.