Hi Guys! Happy weekend!
It’s always such a joy for me to stop in each month and throw down a tutorial for all you fabulous ATT readers! If you’re not familiar, I’m Beth from Sawdust and Embryos!
Today I want to discuss how… contrary to many of the pieces in our furniture portfolio, we’ve learned that PAINTING FURNITURE ISN’T ALWAYS THE ANSWER! It’s really about making a piece flow beautifully with a room’s design. I’m all for pops of color! But if you already have an orange china cabinet, DON’T paint your dining table lime green! Let the china cabinet BE the pop of color!
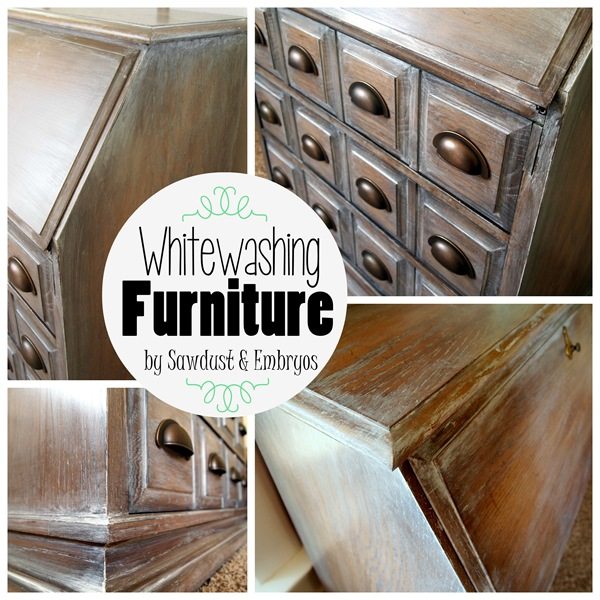
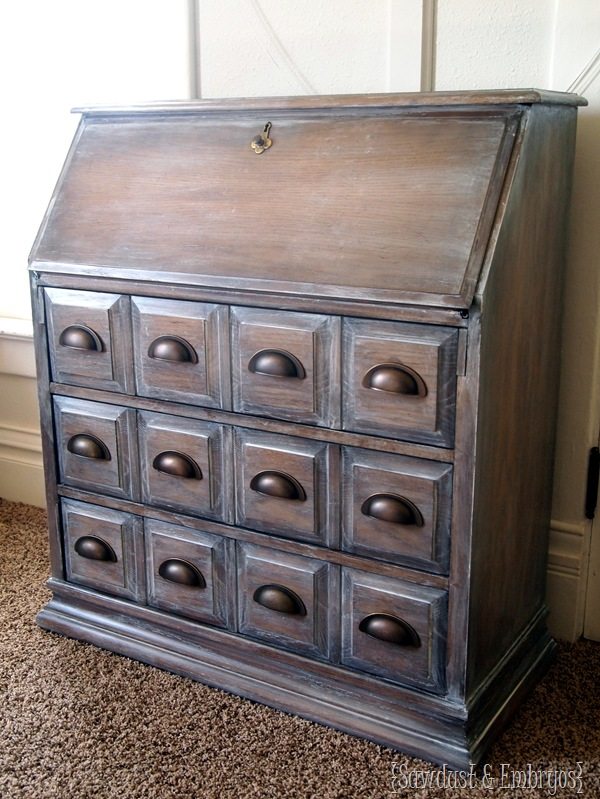
With that being said, I’m going to show you a simple technique to apply to furniture that still keeps things neutral, but adds custom flair! I think it looks very ‘Restoration Hardware’!
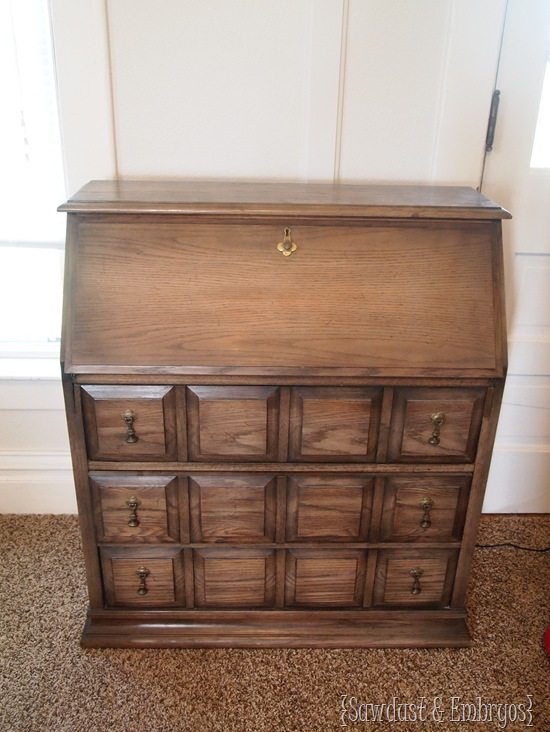
This is an adorable secretary desk that a friend gave me because she had no use for it anymore. I love that it’s solid and has tons of character… but I wasn’t digging the finish.
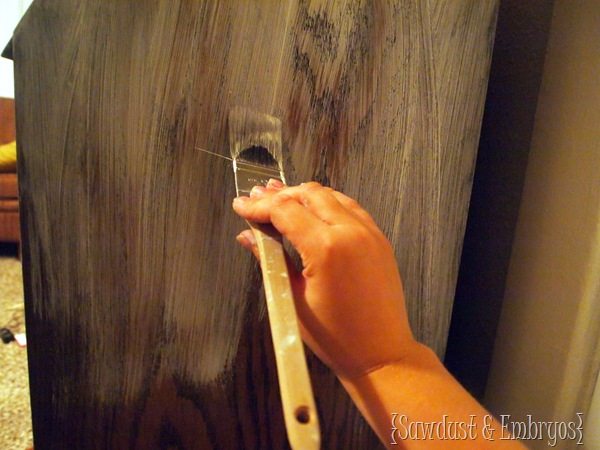
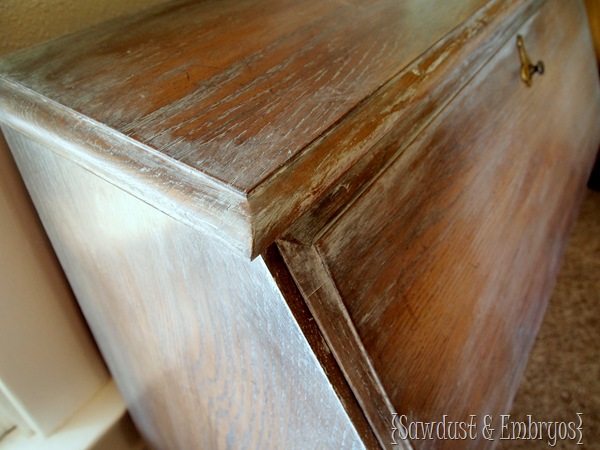
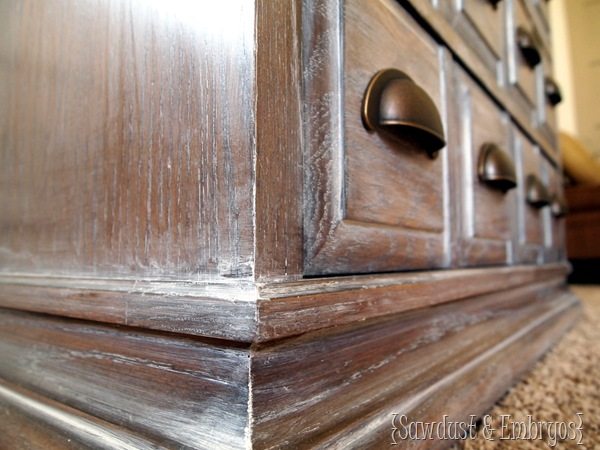
If you’ve been reading Brooke’s blog for any amount of time, you know she’s the QUEEN of glazing. This technique is along the same lines, but I used a mixture of 1 part technique glaze and 1 part white water-based primer. My entire mixture filled a red solo cup about halfway. You won’t need more than that unless you’re doing a giant armoire, or dining set or something. Next just brush it on with the grain of the furniture!
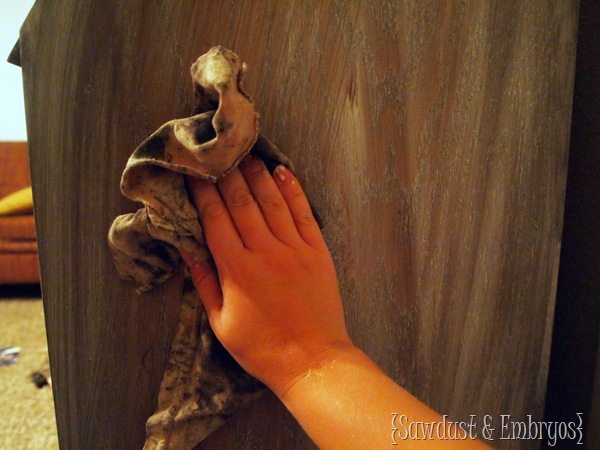
The beauty of this technique is that there’s NO SANDING OR PREP INVOLVED! Just jump in and start slapping that glaze mixture on! Then, using a dry lint-free cloth, wipe/smear the glaze mixture WITH THE GRAIN of the wood. You’ll be removing the majority of it, but leaving a decent amount too. As you’re in the midst of this step, you’ll get a feel really fast! It’s fun and easy! And if you mess up, just scrub it with a wet cloth before it’s dried completely, and reapply!
It’s really difficult to mess this one up! And it looks SO chic when you’re done!
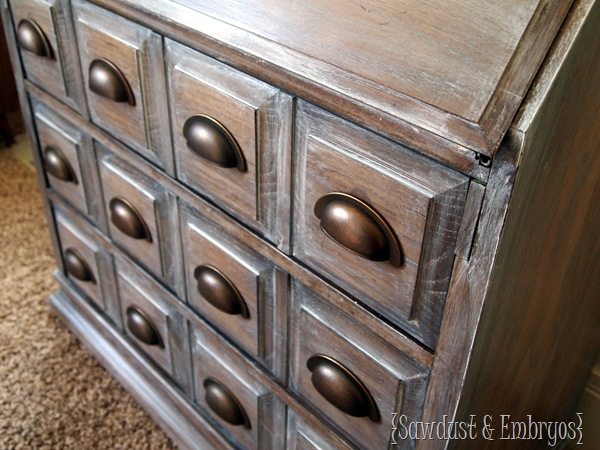
We added hardware to each square on the drawers so it looks like an apothecary cabinet.
We’ve done a LOT of furniture transformations in our day, but this one is arguably my favorite piece of all time! CLICK HERE to see how I achieved the colorful pattern inside (using paint and a homemade stencil!)
We hope you enjoyed this little transformation! We’ve always got something up our sleeve, and how tons of amazing things going on over at our blog Sawdust and Embryos! In fact, we JUST launched a new site design, and we’re so excited about it! Hop on over and let us know what you think!

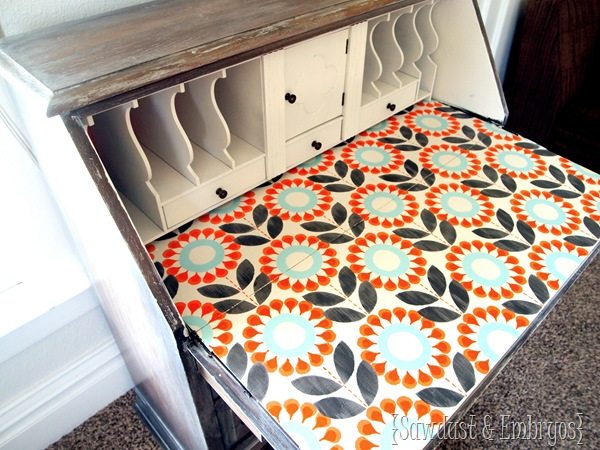
It turned out great! I’m so loving the inside with the painted pattern and white. Amazing!!
Looks wonderful! Bet your friend would like it back….;) Will be doing this soon…..
What a great makeover, one can easily see how much effort you have put in there. Great job and nice tutorial
love it! I Would love to feature it, if that wuld be ok please let me know,
lauren
Thanks for posting! Great information.
WOW!!! WOW!!! WOW!!!
This is Ahhmazing! I absolutely love the way it turned out! I have a dining room set that I would love to make it look like this. Can you tell me the color of the glaze you used? Im assuming the part white was just plain white primer. I want to make sure the glaze blends the same color as you used.
Thank you so much!
I am absolutely in love with this one! By far one of my favorites. I guess I will be doing one more buffet and it will be mine and I am using this exact technique! Thanks so much for the tutorial and let me just say again. This is simply beautiful and timeless. You really outdid yourself on this, it’s stunning.
HI. Just discovered your website. Can you please tell me the name of the glaze that you used. Also, the primer – was it just plain white primer??? Thanks!