Our front door has changed at least 50 times since All Things Thrifty began, but that’s typical around here. I swear I have A.D.D. {Attention Decorator’s Disorder} because I need change a LOT. But our newest wreath was super easy and VERY inexpensive. In fact, every single thing that you need for this wreath can be bought at The Home Depot for right around $25.00. It only took about an hour to make too.

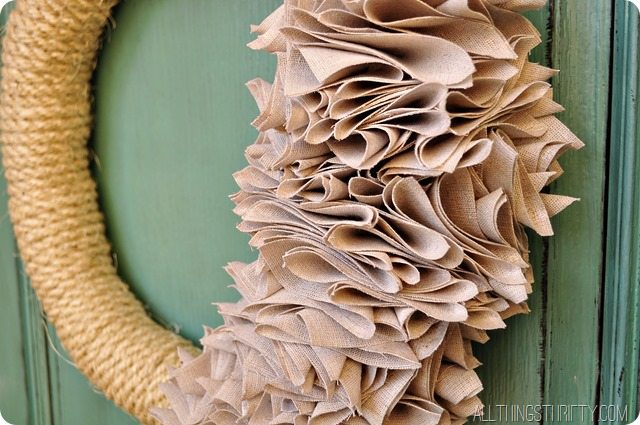
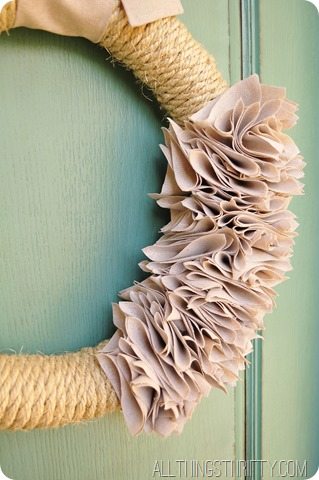
You only need 5 supplies to make this bad boy:
Duct Tape, we used white duct tape, but you could use any color.
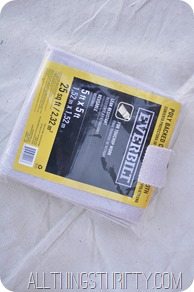
One 5’ X 5’ Paint Drop Cloth
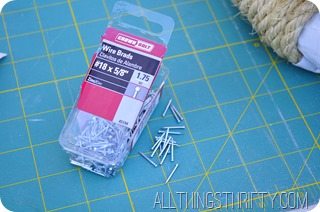
Wire Brad Nails {we used #18 X 5/8”}
Tools Needed:
Olfa Cutting mat and blade
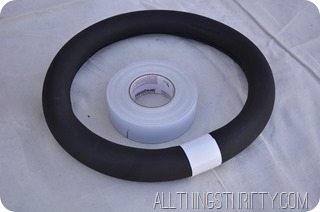
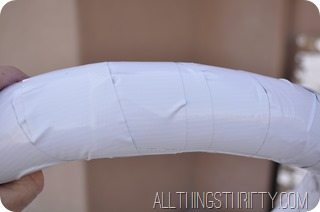
Cut your pipe insulation to the size you want your wreath to be. We cut ours to be about 56 inches long. Next, wrap the bad boy with duct tape. It was tough to get the duct tape to wrap smoothly, but don’t worry, it doesn’t show much anyway {just do your best}.
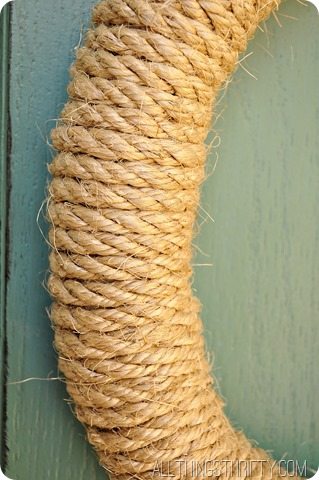
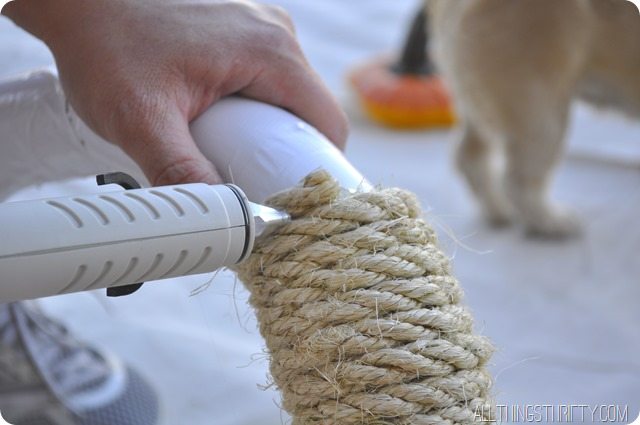
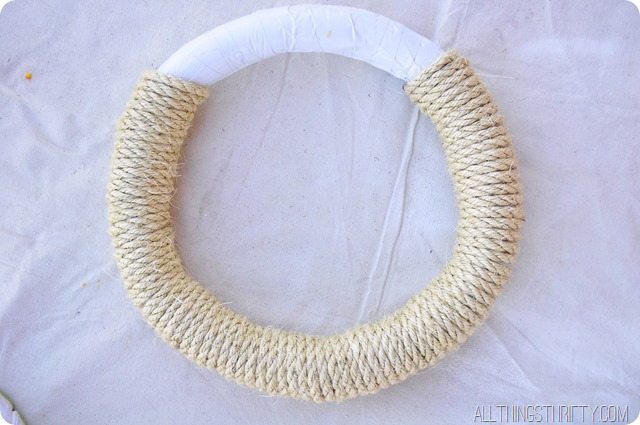
Start by hot gluing one side of your rope to your wreath and wrap the rope around the wreath. I used all of the rope and it made it about 3/4 of the way around.
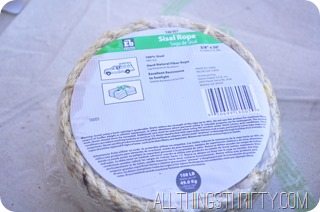
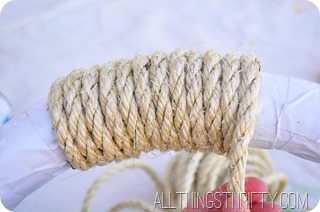
Next, make sure to hot glue the other side of the rope to the wreath.
Now that your wreath is ready for the ruffle, start by cutting your drop cloth into 4” strips. I used my trusty Olfa cutter and mat for this, but you can use scissors too.
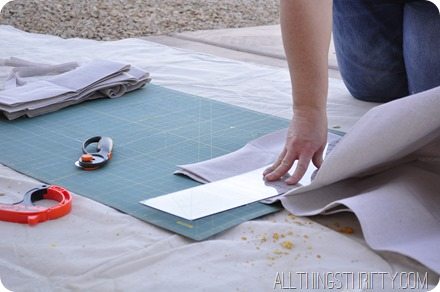
Next, I cut the strips into 4” squares. This is a bit time consuming, but I did a pile at a time so that I didn’t end up cutting too many squares.
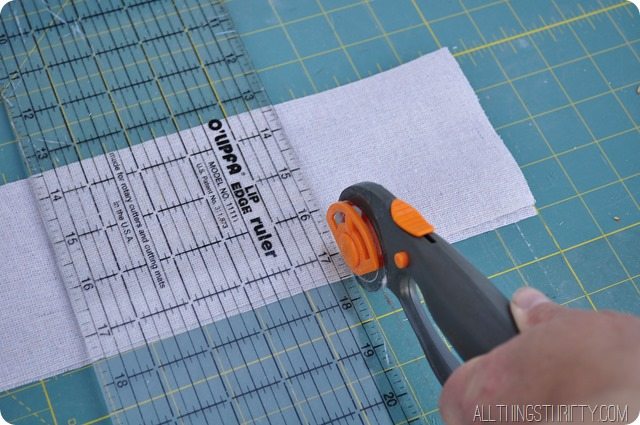
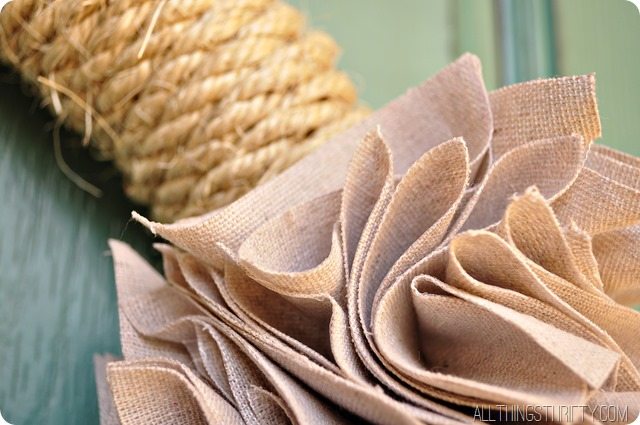
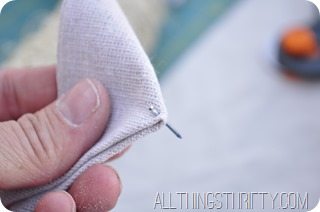
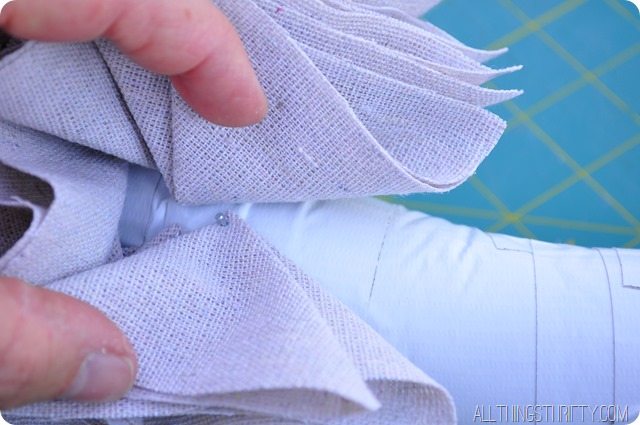
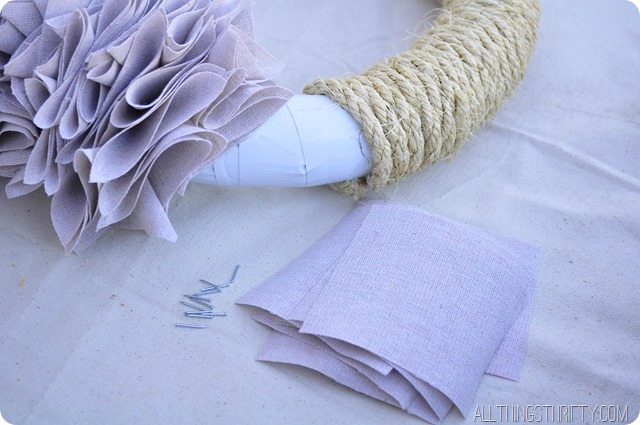
Now that you have your pile of 4” squares of drop cloth canvas, begin by folding the square in half into a triangle. Then fold it again into a smaller triangle.
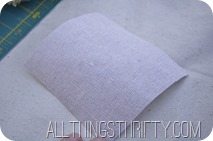
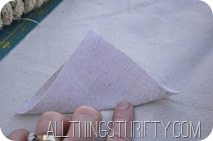
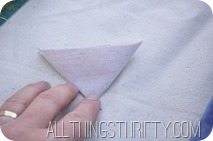
Poke a wire brad through the folded corner and push it into the wreath as close as you can next to the rope.
Continue placing the canvas triangles next to each other and make your way up around the wreath.
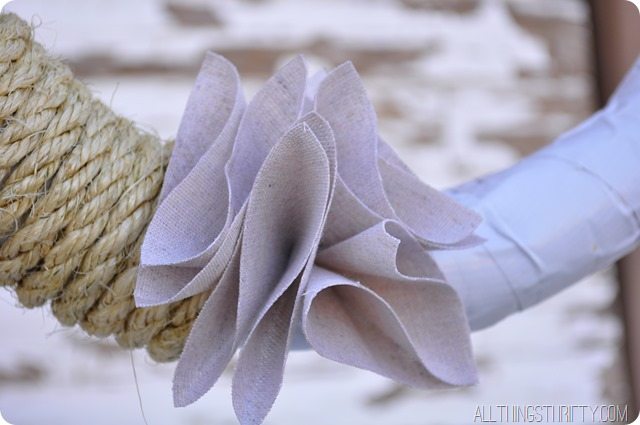
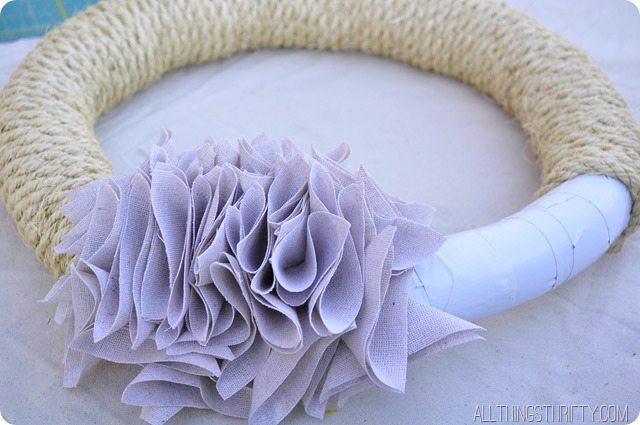
I placed each triangle about 1/8 of an inch a part and I alternated the direction the triangle faced as I went.
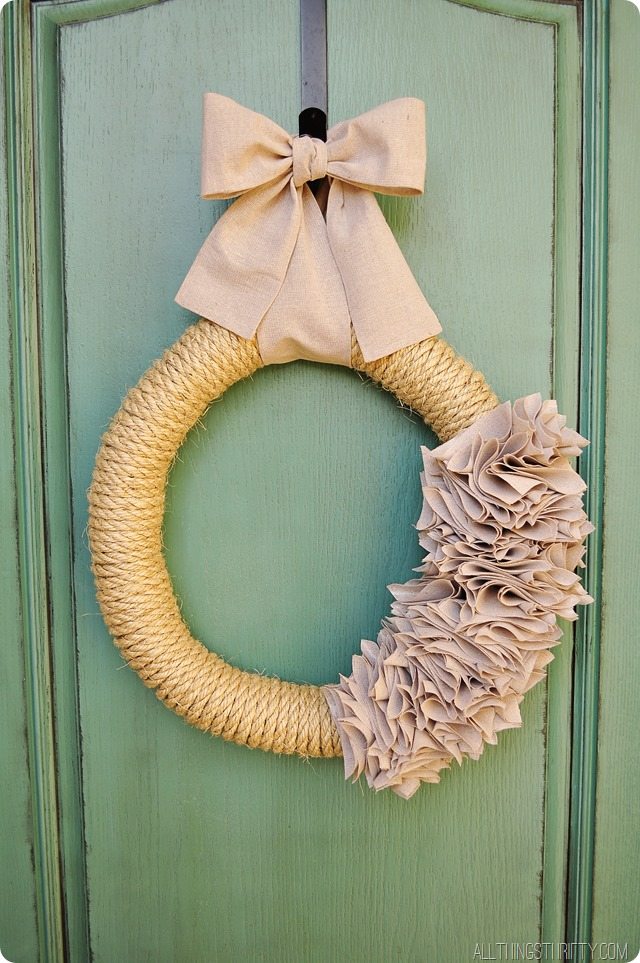
To make the ribbon along the top, I took one of the 4″ strips of drop cloth and hot glued the edges in to create a hemmed look and then used it to make a bow at the top.
I think it turned out REALLY cute!
I hope you like it!
This post is sponsored by The Home Depot.

I’m in love with this! How much of your drop cloth did you use? I’m thinking about doing one completely covered in it. So cute!
We used about 3/4 of the drop cloth. One with just the drop cloth ruffled would be super cute!
Love it! I’ve been wanting to use sisal somehow in my house. And I love the wreath says “fall” without being too cliche. Great job!
-Chelsea
http://pinteriordesigns.wordpress.com/
Looks good may just have to try this one, but I’m thinking denim instead of drop cloth as I have so many old pairs of jeans.
Hi there – I love this wreath. Can you tell me if you glued the rope right round, or did you just glue each end?
Thanks for sharing this great idea.
Marion
Hi Marion! I just glued each end! Good luck!
I love this so much. Just found the Christmas gift for my daughter’s new apartment. Thank you !