Good morning and HAPPY MONDAY! If you are new to All Things Thrifty, WELCOME!! If you are a seasoned reader, you know that we have been steadily adding molding to our house for the last four years. In my opinion it has added TONS of character to our home. So, today, I’m going to show you step-by-step instructions on how to add molding boxes yourself. Although most of the pictures are of my handsome and handy hubby, I want you to know that I installed a lot of these boxes myself. {<—-yes I added BOLD to add emphasis, I’m quite proud of my molding skills}. So, don’t be afraid. I promise it isn’t hard, and if I can do it, I promise, you can do it.
I hope you can tell that we try hard to put together tutorials that are easy to replicate and easy to understand.
A few of our most popular tutorials lately are:
“How to paint your kitchen cabinets the way a professional would,” or
“How to paint your ugly oak banister” or
“How to make upholstered headboards.”
We like to do most of the labor intensive projects ourselves around here. It saves us a TON of money, and we have found that most the time, the projects aren’t that hard. In fact, a lot of times DIY projects take a lot of perseverance instead of skill. So, if you are beginner, do not fret, I promise we will explain the details for you. In fact, if you have a question, feel free to leave it in the comments, and I will do my best to answer within 24 hours!
Today we will be instructing you how to install molding boxes. Finish carpenters are extremely pricey to hire, so if you can do this yourself, it adds a ton to character to your house for a very inexpensive price tag.
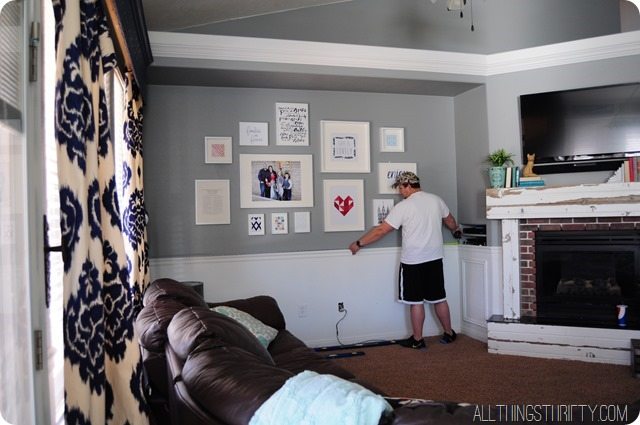
We have already installed a chair rail 36 inches up and painted the wall white beneath the chair rail.
Step 1: Measure your space.
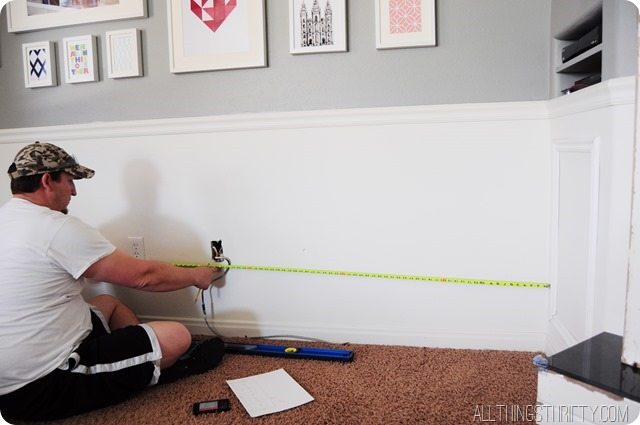
And measure where your outlets and cable jacks are on your wall.
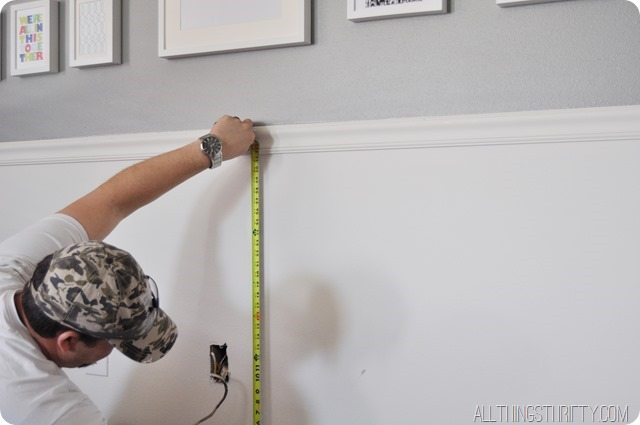
Note how many inches you have from your baseboard to the bottom of your chair rail also. Ours is installed at exactly 36 inches from the ground to the bottom of the chair rail. {I know that one of you smart peeps will ask that question.}
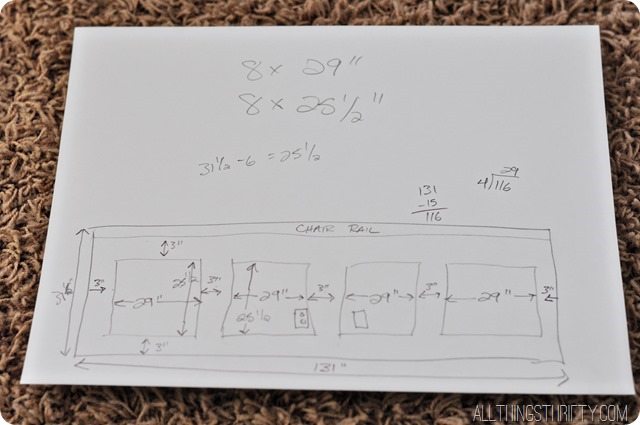
We use a trusty white piece of paper and pencil to map out our wall. I know, we are super high tech around here. As you can see from our sketch, we decided on four molding boxes across our wall. In order to make those boxes, we need to cut eight pieces of molding at 29 inches and eight pieces at 25 1/2 inches.
The molding boxes will be installed 3 inches down from the chair rail, 3 inches in from both corners of the wall, and 3 inches up from the baseboard. Plus, there will be 3 inches between each of the four boxes.
We bought our decorative molding from Lowes, but you can probably get something similar at Home Depot. I love both stores. This particular molding costs $6.36 for a six foot piece.
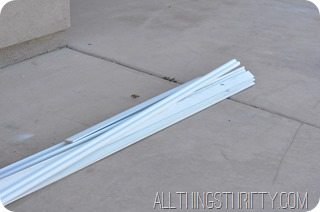
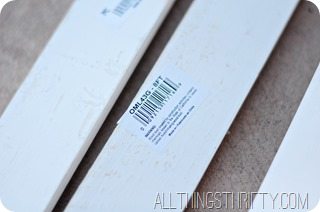
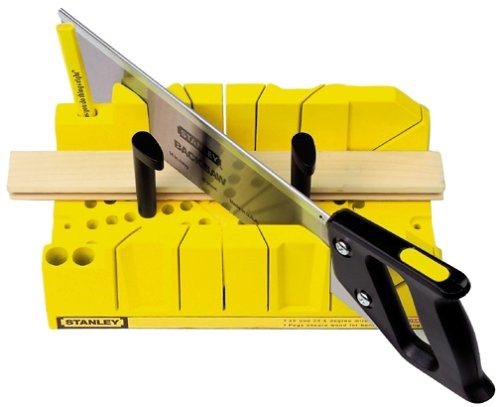
After you have made your cut list and diagramed your entire wall, you need to start cutting your pieces of molding. We used a miter saw for all of our cuts. Each side should be cut at a 45 degree angle. But, you can also use a miter box.
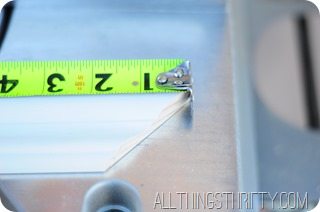
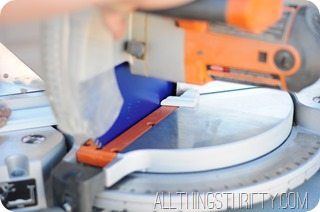


The easiest way to get a precise cut is to cut one end on a 45 degree cut, and then measure and mark where your other cut will be with a pencil. Your measurements will be from one outside point to the other outside point. Once you have marked your second cut line, cut it at a 45 degree angle going the opposite direction.
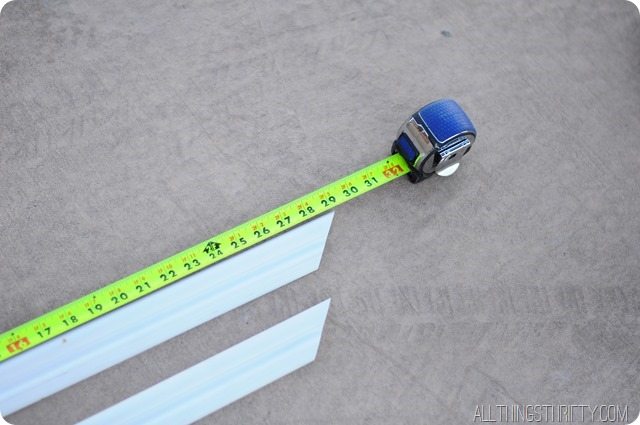
Once you have cut enough pieces to make your boxes, take them inside and start on one side of your wall. Measure 3 inches down from the chair rail and 3 inches over from the wall. This will be your starting point.
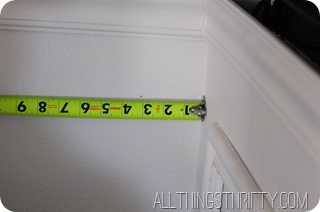
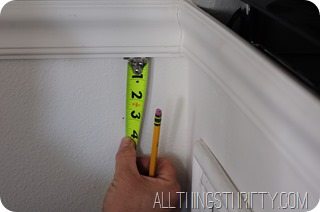
When we started installing the molding, I asked my husband to teach me how to do it myself, and he taught me some tricks. If you look closely in the picture below, you will see a small pencil dot at the precise corner of the molding on the right side. This is the spot that we measured 3 inches down and 3 inches over from the wall.
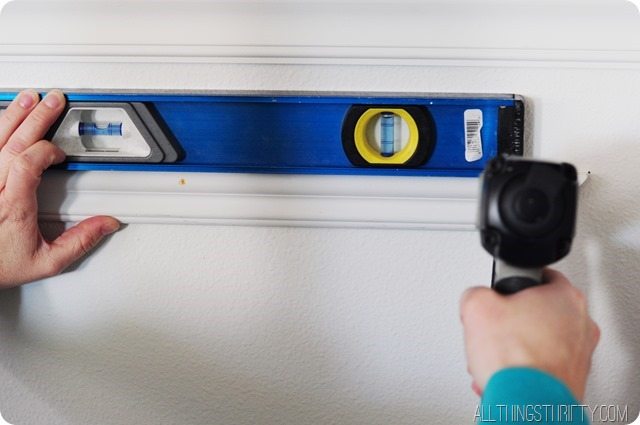
Before you nail the molding into place, make sure your top piece is level and secure it with brad nails across the entire piece.
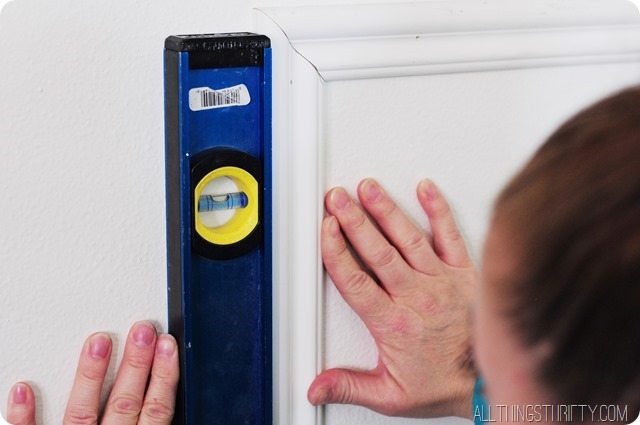
After your top piece of molding is secure, line up one of your side pieces and tightly secure the corner with one brad nail close to the 45 degree cuts. Then you will be able to use your level and secure it all the way down in the correct position.

Once you have Piece A and Piece B leveled and nailed securely to the wall, you do not need to use a level for Piece C and Piece D. Next, line up the corner of Piece A and Piece D and put one brad nail as close to the 45 as you can. Then line up the corner of Piece B and Piece C and put one brad nail as close to the 45 as you can. So lastly line up the corners from Piece C and Piece D and secure them with brad nails. After your corners are nailed, then make sure to nail the pieces with 4-5 other nails up the molding. This is a much quicker way to complete a box with 4 exact 90 degree angles without having to use a level on all four sides.
Your measurements will not be the same as ours, but I wanted to show you our measurements to help you make sense of the process.
After you have your first box complete, make your next measurement 3 inches down from the chair rail and 3 inches over from the first box.
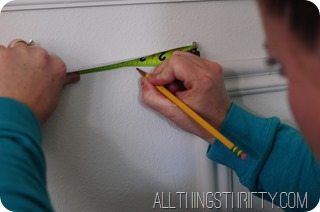
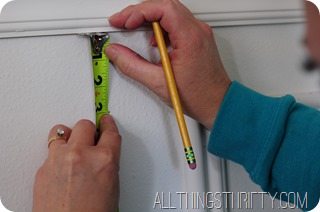
Continue the same steps until you have finished all the boxes across the wall.
If you have an outlet in the exact spot of one of your side pieces, you have a few options.
1. You can move the outlet {but that is a pain in the butt and you would have to fix the hole}
2. You can adjust the amount of boxes you have. {Example you can make 1 extra box and change the placement of the molding}
3. If your outlet is just barely messing up your measurements, just move your box over by 1/2 an inch or so. {You will never notice. We are speaking from experience.}
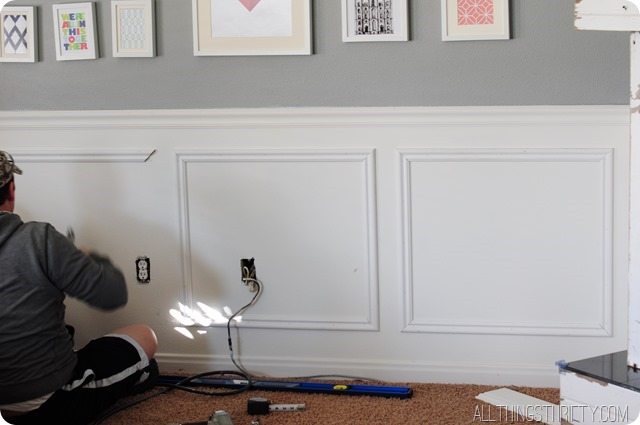
After you have completed your boxes, the fun part is over. You will notice that all of your walls are not straight and you now have gaps on the sides of your molding.
Plus, you have tons of nail holes that need to be filled. So, get your caulk gun, your favorite pandora station, some paintable latex caulk, and get to work.
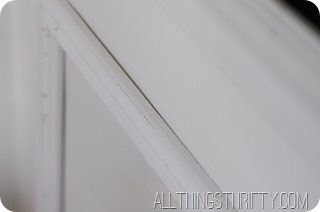
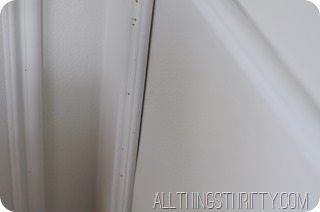
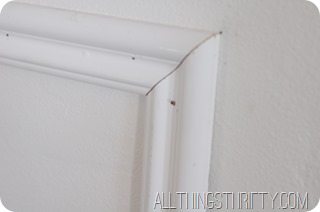
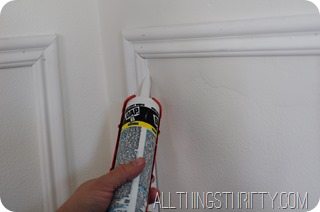
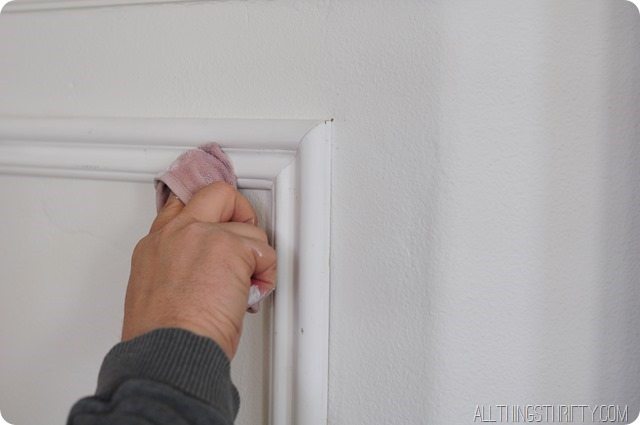
The video below illustrates the process of caulking your molding boxes.
After your boxes are caulked, you still need to paint them. They are only primed from the store. But, you need to make sure your caulk is completely dry first.
All in all, molding installation is time consuming, but not that hard. That’s why a good finish carpenter costs so much money FOR HIS TIME! Stay tuned later this week we will be giving a sneak peak of our master bedroom makeover where we installed 32 molding boxes!

Love it!
Love it! I’ve been thinking of doing this in my son’s room.
This looks fantastic!! What a gorgeous gallery wall. Dan is the MAN!
I can’t believe how much of a difference it makes on the entire room. Great job
I love it!!! what is the gray color/brand you have in that wall?
It’s hazy stratus by Valspar.