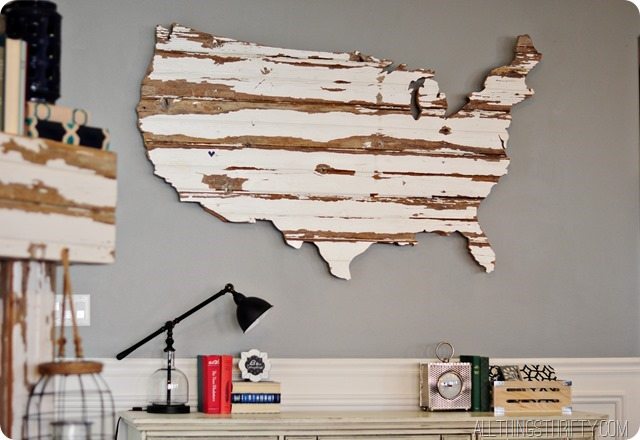
I am soooo excited about our new barn wood map that Dan made for me! The guy is a freakin’ rock star on the jigsaw. I could have tried this one myself, but his skills are bar none.
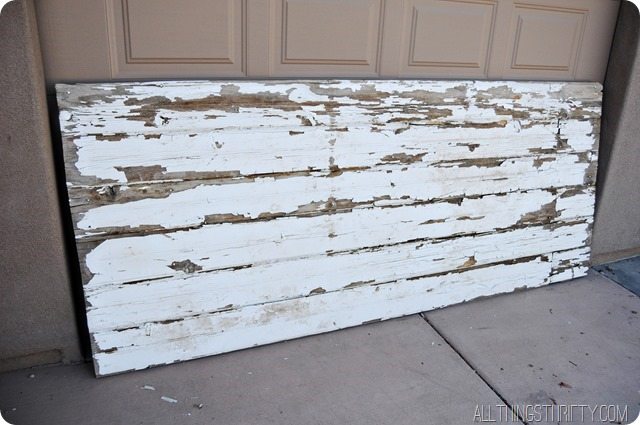
We started out with a barn door from my sister Natalie. Thanks sis. {You have actually seen this barn wood before…we used it in Jill’s house to make the sliding barn door}. But don’t you worry, if you don’t have access to barn wood, you can make your own with THIS tutorial.
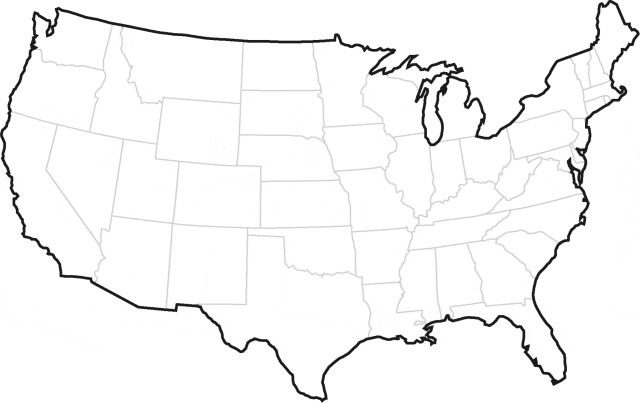
Next we printed this image on a transparency.
We used an old school projector to transfer the image onto the wood.
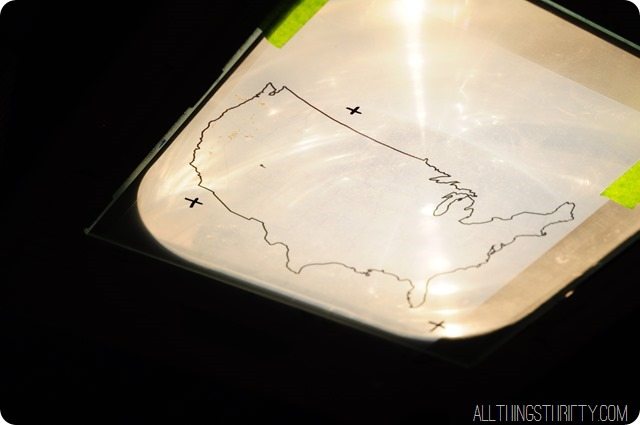
My daughter Oaklyn helped me trace the outline.
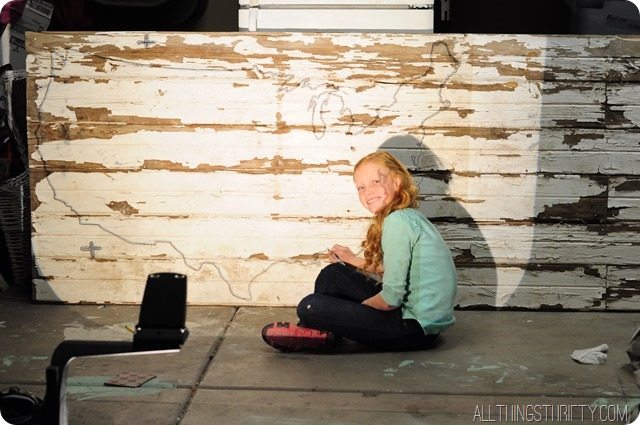
Since the outline was so thick, we decided to trace the very outside of the line.
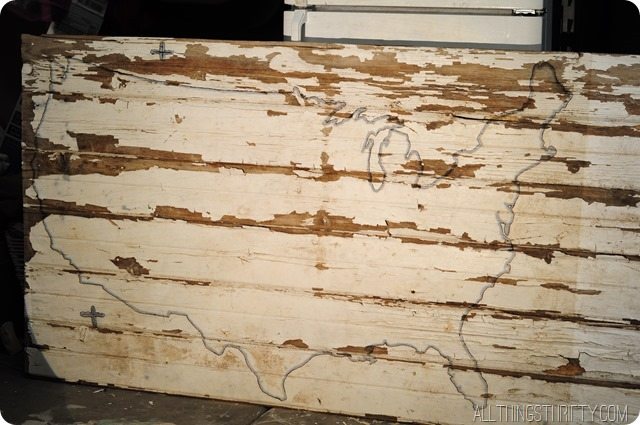
We did our best to capture all the details.
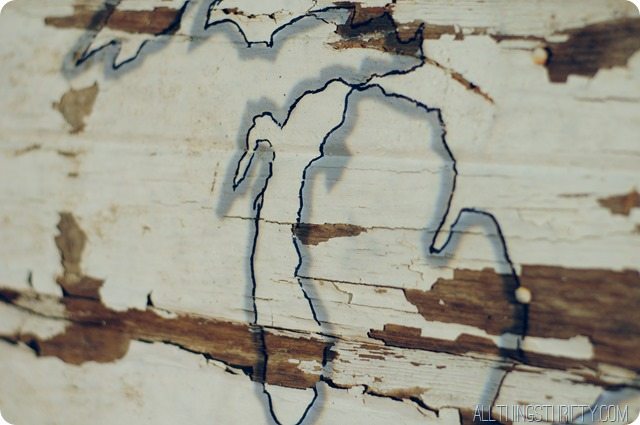
Next, Dan cut the bad boy out with a jigsaw.

It took about an hour to cut out the entire project.
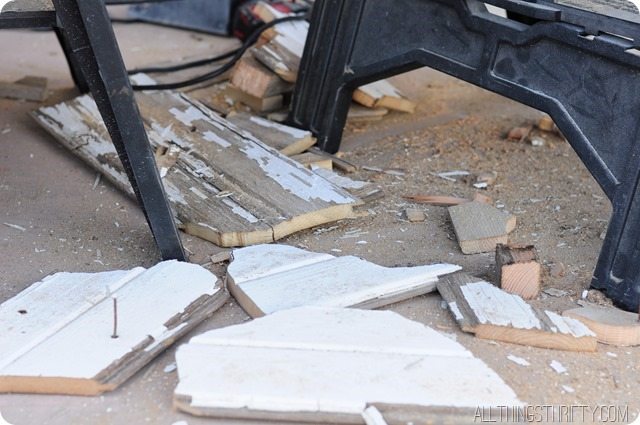
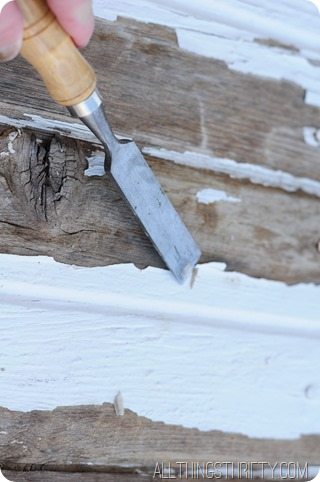
After he was done with the cutting, we reinforced the back with 1X2s to hold the barn wood together. Next, we scraped off the loose chippy paint with a flat chisel.
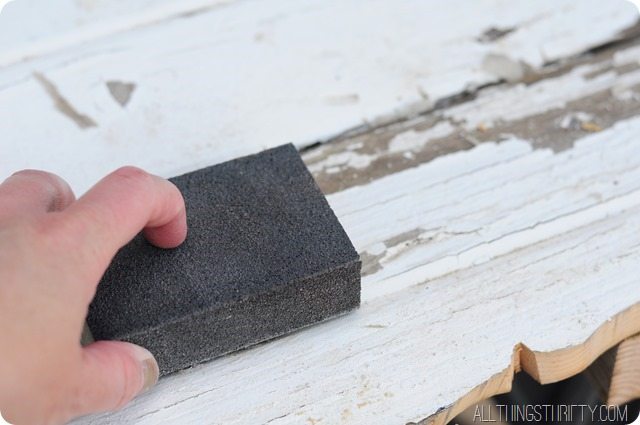
We sanded with a 220 sanding block to make sure all the paint edges were smooth.
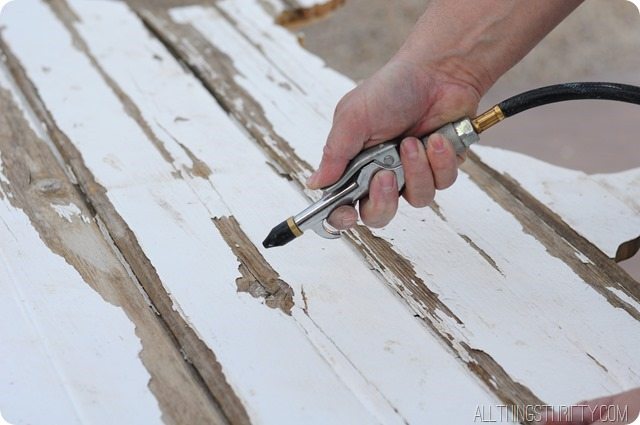
Then we used the air hose to remove all of the dust and paint chips.
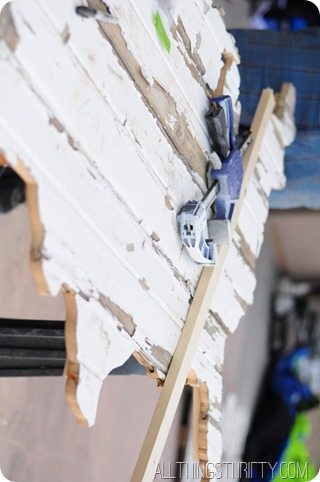
There were a few broken boards that needed some TLC so we glued them down with wood glue and clamped them into place until they dried.
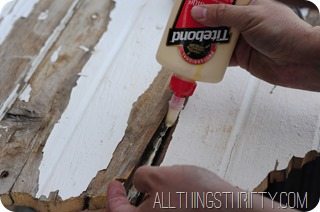
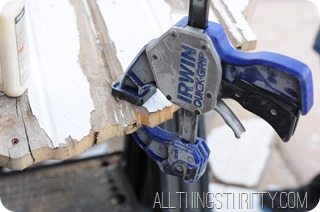
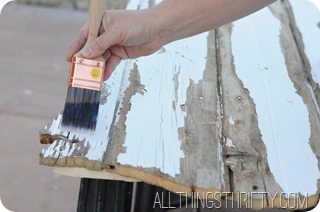
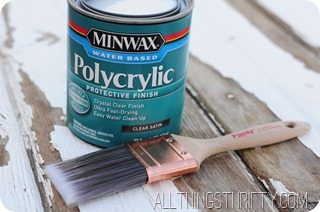
After the wood glue was dry, we sealed the boards with our favorite polycrylic.
I wish that pictures did it justice! It is 68 inches wide and 43 inches tall.
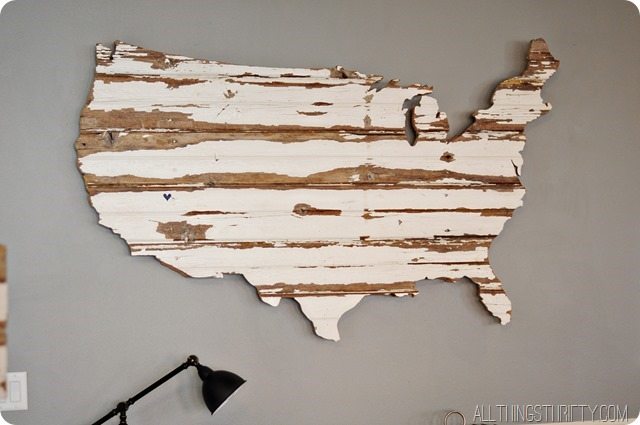
Wanna know the best part about this project? The total cost: $FREE.99
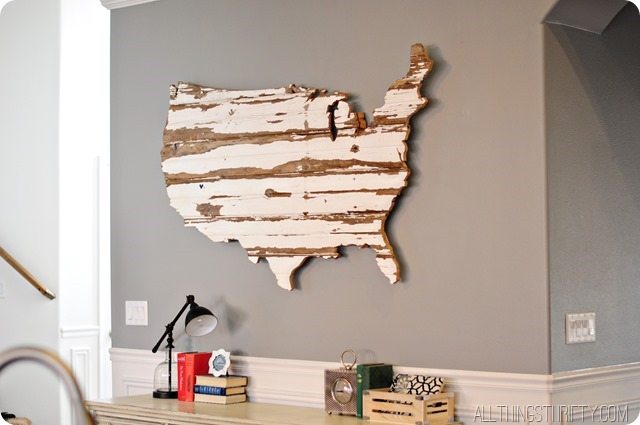
Now that’s what I call Thrifty! TGIF.
xoxo,
Brooke

love it! it looks great, especially with the old paint still on there!
very cool project and it looks great on your wall! congrats!
Totally cool project. Just need to get a projector….
This turned out really cute!
outstanding!!!!!!! Y’all really did an incredible job!
Yay! Way cool. What room is this in? Also your gallery wall? Back up and take more photos so we can get the overall effect!
Tristie from Roosevelt
Love this DIY project! Nice touch making it look really rustic with the paint. Will be following more in the future – loving your posts!
Thrifty and FABULOUS! I can’t wait till the girls are old enough to help with projects. 🙂
LOVE this map. I collect maps and globes, so this would be a great project if I had a husband willing to cut it out! Your map is fabulous! Gave you a shout out on my blog today. http://www.vintagecountrygirl.blogspot.com
Your map is super! Wish my husband would do that for me! 🙂
THIS is AMAZING! Absolutely stunning. You are one of the most creative people I know, and I have to say I’m totally jealous! 🙂
What a great (cheap!) way to fill an empty wall. Keep up the great work, Brooke.
-Bruce
This turned out amazing! I love the rustic feel to it
This is so freaking amazing!!! I am going tinted to make one with your awesome tutorial!! Thanks guys!!
I love it! Do you sell the USA sign?
I don’t but I know a friend who does! Her etsy shop is called 302 Woodworks! Let me know if you have any trouble finding her!