y’all.
I just about died when I found out I would be contributing to All Things Thrifty. Seriously.
I began to think maybe I had stayed up way too late again, painting in the garage, and my brain wasn’t quite awake. After inhaling caffeine I realized it was true and I could not be more thrilled to be part of Brooke’s team!
My name is Allison and I blog at Two Thirty~Five Designs in a tiny corner of Texas. I have a mad obsession with chairs (my husband has banned me from adding to my stash) and there might be a sprinkling of glitter in my projects, though most days, if you catch me between working and carpool, I am buried down in a baseball cap.
I blog about DIY, Design, Food, Fashion and Whatever inspires me. I absolutely love a modern feel to a space, but need it to be practical with a gang of blonde headed little girls running through my neighborhood. My style is ever evolving and I constantly love change. I cannot put into words how excited I am to be one of the DIY Contributors at All Things Thrifty!
I will be the first to admit I am a hoarder. But when your large pile is actually things you can change up and you snagged at insane price, that is not hoarding people. That, my friends, is. . . . well, I don’t have a great word besides a serious problem. But a good problem.
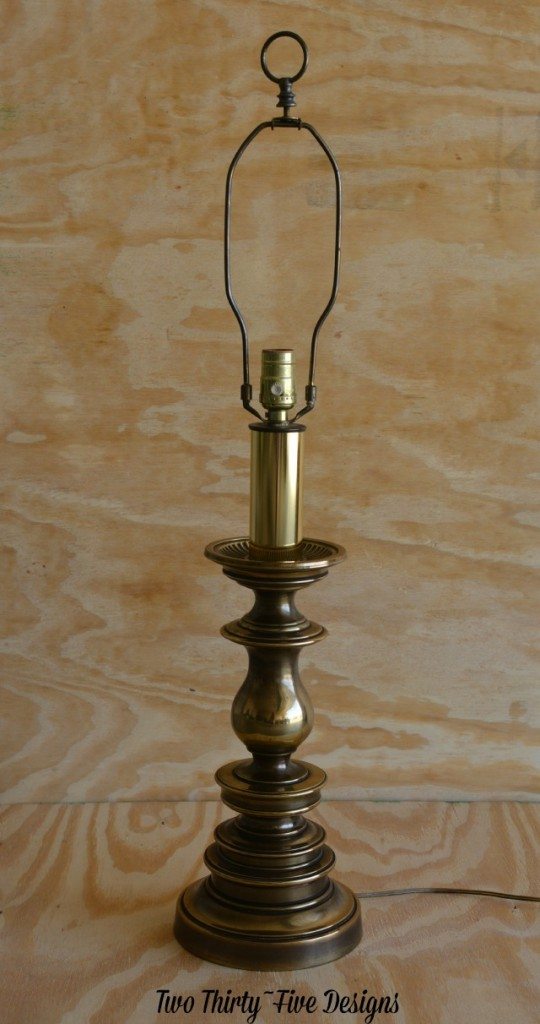
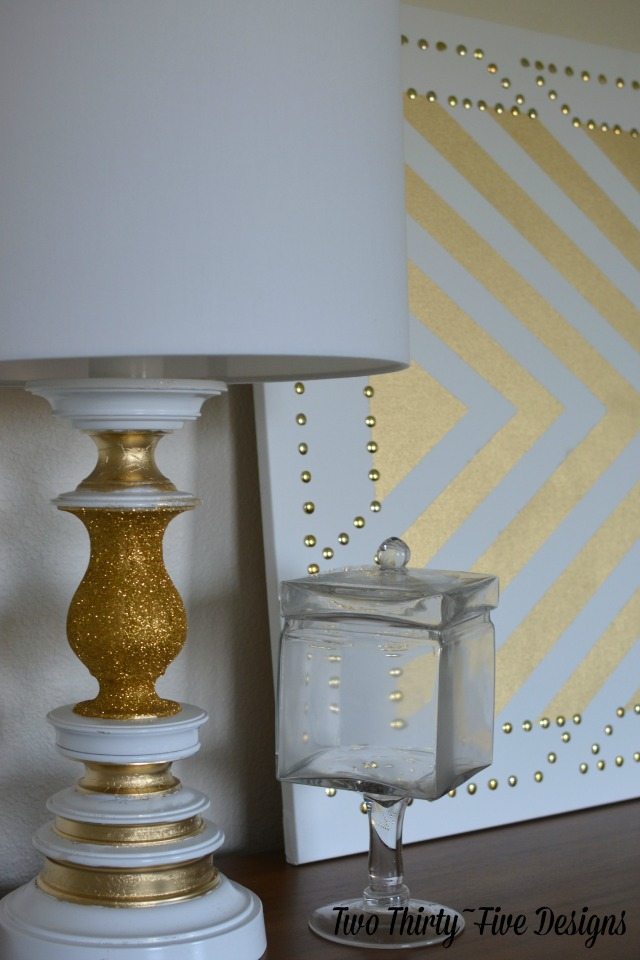
I hit up one of my weekly garage sells with a friend and had come across a bunch of old lamps. I went through the pile, checking which ones worked. I walked out with three and those little boogers have sat in my garage for (cough) about a year.
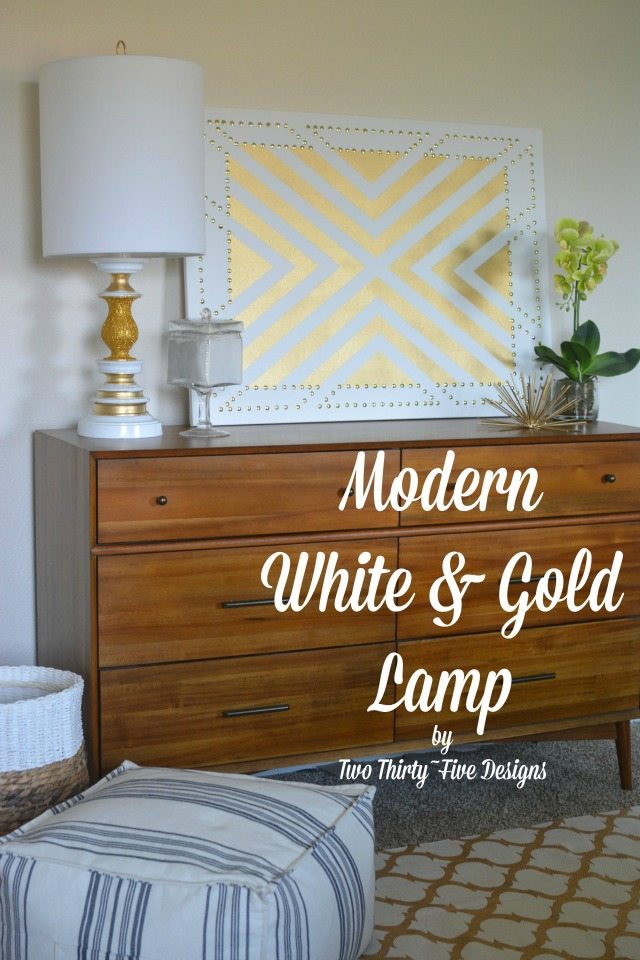
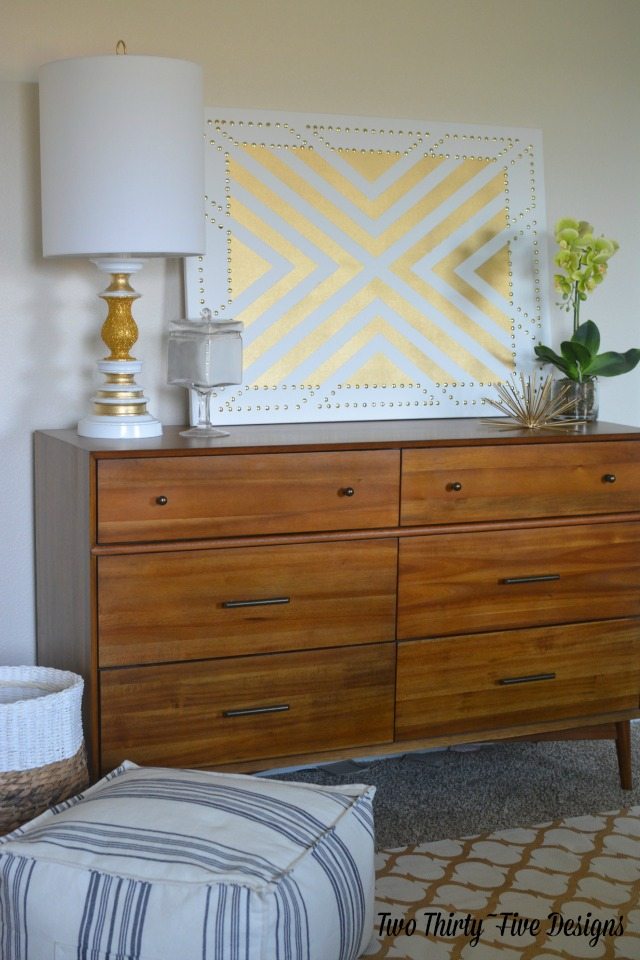
I was needing a lamp for our dresser and remembered what I had in the garage, along with cans of paint, so I went to work.
Materials:
Can of White Paint – Rustoleum Paint plus Primer
Can of Gold Metallic Paint
Roll of Painters Tape
Mod Podge
Small Craft Paint Brush
Fine Gold Glitter
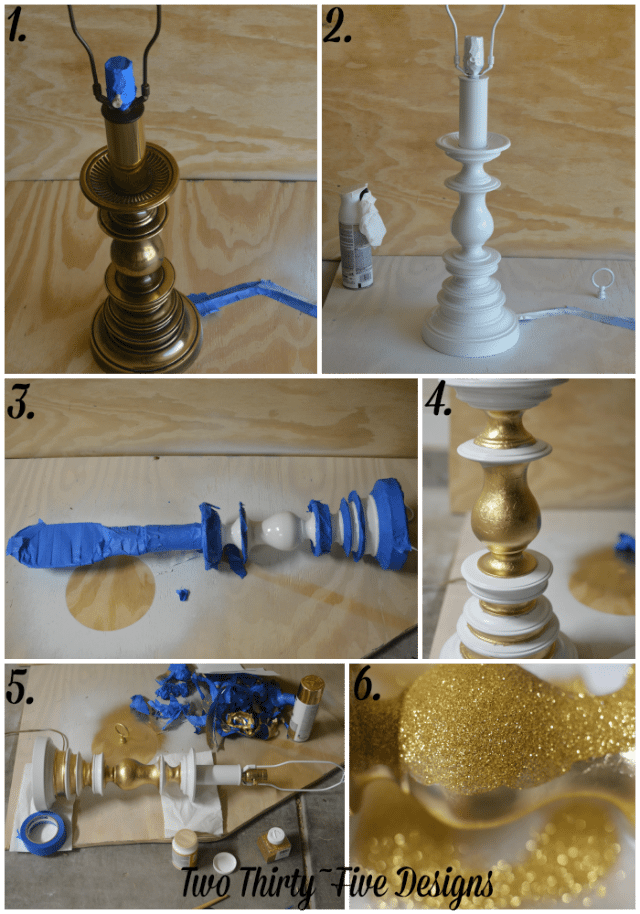
1. Tape off the socket and cord.
2. Cover lamp in white spray paint. This took a good, even two coats, with a few touch ups. Let dry for a minimum of 24 hours.
2 1/2. Admire the lamp and have second thoughts about leaving it as is.
2 3/4. Nope. Proceed.
3. Tape off any all all areas not to be covered with gold metallic paint, very well. I laid the lamp on the side to roll the tape around and make sure the upper and lower areas were taped off. Paint a nice even coat (two if needed) with the gold metallic .
4. Carefully remove the tape after painting the gold. It dried crazy fast.
5. Lay the lamp back on it’s side and run a light coat of mod podge where you want the glitter to be.
6. Sprinkle glitter, rotating around to finish the section.
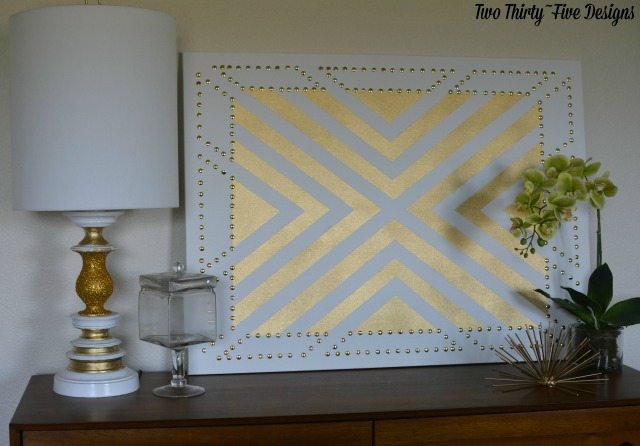
I don’t know why I waited so long, I absolutely love how it all turned out!
Today I posted a simple tutorial on the Gold Studded Wall Art that I worked on to go with the lamp, I would love to have you guys check it out! And if you want to stalk for a while, like I do, you can check out some of my other favorited I have posted about:
Thanks so much to Brooke and you guys for having me!
Want to keep up with my projects and chat? I’m pretty social, in an internet kind of way, and would love even more to meet you!
Two Thirty~Five Designs // Instagram // Facebook // Pinterest // Google+ // Twitter




YAY! Such a great opportunity for you Allison! I am a lover of lamp makeovers and yours is gorgeous! See you in a couple of weeks! ~Sonya
I knew Brooke made a great choice in having you as a contributor as soon as I saw the word y’all 😉 Good things come from Texas!
Your lamp is gorgeous! We actually had that exact one growing-up (the ugly version) – now I wish we would have kept it!
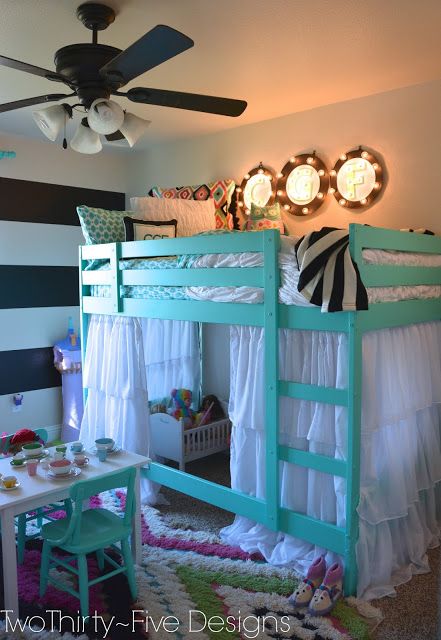
Also, love your daughter’s room, I’m about to attack my little girls room and you gave me some needed inspiration.