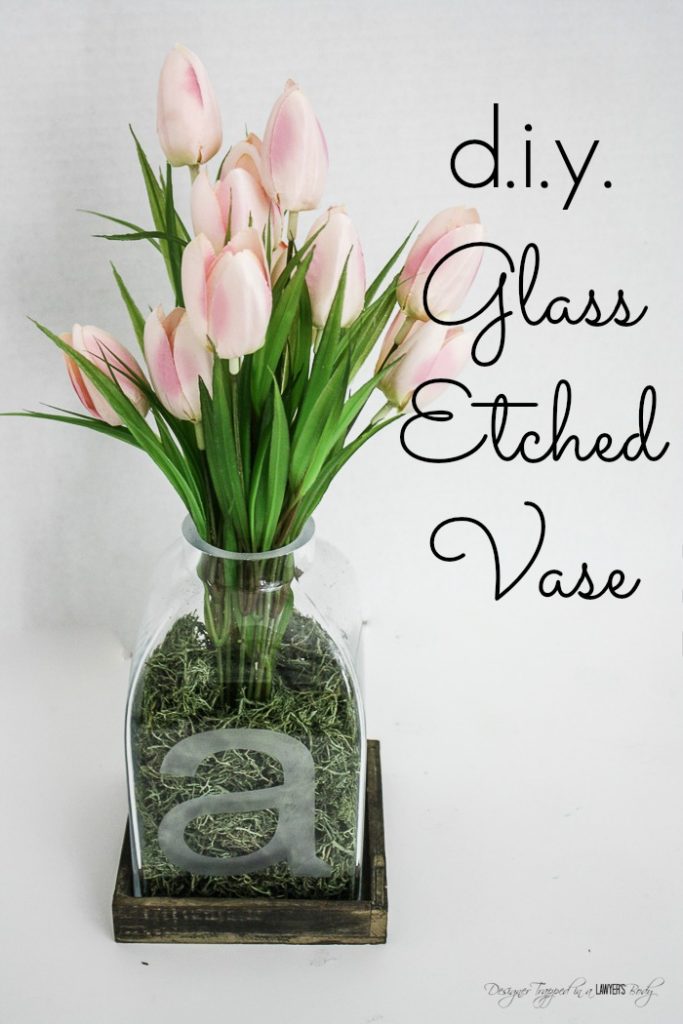
Hi thrifty friends! I am so happy to be back at All Things Thrifty for another contributor post–sooooo excited to be back. I hope you remember me from my others posts on my DIY “upholstered” chair with fabric and Mod Podge, my DIY Art Canvases and my thrifty Princess Art, but as a reminder, I am Tasha and I blog over at Designer Trapped in a Lawyer’s Body.

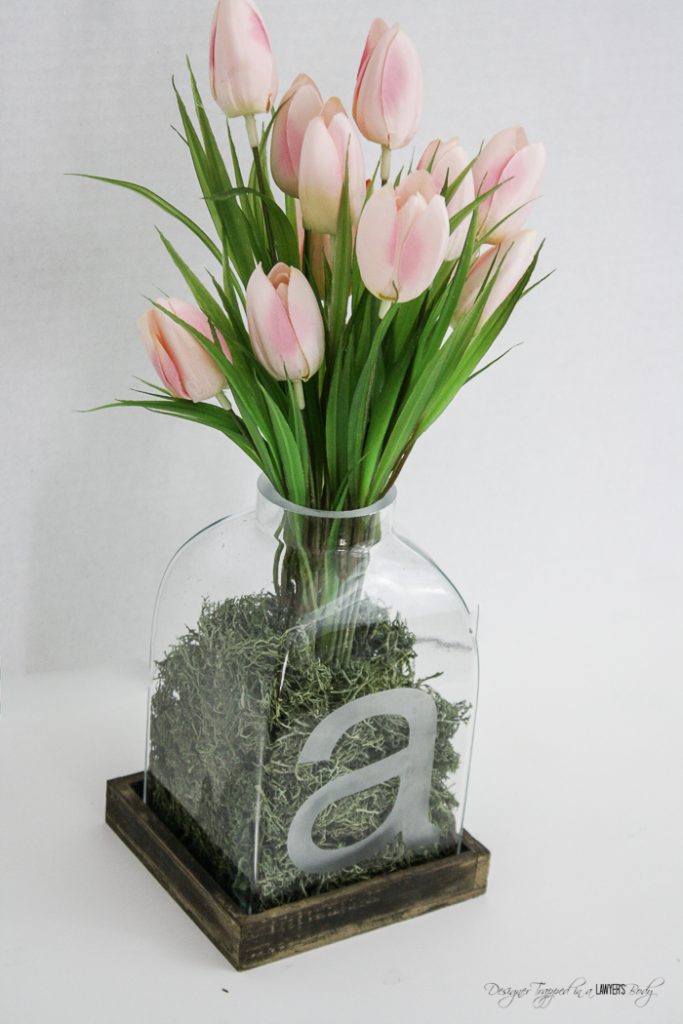
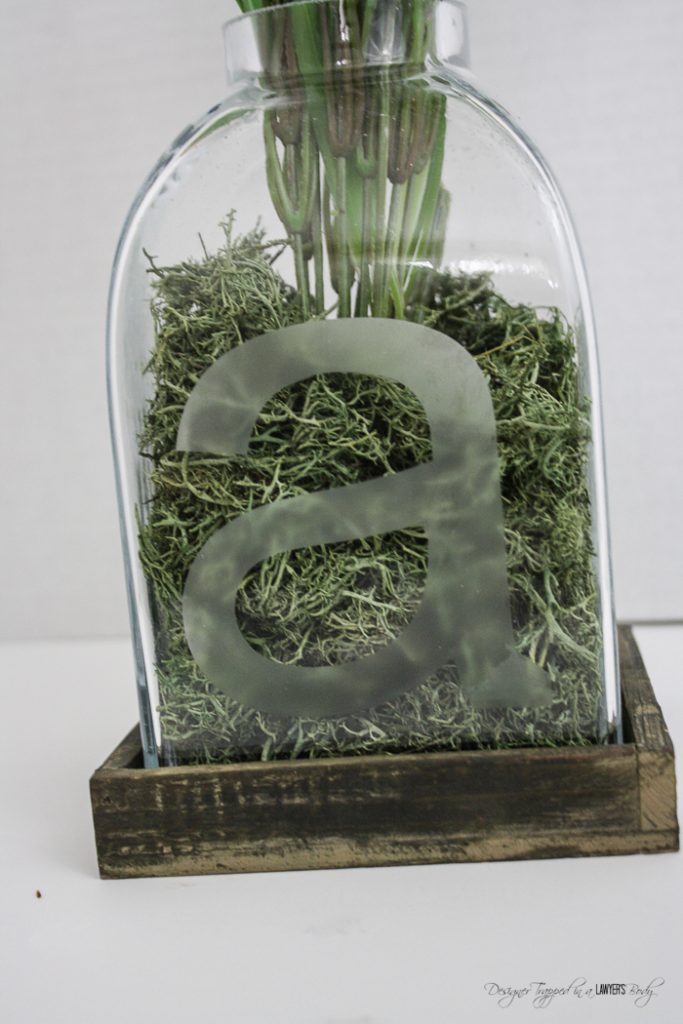
Today I am going to show you how I made this gorgeous etched vase in about 20 minutes. I made this one for myself {totally selfish}, but this would make a wonderful housewarming gift, or even a wedding gift!
Materials Needed:
- A square shaped vase
- Etching cream (can be found at any craft store)
- Contact paper
- A cutting machine OR an craft knife and cutting board
Steps:
1) Clean your vase thoroughly with glass cleaner.
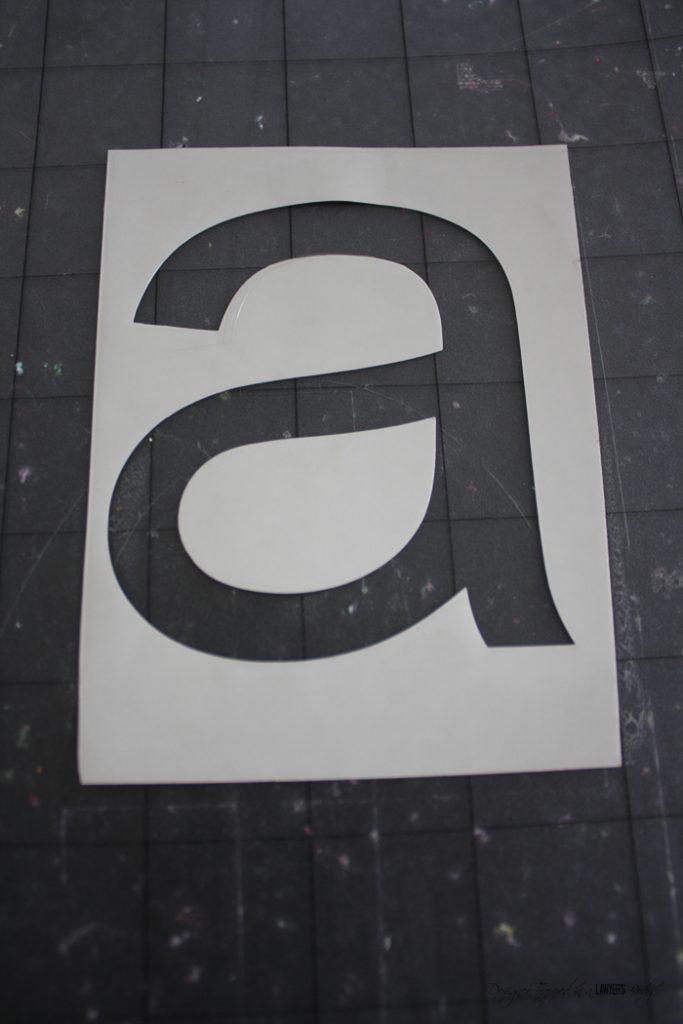
2) Cut out whatever letter or shape you want etched onto your vase, bearing in mind that the negative space is where you will apply your etching cream. I use my Silhouette CAMEO to cut out my “a” but you can absolutely use a sharp craft knife and cutting board to do it by hand. Just print a letter off on your printer and cut it out to use as a template. Super easy!
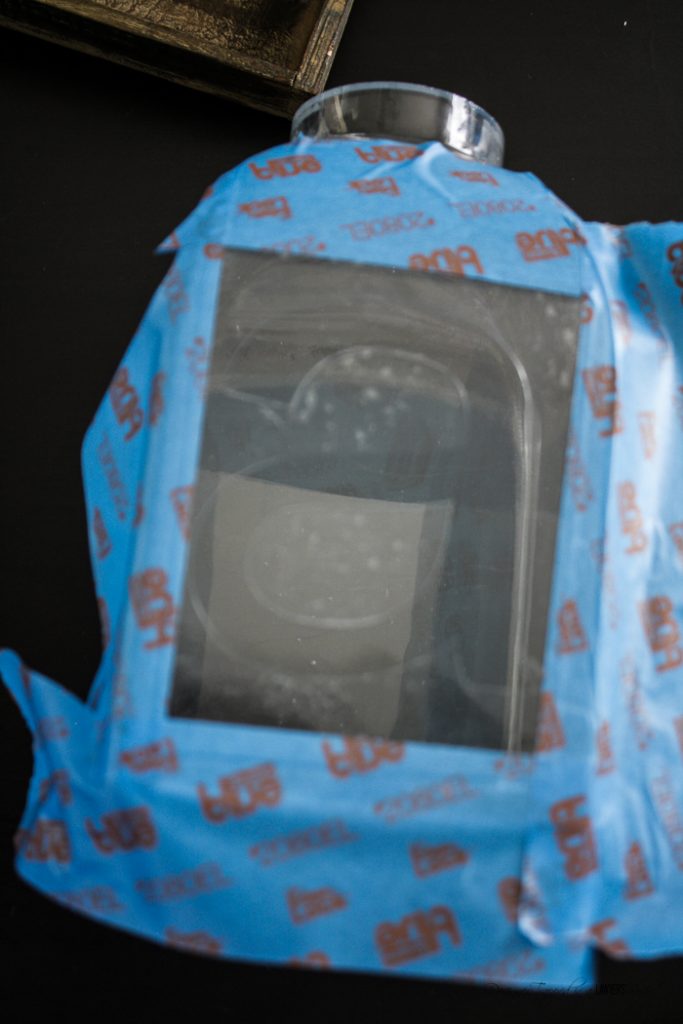
3) Peel off the contact paper and place it on your vase. It is VERY important to make sure there are no air bubbles around the edges. This is why it is important to use a square shaped vase–it’s much easier to get the contact paper to lay flat and adhere well. If glass etching gets into any air bubbles, you will have blobs of etched glass–not cute. Then, use painters tape to tape around the edge of your contact paper. This is to help make sure you don’t accidentally get glass etching cream anywhere else on your vase. It is very unforgiving because it etches the glass immediately, so you want to be careful not to make any mistakes.
4) Apply your etching cream and according to the instructions on the package.
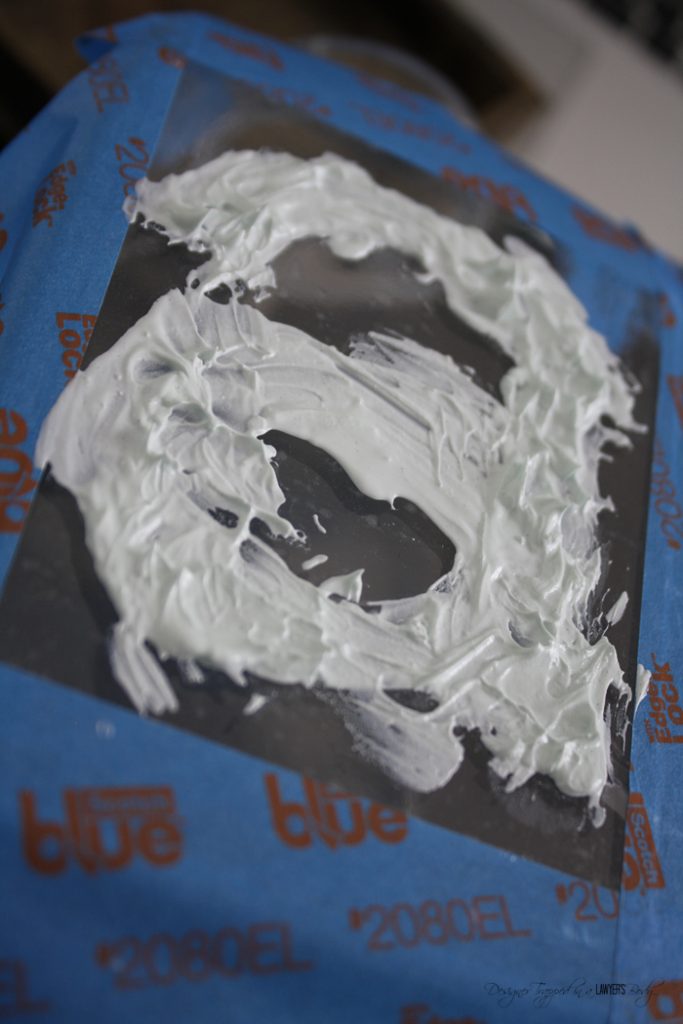
5) After you wipe off the excess etching cream, put it right back in the bottle–you can use it again! Then carefully rinse your vase in water BEFORE removing the painter’s tape and contact paper. You want to be sure all of the etching cream is off before you remove the contact paper and painter’s tape.
6) Dry your vase off and fill it up with whatever you choose. I used Reindeer Moss from the Dollar Store and some silk tulips I ordered online. You can use anything you want!
That’s it! Wasn’t that easy? And isn’t the end result just stunning? I am so in love with my vase, but I promise I will share the love soon and make some to give as gifts 🙂
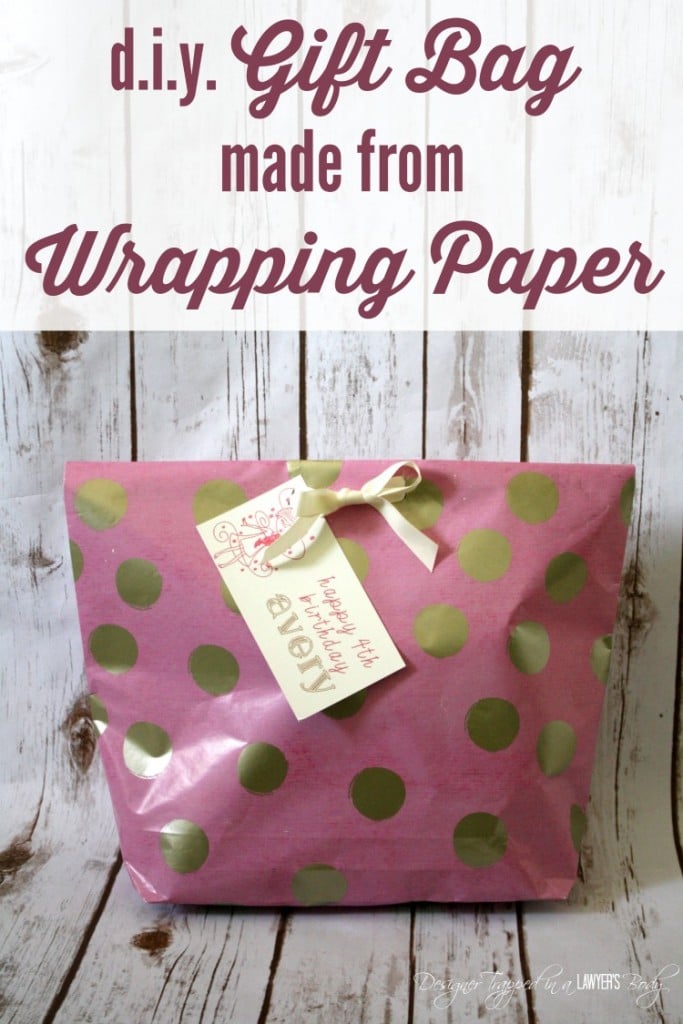
If you enjoyed this post, you may also want to check out my post on how to make a gift bag out of wrapping paper:
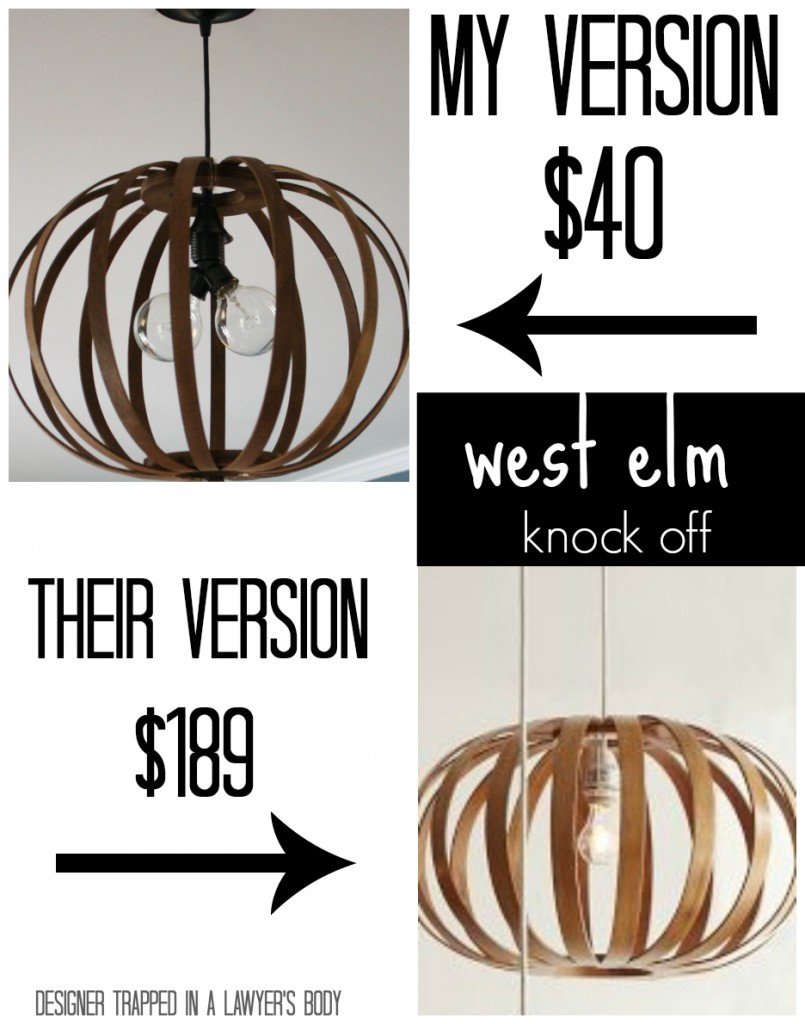
You may also love my post on how I made a West Elm inspired light fixture using quilting hoops:
Thank you so much for hanging out with me today! I can’t wait to join you again when I am back for my next contributor post. Meanwhile, I would love for you to come hang out with me over at my blog! You can find me over at my blog, Designer Trapped in a Lawyer’s Body or connect with me on social media. You can find me pretty much everywhere 🙂 See you soon!
Facebook | Twitter | Instagram | Pinterest | Google+ | Hometalk

Just wondering where you got the case from?? This would be perfect for Mother’s Day!
Thanks, Annie! I purchased the vase from afloral.com. Hope that helps!
I like this DIY vase. Thank you for the awesome tips.
I shared it on this blog.
Is there baking involved…or is that part of the package instructions on the etch cream? Love the case!
Hi Carri! Nope, no need to bake (at least not with the brand I used). Hope that helps!
A terrific DIY project — so easy and quick. This application can be used for many projects such as mirrors, trays, or plates. Also a great idea for gift giving. Thank you for a nice tutorial
Thanks so much, Tammi! Glad you enjoyed the tutorial. And you are right–the possibilities are endless!