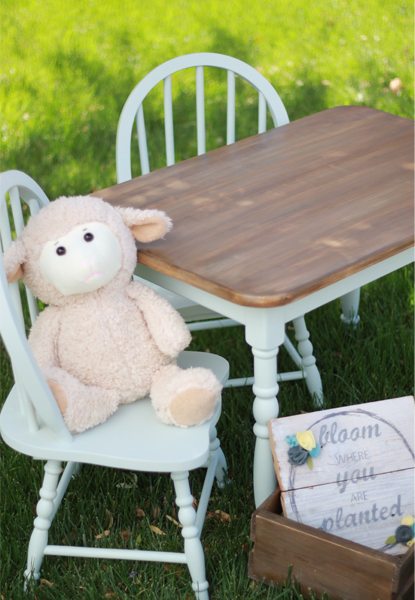
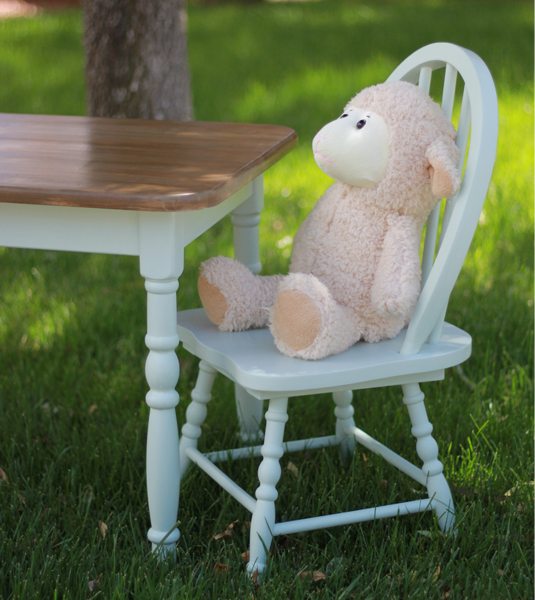
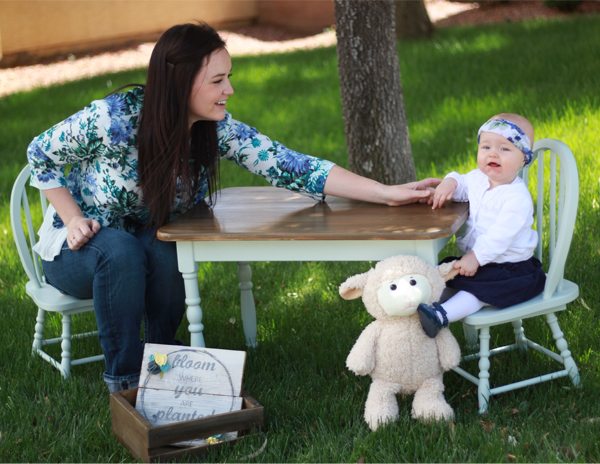
 Today was a great day for a Teddy Bear Picnic with Blaire.
That’s what grandmas do.
Unfortunately, Kacey’s $15 garage sale table and chairs looked like this at 8:30 this morning:
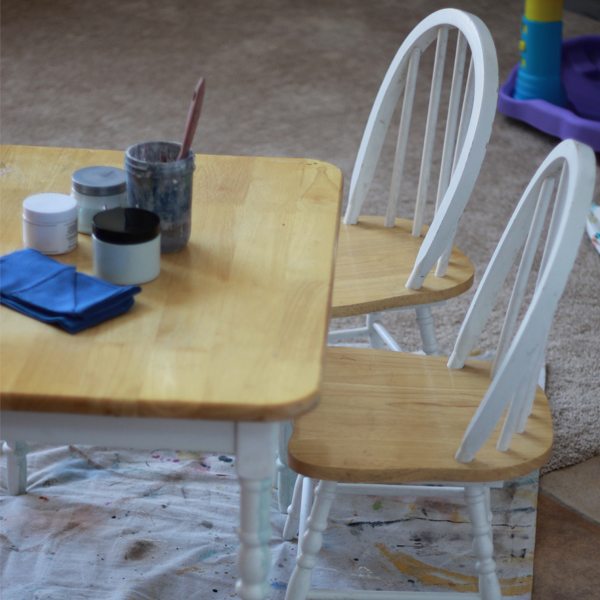 I’ve been dying to create the latest “driftwood” or “weathered wood” look. However, the weathered wood products on the market call for hours of sanding to get to the bare wood, and we didn’t have that kind of time.
I’m all about instant gratification, so if I can start and finish a project, stage it and photograph it before lunch, it jumps to the top of my DIY list of to-dos.
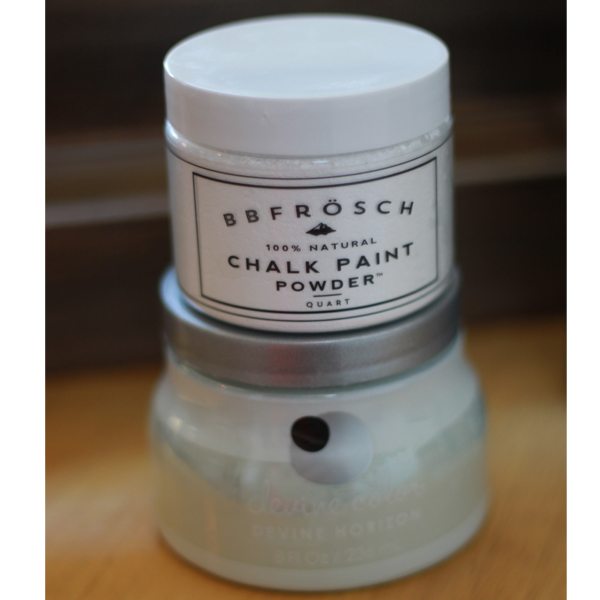
That is why BB Frösch Chalk Paint Powder is my go-to for projects like this.
No sanding. No priming. Just start painting.
This little gem was about to get “weathered”…
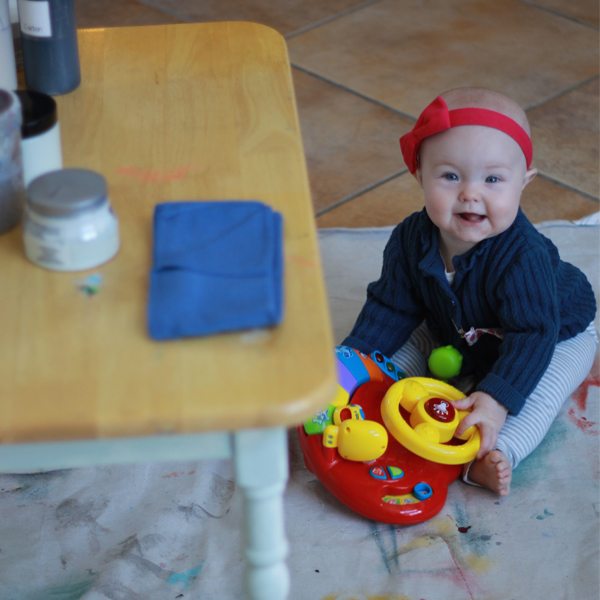
The table. Not the baby.
It was the perfect test candidate, not just because I knew we could knock it out in record time, but because I knew Kacey and Blaire would agree to be my project partners for the day!
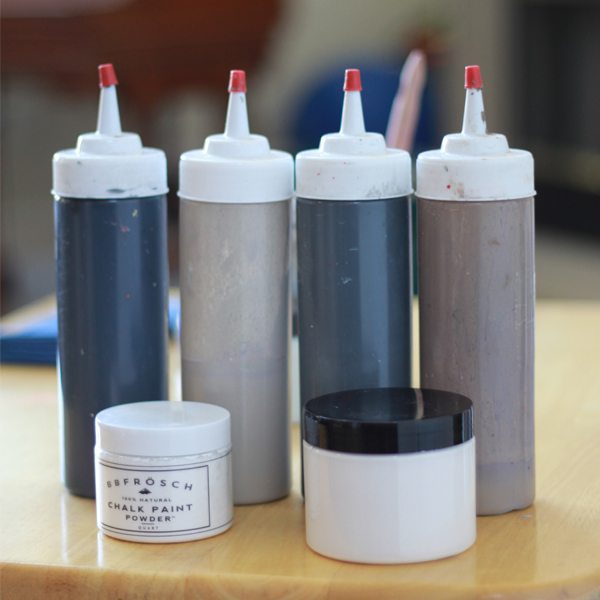
For the base of the table and the chairs, we chose “Devine Horizon” from Target’s Devine Color line. We mixed this small jar with just 2 tablespoons of BB Frösch Chalk Paint Powder to make our own custom chalk paint. Click here for easy mixing directions.
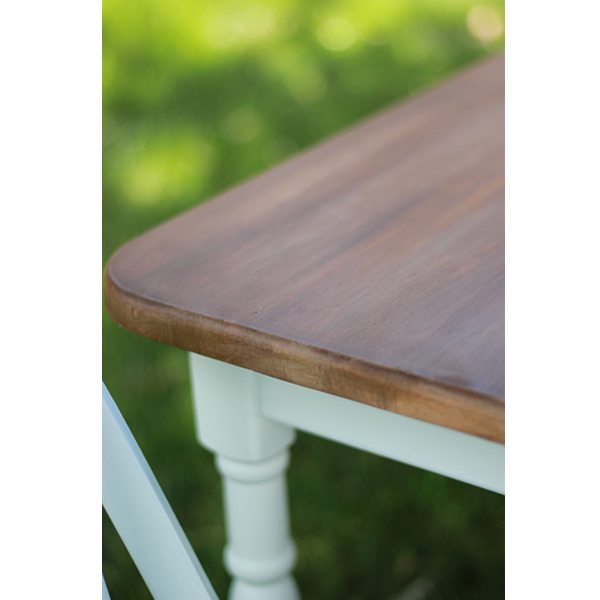
For the weathered wood table top, I pillaged through my workshop paints for greys, browns, white, and black. These were already mixed into chalk paint. Time savers galore coming my way today!
I love these squeeze bottles for painting during workshops, but I’ve come to really love them for every day painting as well. You’ll see why in a moment…
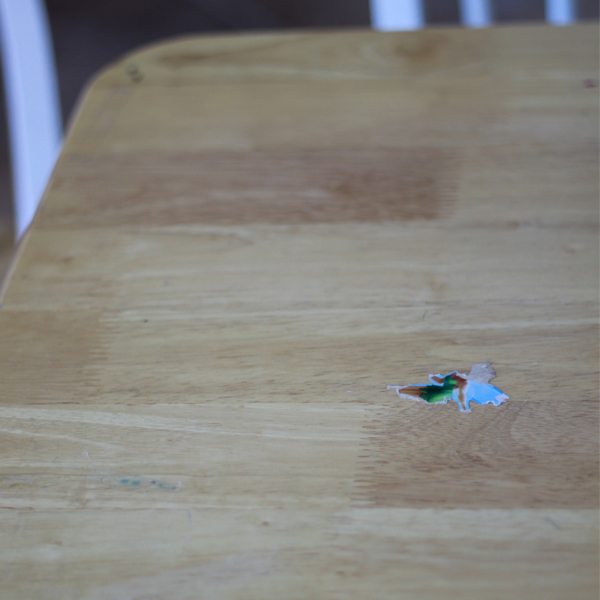
Before I could get to painting, there were a few small souvenirs from the previous owner that needed attention, including stickers, scotch tape, nail polish, glue, and at least one unidentified glob of goo.
Dang, I didn’t avoid ALL prep this time around…
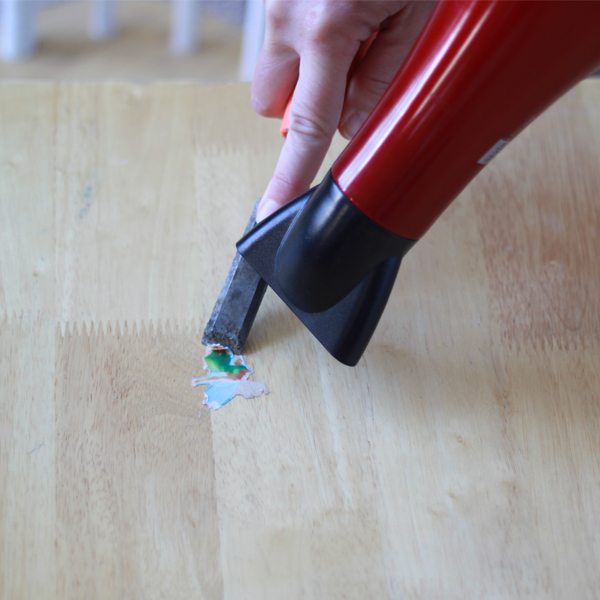
Luckily, armed with a chisel and my hair dryer, it took me about two minutes to remove the above-mentioned.
Kacey made a quick pass over the chairs with a damp cloth to remove a few “sticky finger” remnants, and tackled painting the blue parts, while I took on the “weathered wood” look for the table top.
The first thing I did was “kiss” my paint brush with water. Even when I’m not using a “wet” technique, “kissing” my brush with water first keeps paint from thickening on my brush for subsequent reloading.
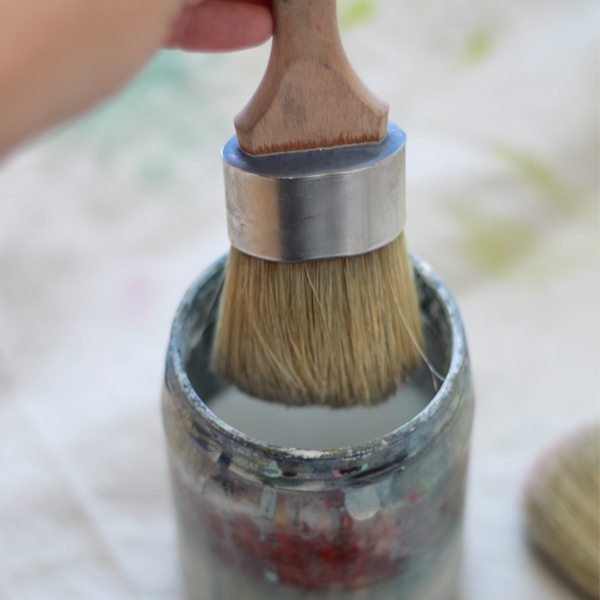
For this technique, however, I wanted my brush a little wet to apply a “lime wash” over the whole table top. After swirling my slightly wet brush in about two tablespoons of white paint I’d put on a plastic plate, I painted long broad strokes with the grain.
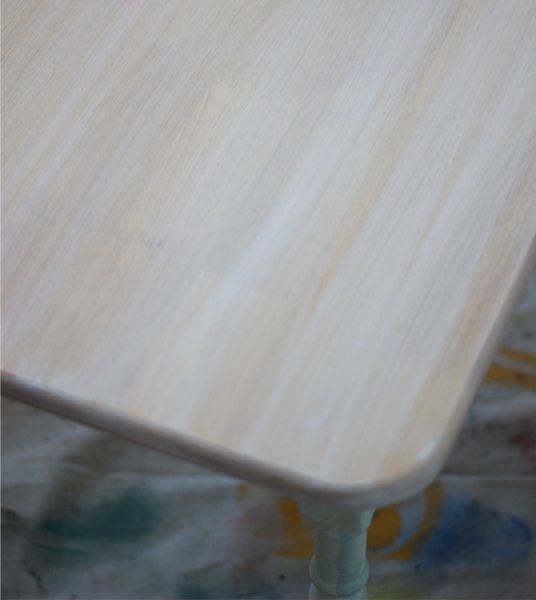
Sometimes, I will wipe off excess or “drippy” paint with a cloth, but I didn’t need to this time since I really just wanted a quick white base.
If you ever try this technique on a previously varnished surface, you may notice the paint beading up slightly. If that happens, it’s only because your paint is wet. Just move your brush over the area as the paint dries, and the beading will go away.
If you are super careful like I am, you will take measures to be neat and tidy, and you’ll paint over a drop cloth.
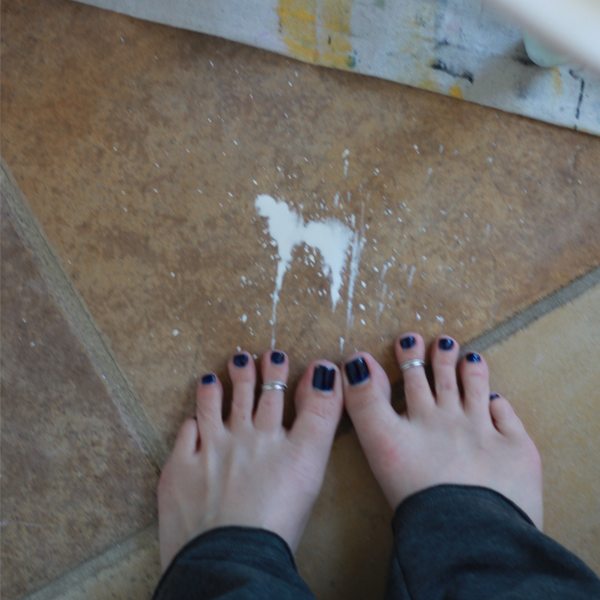
If you’re not as neat and tidy as you think, you may miss the cloth.
Oops.
Good thing chalk paint wipes up so easily, because I ALWAYS paint indoors, and I ALWAYS miss the drop cloth!
The white lime wash base was dry before I finished snapping pictures, so I moved right along to adding more colors. I played with several shades and several brush sizes, always using broad, even strokes. In some cases I applied paint more “dry” and with a lighter hand. In other cases, I applied a second color immediately following the first so the colors would blend slightly.
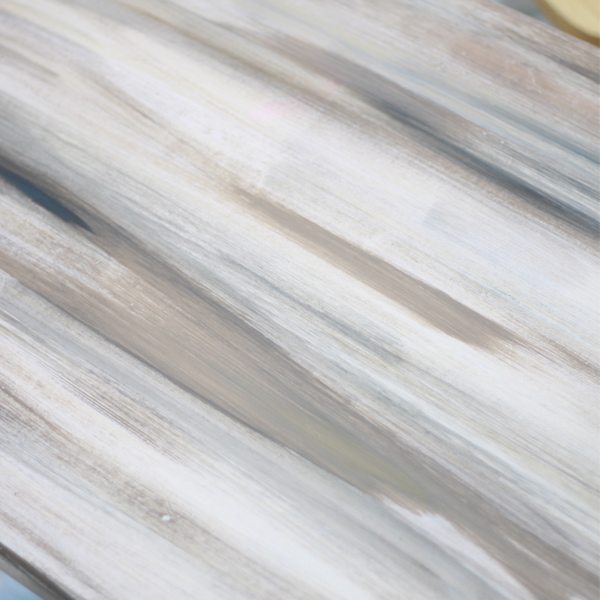
At one point, I got smart and just started squeezing paint in strips where I wanted to add a color.
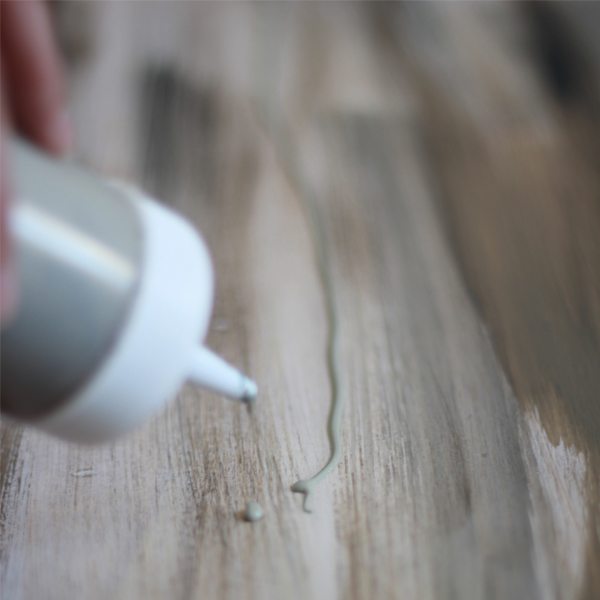
I made sure to step back every once in awhile to take in the overall look. At one point, I felt like it looked a little “striped,” so I threw on a quick color wash of brown paint. That’s basically a lime wash over existing color. By wetting my brush before adding paint, I was able to apply a translucent coat of color that helped blend the “stripes.”
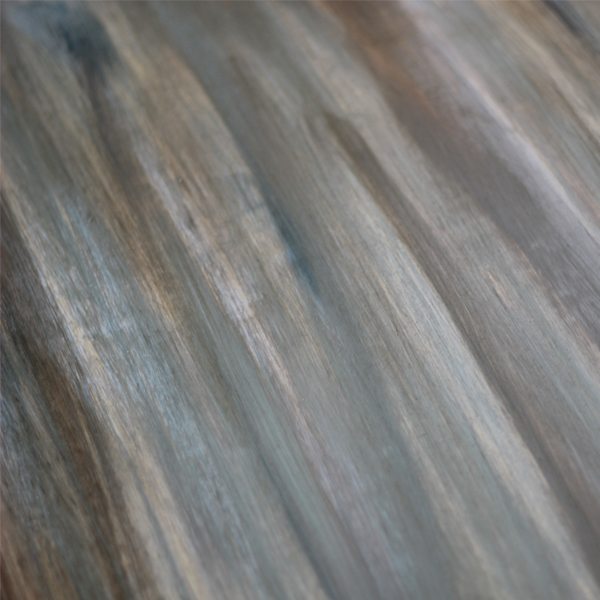
I made a quick pass with 3M 220 grit sandpaper to smooth and see if any texture or dimension was waiting to come through.
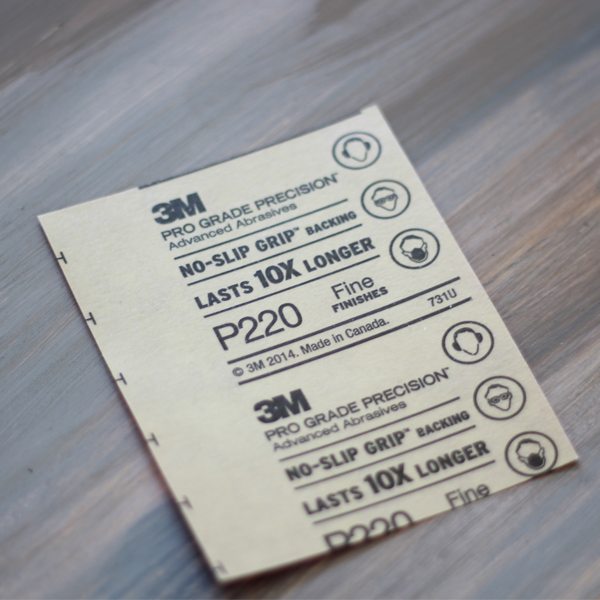
After about 30 minutes getting the top “weathered” just right, it was time for my favorite part.
WAX!
I feel like this is when a piece comes to life. I chose to go straight to dark wax, but I only recommend this if you are familiar and comfortable with dark wax. My favorite wax on the planet is BB Frösch Premium Finishing Wax because it glides on like butter, and it dries and cures within minutes, not days or weeks like some of the other brands.
It’s that whole instant gratification thing again.
***NIFTY TIP ALERT***
If you want to experiment with dark wax and aren’t sure you will like the finished look, I suggest clear waxing first. Then apply dark wax. If you decide you have too much dark wax, or don’t totally love the look, you can “erase” the dark wax with clear wax.
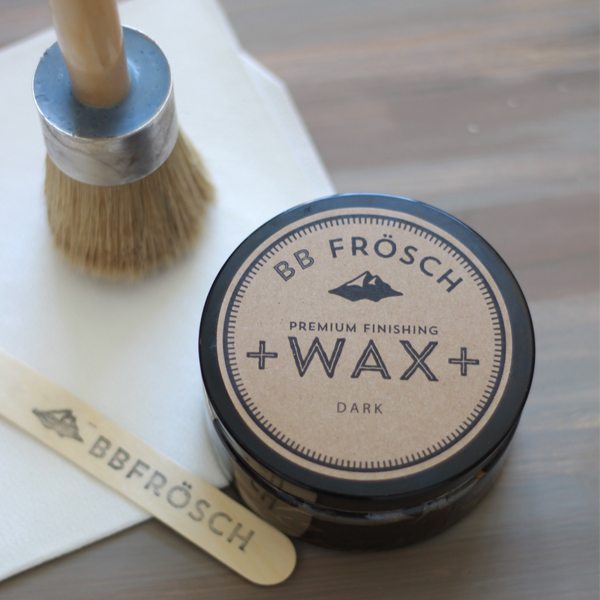
***NIFTY TIP ALERT #2***
Figuring out the right amount of wax to use can be a little challenging, especially when working with a quick drying wax like BB Frösch Premium Finishing Wax. By “buttering” a thin layer onto my wax brush, I find I get just the right amount.
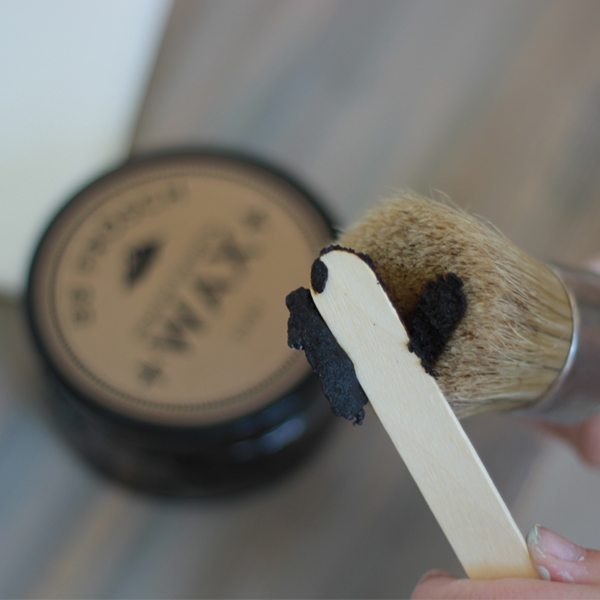
I always apply dark wax with the grain. I feel like applying dark wax in a circular motion makes my piece look “muddy.”
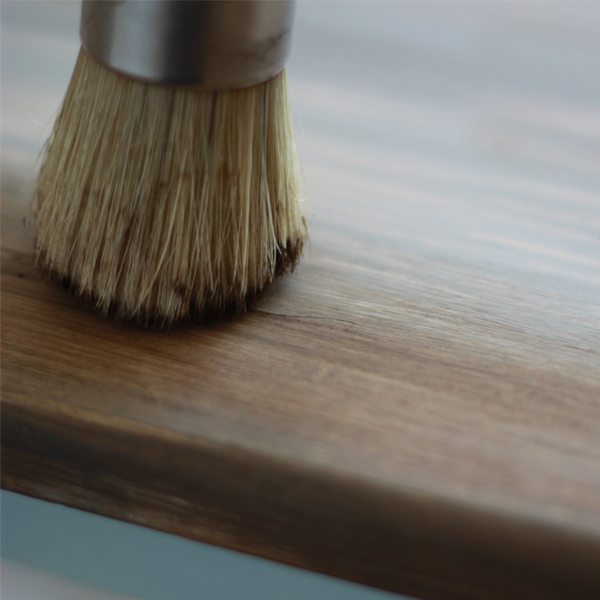
By using broad, even strokes to apply the wax, it is easy to see when the wax begins to dry and when it’s time to reload your brush. Although I was able to move most of the wax with my brush, I used a lint free wax cloth to make sure I removed any excess. You can tell when you go from the “removing excess” stage to the buffing stage because your cloth will glide easily over your piece, and you will start to see a shine. I wasn’t going for high shine, so when I hit this point, I moved on.
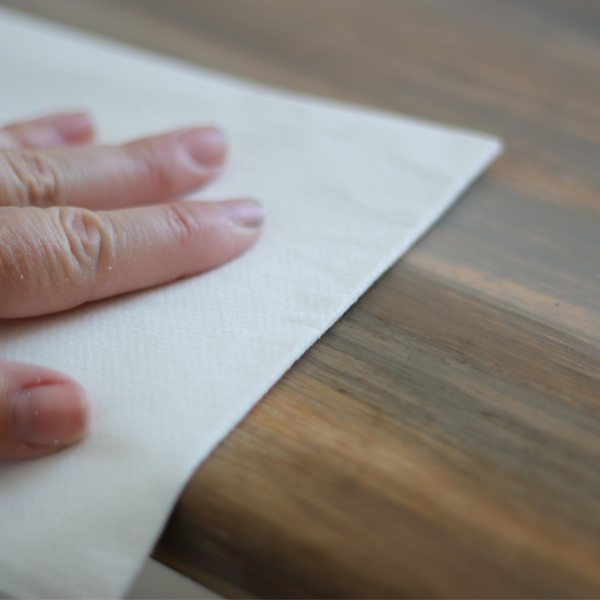
Meanwhile, Kacey finished painting the chairs and table base in the blue chalk paint we’d created. It took two coats in most areas, but three in some. You can see in this picture that the mixed jar of paint is still half full after completing the whole project.
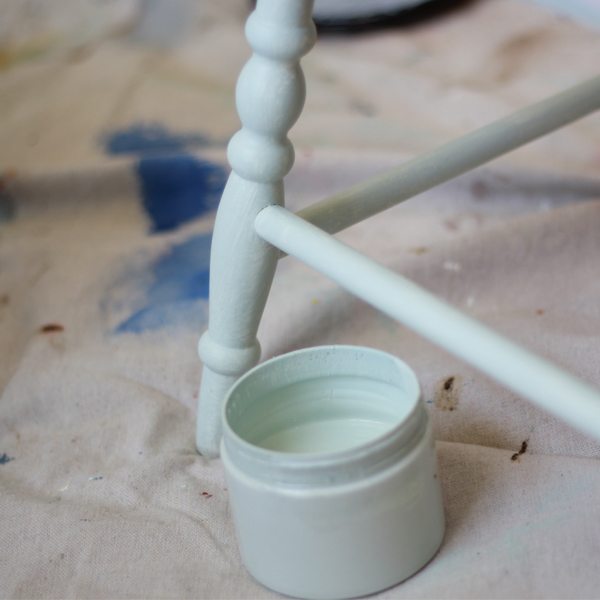
Can we take a moment to discuss what incredible coverage that is?!?
The table base and chairs took only HALF A JAR of paint! Even at $4.99, that’s awesome! Of course, in my mind it only cost $2.50 since we still have half a jar left.
The table top took 2-4 Tablespoons each of five different colors. Of course, I already had the mixed chalk paint on hand, BUT! Even if I had to buy a sample jar of each color ($2.97 at Home Depot), it still would have only cost $14.97.
For you math lovers, the total cost of paint and BB Frösch Chalk Paint Powder was less than $30—for SIX colors, and I still have all but a few tablespoons of each color left for future projects! Accounting for all the paint I have left, the actual cost was closer to $5.
That is a mathematic impossibility with boutique brands of chalk paint, or even with the premixed brands at the home improvement stores. Besides that, I got to choose the exact colors I wanted.
HOLLA!
Now’s the part where you get super glad you made it through my little math tangent…
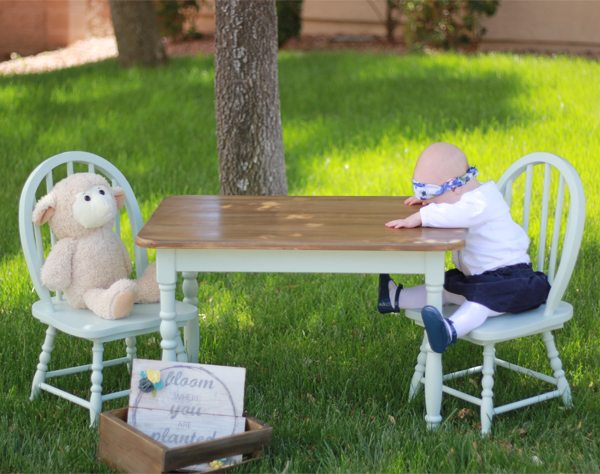
Does anyone else haul their stuff across the street to the neighbor’s for photo shoots? That’s how we roll here in Vegas when you don’t have grass and the neighbor does.
We call it grass envy.
When borrowing your neighbor’s lawn and they’re peaking through the front window, you can’t be too picky about the sun shining through the leaves of the tree and making your table-top looked spotted.

I got a little carried away and decided to “weather” a crate I found at Home Depot.
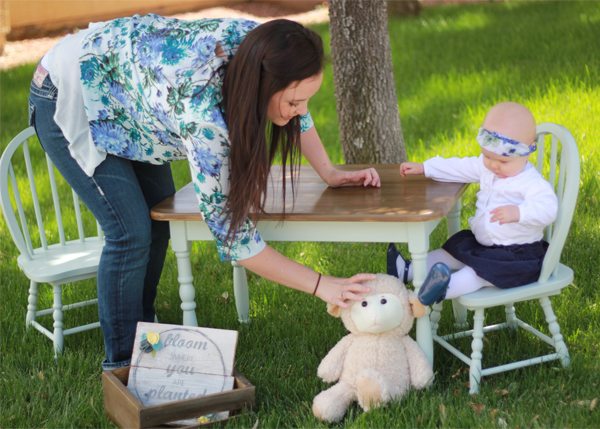
This is how our photoshoots go…
After about 50 attempts to get a good shot of Blaire with her new table, she threw in the towel…
Looking for more BB Frösch Inspiration? Check out BB Frösch on Facebook, Pinterest and Instagram.

Wow! That looks great! I haven’t seen this technique before!
I love it! It looks so great. I am going to have to try this technic, such an awesome idea. I bought a silver tin bin at Target and went over it in a linen color and then distressed it and then went over it with a very wet brush dipped in white and then I whipped it off really fast to give it an aged color instead of a harsh silver color. I love experimenting with this paint and technics, especially since the paint is so cheap… you can total afford to have a blast experimenting. Thanks Kirstin for your awesome guest post. 😉
WOW! This is such a cute table set. I’m blown away at how beautiful this finish is!! I love that you can see the wood grain – so pretty!
I would like to paint the top of my table and the chair seats. Do I have to sand at all with this technique?
Nope, not if you don’t want to!
Could you share the paint name and brands used to get the weathered wood look of the table top?
I just used paint I had on hand, some colors are from Behr and Some from Benjamin Moore. I like Benjamin Moore “mink” for the brown. I used just a regular black, a light grey and a dark grey. I also used white. Any shades of these colors are great for this technique.
I love what you did but I’m not as good as you so not as easy for me at 68 years old. I pulled up roots after my beloved husband died to escape near the beach in south Carolina for peace. Above fireplace is painted a very nice color gray over the wood clear to ceiling. It is in about 4″ panels. I want to make it look more like driftwood. I have to have my handyman do at least upper as I cannot do ladders anymore. Can I buy some of this chalk stuff and have him put it over the gray paint. I am just pretty confused. The gray paint is probably a semi gloss. If needed I could buy another gallon of similar gray paint at home depot and could mix the chalk paint into if that is possible for him to use over it. I do not have gobs of money and handymen charge quite a lot here so I need a simple solution. I just want to have my place look beachy and different than my life in Kansas. 1500 mile drive alone with two crazy rescue dogs was enough of an experience at my age. Could you give me some simple advice. Thank you so much. Peaceful holidays to you.
Kathy–
You or your handyman can easily do this technique over the existing finish. You do not need to buy a gallon of paint. I recommend purchasing sample jars of FLAT finish paint in these colors: grey, brown, white, dark grey. Mix up for separate batches of paint with BB Frösch (one in each color) and do the technique I explained in this post. This should be a very simple and affordable solution that will look great for your wall!
Kristin
Absolutely will be trying this! The piece is so lovely and your tutorial is excellent! I totally know what you mean about Vegas grass envy! I remember it well!
Love the table and chairs!! The colors came out beautifully!! I bought my kids a similar table like a year ago and just recently got them chairs to go with it (it’s been a busy year #momlife) I’m ready to get started on my little project, did you seal the chairs with anything? If so could you tell me what you used exactly? Thanks so much and great job!!
Alison–
I sealed this with BB Frösch Premium Finishing Wax. I prefer sealing with wax because if damage every does occur, it is much easier to spot repair without it being noticeable. I also find the process for applying wax easier than for applying poly.
I’m considering this technique for a bathroom vanity top. I am converting a dresser to a vanity with vessel sink. Not sure the wax approach is best option with the likelihood of moisture or occasional standing water droplets. What would you recommend as a sealer under those conditions?
Thank you
If using this technique for a vanity top in a bathroom, I recommend sealing with a water-based poly acrylic. This is the one I use: https://amzn.to/2McCYau