DIY Marble Easter Egg Technique

Hi friends. Do you ever purposely let your kids make a mess?!? I can honestly say that I don’t. But, guess what, THEY LOVE MAKING MESSES, so I decided it was ok this time, and I’m not gonna lie it was kind of a blast. I’m kind of a control freak, and this project reminded me of that trait. I’m a perfectionist. I don’t let me kids help me sometimes because of that, and as a Mom, I made some proud steps forward during this project:
1. I let my kids HELP me with a project and it was messy!
2. I was ahead of the holiday game! And Easter is even THIS month! Ha!
All kidding aside, this project was so much fun! The kids really did love it and the end result is adorable! I’m not going to lie, it did get a tad messy so be prepared for that. But lucky for you, I took a lot of pictures along the way to help you out with this.
Are you ready?
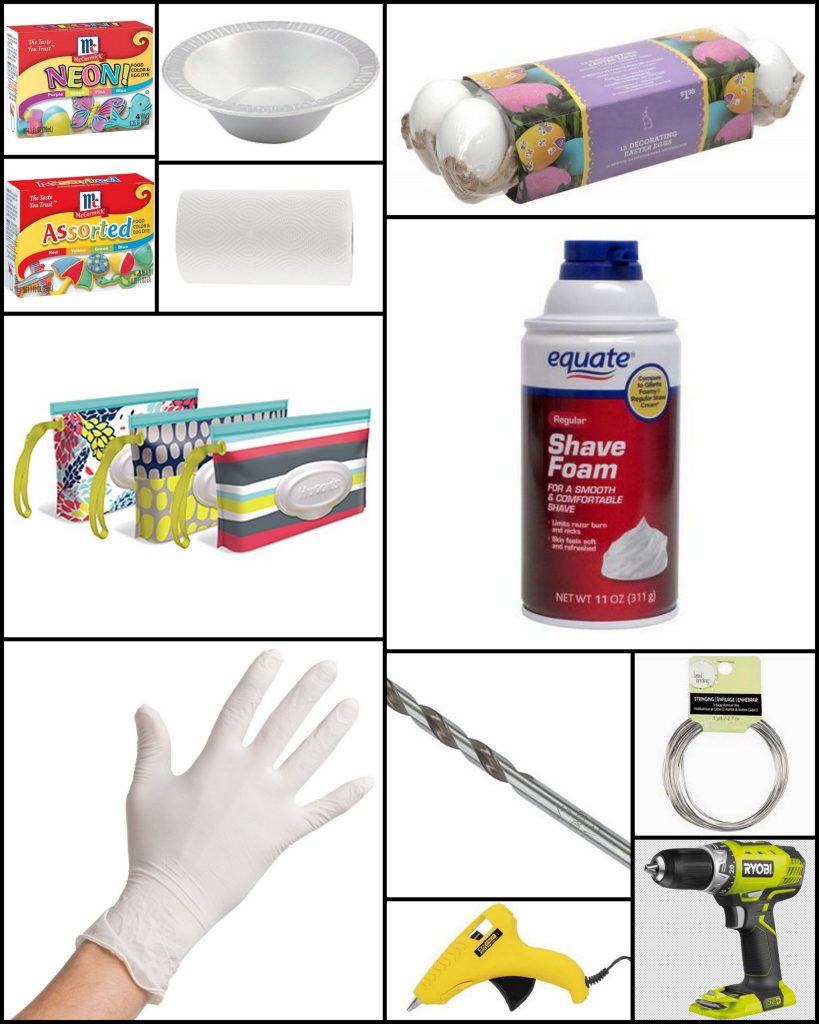 You will need the following supplies:
- Plain white decorating craft eggs {I found mine at Walmart for $1.98 a pack}
- Food coloring
- Latex gloves (so your hands aren’t turquoise for a week)
- Shaving Cream {again at walmart for $0.98 a bottle}
- Disposable bowls
- Lots of paper towels
- Drill with a small drill bit
- Hot glue gun
- Floral wire
- Huggies® Wipes for easy clean up <—essential!
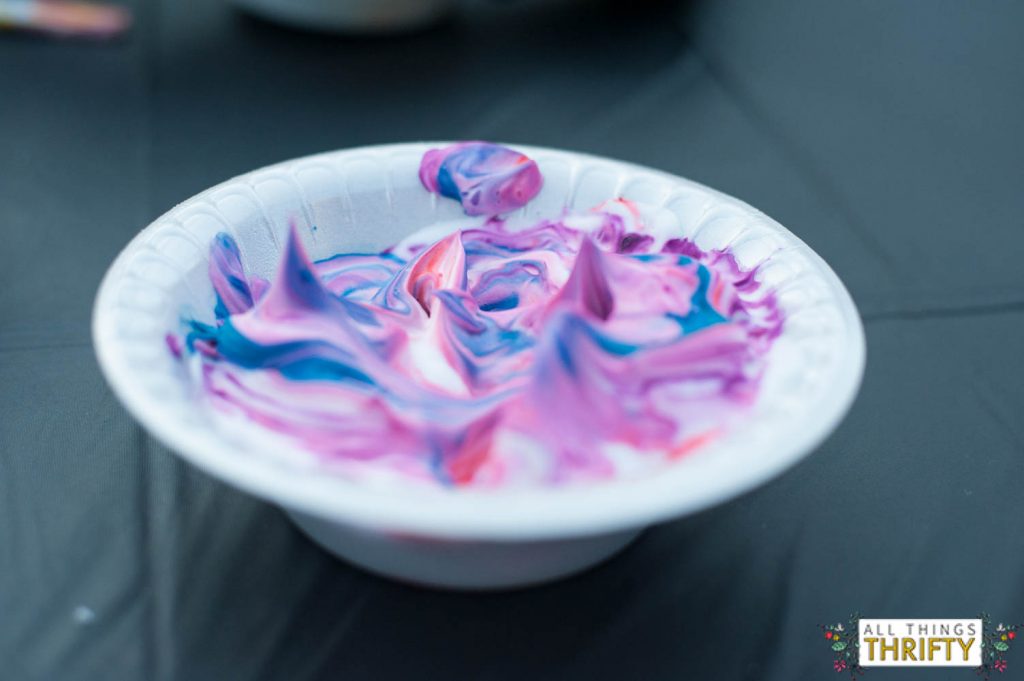
First, fill your bowls with shaving cream, about 1/2 full.
Then, add approx 3 to 4 drops of food coloring into the shaving cream. {I stuck to about 2 to 3 colors that went together to create that fun marble look.} Tip: you don’t want to over mix. If you look at the pictures, you can see that you just want to gently stir in large “S” patterns to combine the food coloring and shaving cream.
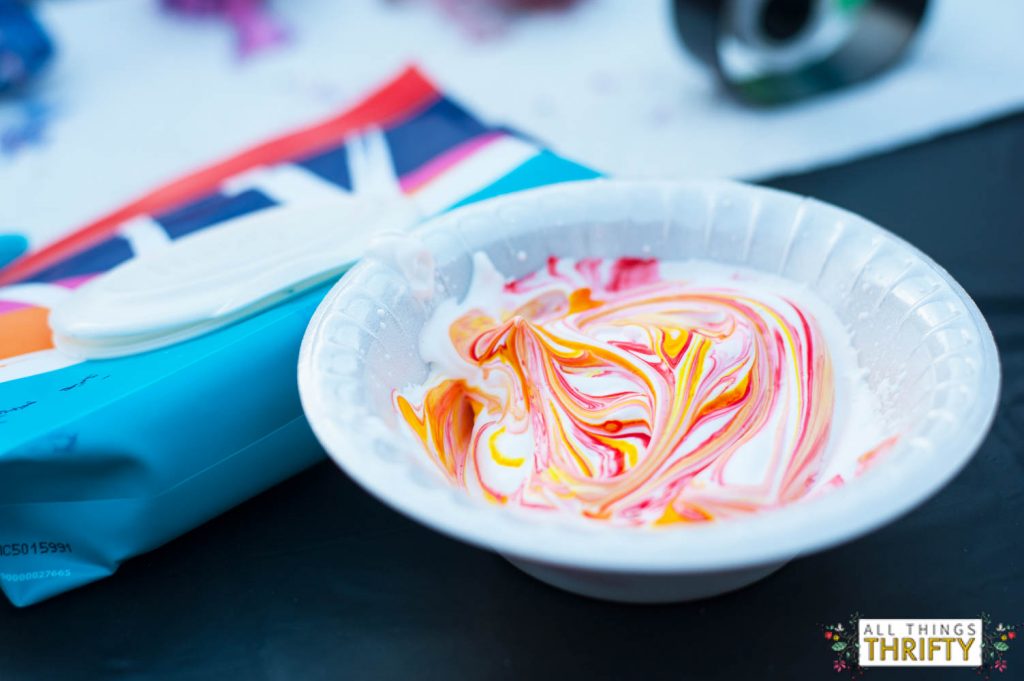
Now it’s time to “dip” your eggs. Gently roll each egg in your mixture. Make sure you get a good thick coat on each of them. Lay on paper towel to set up. We left them for about 10 minutes. If you remove the shaving cream too soon, your eggs will not be very bright.
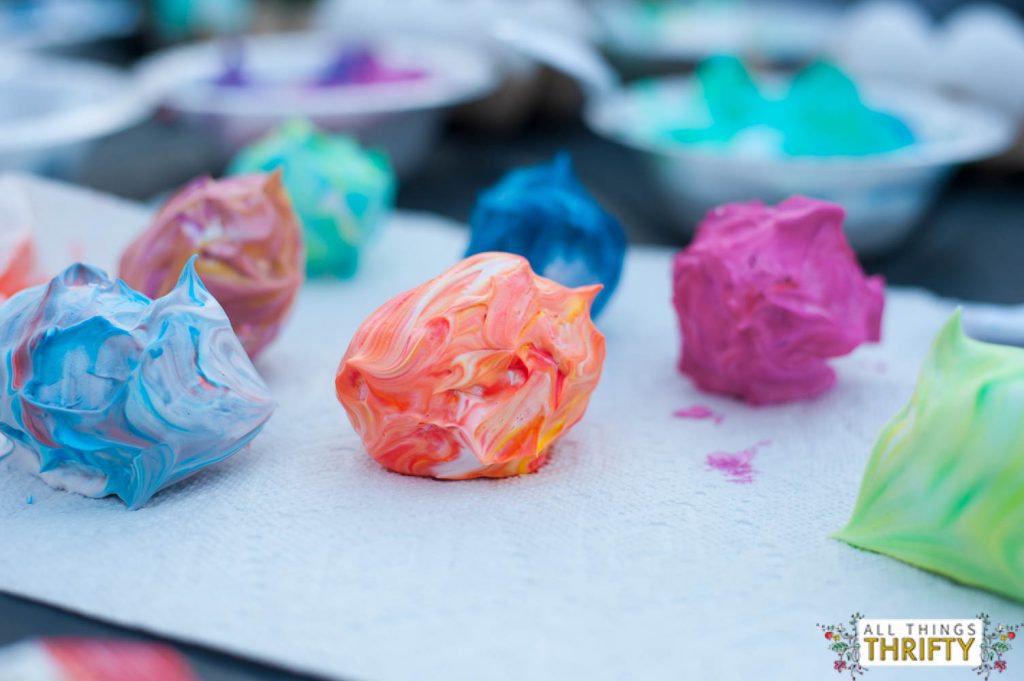
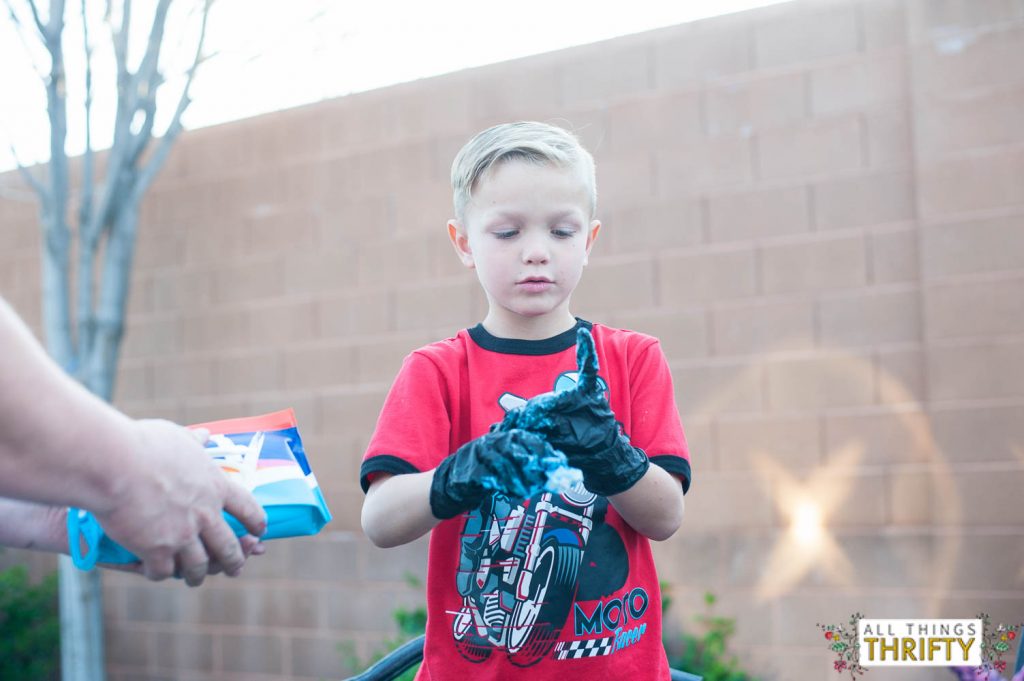
Make sure to use your trusty Huggies® wipes to get all of the color off of your hands before moving on to the next step {not all baby wipes can handle the challenge}. Otherwise you will have an egg that looks brownish/grey.
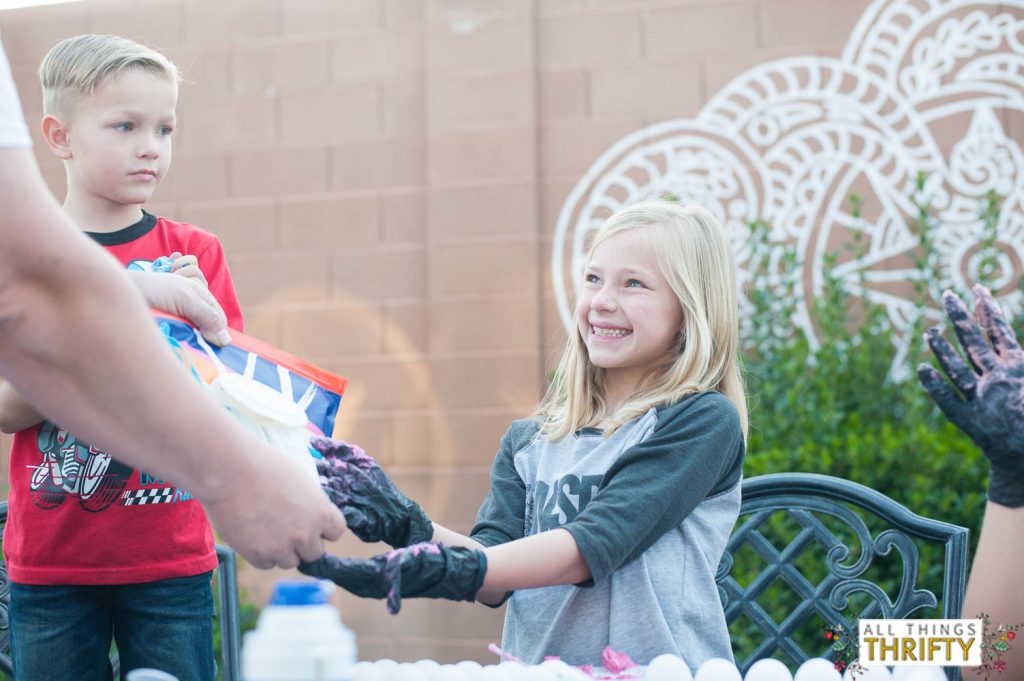
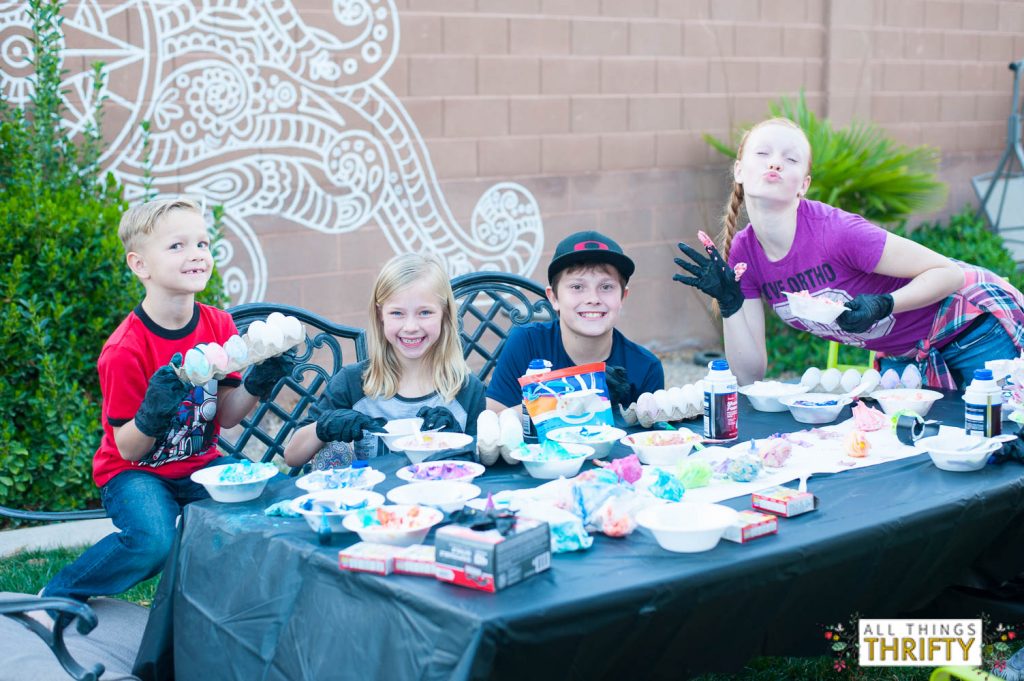
Once the shaving cream has set, you will use the paper towels to remove the shaving cream from the eggs. Let the eggs dry, and use those Huggies® wipes to clean up the mess!
Look how cute they are!!

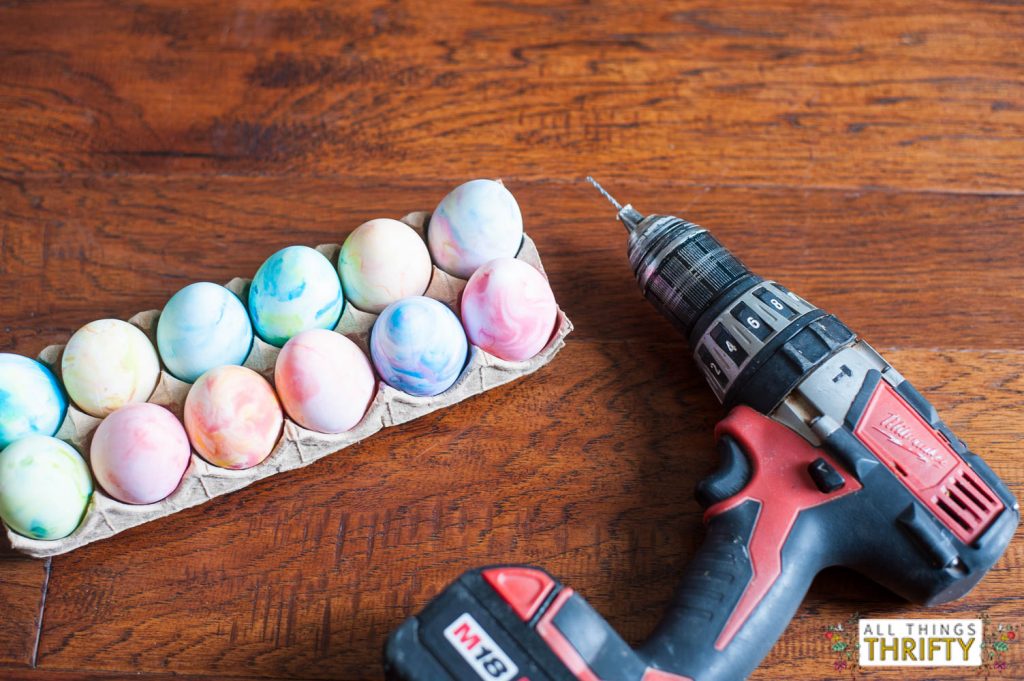
Once your eggs are completely dry, it’s time to drill your holes.
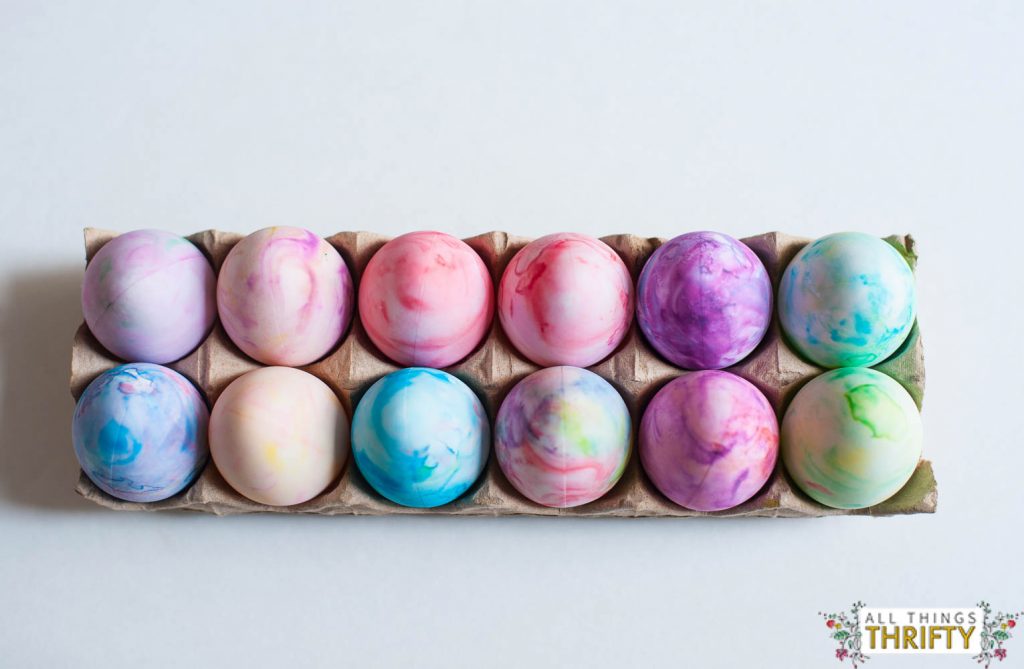
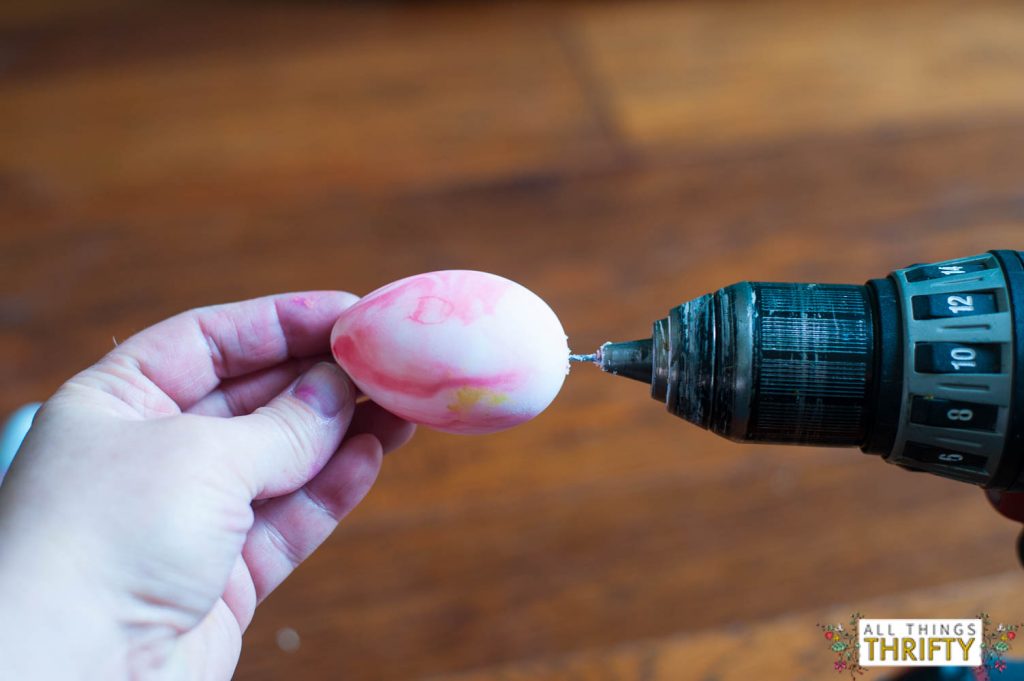
Use a small drill bit to drill hole in each end of your colorful eggs.
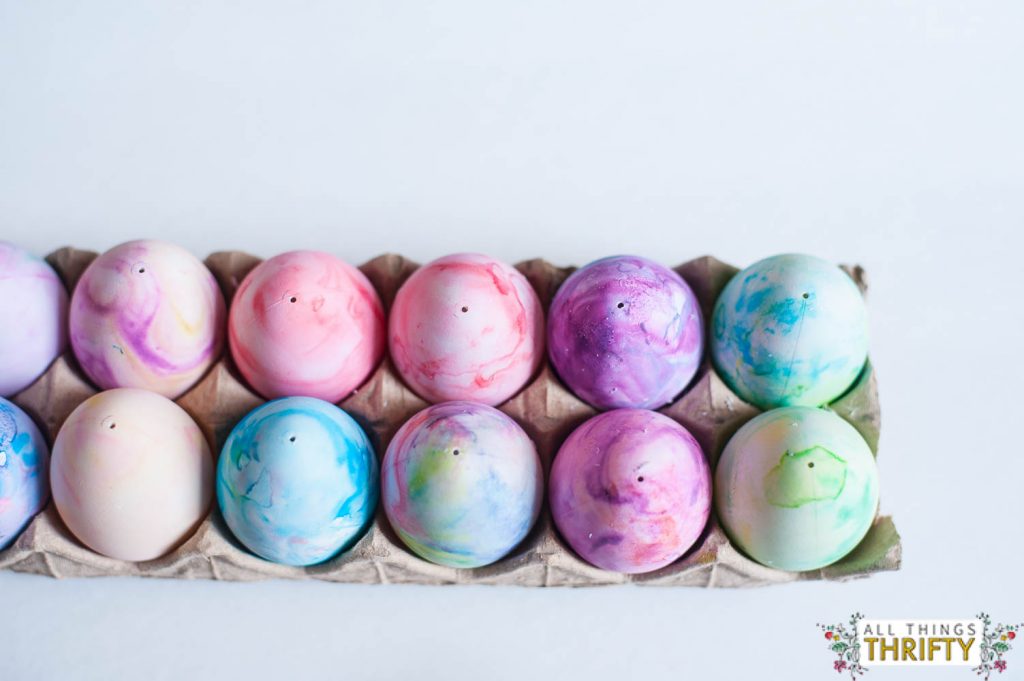
Next, thread those darling little suckers onto your craft wire.
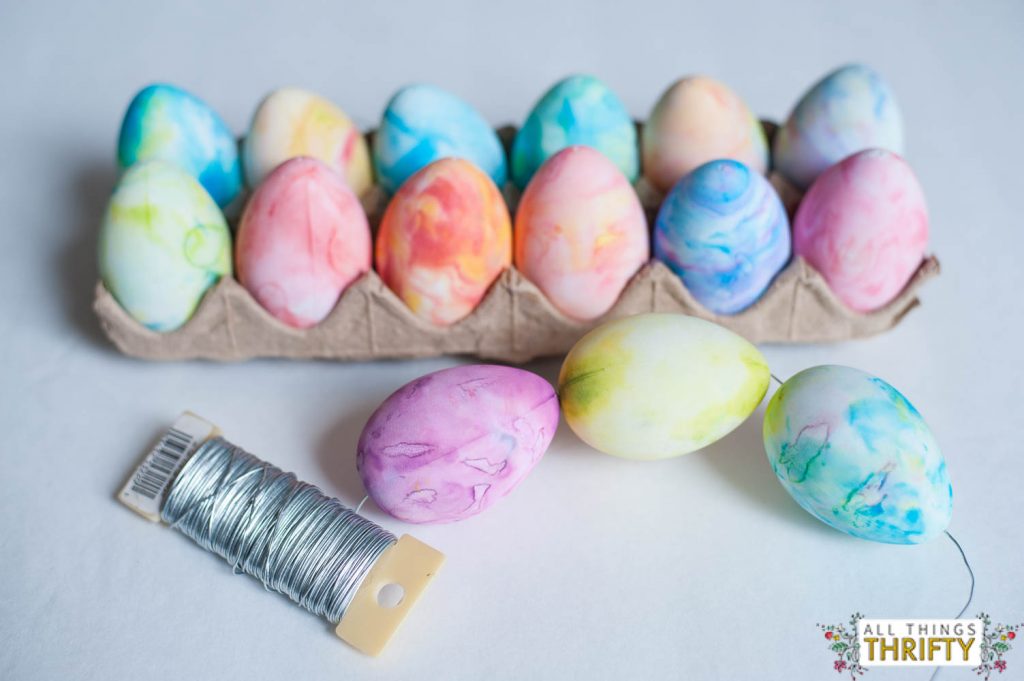
It takes some time and patience, but it’s worth it I promise.
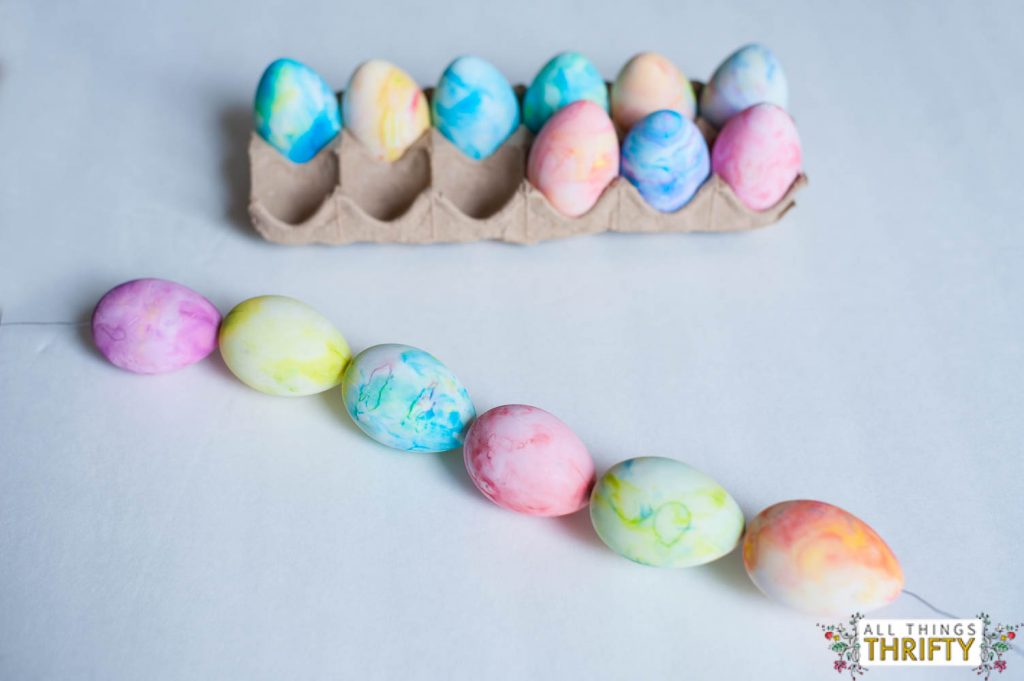
After your eggs are threaded onto the wire, make four circles, one small one for the middle of the wreath and getting bigger as the circles go out.

Hot glue the circles together, and add a bow if you want!


It turned out better than I thought it would! AND, my kids LOVE that they know which eggs they dyed. They keep pointing at the wreath saying, “That’s my egg!”

What do you think? Isn’t it just the cutest! I love the watercolor/marbly feel it has! I can’t wait to make a few other things with these cute eggs!
xoxo,
Brooke

I like their colour, this idea is great and special! I guess that kids enjoyed while make them, right?