This is a sponsored post written by me on behalf of Huggies®. As always, all opinions are my own.
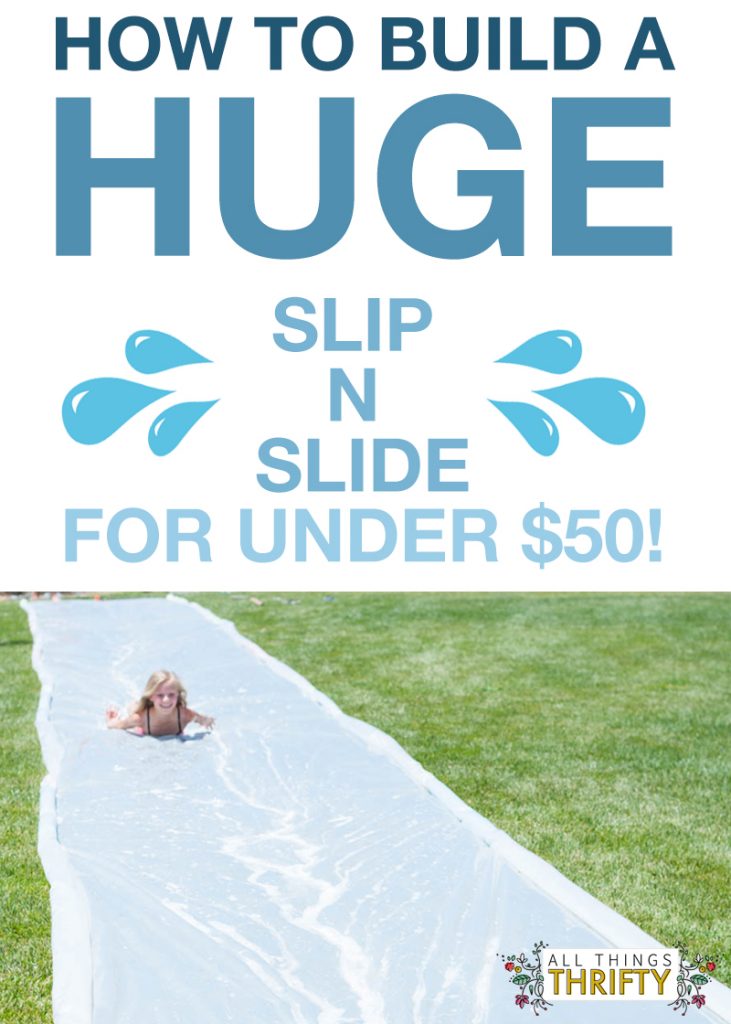
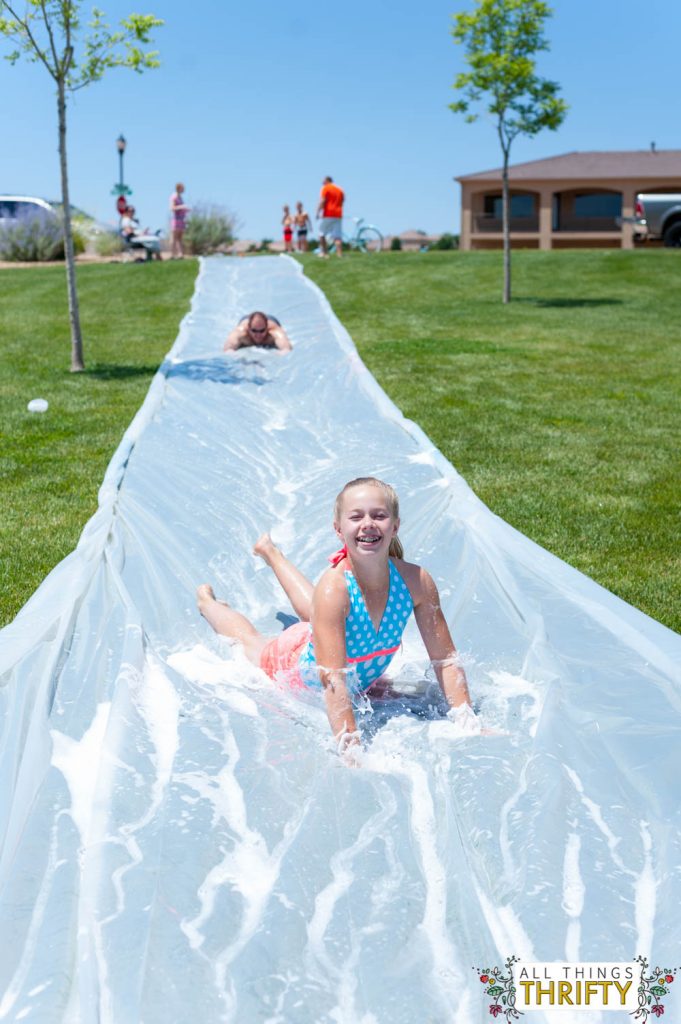
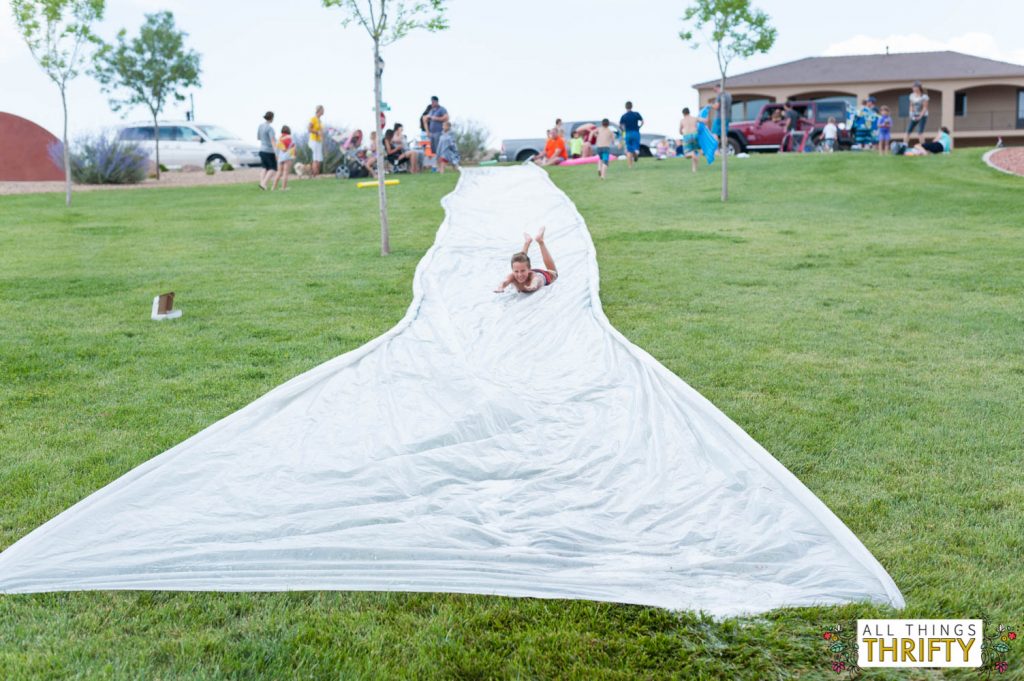
We made a huge slip n slide for our neighborhood for Memorial Day. The kids {and adults, mainly the DADS} had a BLAST! It’s a little messy, but WHO CARES!?!
Items needed:
- 100X10 foot roll of clear visqueen. {We used clear because the black gets too hot and dries the water too fast}
- 10-14 pool noodles {Be bought ours for 94 cents each}
- 30-40 Landscape Pins
- A hose with flowing water
- Tear Free Soap in the brand of your choice {you can use dish soap too, but it hurts when you get it in your eyes}.
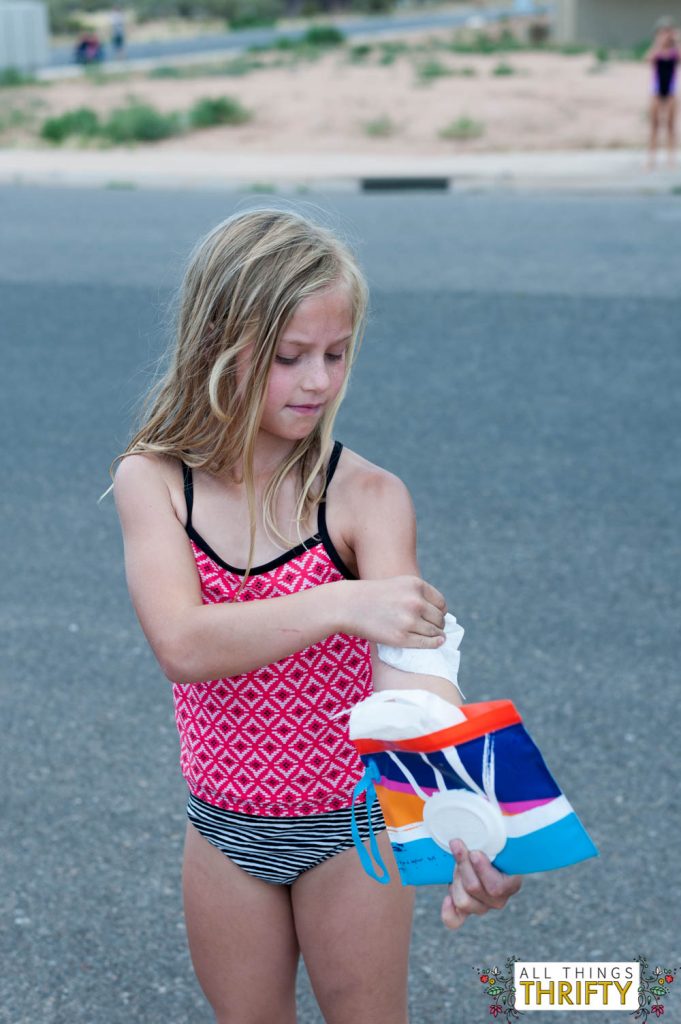
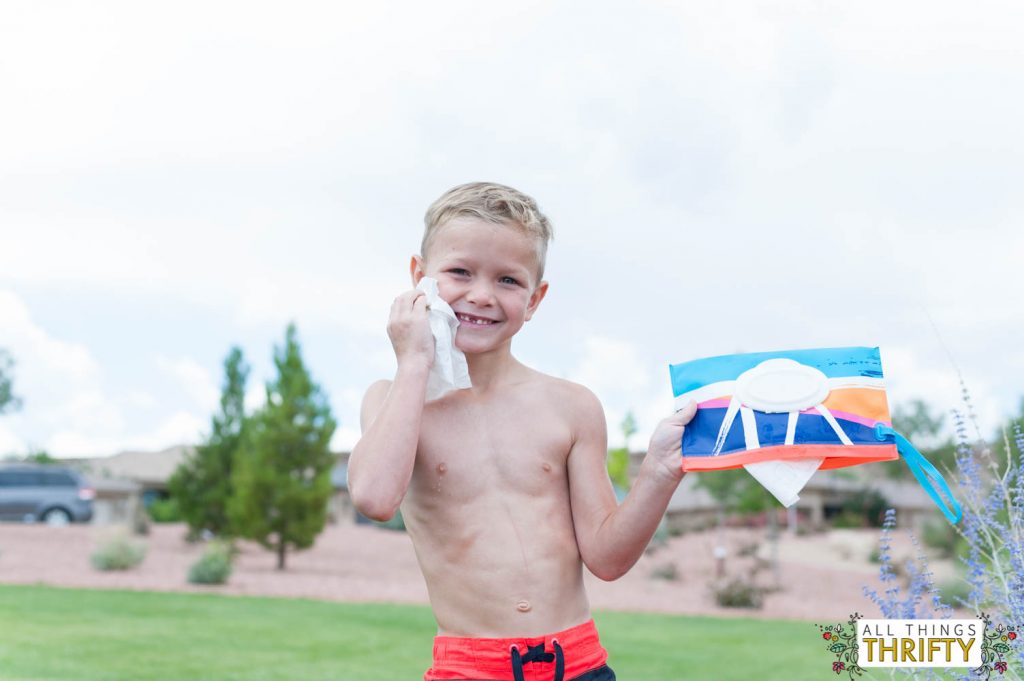
- Huggies® Wipes for easy clean up <—essential!
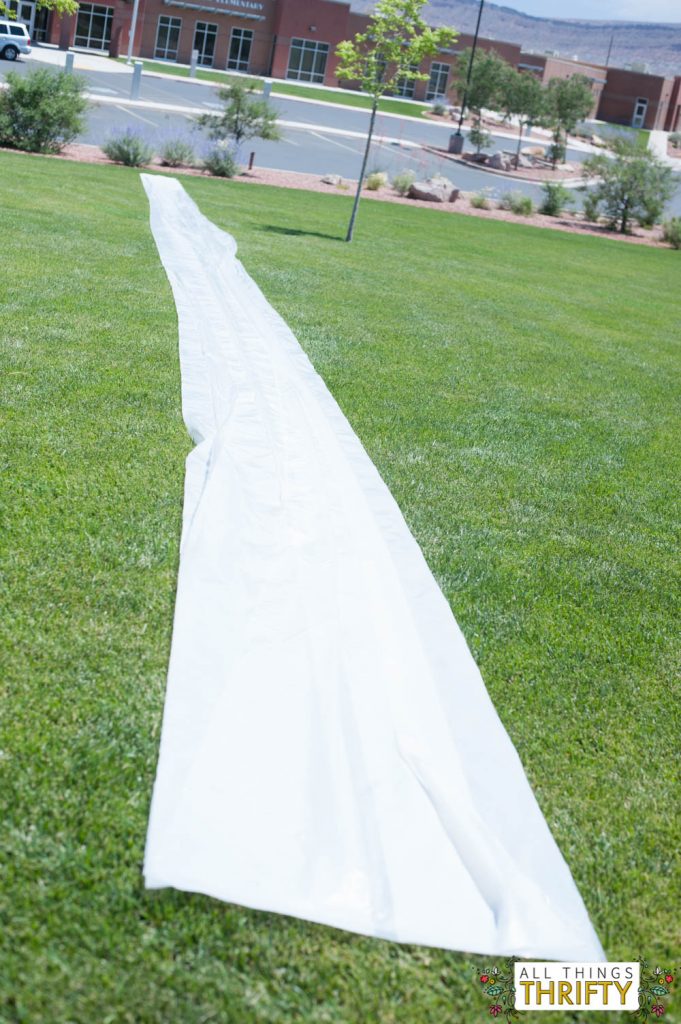
Step 1: Find a hill and roll out the velum.
Step 2. Roll the pool noodles into the side of the plastic. This will help the water on the slip n slide instead of running off the sides.
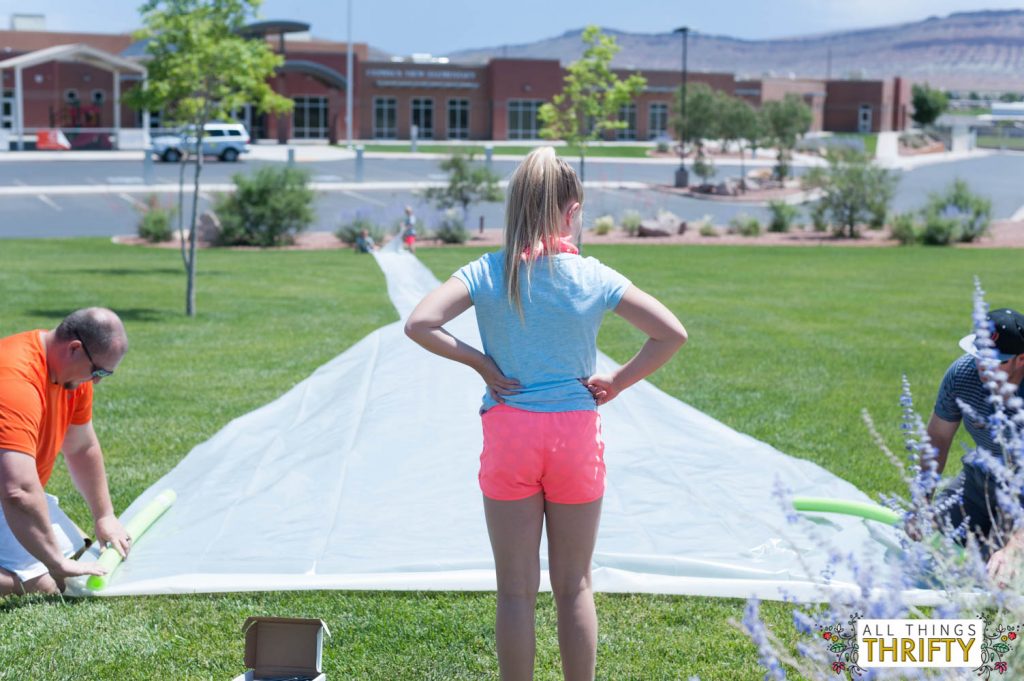
Roll it 3-4 times.
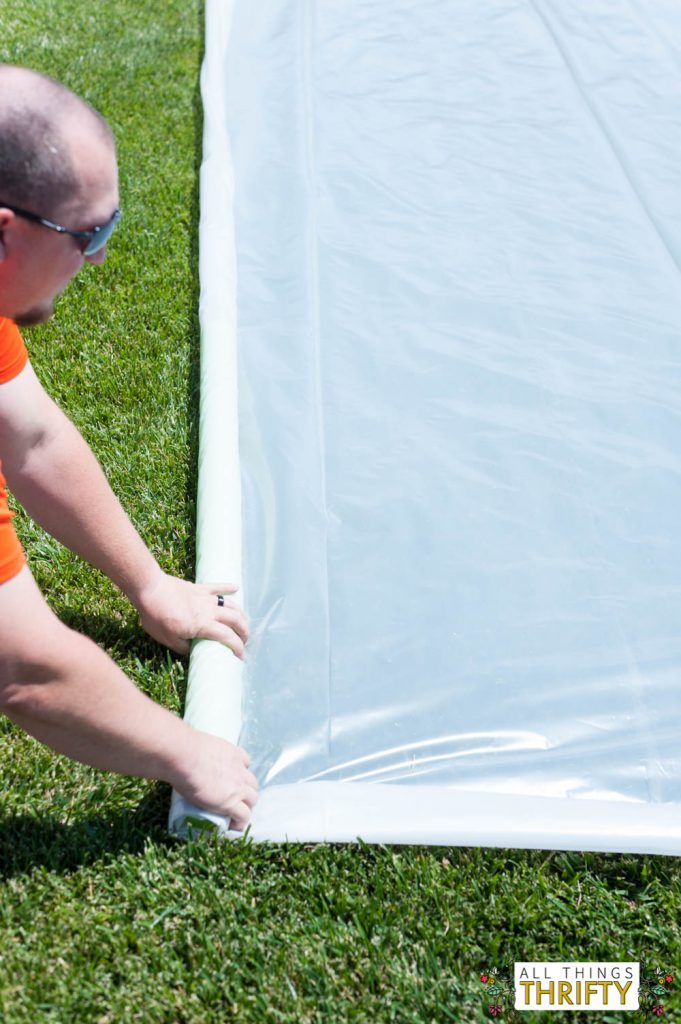
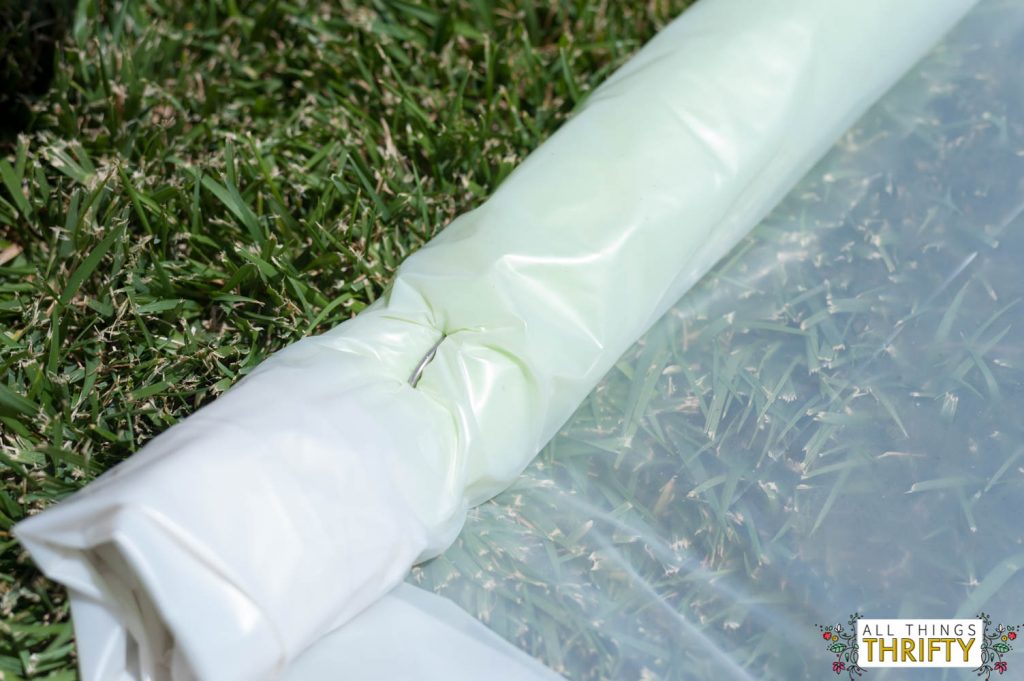
Step 3: Secure the pool noodles by sticking landscape pins directly through the plastic, the pool noodle, and into the grass.
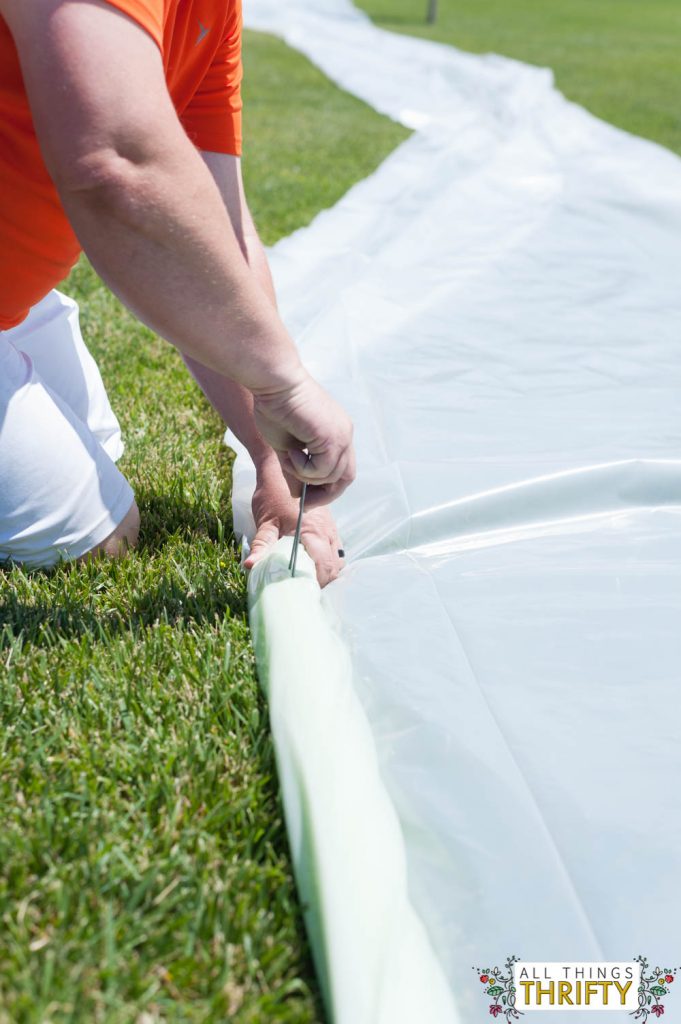
After securing your landscape pin, it looks like this:
Leave about 10 feet of plastic on the side before rolling the next pool noodle into the plastic. They don’t need to be solid all the way down the slip n slide. 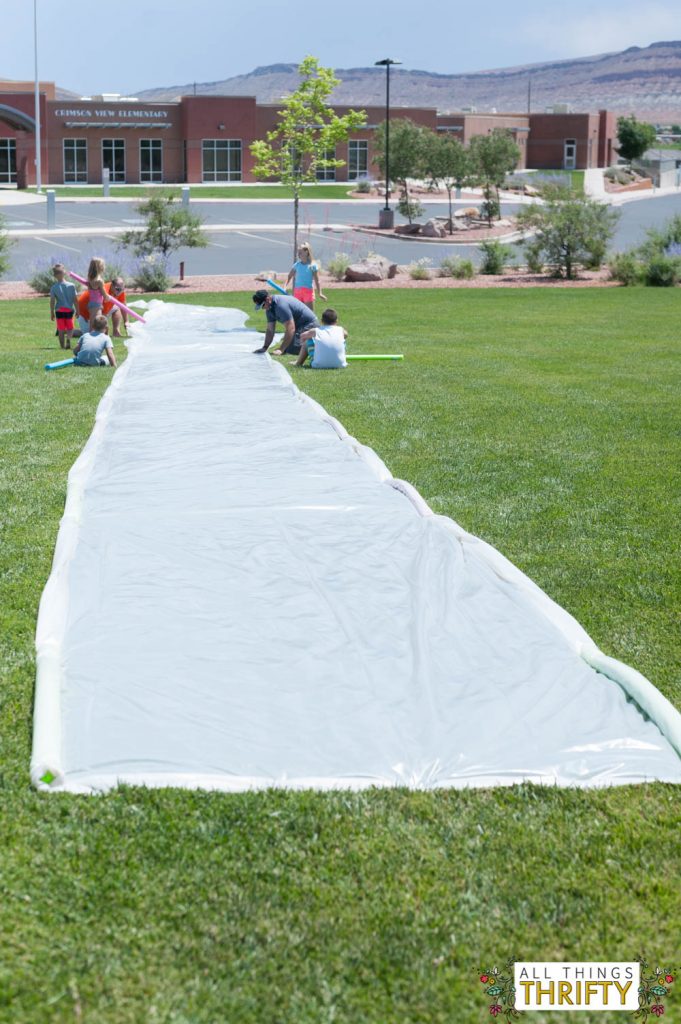
Step 4: Wet the entire slip n slide with the hose, and pour a generous amount of tear free soap onto the slip n slide to make it more slippery. {Reapply every 20-30 minutes or so}
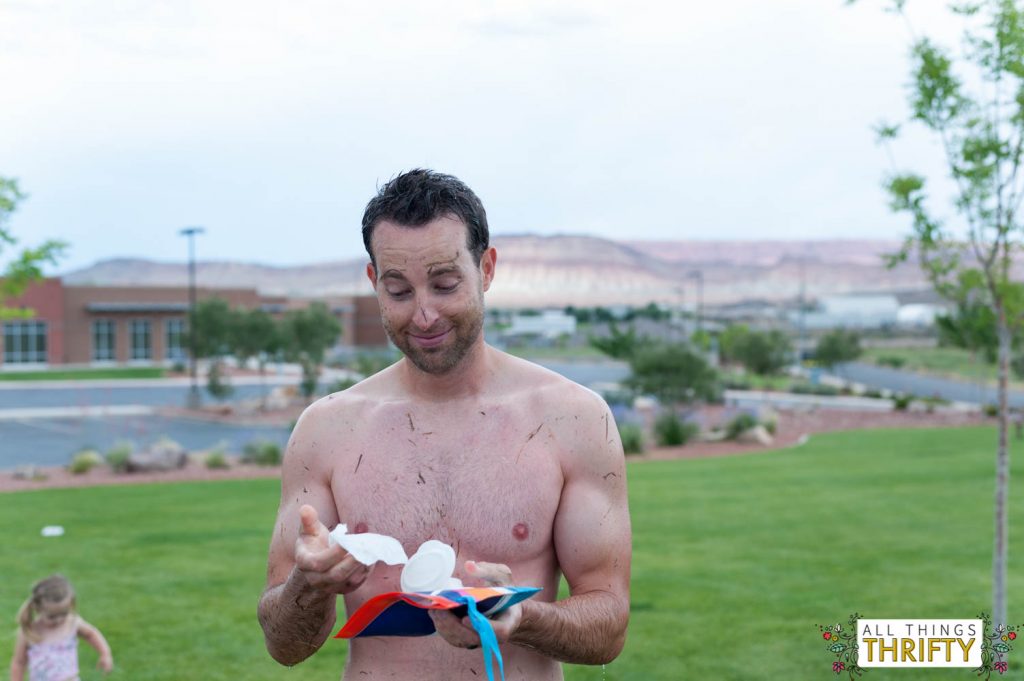
The soap can get a bit messy, so make sure to have Huggies® wipes close by for a quick and easy clean.
Step 5: Optional but useful, cover your body with tear free soap to make your body slippery too!
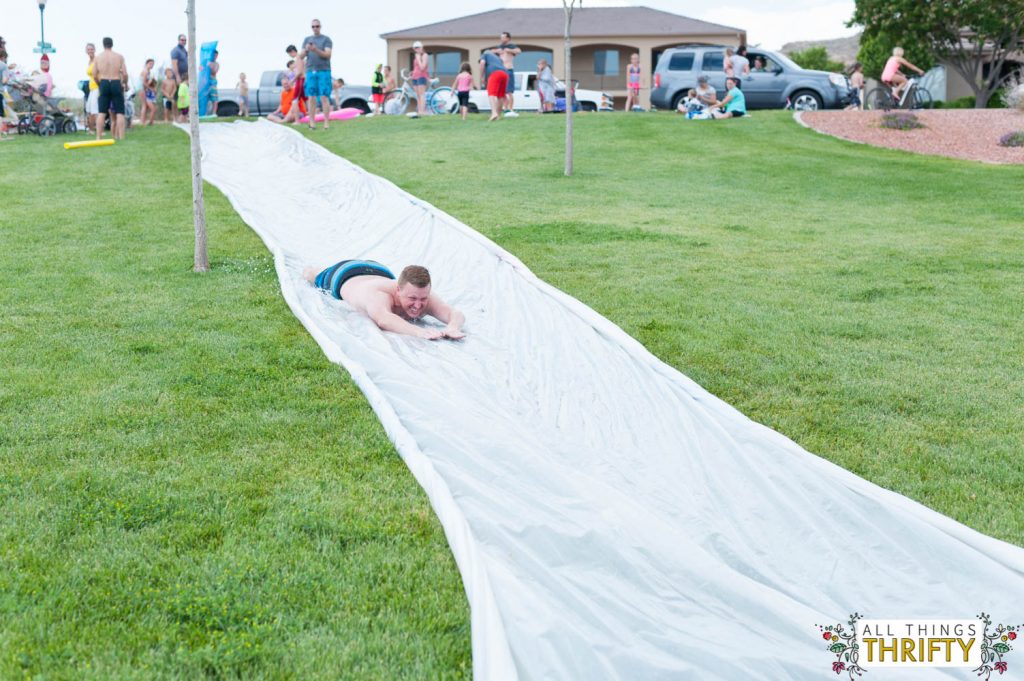
I think the neighborhood Dads may have had more fun than the kids. They timed each other to see who could slip down the slide the fastest!
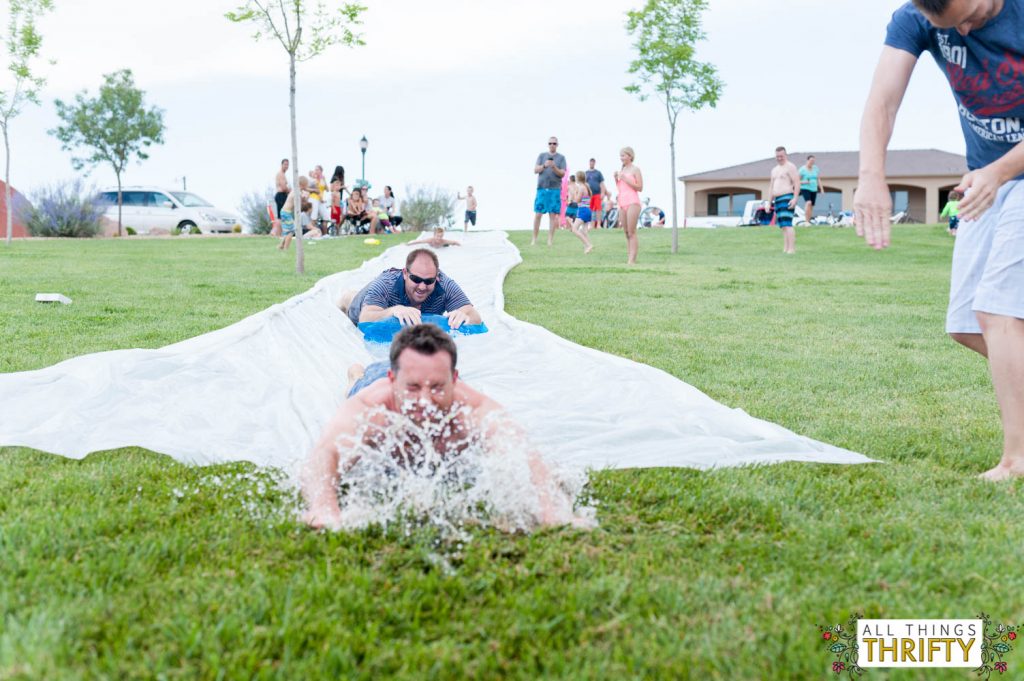
Beware, if you are getting old like all of the Dads involved in the Slip N Slide race, you WILL have sore ribs the next day! HAHA!
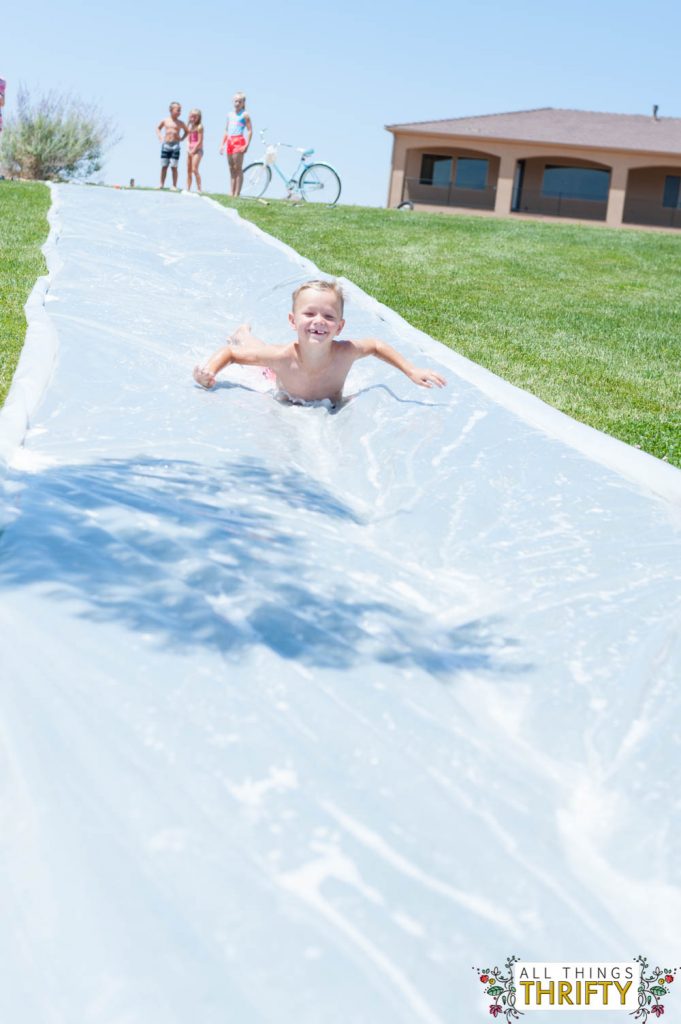
The kids had a blast too! They slid down the slide for more than 3 hours STRAIGHT! And some of them complained when we took it down because they wanted to keep playing.
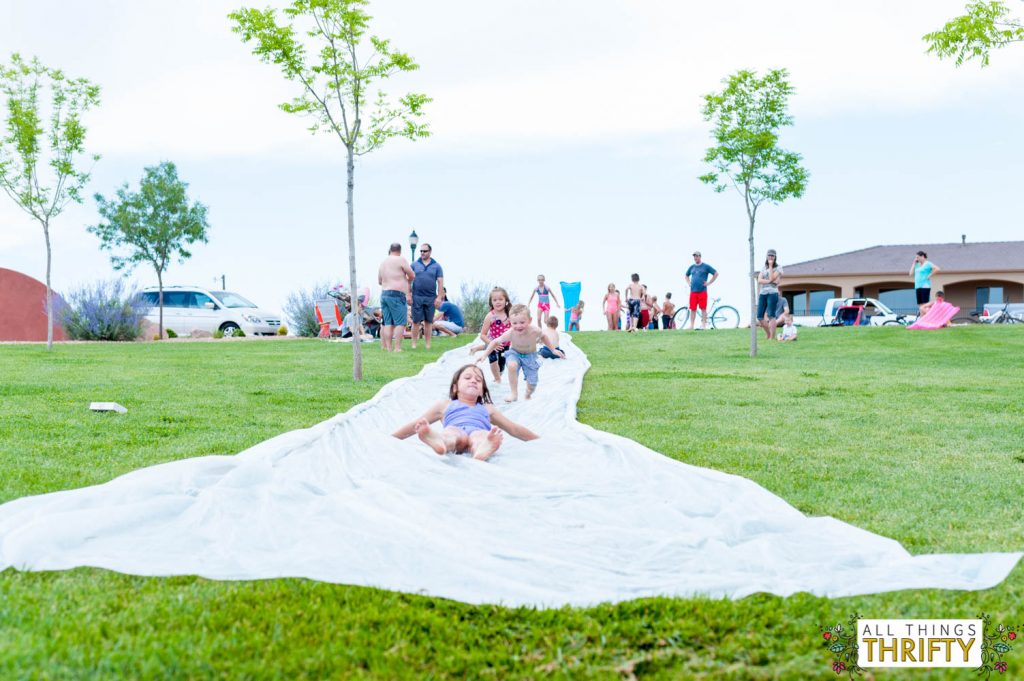
We kept the end of the plastic as wide a possible in case kids {or adults} didn’t stay in the middle of the slip n slide.
Huggies® Wipes came to the rescue more than once! They helped clean up the messes and are by far my favorite wipes brand! I don’t even have babies anymore, and I still use them all of the time.
Congratulations to Derek who won the speed contest down the slip n slide! Look at all that grass all over him!! HAHA.
We had one big scrape from a landscape pin coming loose, so make sure to continually check to make sure they are secured properly in the grass!
Overall the project cost less than $50 total! It was well worth every penny!
Enter the Huggies® Wipes #HugTheMessSweepstakes by posting a photo of your mess on Twitter or Instagram for a chance to win $2,500.
Follow Huggies® on Instagram at https://www.instagram.com/huggies/
Follow Huggies® on Facebook at https://www.facebook.com/huggies
or Follow Huggies® on Twitter at https://twitter.com/huggies
We are big fans of making messes at our house! Check out our other messy Huggies® Wipes post.
This looks super fun! It looks like you did it at a park or school. How did you do the water and hose then?!? A long hose from a neighbor’s house?
Where did you buy your velum? I can’t find anywhere that sells that 100×10 foot roll.
I have no idea why I called it Velum! I must have written that post at midnight or something. I am so sorry! It’s called VISQUEEN, and if you click on the link it will take you to the exact product that we bought at Home Depot. I hope this helps!
Was the visqueen heavy duty enough for multiple uses? Did it tear at all?
It completely depends how many people you have. Whenever we do this fun activity it is for an extra large group of 50 or more. So we wear it out each time, and only use it for one slide.
Lowe’s Home Depot any hardware store.
I tried this slip n slide on the weekend, using tent pegs instead of landscape staples. Also, used duct tape over the peg ends to prevent injuries. We had a lot of fun, but I will skip the pool noodles next time. The kids bumped into them and pulled the tent pegs up several times. Only one person got a trivial scratch, but I spent the entire day worrying. Next time, plastic will be tent pegged directly to the ground. No pool noodle to catch a foot or arm and pull out the tent pegs. Get LOTS of baby’s shampoo. We used a full bottle or more, hourly.
The pool noodles kept the water onto the plastic for us. So that’s why it was so important, but if that’s not a problem in the area you do it, then totally skip them!
I actually cut a slit in pool noodles and put them on side above the plastic rather then rolled in plastic then the tent peg is inside the noodle so no safety issues
CAUTION: be sure NOT to secure your landscape pins to the END of your slip and slide. I did and one inadvertently popped out and my daughter’s friend got a huge hash on her leg which required a trip to urgent care and stitches. 🙁
Same thing happend to us. The pin popped out and we had a 9 year old cut her leg from the ankle all the way to her knee. She had to go to the E.R. to get stitches and glue. I felt sick about it for weeks because it happened on our watch. I wish I had seen this comment before we set it up.
What a blast we had with the slip n slide. Yes even adults had a blast even all the spectators. Lol the adults used baby oil, coconut oil, olive oil. Whatever we could find When we ran out of each. Great idea great pin. Thank you.
We used to do this as teens using shower curtain liners from the Dollar Store!
That’s genius!
We stopped using oil or soap if you years ago. At the top, and you need a hey pretty decent hill, take one and a half inch PVC pipe and make an upside down you. In the underside of the PVC drill small holes, go to hardware store and get a conversion kit for a garden hose to PVC pipe this will put a continuous stream of water on the slip and slide. We anchor the top of the slip and slide with a very large cooler filled with beer and ice. This obviates anchoring the slide with the landscape pins. The biggest problem is rocks and sticks under the plastic. Everyone Hass to get barefoot and slowly pad over each inch of the slide. At the top we put interlocking foam mats under the plastic. We also put some indoor outdoor carpet on top of the plastic near the top of the slide so you can get a good running start without going to urgent care. And then we have the one rule, do not start your slide until the matter The mat is clear. No the rules!
Great ideas!!!
Excellent! I know what we’re doing this weekend!
This worked so well today!!! We had to use a shorter sheet of visqueen because our backyard is quite small. But thank you thank you thank you!
Looks like fun!
How do you store it once you’re done with it. What’s the best way to make it compact and bring it into the house for next time?
We only use our visqueen once each time. But, if you wanted to store it, just make sure it is completely dry before you fold it or roll it up. You would need a giant bin to store it in.