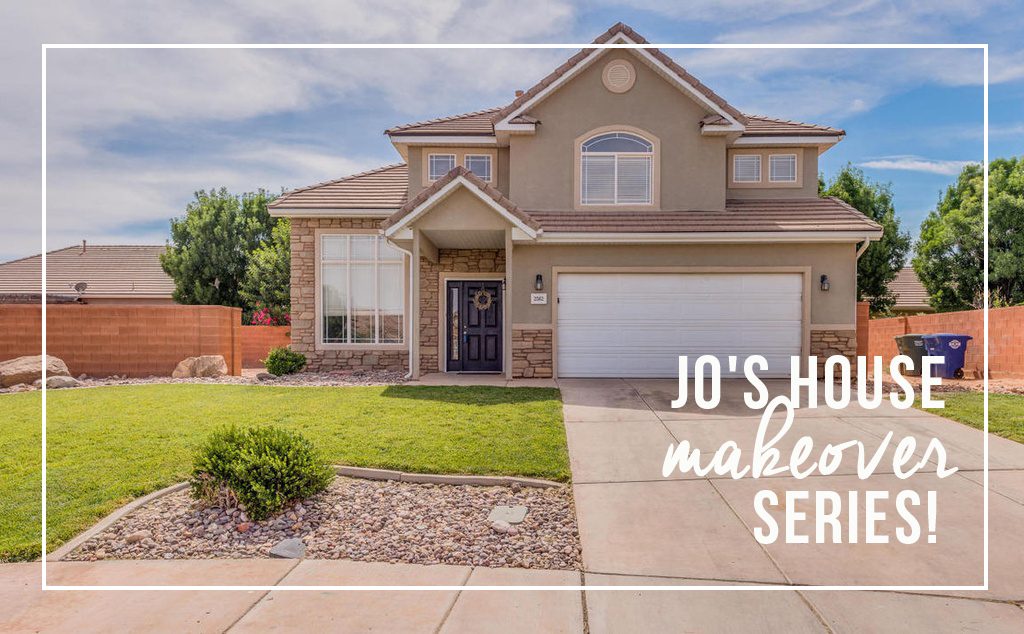
 Do you remember my BFF Jo? She and her hubby bought their first house! I’m so excited for her. They have both been working so hard to update and upgrade her home, and I am pumped to start showing you the amazing projects. Buying a house can be overwhelming {especially one that needs work}, but with a little elbow grease their house is looking amazing already!
….Handing the mic to Jo….
Today’s post is a fun one! I mean, have you heard of peel and stick vinyl? It’s basically a piece of vinyl with an extremely sticky side. So literally all you do is peel and stick! It’s awesome because it can be found at pretty much any hardware store, is very inexpensive and is a piece of cake to install! And just wait until you see what a difference it makes in this space!
What you will need {contains affiliate links} :
- Peel and stick vinyl of your choice {We used this, which is similar to this}
- Bonding Floor Primer
- Paint roller to apply primer
- Scraper of some sort {we used one similar to this}
- Utility knife
- Measuring tape
- Level
- Pencil
Before I began, I measured the room and figured out the square footage. I only needed one box for this and probably could have gotten away with less than that but I will probably use this in another room as well later on.
This is what we started with. {gag}
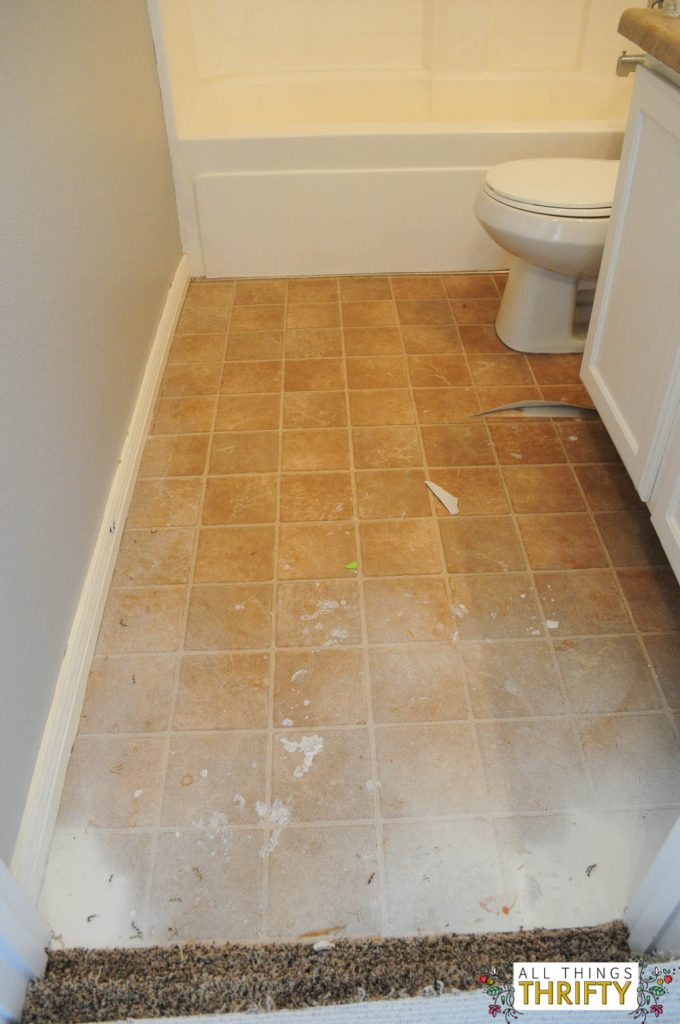
The linoleum was peeling up along the cabinets. Good times…
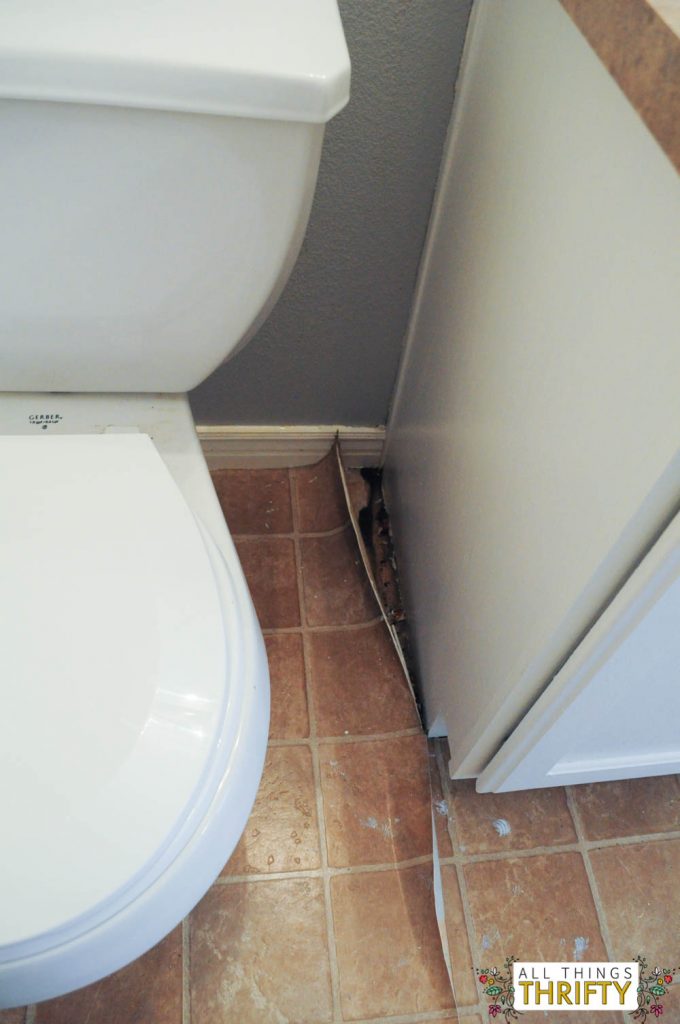
We started by removing pre-existing flooring. While I know this isn’t absolutely necessary, I just decided that this was the best option for me, especially because my floor looked like this. Also after talking to a few people who had used this product and they all assured me that removing was for the best. However… consider yourself warned! Linoleum is stubborn! Ha!
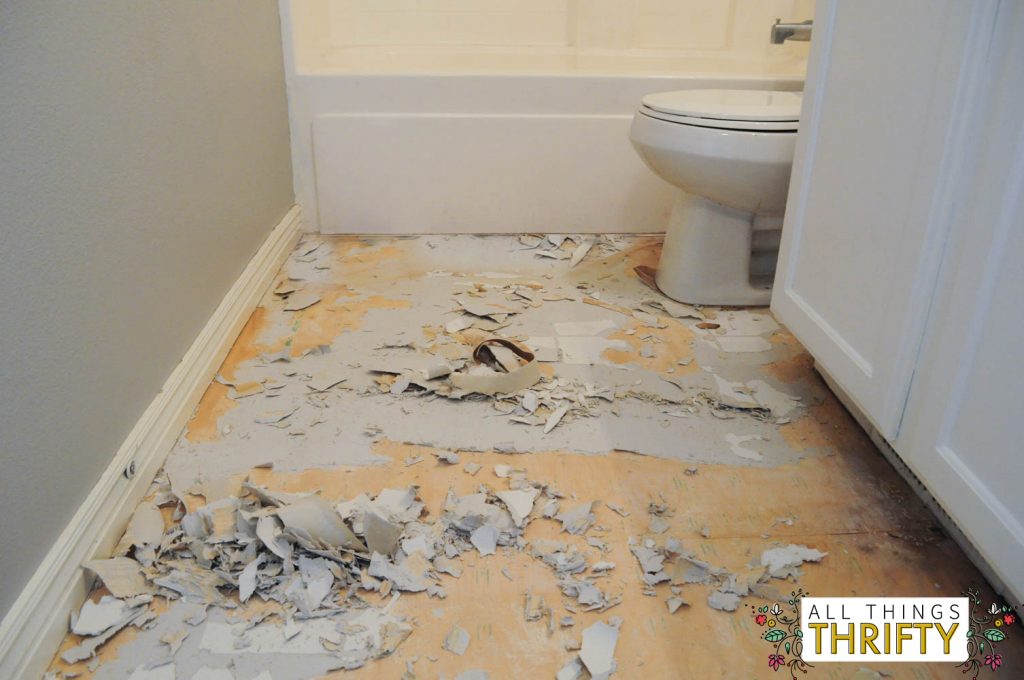
I started by making cuts throughout the linoleum and then pulling it up while I went.
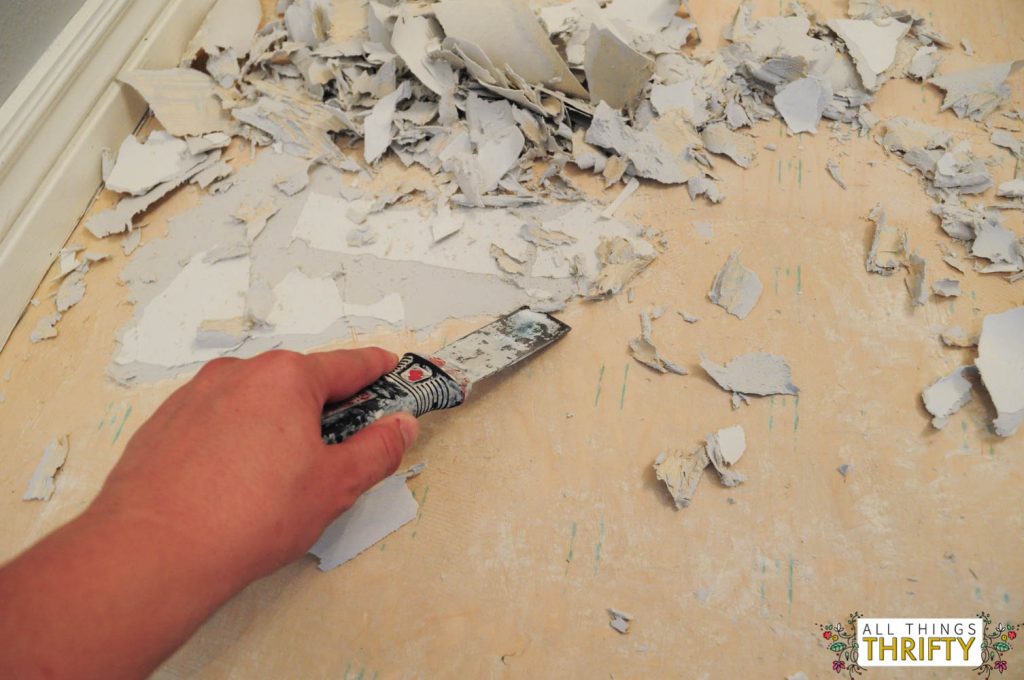
The floor scraper really helped remove the stubborn linoleum debris.
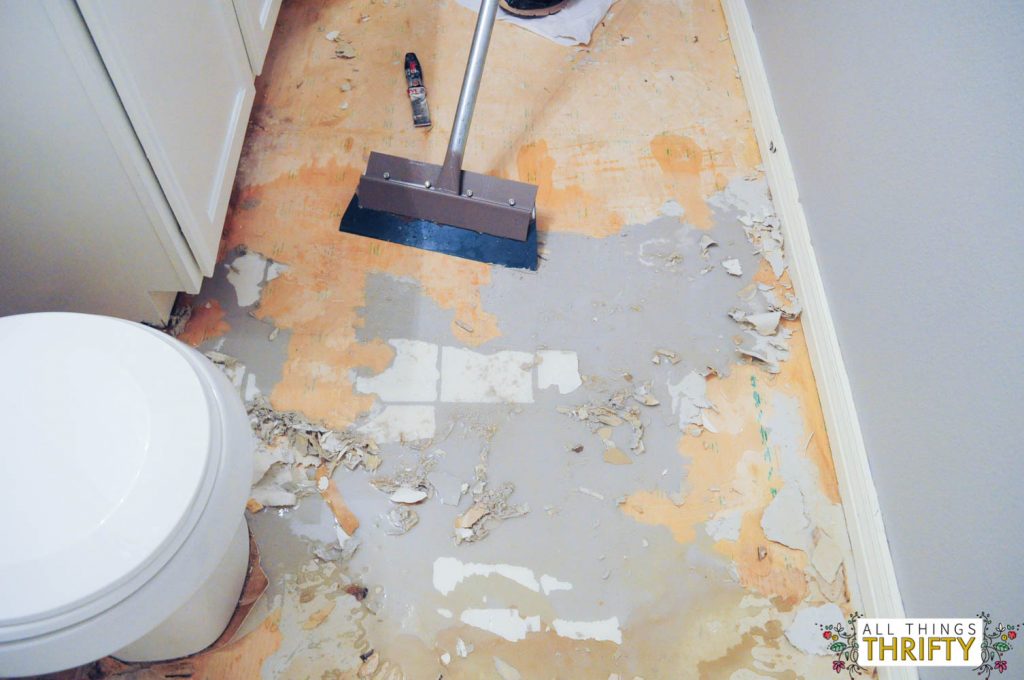
There really isn’t a right way to do this, just get it out. I used a putty knife on some of the smaller areas as well as the big scraper toward the end. Getting all the glue and stuff off totally took the longest time!
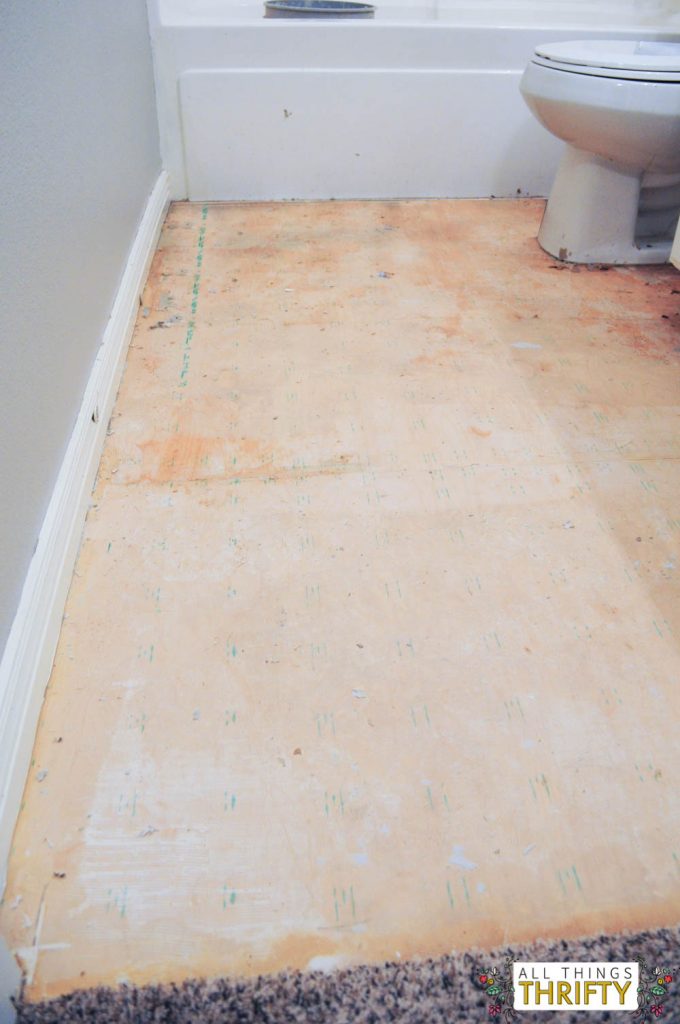
After sweeping and vacuuming all of the debris, mix your primer {according to the directions} and apply it to the surface via a mini soft paint roller. A good thin layer is all you will need. This acts as a bonder and will be slightly sticky so you won’t want to walk on it. Let it dry for a minimum of 30 mins. {When the white is clear, you will know it’s dry for sure.} If your floor ends up not smooth or uneven, you’ll want to use a self-leveler instead.
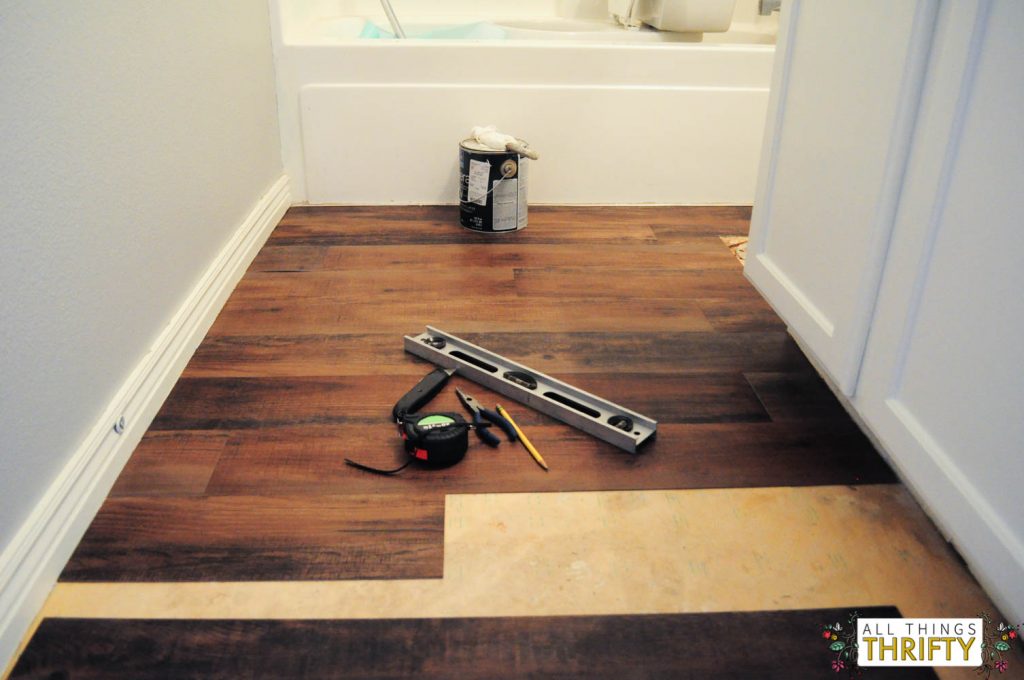
After the primer dries, lay a few planks along the tub and do a mock run of how you want your floor to go. With mine, there would only be one seam per row so I wanted to make sure that they were staggered and didn’t line up. Once you get an idea as to how you want your layout to be, you get to start! I started at the tub and went the direction I did because of the metal transition piece in front of the tub. The vinyl fit perfectly underneath it.
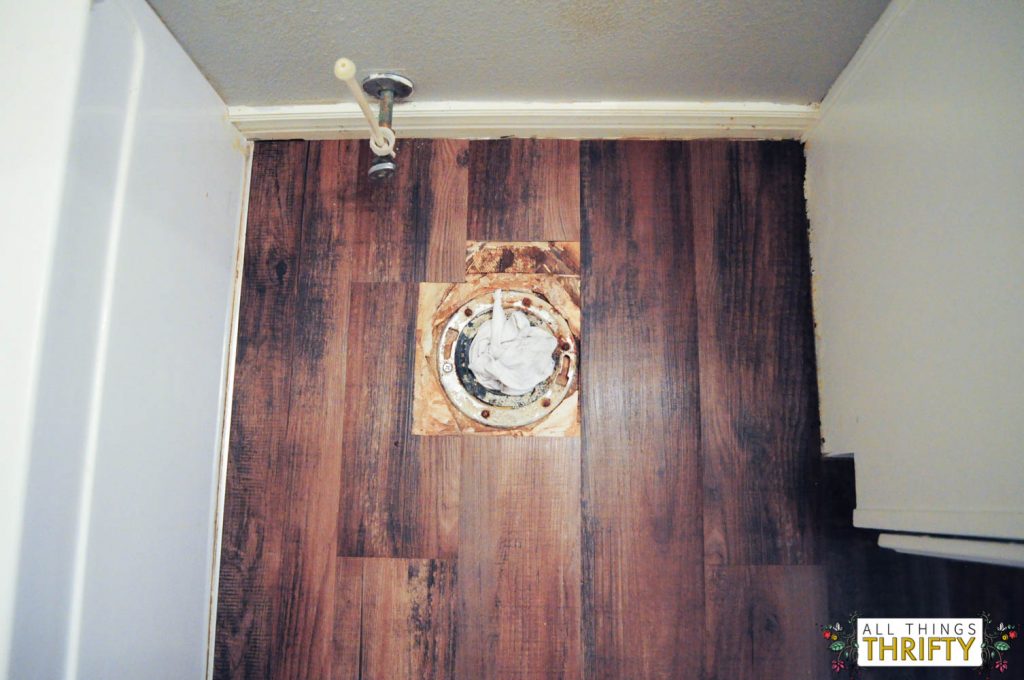
Around the toilet was fairly simple as well. After removing it, I placed planks as close to the hole as possible but didn’t completely go all in. Just go far enough that any subfloor will be covered once the toilet is replaced.
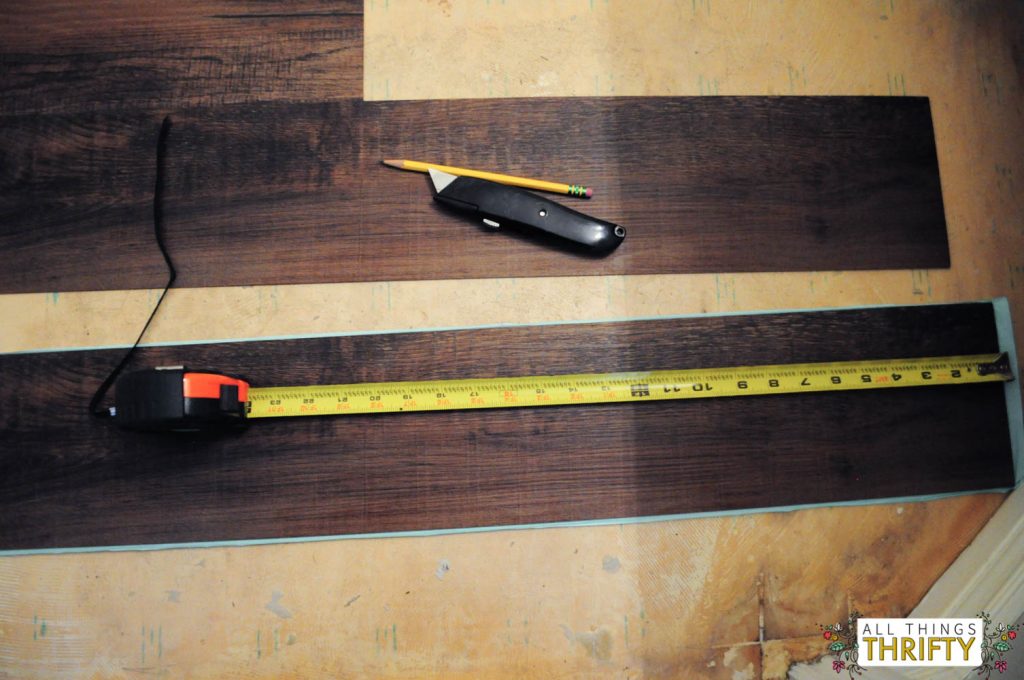
As you begin to put your planks down, you will need to cut them to size so you will measure your spot and your plank.
Mark that off and then using the straight edge of your level, score with an utility knife.
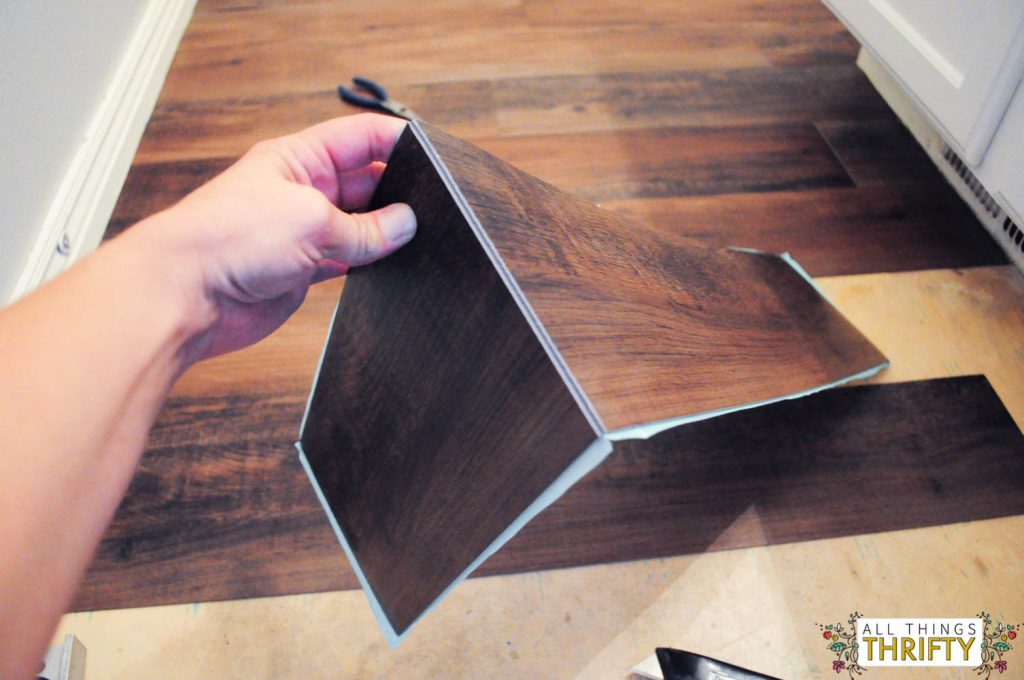
Bend the vinyl where you cut it and then snap it. It will break perfectly.
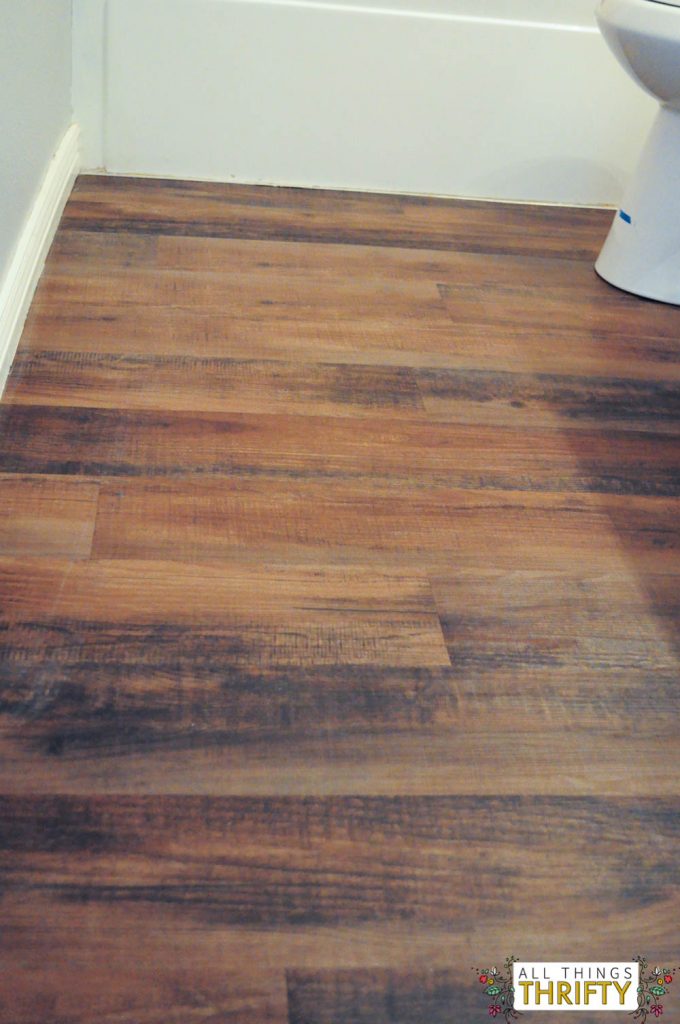
Easy peasy!
There were several times during this process that I would have to move a plank. That’s the great thing about this stuff, you can totally re-position it if necessary and it’s very forgiving! Just make sure you get those seams as tight and as close as possible.
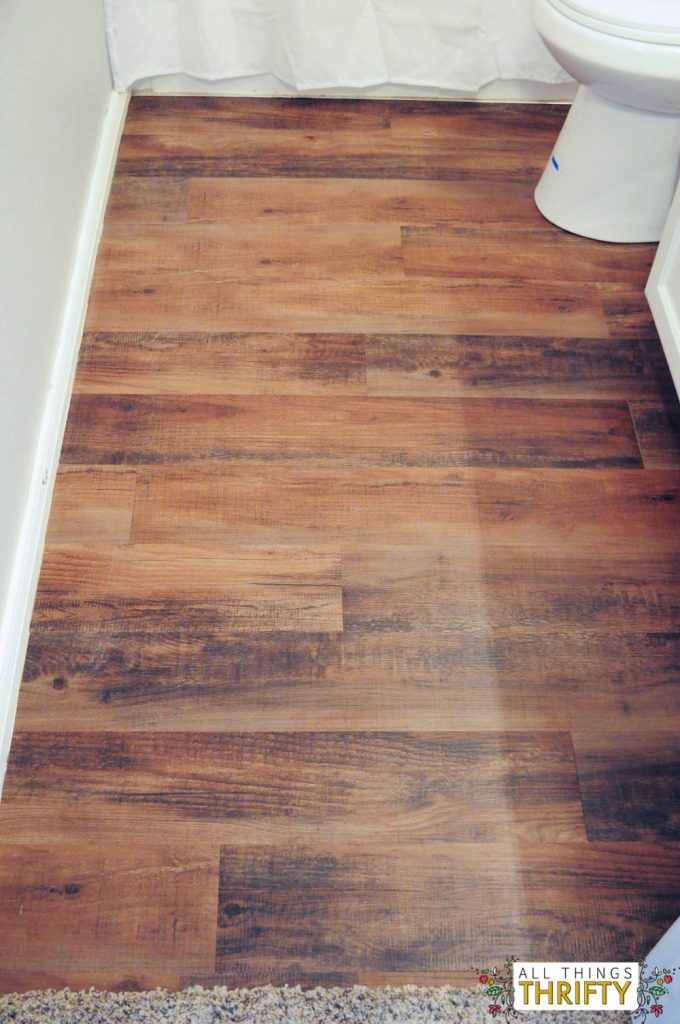
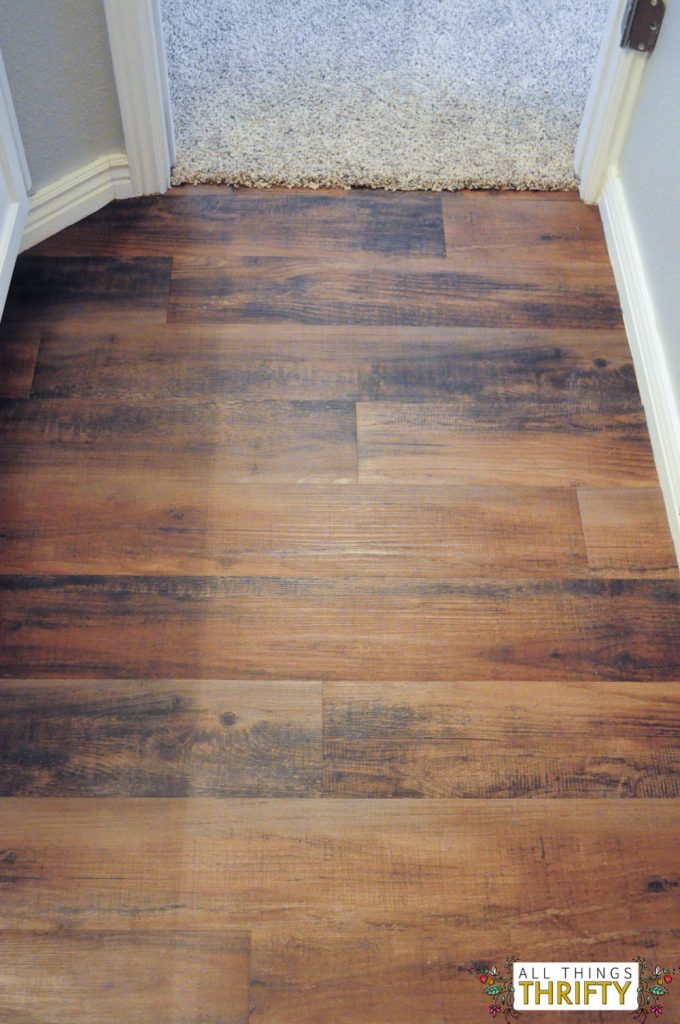
Here it is all in and done! It looks amazing! Don’t you just love the look? After I was finished installing, I noticed a couple seams that were bowing so I just grabbed a heavy can of paint for that spot. Pressure is key when getting these bad boys completely down. They did however end up adhering so well to the wood sub-floor that I only had to fix one spot.
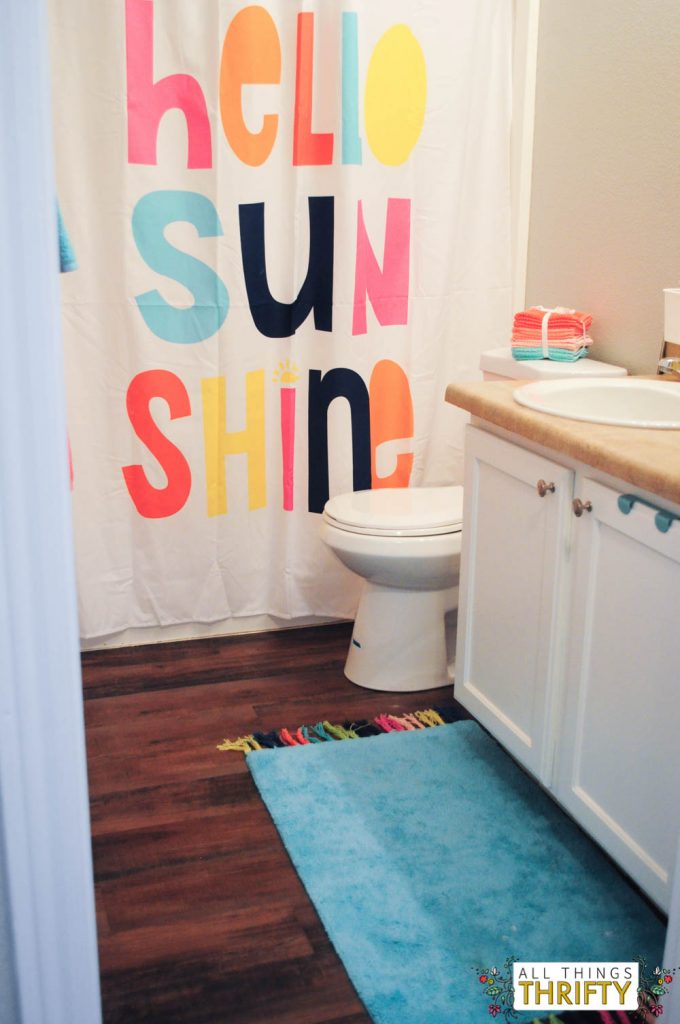
I sure wish I had some natural light in this bathroom buuuut unfortunately this will have to do! 😉 Ha!
I will have to keep you updated on how it does in the bathroom. So far, so good though! I just need to add a couple more finishing touches and this bathroom will be complete!
What do you think? Are you ready to install this?

Looks amazing!!
I’m thinking of doing this to a high traffic, back door entrance and laundry area. What If water gets underneath, surely your vinyl isn’t hard wearing? Helllppp?
LOVE this, so affordable and user friendly! Thank you for sharing, can’t wait to try this at my home 🙂
Looks so amazing!! When I click the link to the vinyl you used, it looks darker online than your finished product. Was it that way when you ordered/picked it up? (lighter in person than online?)
It’s probably the lighting differences in the photographs. It looks a little lighter in person than online, but not much.
How did you do your carpet/tile floor transition? It looks like you have it done without a tack strip. Please share! I’m trying to do the same.