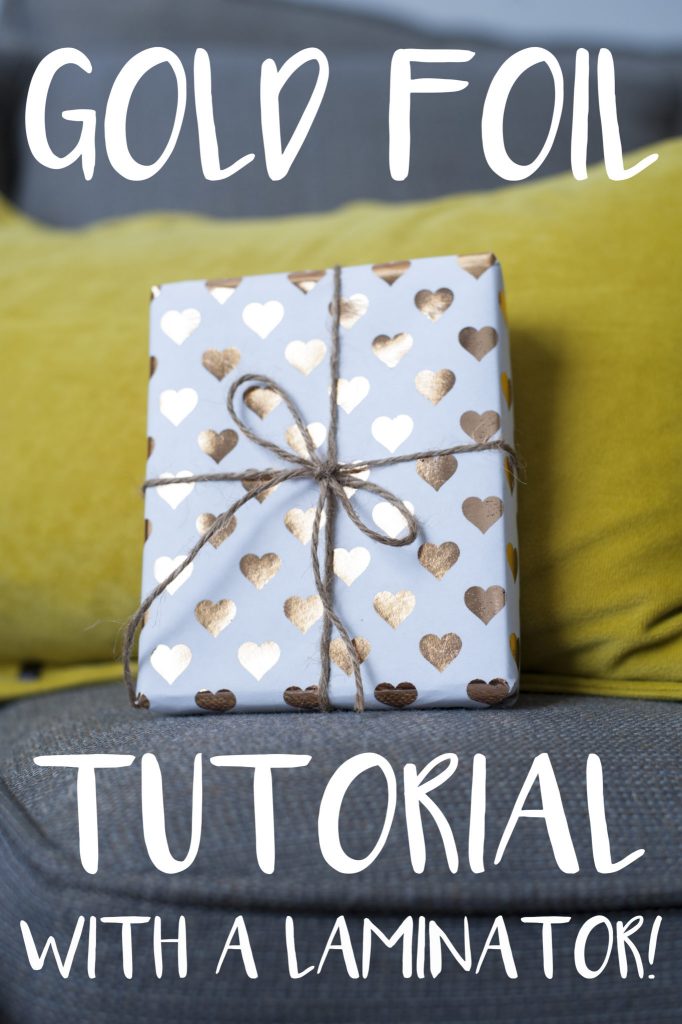
Gold foiling is big and although most of my friends don’t know this, you can use a regular laminator to create foil projects! I decided after talking to friend after friend after friend who didn’t know that a laminator was all you needed to create these fun foil projects, I needed to do a post about it here on All Things Thrifty too.
I promise I will teach you step by step how to create gold foil projects. All you need is a cheap laminator, a laser printer {not an inkjet}, toner-reactive foil, and a few pieces of white paper {both card stock and regular paper}. I have a relationship with the above linked retailers. If you buy from them I will benefit.
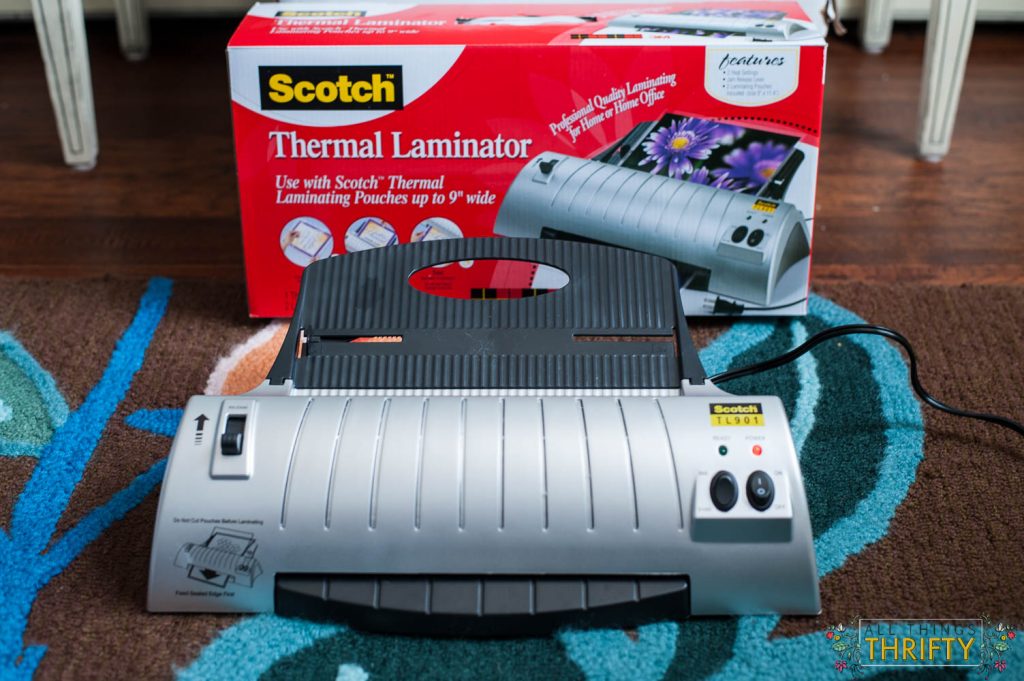
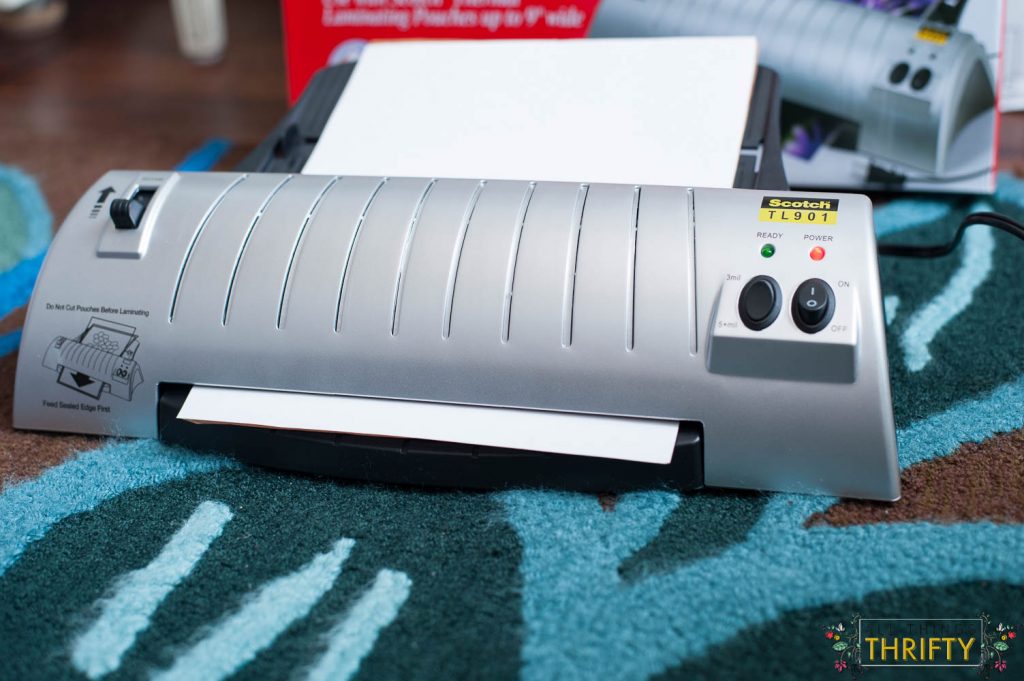
This is the laminator that I use for all of my foil projects. It was $35 on Amazon and is similar to this one.
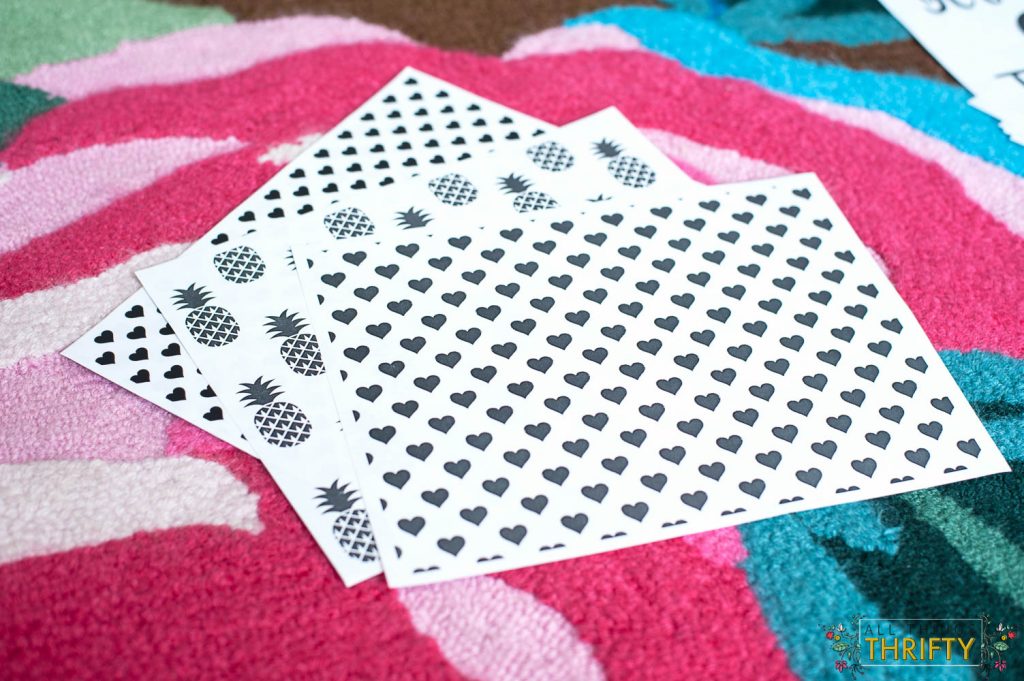
Step 1: Print your patterns on your laser printer. If you don’t have access to a laser printer, head to your local print shop. They will be happy to print them out for you at minimal cost. My husband has a laser printer at work, so I used his printer there.
You can print them on regular paper or card stock depending on what you will be doing with your projects. I printed on card stock for the invitations at the bottom of this post, but for the wrapping paper, I printed on regular old white printer paper.
Step 2: Next, roll out your toner-reactive foil over your paper, shiny side up. Be careful when you are ordering your foil, some of it comes in tiny rolls. So be attentive at the dimensions. You can also buy toner reactive foil at Michaels or JoAnn.
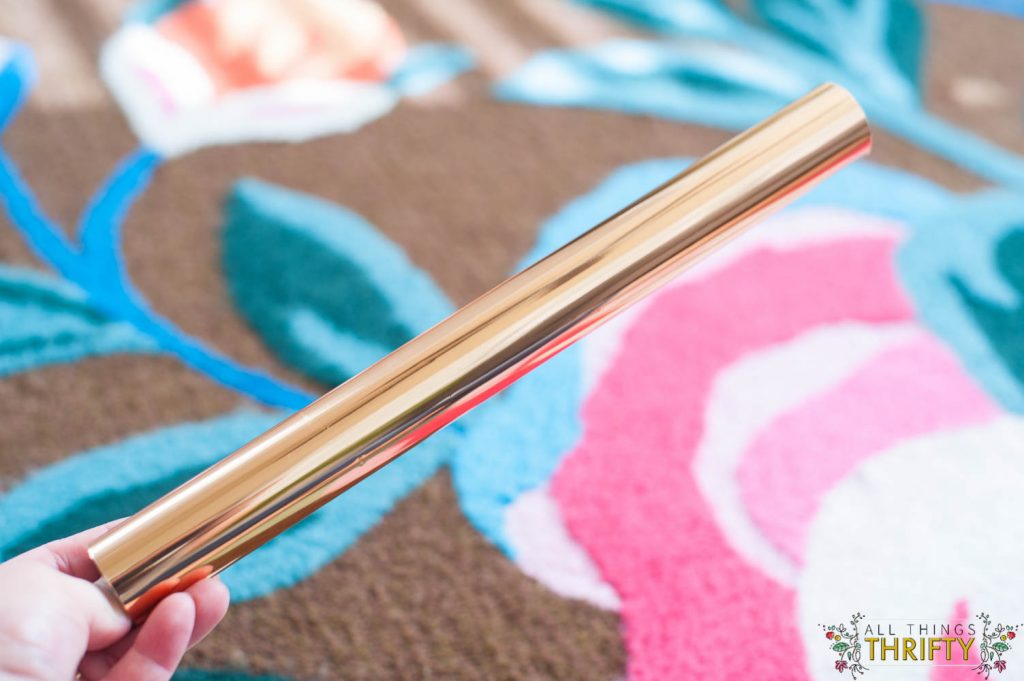
Make sure it covers all of the black ink on your paper. But, if you accidentally miss a corner, don’t panic, just put another piece of foil over it, and run it through the laminator again.
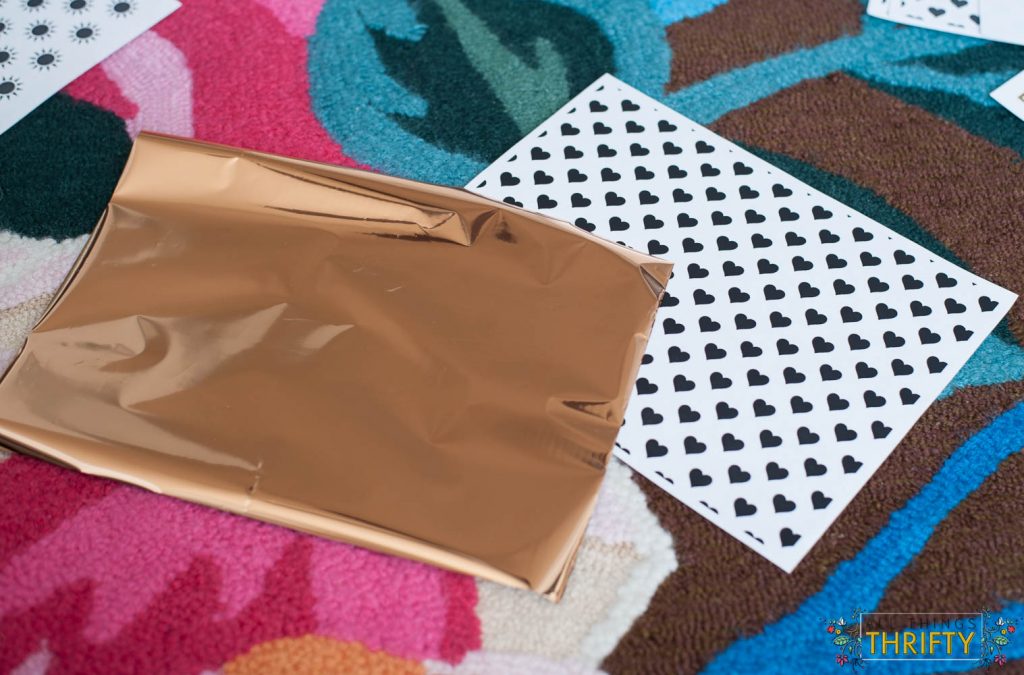
Step 3. Trim the foil so that it fits perfectly over the sheet of paper. I use my favorite paper cutter. It makes the process simple. I’m OCD like that. :). Plus, you don’t want your foil to get crunched while going through the laminator. <—-I’ve done that and it looks bad.
Step 4: Place a piece of card stock over the top of the foil to hold the metallic foil in place.
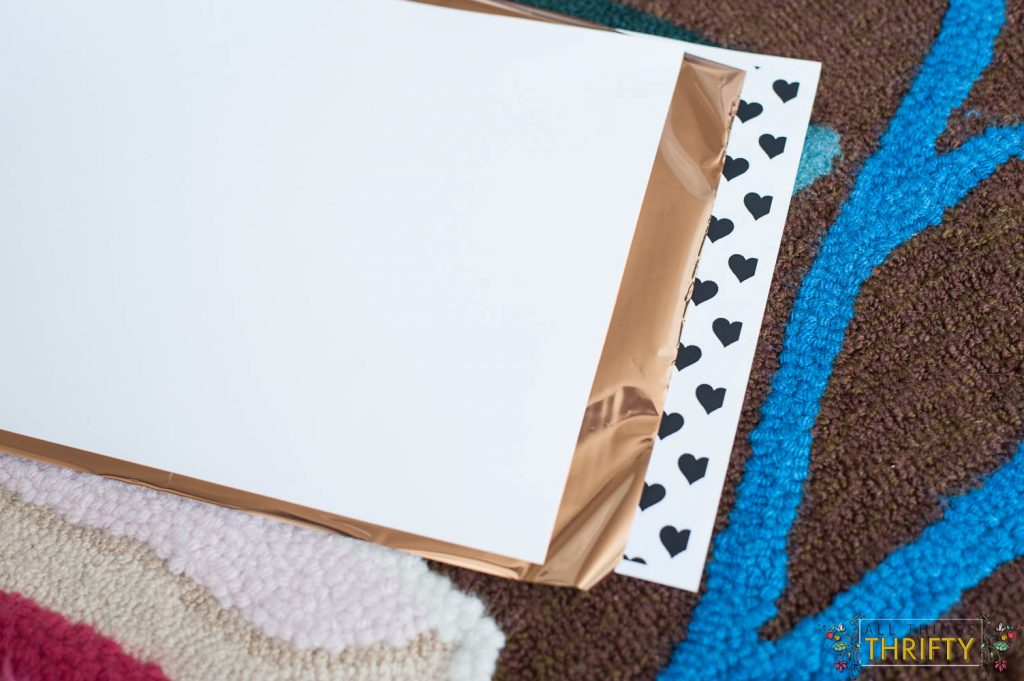
Step 5: Now that you have sandwiched your foil between the two pieces of paper, run it through your laminator. I do this twice just to make sure the foil reacts to the toner as well as I want it to. TIP: Make sure your laminator is warmed up properly before use.
Step 6: Your foil will be attached to the bottom sheet of paper. Peel it off slowly.
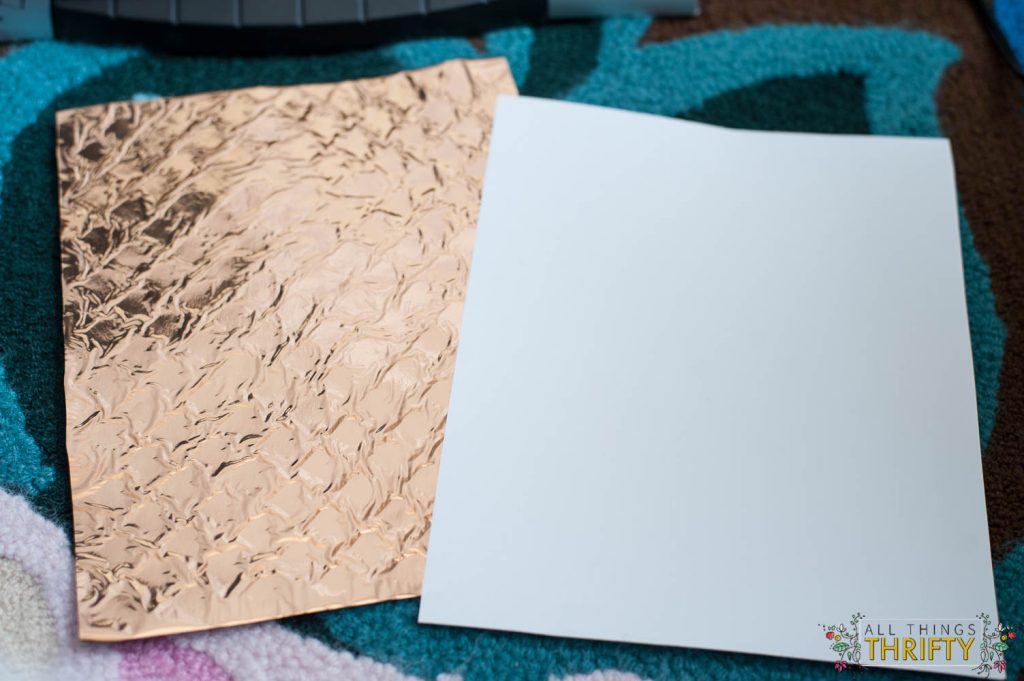
It’s the best part of the whole process! I know it may sound kind of complicated, but I promise it is SIMPLE! Once you get the hang of it, you will want to foil everything in your entire house.
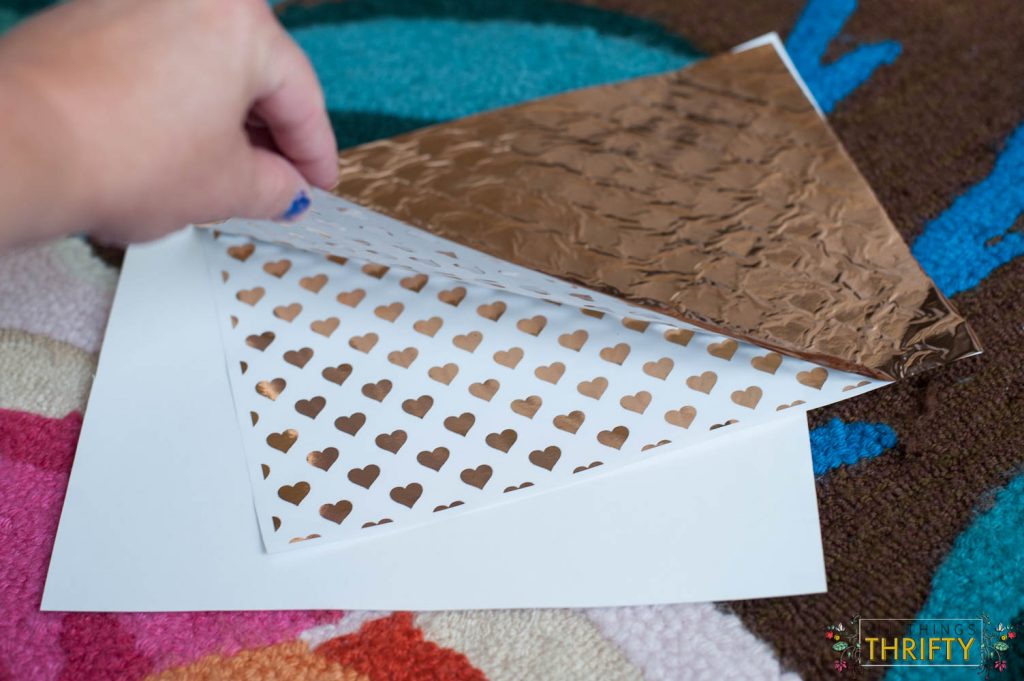
Good luck!
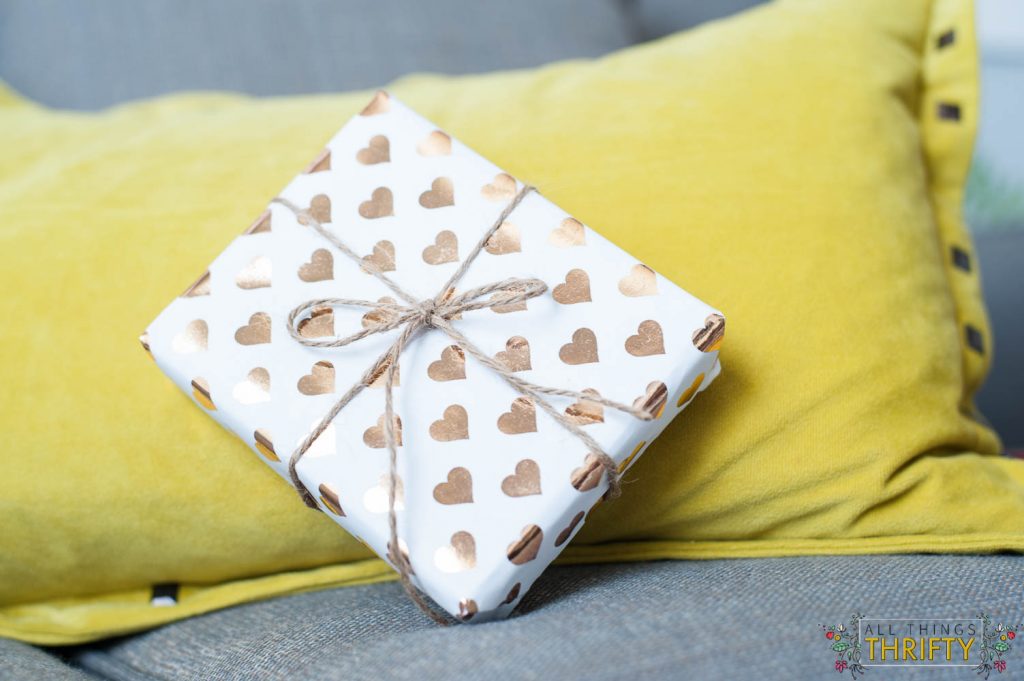
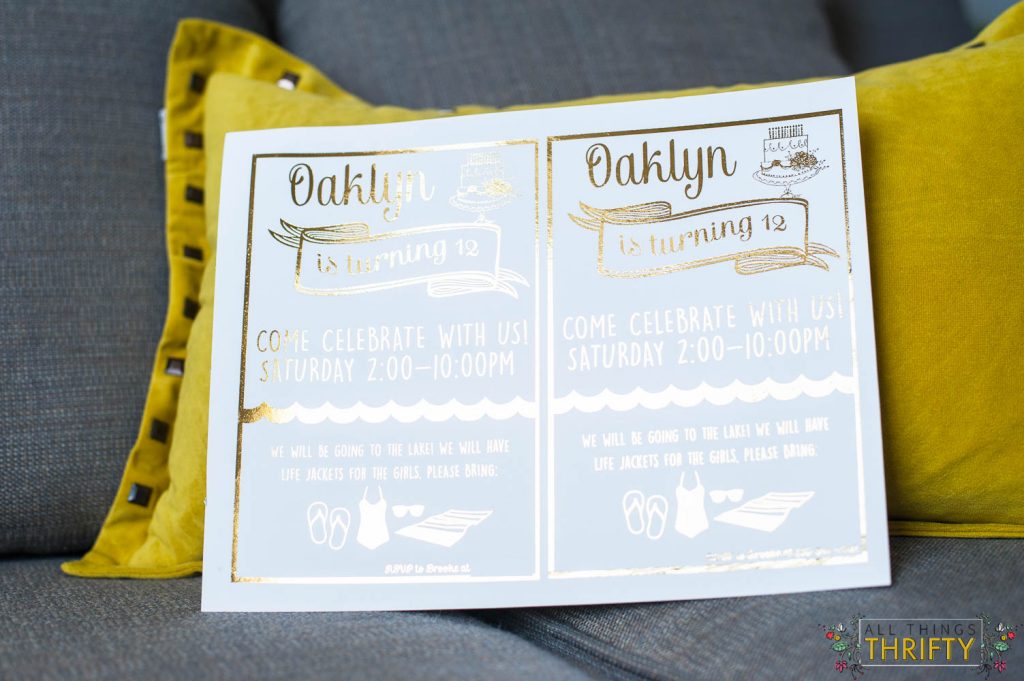
I used the same process to make invitations to my daughter’s birthday party with plain white card stock.
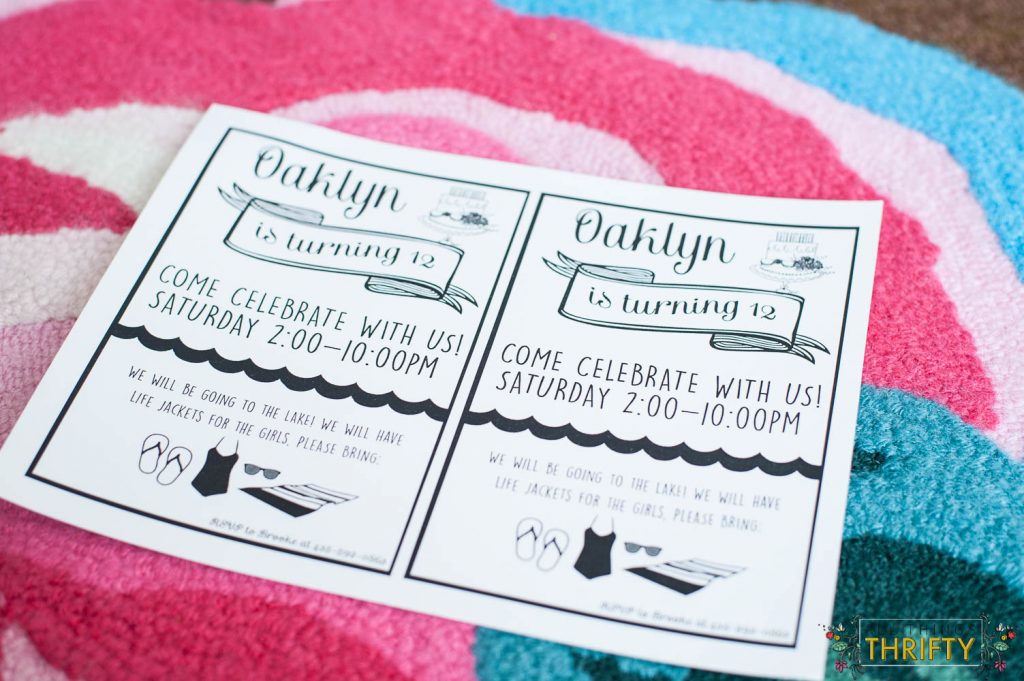
All we did is run it through the laminator with the foil over the top {sandwiched with another piece of card stock}, and cut them apart with my favorite paper cutter.
Let me know if you have any questions, I promise I will answer them if you leave a comment. I want everyone to know how easy it really is to create gold foil projects!
xoxo,
Brooke

Mind BLOWN! I will be checking craigslist for a laser printer!!
You are my hero! I knew there must be a way to do this without having to fork over the $$ for the Minc. I already have a laminator. Off to foil all the things!! YAY!
Hi! I have used the laminating foil you linked to Amazon and my paper comes out distorted. The gold takes on the laser print but cracked. Looks like crackle nail polish. Not sure what to do? Is the foil wrong? Laminator heat? The laser print? Please help if possible! Thanks
Hi Desiree, Hmmmmm it could be any number of those things. I have a few suggestions. Have you been putting it through the laminator twice? Mine looks significantly better if I put it through two times. Also, if that still happens, maybe try a different foil brand. Try the Minc brand. I’ve heard amazing things.
Hey! Did you try the Minc brand gold foil and if so did it help? I’m having the exact same issue. I even put it through the laminator a couple extra times and while it looks ok from far away, it’s really not good enough quality to hang or gift because it’s crackled if you look closely.
I did and it worked great!
brooke how long after printing can you foil. do you have a window or is it a matter of the heating process in the laminator re activates the toner and foil to combine? my partner is printing at work so may be half a day or even 24 hours until i can foil? do you think this will work?
I don’t think there is an exact time window so you should be just fine!
Thank you for this great post! I have a laminator! Yippee! If you use a copy machine (toner) will it also work? Thanks again!
YES!! It will totally work!
hi there, thanks for the tutorial! I’ve tried this method as well, but it doesn’t always adhered to the laser print.
I’ve even run it through two or three times.
Any suggestions?
thanks
It may be the printer you are using. I’ve found that all lazer printers are not created equal. Try it with a different printer and let me know if it works better. The only other thing that I’m thinking is that your laminator may not be hot enough. Let me know what happens.
Hey Brooke!
I know this is a super old post but I came across it when searching for DIY foiling technique. I hope you’re able to answer my question. I’m creating my sister’s wedding invitations and having a tough time with the foil adhering properly. It’s similar to a few of the other commenter’s issues where the foil is crackling (I’m using iCraft DecoFoil) but I’m wondering if it’s the fact that I’m trying to foil text printed in a dark blue rather than pure black. We’re using a pearlescent cardstock (which could also be the culprit) but I was wondering if it makes a difference which type of black the type is designed in (i.e. flat black, registration or rich black). Since the foil is reacting to the toner I wanted to see which type of black you used to get such good coverage.
Thanks!
I have no idea what black I used! It’s just the plain toner in the lazer printer. I wish I knew more for you! I definitely would say that pure black would help. I like Heidi Swapp’s foil the very best. Also, a few times my coverage wasn’t great, so I put it through again with a new piece of foil, and it really helped. Also, try a different lazer printer. Mine worked way better than my friend’s. Good luck!
It’s definitely the pearlescent card – I used the same and it kept getting ruined. Tried a sample on plain paper and it worked fine. The pearlescent card has some kind of coating that messes with it all.
Hey Brooke!
Thanks so much for sharing this amazing project! I cannot wait to try it on our wedding invitations 🙂 We have a marble background to our invites, and I’m worried that the foil will adhere to ALL toner on the invite and make the marble around the words gold as well.. Do you have any insight on how to avoid this from happening? Any advice would be appreciated before I commence this new craft!
I’m a tryer. I would just try it and see what it does! 🙂 I don’t know what it would do. It depends on how the marble was printed in the first place. I hope it works for you! Good luck!
Hi Brooke! Does the toner that isn’t being covered by foil ever stick to the cardstook cover?
Hi Bailey! I’ve never had that happen!
Hi Brooke!
What temperature did you put the laminator on? We have that can be adjusted so we don’t want it too high or too low!
Please let me know as soon as you can
Thank you 🙂
Hi Charlotte, mine is on “high” so I’m not sure what the exact temperature is one. Hope this helps!
Hi, I was wondering if you ever have any problems with the foil creasing as it goes through the laminator? This is driving me mad. I’ve tried it with and without a paper cover over the foil. My laminator goes to 180c (I’ve tried it at different temperatures and it doesn’t seem to make a difference). I tried taping the foil down but then its impossible to get the tape off the paper without tearing it. It doesn’t happen every time but more often than not (It’s normally fine when I just test it on a scrap. So frustrating. Any ideas?
What are you using to cover the foil with? Plain copy paper or card stock? And are you applying the gold to card stock? I have found that the weight of the paper can make a huge difference. The most success I have had is when I transfer the gold to card stock and covering the top with a plain piece of copy paper. I hope this helps! But let me know if you have tried this already and if so, I will try to keep brainstorming! xo
Hi Brooke! Thanks for this post. 🙂 I don’t have a laser printer, so I’ll need to go to the copy store. Is it okay to have a delay between then and putting it through the laminator? Like maybe 20 minutes?
Thanks for your help! 🙂
Shannon
Yes!! I have never had any problems with not doing it immediately!! Good luck! xo
Is there any special laminator you need.I have a fellows but it comes out patchy.
It might be your printer. Sometimes I have to run it through my laminator twice. Have you tried this?
Yes I have but it made no difference.Thought my laminator might not be hot enough as i have read that sometimes that is why.
Thanks for your help.I think I will try a different foil
Great tutorial thanks. Has anyone done this successfully with Deco Foil by ThermoWeb? I am trying to foil a photocopy of handwriting made on regular copier paper. I have the Scotch TL902 laminator. The copy is of fountain pen writing, so thick lines. I also chose maximum darkening when copying, to increase the amount of toner on the paper. However only a tiny amount of foil transfers, even after running through the laminator 10 times. I’ve tried both 3mil and 5mil thickness settings, but don’t seem to make a difference. I’ve used 65lb and 80lb card stock to hold the foil in place. I guess I will scan the handwriting instead and see if I can get it on thicker paper or even stock, but keen to hear others’ experiences with a similar set-up!
Hi, we are trying to do invites onto card with gold foil and with a laminator but the gold is not tranfering to the card correctly, its giving it a kind of antic look.
Any advice for us on how to get more gold onto it?
Put another gold foil on it and run it through again. If that doesn’t work, then you may not have a good enough laser printer.
Hello! Thanks for great tutorial Brooke! My foiling turns out great but I seem to be having the same issue as Bailey (Aug 17, 2016)- where the toner that isn’t covered by the foil is sticking/transferring to my paper cover-making my invitation wording look less black than it should. Has anyone come across this and found a solution? Thanks in advance!
This information is great, thank you!
Does this work on colored card stock? I really want to print gold foil on navy paper.
Thank you!
Yes it totally does. Well, I’ve never used it on a dark color like navy. If you try it, let me know how that goes!
Hello, I’ve done this with a laser printer the foil and a cheap laminator from amazon. I have no problem with the gold adhering to my design the problem is that it also sticks to just the white surrounding the design.
Do you know why this might be happening?
That is so weird! I have never had that happen! I have no idea! Darn it.
I have had this happen with a certain brand of foil, I don’t remember what the name of it was, but I got some different foil and it worked much better
What kind of paper did you use? also, what type of laser printer do you recommend?
Just normal printer paper or cardstock and ANY kind of laser printer will totally work!
Sorry Brooke, but not all laser printers are compatible, as I’ve found out to my cost! ?
Am seriously banging my head against a brick wall trying to find out which are compatible, before I buy one!!!
Any recommendations would be greatly appreciated. Thanks xxxxx
Hi, I’m not able to paste the link but if you go to pinkimono.com there’s an article about which printers work best. I think she bought and returned 4 or 5 before she found one that did the job well.
I’ve purchased the foil (specific for laser), a laminator (GBC Inspire) AND a laser printer (Brother HL-2240 monochrome) only to find out that none of it works to get foil prints… I’ve tried different foils and nothing works. I’ve tried them on my transperant stickers, on regular white paper, etc., but no luck.
What am I doing wrong?
I only know that the products I use in the post work great. Other products can react completely differently.
Hey! What temperature should your laminator be at? I had it at 300 degrees and the foil didn’t stick all the way. Wondering if it isn’t hot enough?
I put mine on the hottest setting, and I sometimes run it through twice.
Could I use a toner pen instead?
YES!
Does the printout need to be in black? Or would it react to coloured toner as well?
It definitely needs to be black in my experience, and it needs to be really dark.
Thank you so much for this! I thought it was going to cost me a fortune to print my babies 1st bday invitations. You are a life saver!!
I’ve had a night mare with foiling. Trial and error.
I found pearlescent paper doesn’t work with toner and foil it flakes off instantly.
The paper needs to be smooth or again it doesn’t work with a smooth finish. I’ve read the paper should be above 240gsm weight.
I’m doing wedding invitations and need them perfect. Some come out flawless some come out with random patches not adhering? If it was the printer wouldn’t it’ do it every time? Which means it’s got to be the laminator? I run it through three times and still not great.
Could it be about peeling it off when still hot or too fast?
Anyone help?!
Thank you so much for your easy tutorial! I can’t wait to try it!
Hi! I don’t have a laser printer – do you think this could work with an inkjet?
No it definitely doesn’t work with inkjet?
You have to use a monochrome laser printer. The difference between a color laser and monochrome is the black toner used in a color laser is not a true black it needs to be compatible with the colored toner….the monochrome laser uses only one color(black) so it is a true black….I hope this helps 🙂
I know this is a super old post but I am hoping someone sees it and comments with any suggestions … I am a beginner and have just tried the foil transfer with the laminator – exactly how you wehave described above. What I am finding is that the foil is transferring also to the blank area / white space – as well as the printed selection. It happens every time and I am stuck what I should do.
OH NO! Are you using a lazer printer? Not an inkjet?