My daughter’s guest bath was in serious need of an update! We originally planned to start with the floor, but the stencil didn’t arrive in time, so the floor will be phase two.
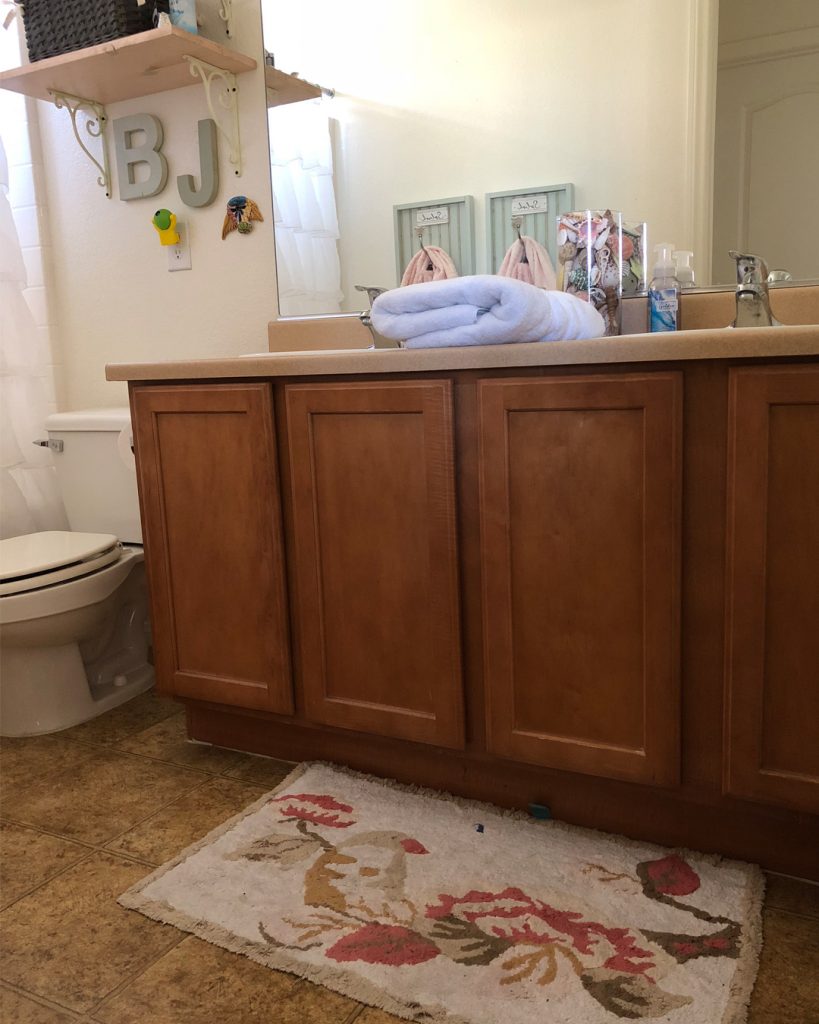
For Phase One, we updated the following:
- Cabinets
- Countertops
- Mirror
For all three updates, we kept the original–nothing was replaced.
Here’s what we used for the cabinets and countertops:
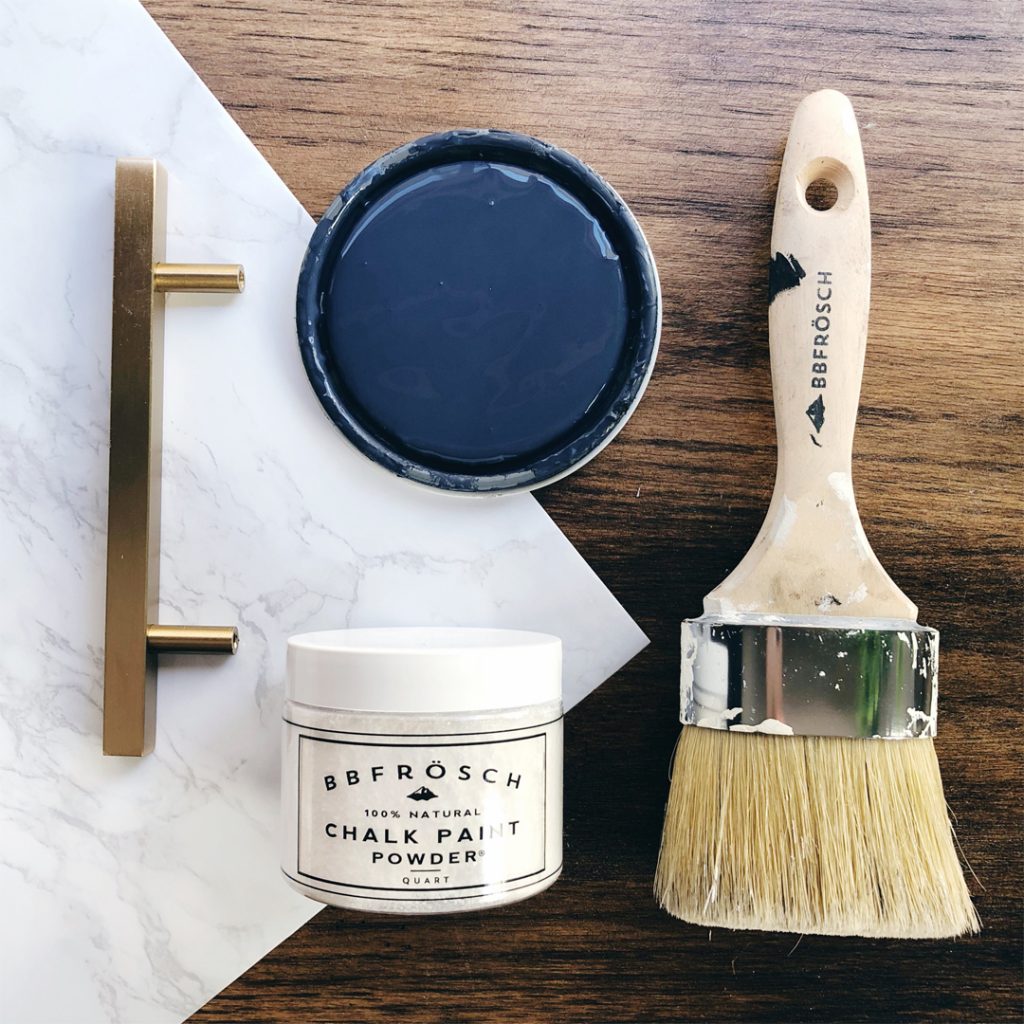
- Color: Benjamin Moore “Hale Navy”
- BB Frösch Chalk Paint Powder
- Brushed Gold Bar Cabinet Pulls
- Marble Contact Paper
We also used:
- BB Frösch Clear Premium Finishing Wax
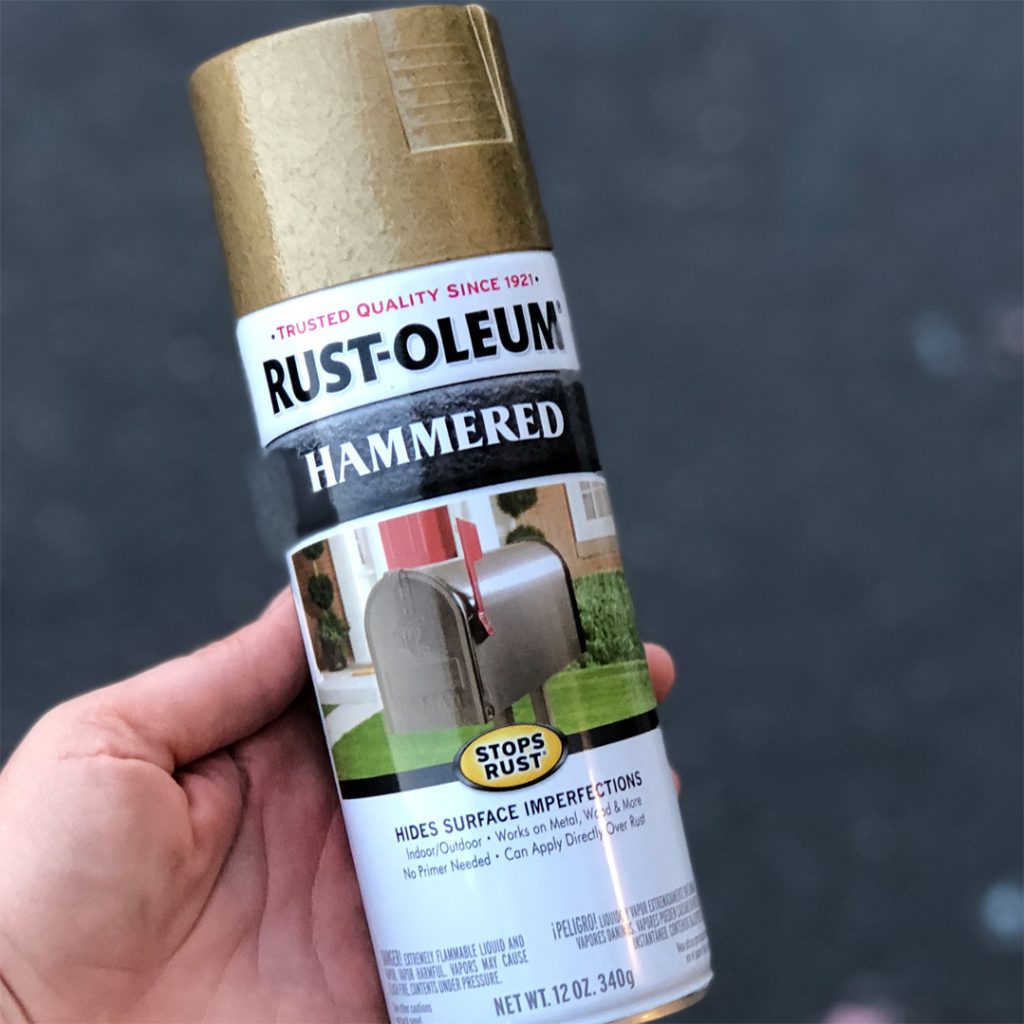
- Rustoleum Hammered Spray Paint (see below for a photo)
- Blue Painters Tape
- 400-grit Sandpaper
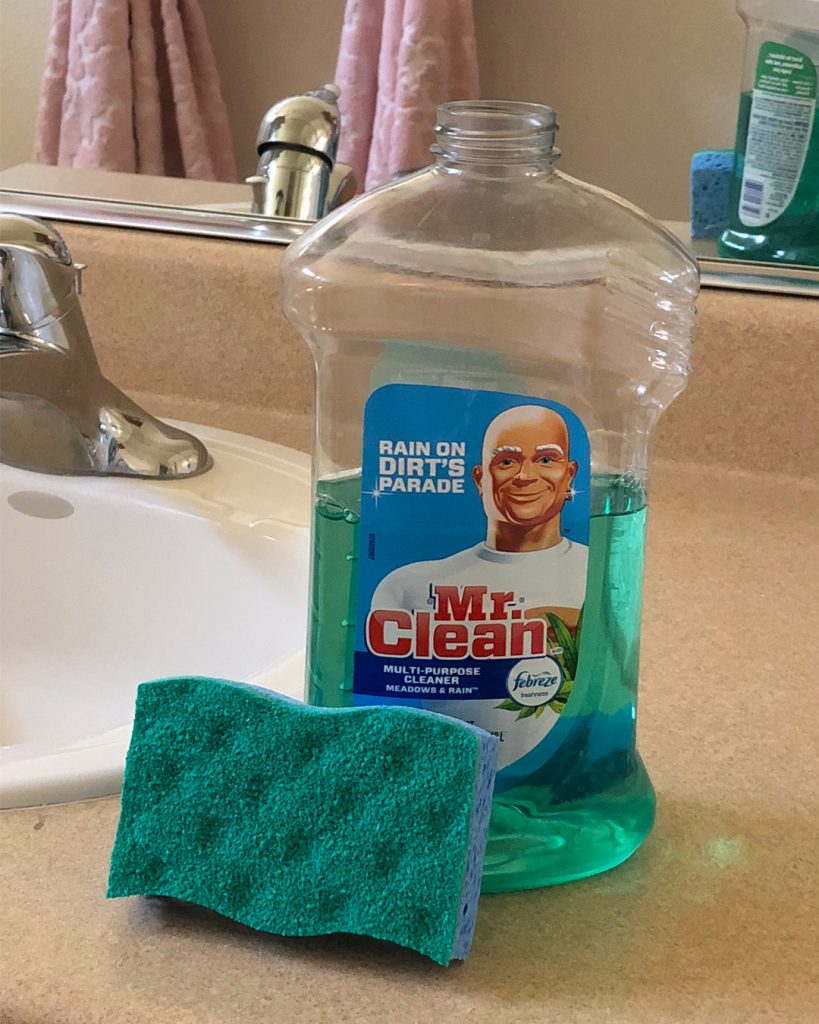
First, we cleaned the cabinets WELL! This is probably the most important step when using chalk paint on cabinets, because unseen dirt will act as a barrier.
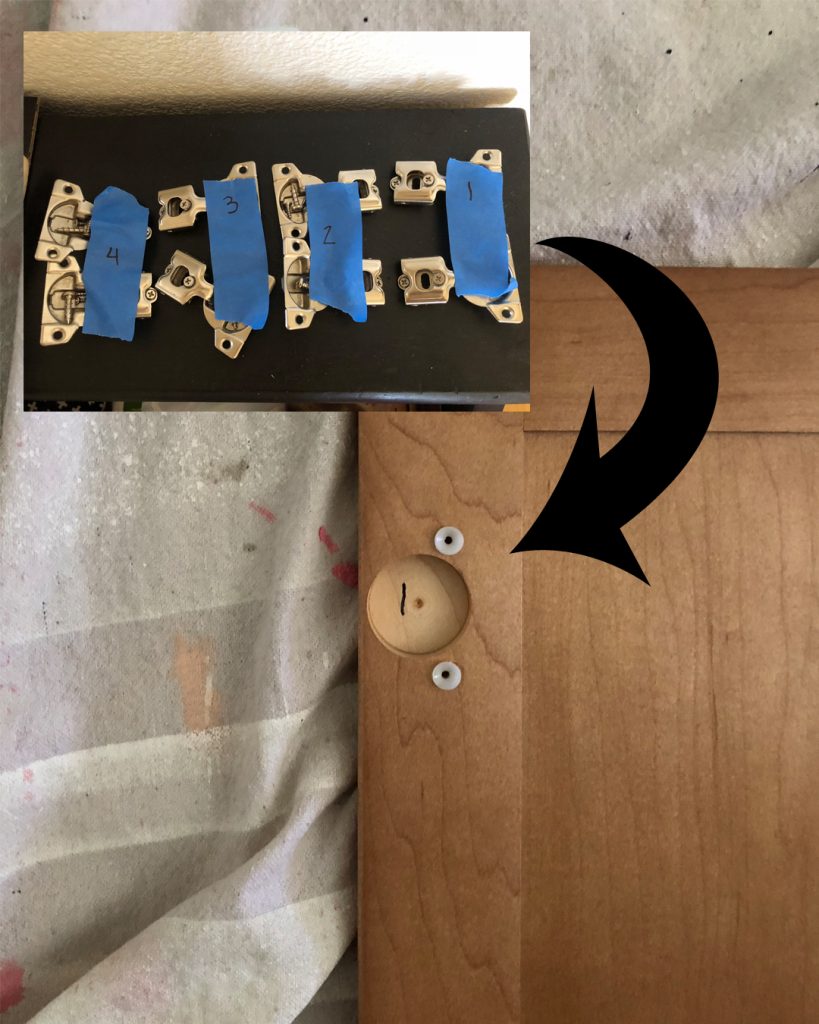
Next, we removed the cabinet doors, and numbered them with a Sharpie in a spot that wouldn’t be painted.
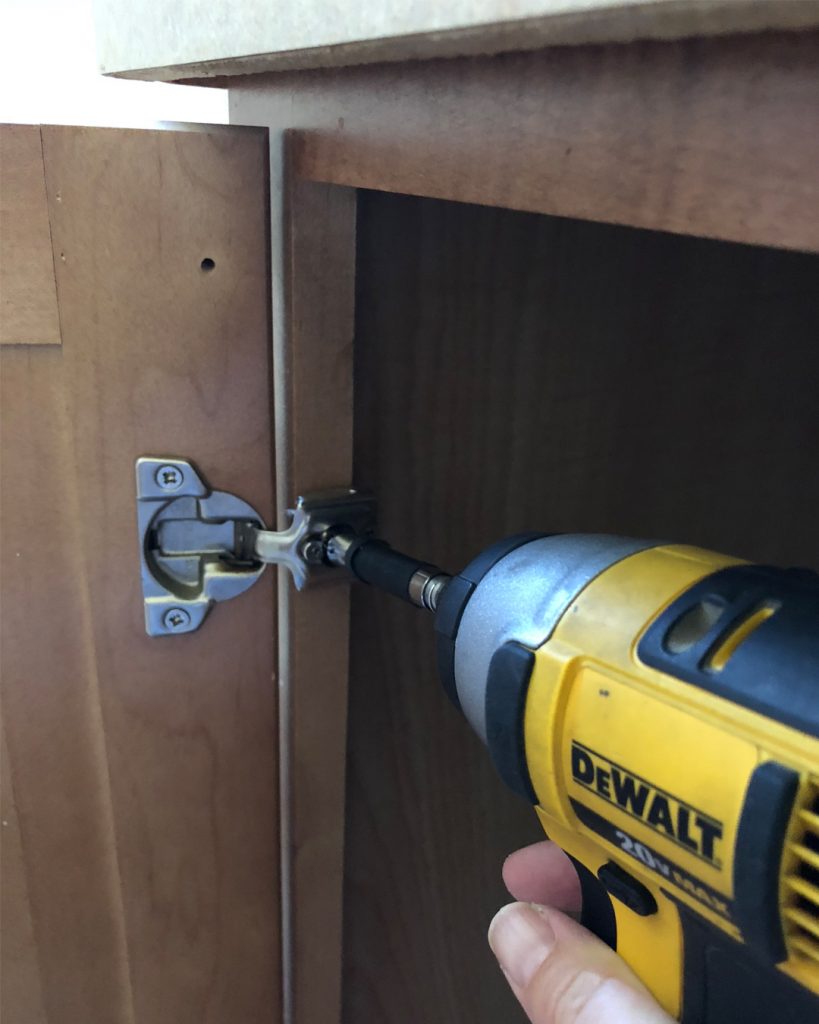
We also numbered the coordinating hardware. This is important because the doors and hardware are already adjusted to fit where they go, so mixing them up will result in ill-fitting doors.
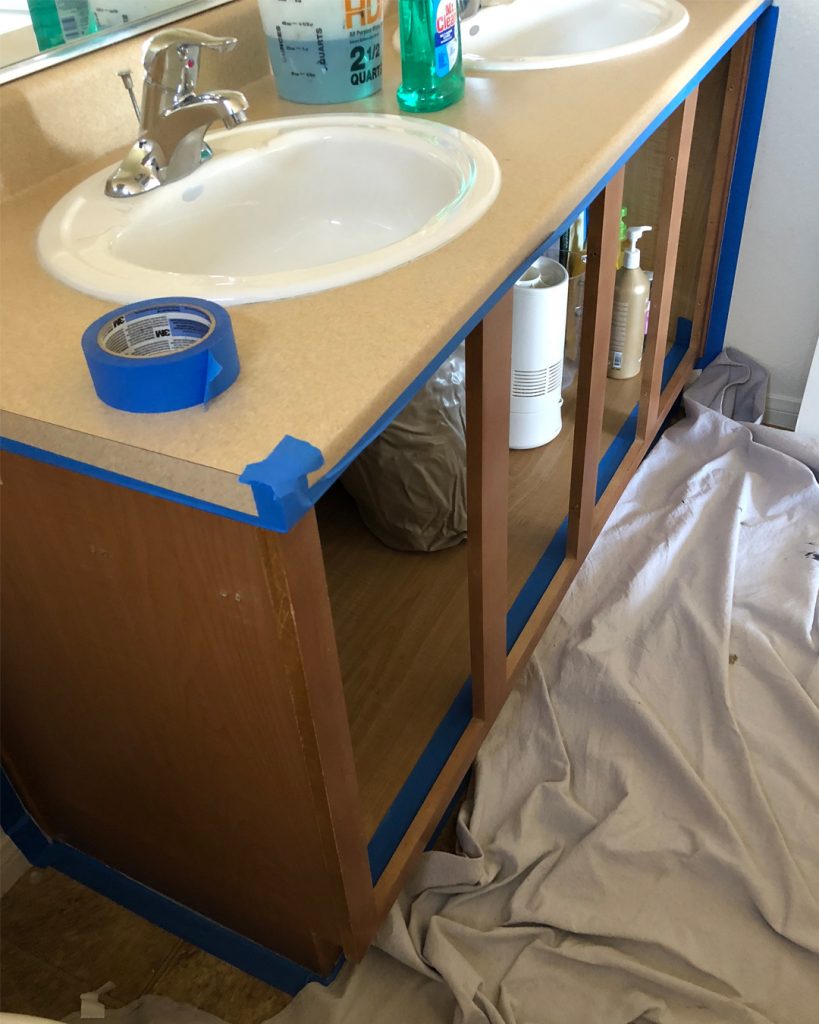
With the doors removed, I taped off the cabinet frame so as not to get paint on the inside of the cabinet or on the walls and floor. When painting your bathroom cabinets, don’t forget to remove the toilet paper holder.
We made our own chalk paint by mixing one cup of flat finish paint with 2 heaping tablespoons of BB Frösch Chalk Paint Powder. We chose to use chalk paint so we wouldn’t have to strip or prime the cabinets.
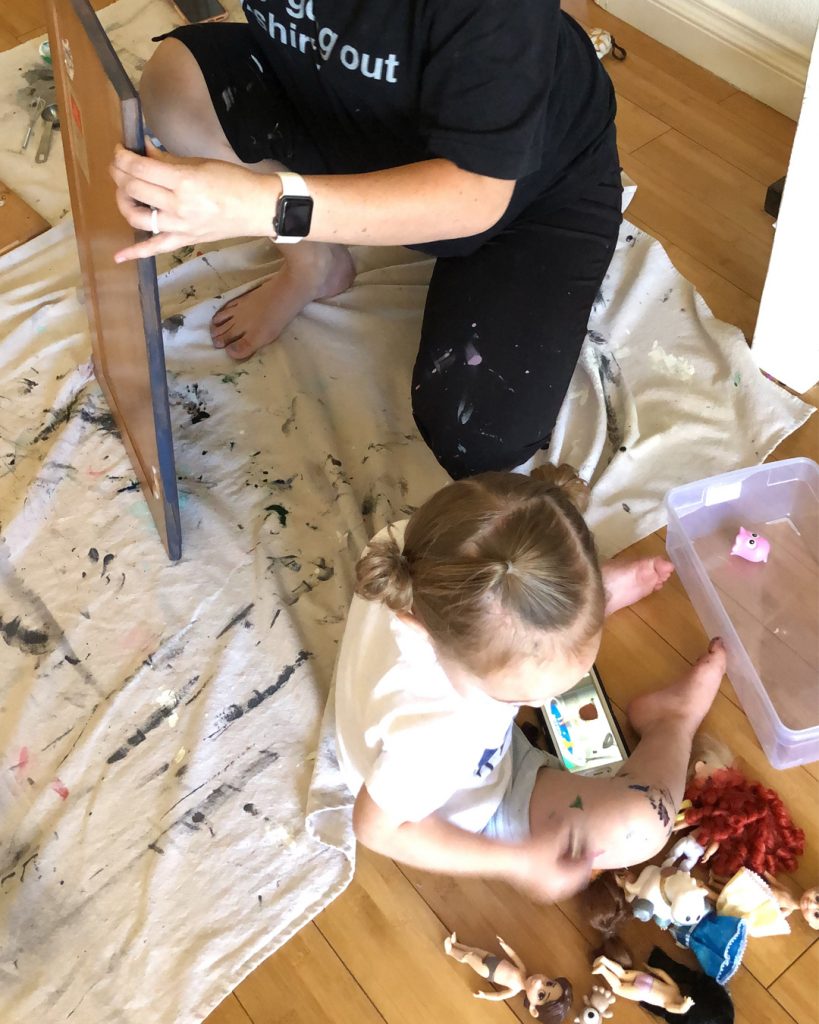
While Kacey painted the cabinet doors, I painted the cabinet frame. We often spray cabinets, but this was such a small project that brushing was just as quick and easy. This is the brush we used.
I love this photo because it captures why we use chalk paint! Not only is Kacey painting indoors while 8 months pregnant, Jordy is playing in her favorite spot—right next to Kacey.
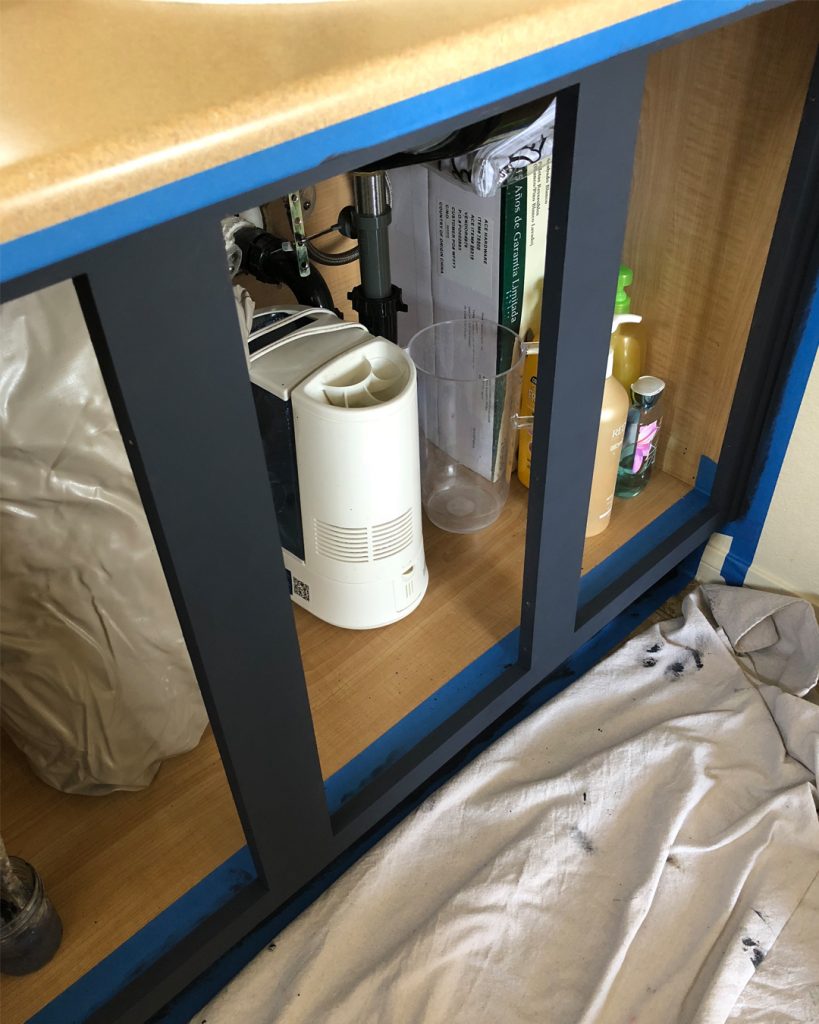
When you brush cabinet frames, you don’t have to remove the contents of the cabinets!
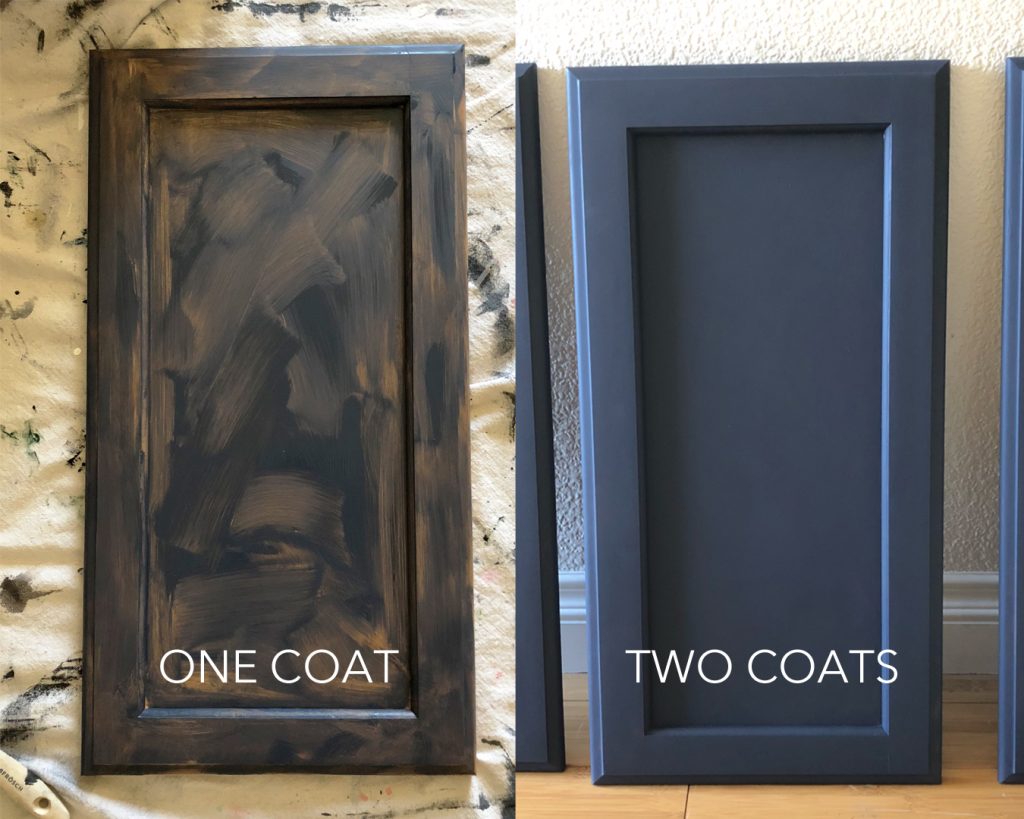
When brushing cabinets, the first coat should be THIN and in cross-hatch strokes. It doesn’t look awesome, but, trust me! This will create a lovely bonding coat that subsequent coat(s) will level into very nicely. Check out the difference between one and two coats!
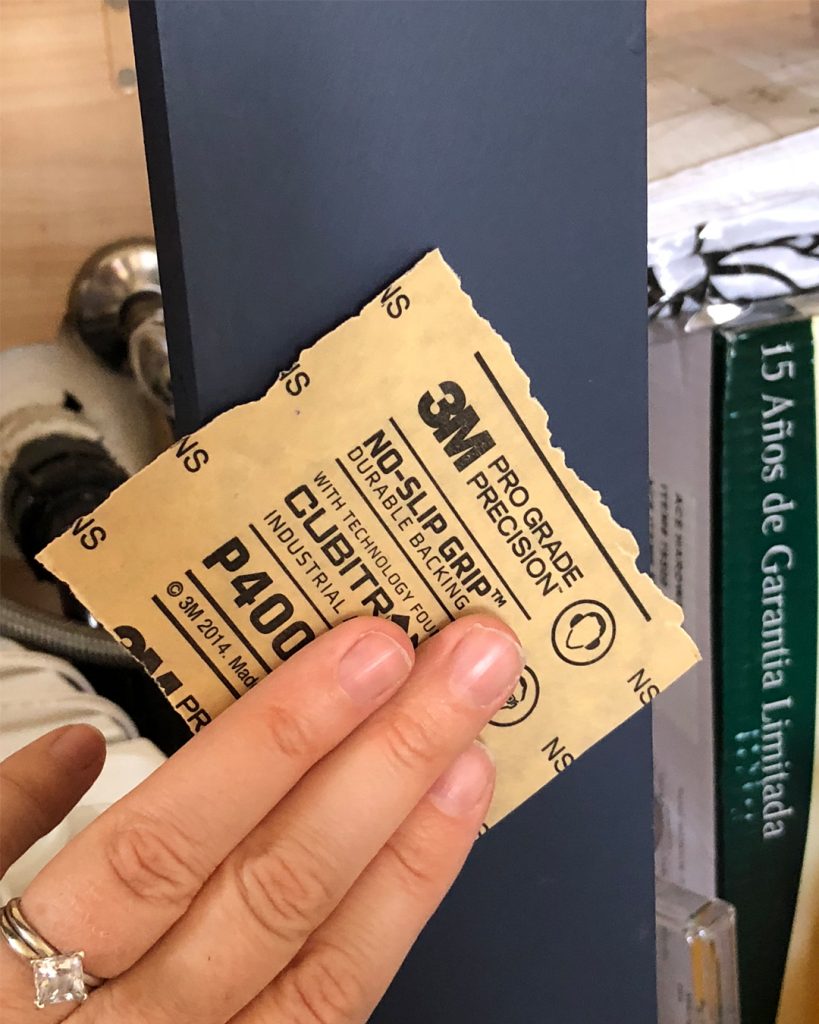
After everything was painted, we gently smoothed with 400-grit sandpaper. This step makes a huge difference! I think painted surfaces should feel as good as they look, and this is the trick!
Once everything was painted and smoothed, we sealed with BB Frösch Clear Premium Finishing Wax.
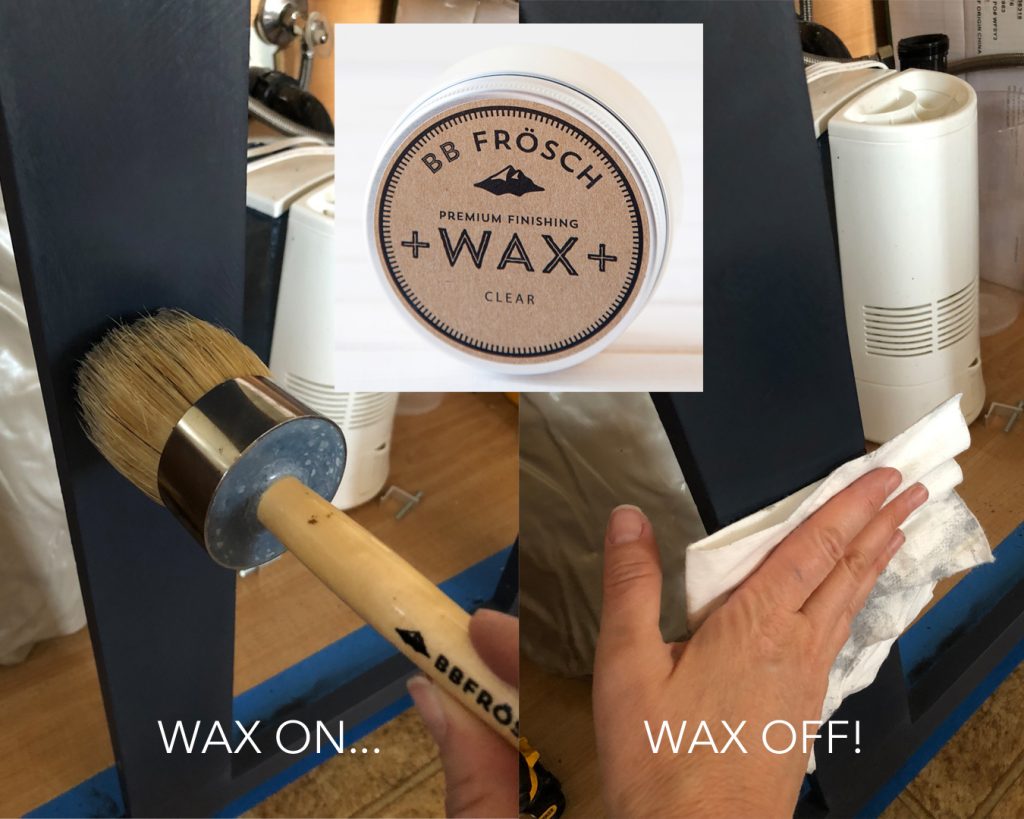
I am often asked if I seal cabinets with wax or poly. Either one will work! There are pros and cons to both, so my recommendation is to pick the one that best meets your expectations.
I choose BB Frösch Premium Finishing Wax because it is easy to apply, it dries and cures in minutes, and, if damage ever does occur, I can easily spot repair without it being glaringly obvious. A poly takes longer to apply because it needs to dry and be sanded down between coats (typically three coats), and it cannot be spot repaired without it being noticeable. The big difference in poly and wax is that wax cannot be cleaned with chemicals, whereas a poly can. If you choose to go with poly instead of wax, make sure it is a poly acrylic, not poly urethane because urethane tends to yellow.
With the cabinets painted, it was time to move on to the countertops.
Replacing the countertops wasn’t in the budget, so we opted to cover the beige formica with contact paper. We found this marble-look contact paper created just for countertops on Amazon for so cheap, that we figured if it didn’t work or we didn’t like it, we weren’t out a ton of money, and we could always peel it off and try something different!
We measured the counters first to make sure we bought enough. Make sure you account for any backsplash when measuring your own counters!
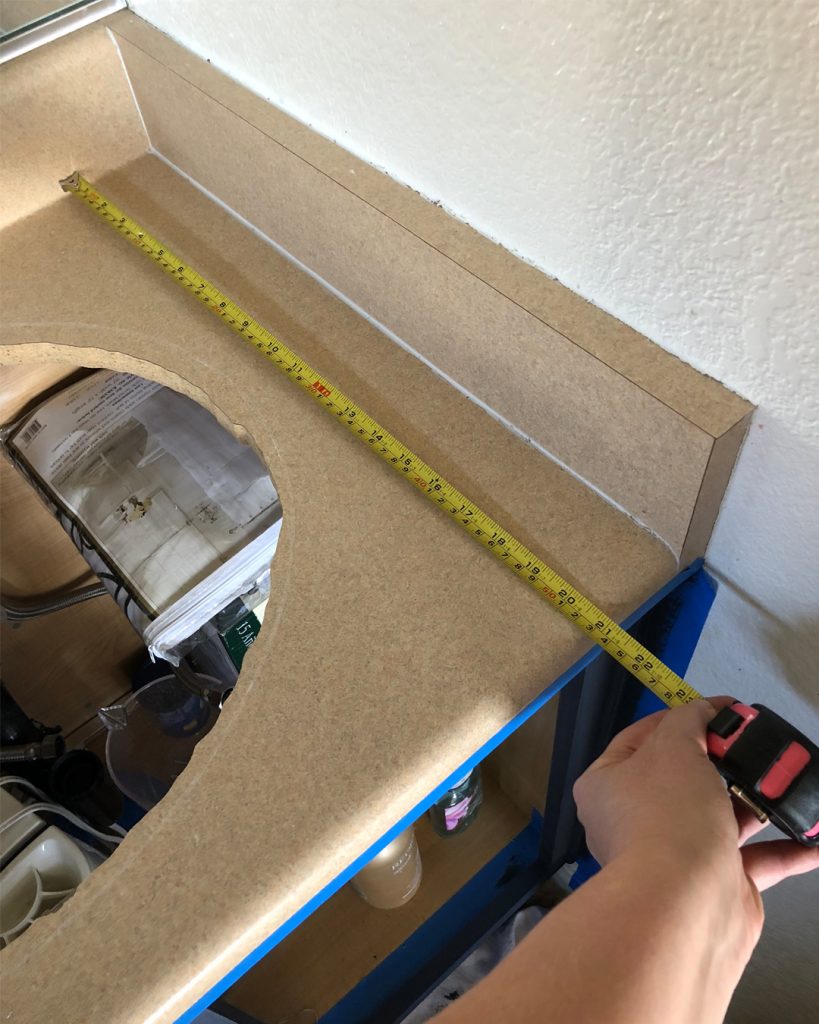
The contact paper didn’t come with much in the way of directions, so we had to kind of wing it. We started by removing the sinks then laying out the contact paper and trimming to slightly bigger the we needed.
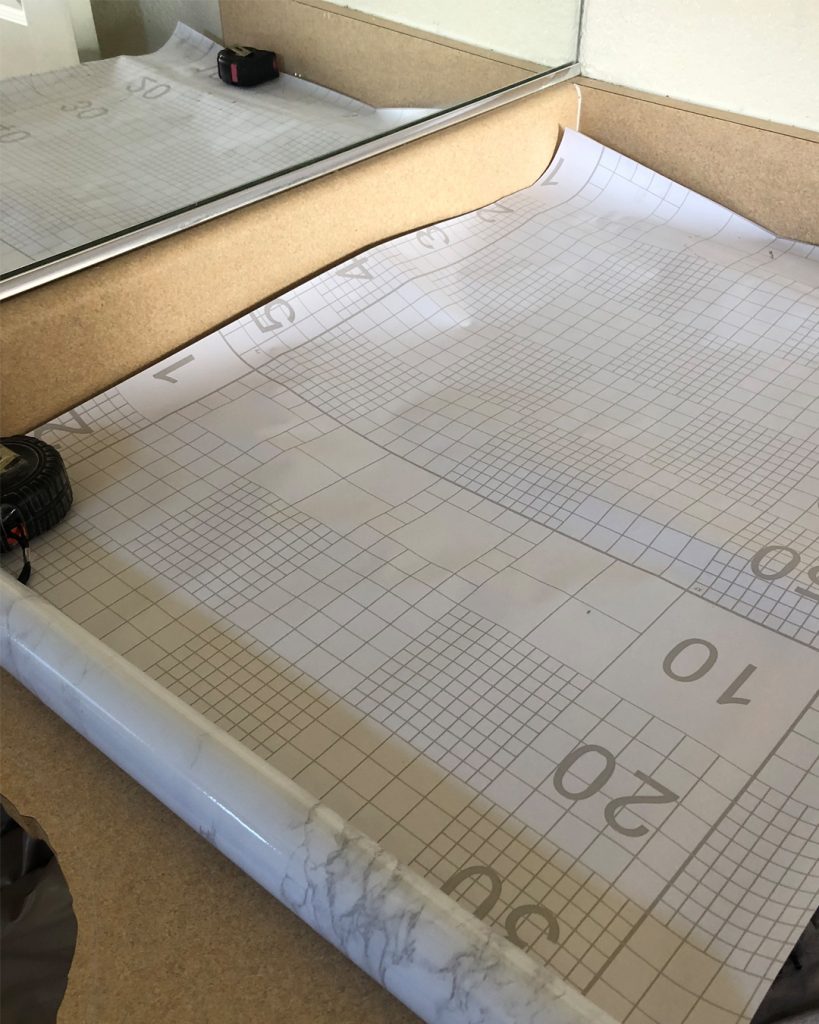
We peeled the backing off one end of the contact paper, and adhered it to the countertop. We carefully pulled the backing off and smoothed the contact paper onto the countertop as we went. We had to adjust along the way, and I’ll admit this wasn’t totally easy! Removing the sinks definitely made this part a little easier. We used a plastic smoothing tool to smooth out bubbles along the way.
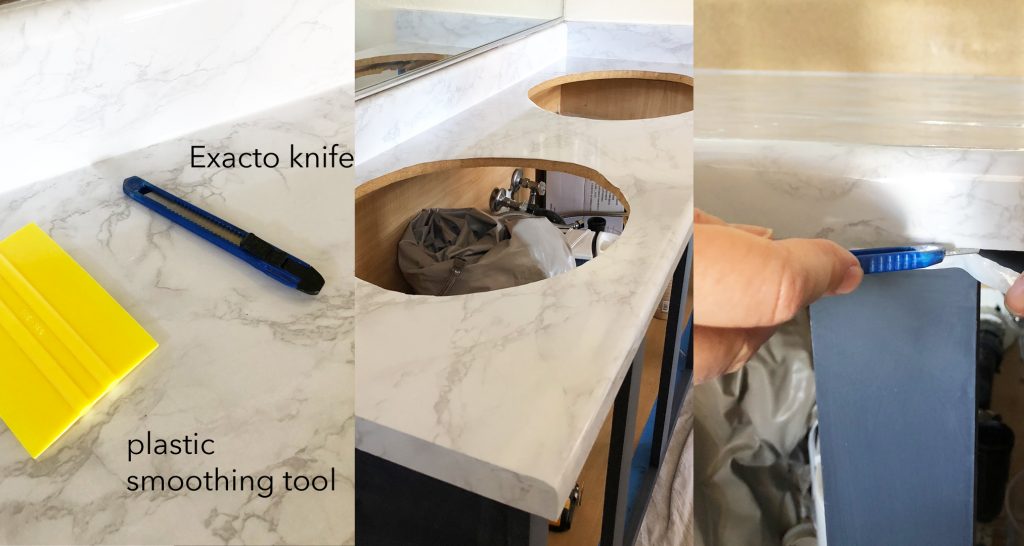
We used an exacto knife to trim excess contact paper on the edges as well as to cut out the holes where the sinks go.
We covered the backsplash with a separate piece of contact paper. Once all the formica was covered, we ran caulk along the edges where the formica meets the wall. We replaced the sinks and caulked those as well.
With the countertops done and the sinks back in place, we sprayed the faucets, light fixture (because it wasn’t in the budget to buy a new one) and toilet paper holder with Rustoleum “Hammered.”
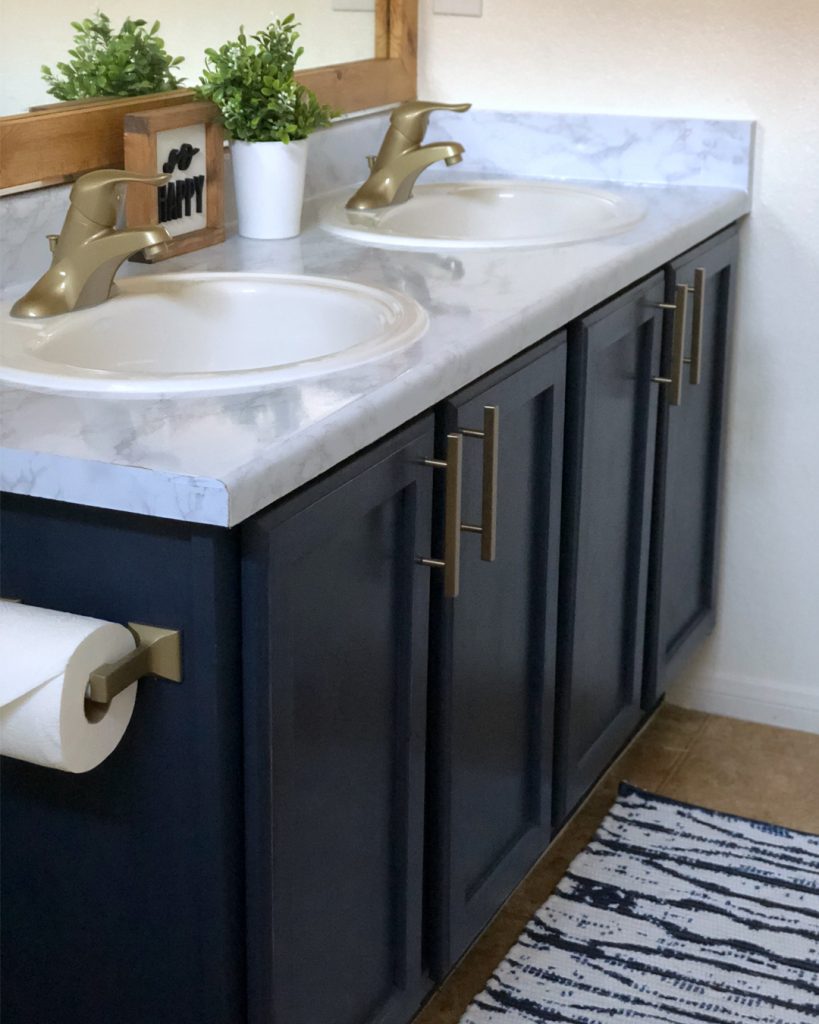
WOW! What a difference!
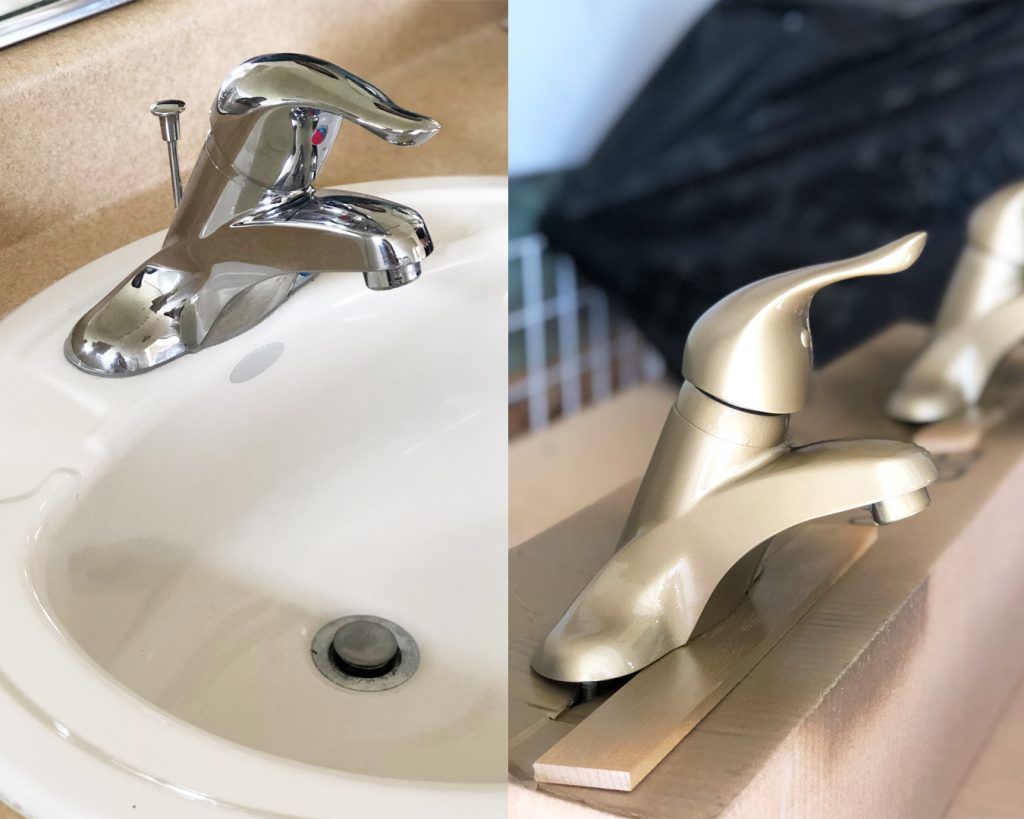
Note: The bathroom has been done for about a month, and the sprayed faucets haven’t chipped at all.
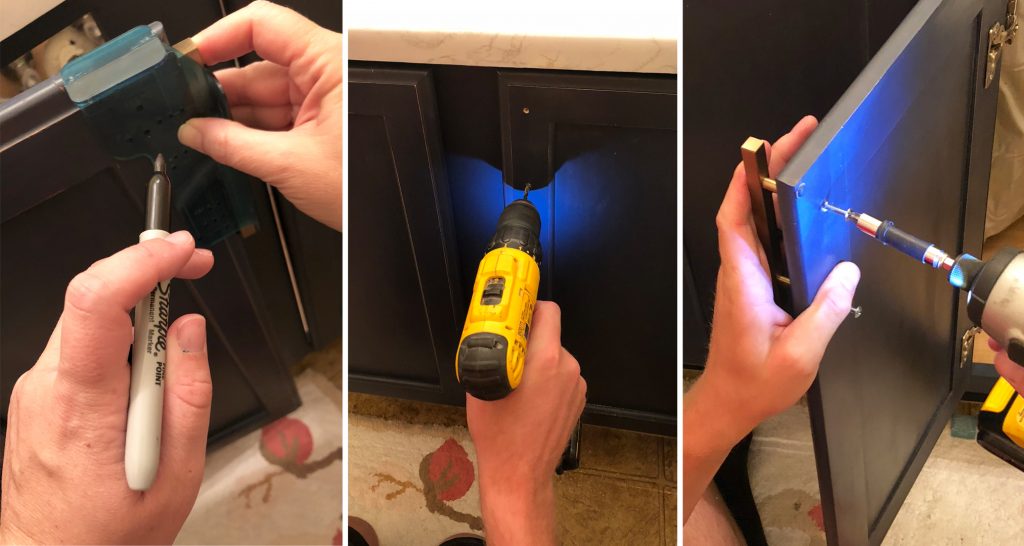
We added gold bar pulls to the cabinets. My best advice when adding pulls is to use a cabinet hardware jig so your pulls are perfectly aligned. There are some fancy ones out there, but we found this one for less than $10 that did the trick.
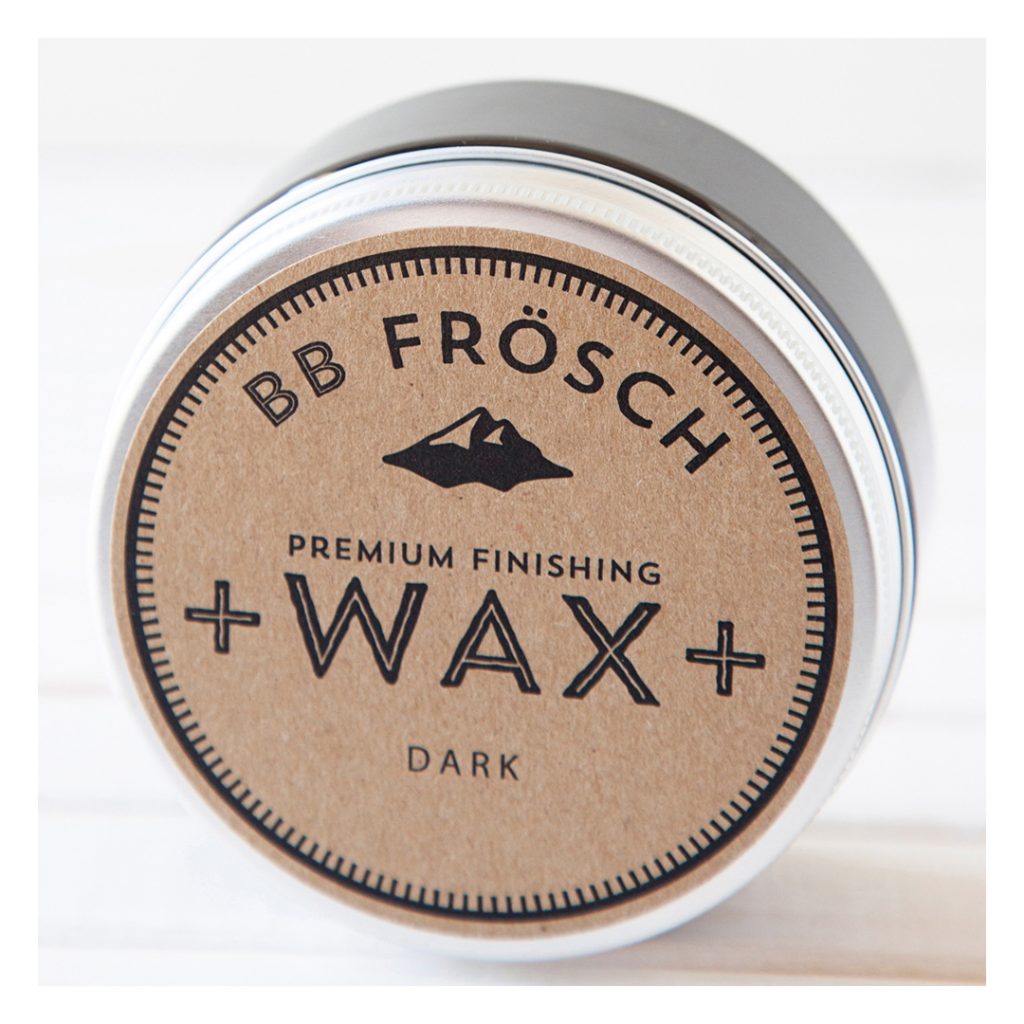
For the mirrors (that were also not in the budget to replace…) Kacey bought 1×3” pine boards at Home Depot and simply dark waxed them with BB Frösch Dark Premium Finishing Wax.
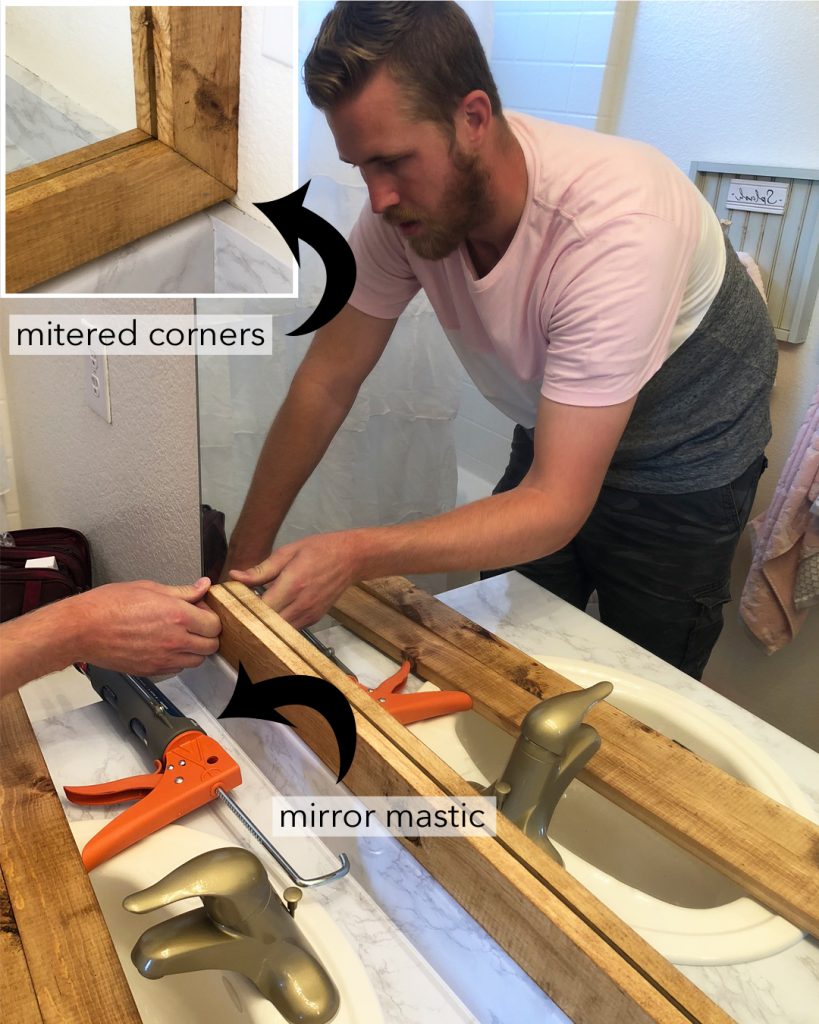
We mitered the corners and glued the boards directly onto the mirror. It is REALLY IMPORTANT that you use either mirror mastic or Liquid Nails for mirrors because regular Liquid Nails won’t stick!
 The whole project took us less than a day! We also added this GORGEOUS horse picture from Sincerely Us Shop and love how it turned out!
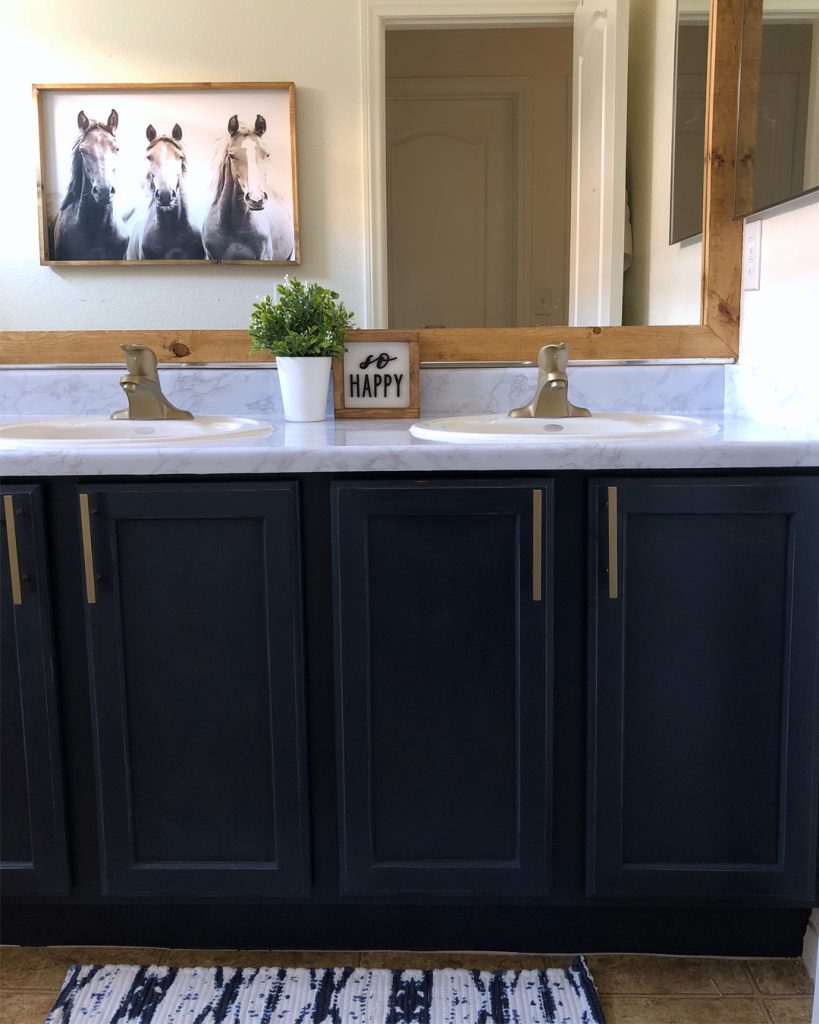
We love it so much that we don’t even hate the linoleum floors as much as we used to! Don’t worry, we still plan to paint the floors, but it won’t happen until the baby is born…
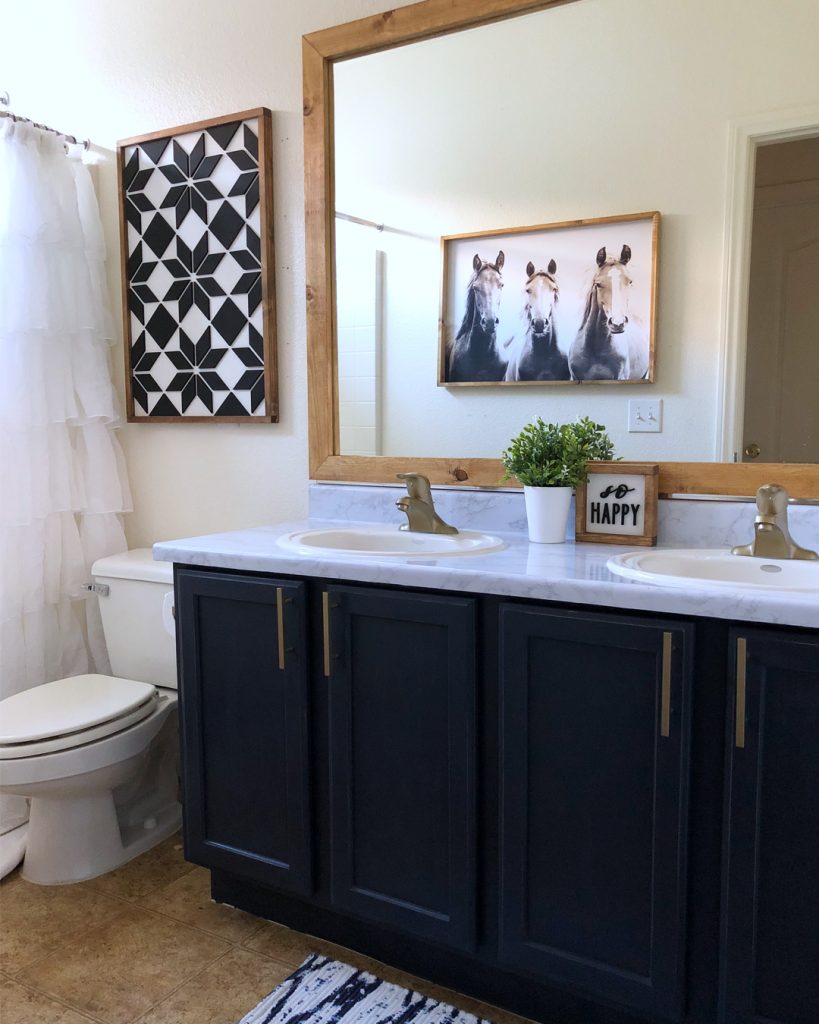
Since I took these photos, Kacey ordered shelf brackets and towel hooks, but I’ll share those updates in Phase Two of this bathroom makeover. For now, enjoy the transformation from this:
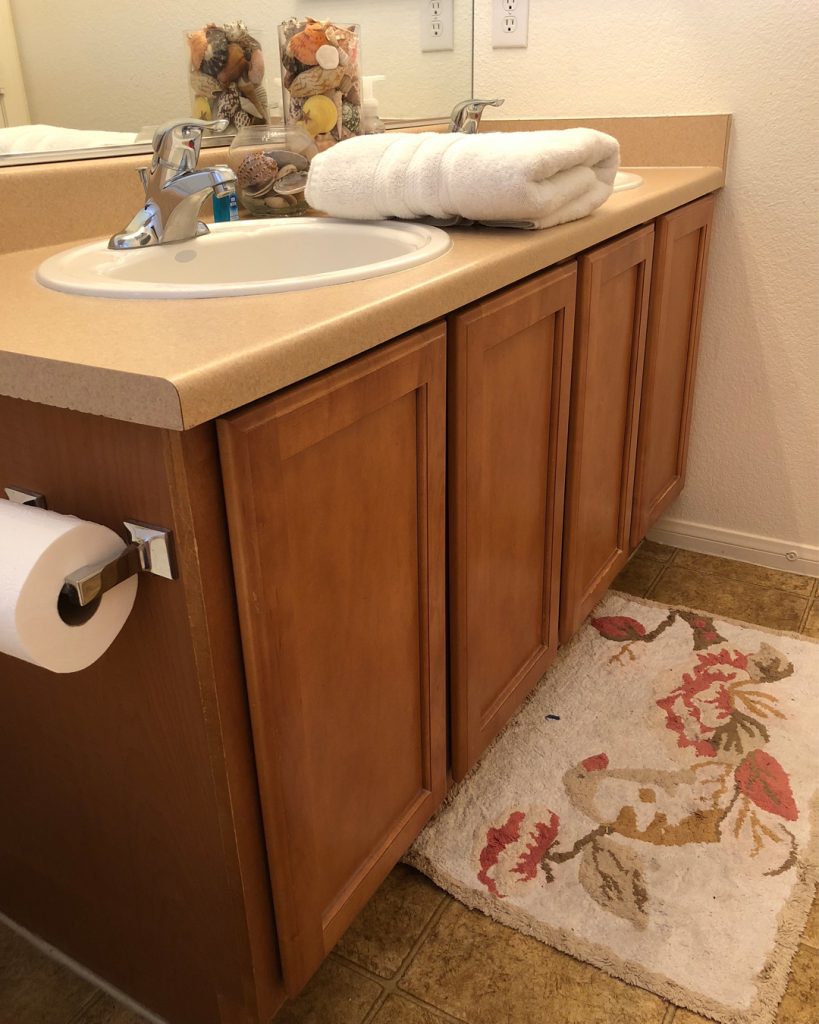
to THIS!
Find more affordable chalk paint inspiration at bbfrosch.com. Follow BB Frösch on Instagram, Pinterest and Facebook.

Oh my word this looks amazing!!! I’ve been searching for ways to redo my oak kitchen cabinets and just get overwhelmed but this seems totally doable ? does this chalk paint work well on oak cabinets? How has the countertop held up? It’s beautiful!!
This is so perfect! Such a cute way to dress up a bathroom that needed a little TLC update. How did you place the contact paper so perfectly on the side with the toilet paper roll? Did you cut off right at the edge and then create a smaller piece to finish the edge? Where did you get the pulls?
Wow – I love the paint, wax and gold combination! The mirror is just awesome also! Nice update for little money and time – congrats!
Amazing. Totally doing this. I love the rug too! Where is it from?
How has contact paper held up? It looks great
The contact paper has held up great! I was skeptical, but it’s been such a great choice for so little money. I figured the worst that could happen is that it wouldn’t last, we’d have to peel it off and we’d be out less than $20. Turns out, we’ve already gotten our money’s worth!