Happy Monday ya’ll! I have the funnest tutorial for you today!
Making your own jersey headband is so super easy. In fact, my bestie Jo whipped out about 12 of these in one afternoon! The hardest part, literally, is finding the fabric. Check your local fabric stores first… you know, the little boutique types. We got our fabric at Ace Hardware, but if you can’t find it locally, try online. Joann’s had some but mostly plain colors.
Okay, lets get to work!!
Supplies needed:
– 1/4 yd jersey fabric
– 3/4 inch elastic {you only need about 2 1/2 inches for each headband}
– rotary cutter
– cutting board
– sewing machine

Aren’t they DARLING!?! I wish I could take credit, but Jo who is the headband-professional in all of these pictures, made these bad boys for me and all of our bunco group. She taught me how to make them though, so now I’m a headband-making machine.
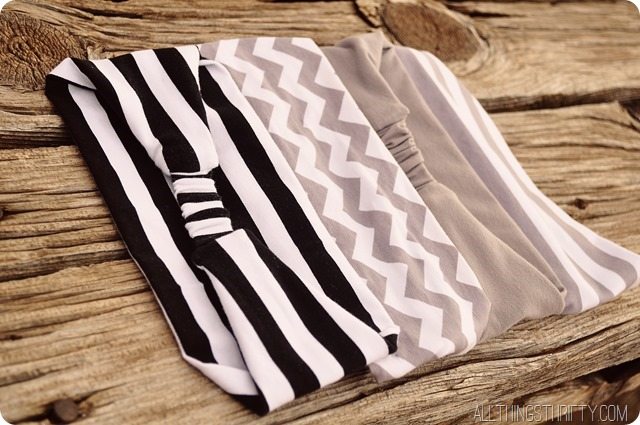
You will die at how simple they really are, I promise.
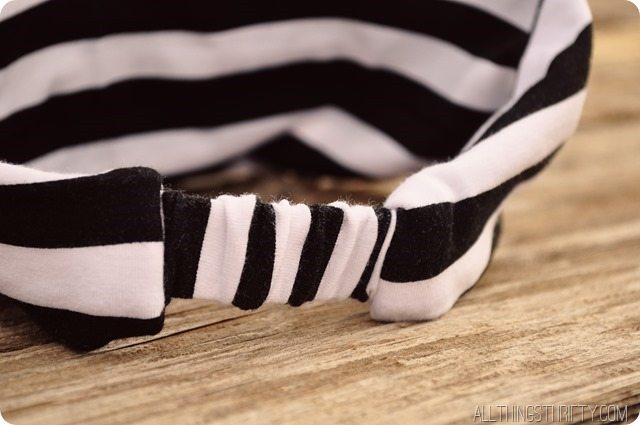
But before we get started, let’s just check out the finished product. Isn’t Jo a hottie pants?

Wouldn’t it be fun to make these for your friends for Christmas?!? They would love it!

Ok, let’s get to the nitty gritty…
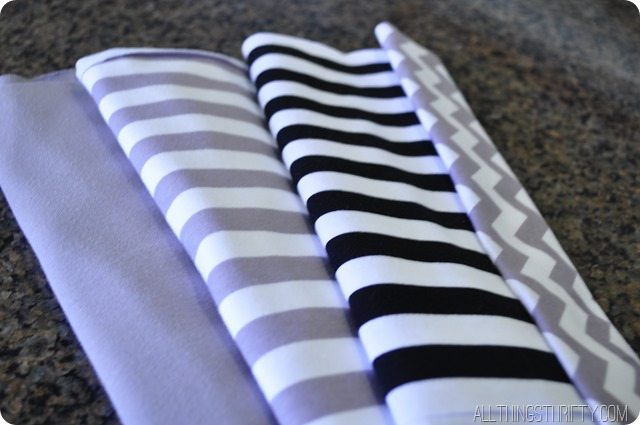
{Step 1:} Fabric. You’ll need 1/4 yard. You can get about 3 headbands out of this.
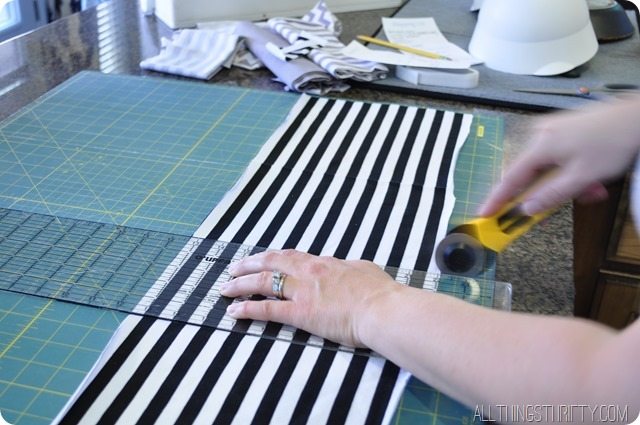
{Step 2:} Keep the width of your fabric which is 8 inches.
Cut the length to 16 inches.
(**Note: this fabric was super stretchy. If you get some that’s a little less stretchy, you may want to add an inch or 2**)
{Step 3:} Next, cut the fabric that will cover your elastic. This piece should be 5 inches by 2 inches.
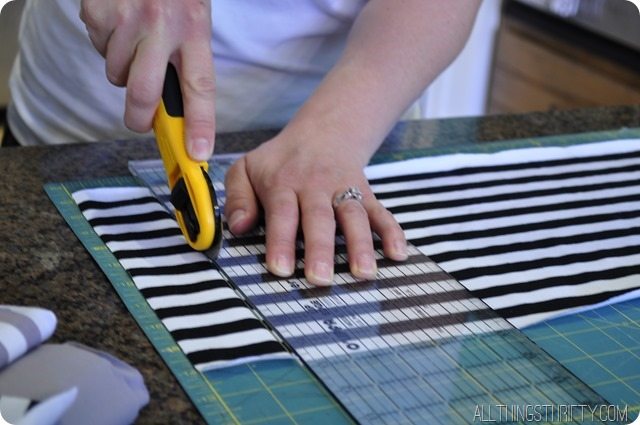
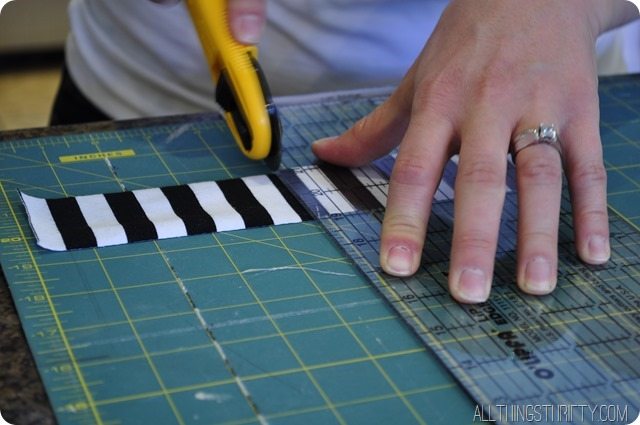
{Step 4:} Cut your elastic to 2.5 inches. The width of this piece is 3/4 inch.
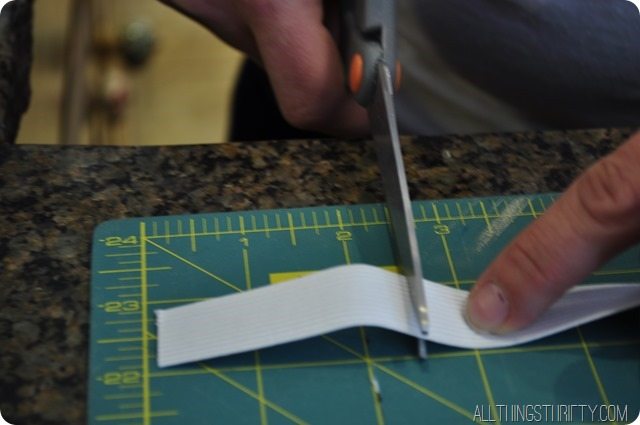
{You can use whatever size of elastic you have, you will just need to adjust your fabric cover accordingly.}
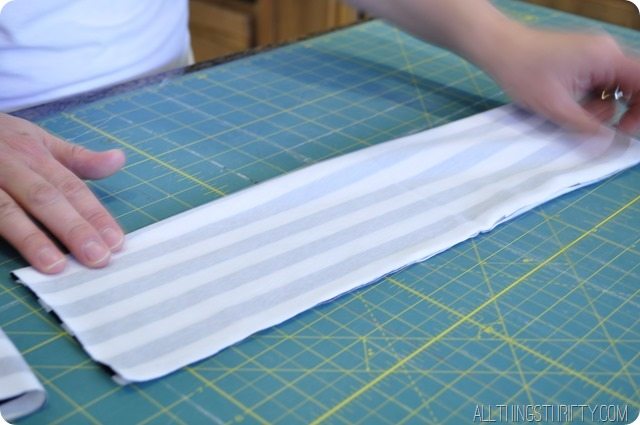
{Step 4:} Fold your big piece in half, length wise right sides facing in.
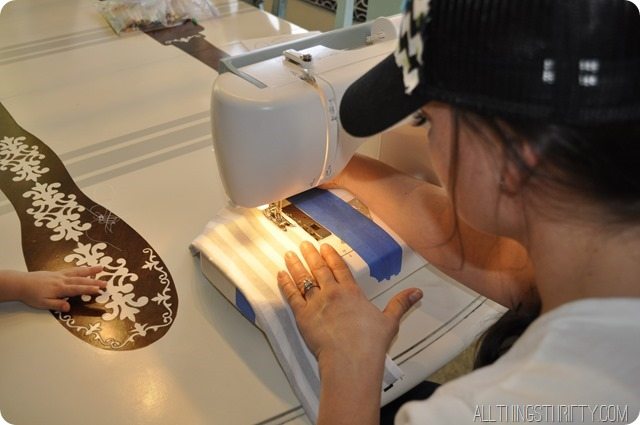
{Step 5:} Sew a zigzag stitch with about a half inch inseam. This part is tricky to start. The fabric likes to bunch. If it helps, start down a little, then back stitch to the start. {**Side note, look at the painter’s tape holding my sewing machine together…I’m so classy**.}
{Step 6:} Fold and sew your elastic cover the same way with about a 1/4 inch seam.
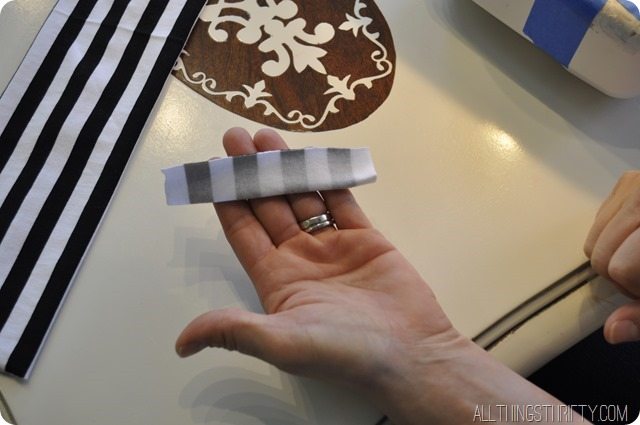
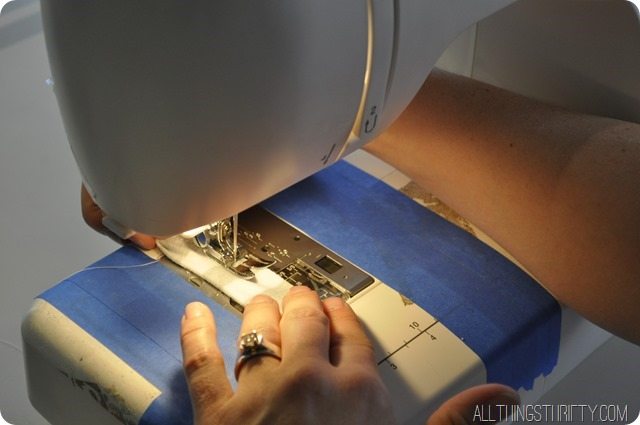
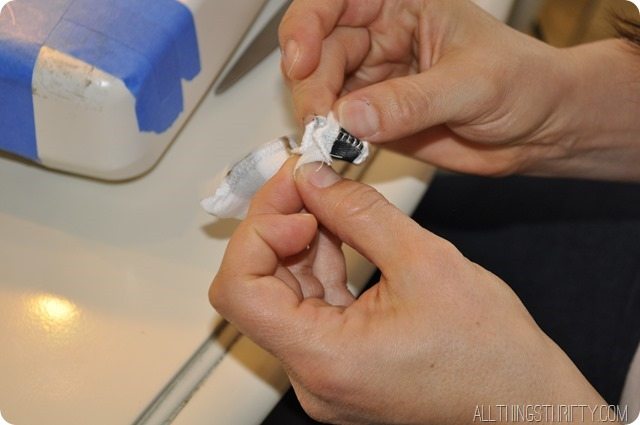
{Step 7:} Turn both pieces right side out.
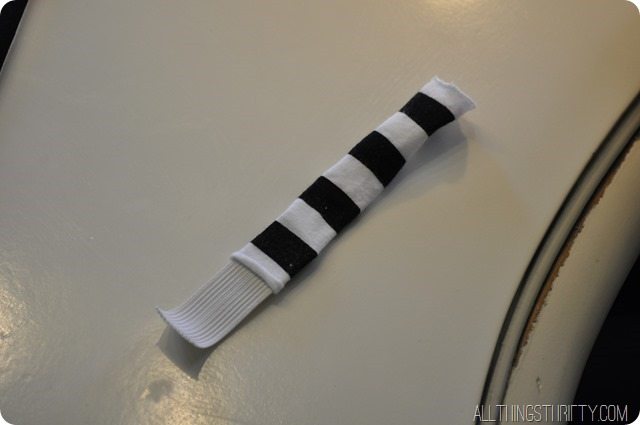
{Step 8:} Insert your elastic. Make sure the seam is in the middle. It’ll feel a little snug but that’s a good thing.
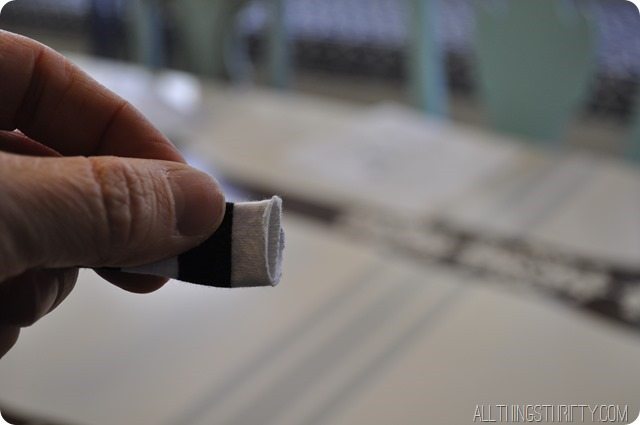
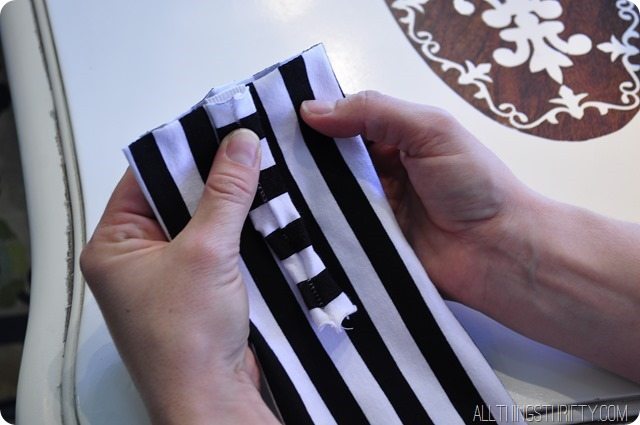
{Step 9:} Place your elastic piece all the way to one end. Make sure you center it and put the RIGHT sides together.
**On the headband piece, also make sure that the seam is in the middle.**
Then fold your edges over. There’s no fancy way to do this. Just make it as thin as possible and follow the pictures below.
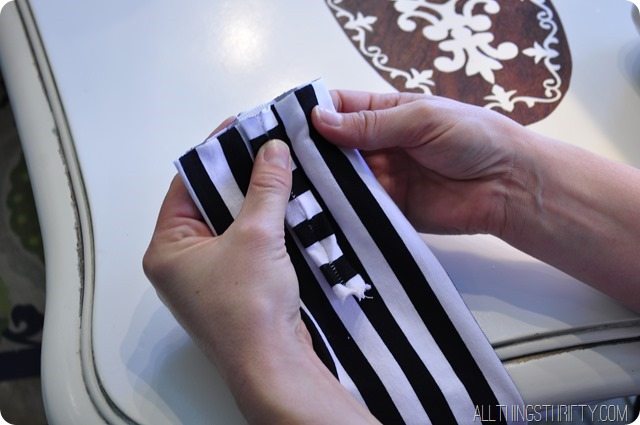
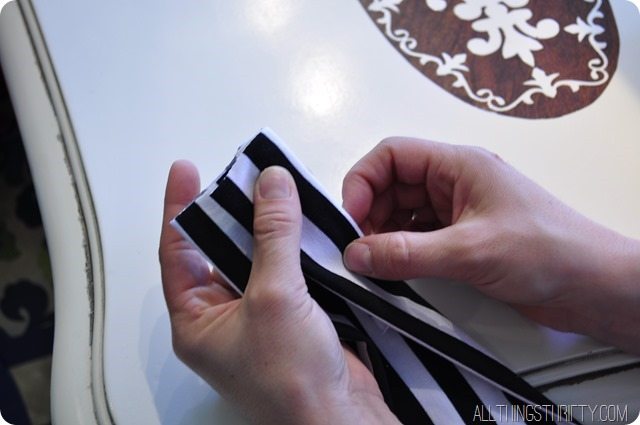
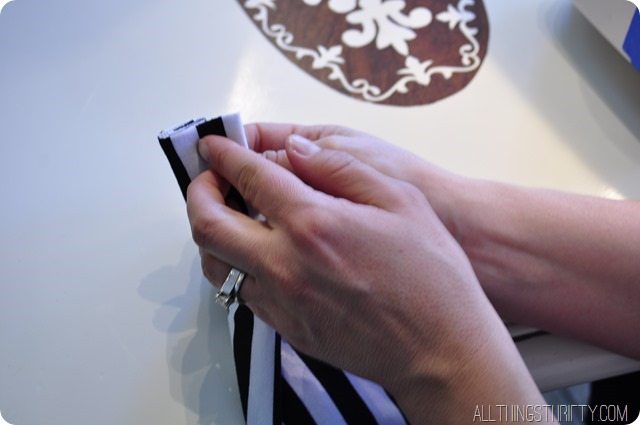
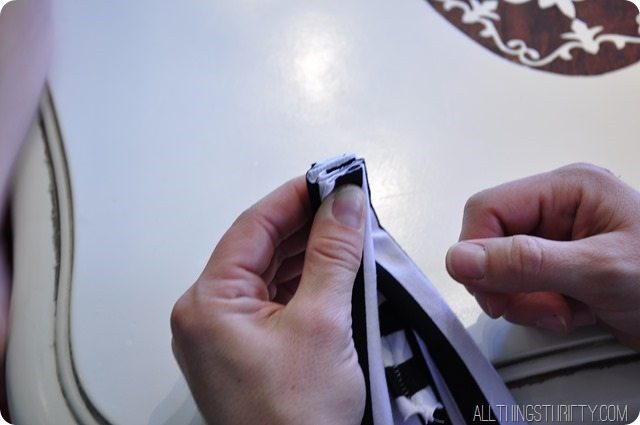
{Smash them together}
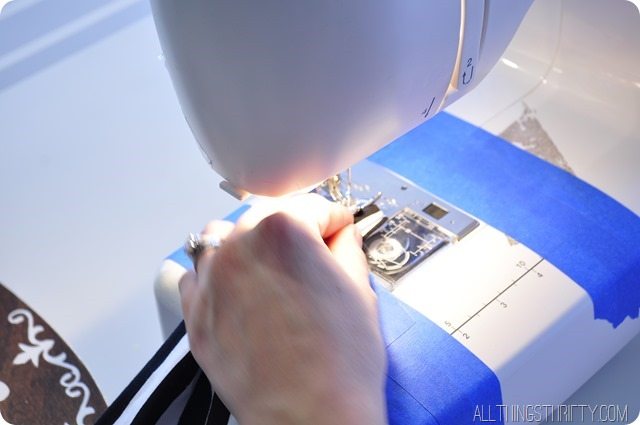
{Step 10:} Sew that bad boy. Make sure to go back and forth a couple times.
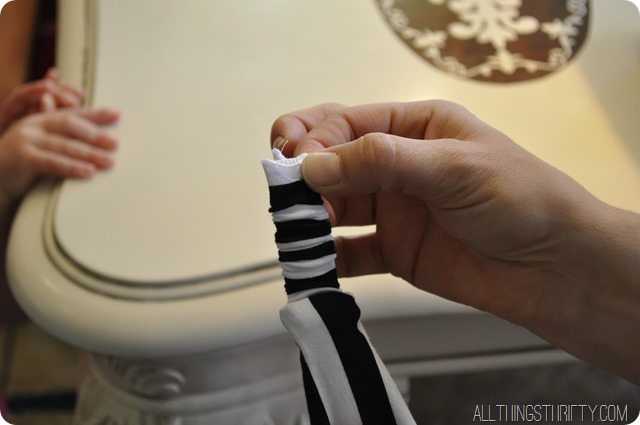
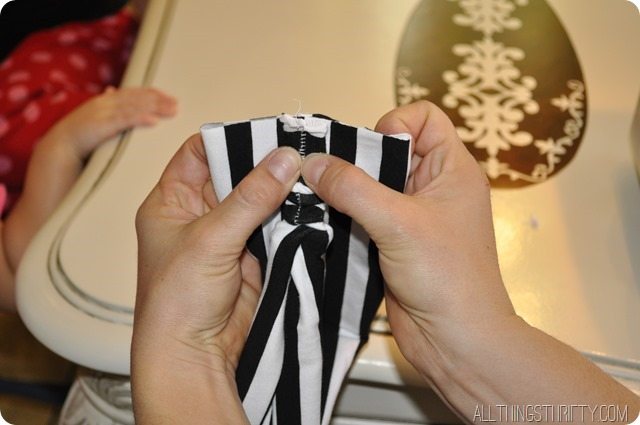
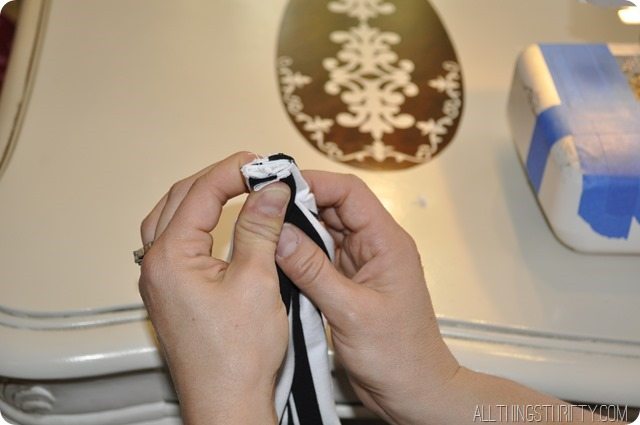
{Step 11:} Scrunch down the extra fabric over the piece of elastic until it comes to the very end.
Then repeat steps 9 and 10. Line up the middles and fold over the edges.
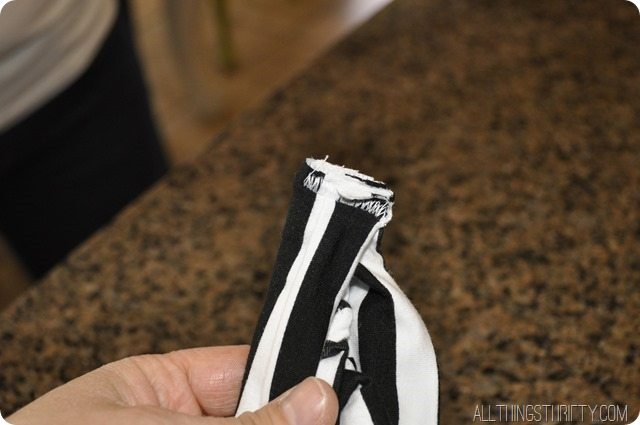
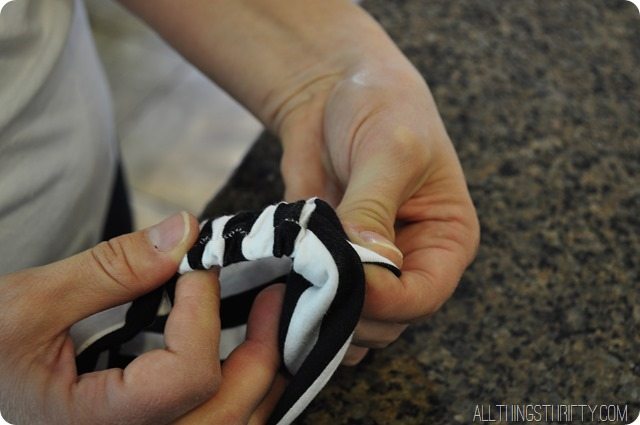
{Step 12:} Turn in your seams and flip headband out. You should have no seams showing.
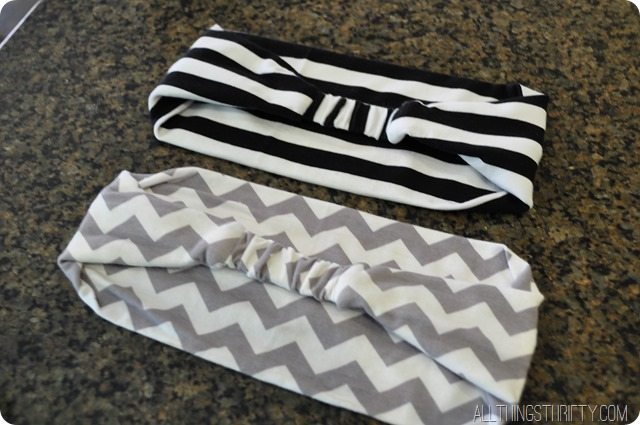

There you have it. 12 easy peasy steps!
If you would like to make smaller ones for the little girlies in your life, the dimensions are:
Headband piece:
– 7″ inches wide
– 13.5″ inches long
Elastic cover:
– 3″ inches wide
– 4″ inches long
Elastic:
– 2 1/2 inches
I hope you like these as much as we do!!!

xoxo, Brooke

Ok, so “easy” sewing tutorials are always complicated to me. BUT! This, I think I could even do this. Elastic totally freaks me out, but I can handle this. And seriously, you got that cute fabric at Ace Hardware!?!
That is awesome! Plus, if I can’t make it to fabric shop, I can use the old tee shirts my daughter outgrew in the attic! Christmas for the niece, done (or, at least started lol)! Thanks!
This is brilliant! I am definitely going to start this project! Thanks for sharing!! 🙂
I just made this using the smaller measurements and they make up really fast. A little small for the little girl I was making it for though. Thanks for sharing this
thanks for sharing
I have made a couple out of an old handkerchief
Excellent demo. Must try