Hi thrifty friends! I am so happy to be back at All Things Thrifty for my third contributor post. I hope you remember me from my others posts on DIY Art Canvases and my thrifty Princess Art, but as a reminder, I am Tasha and I blog over at Designer Trapped in a Lawyer’s Body. So, so happy to be here!
Today I am going to share with you one of my absolute FAVORITE projects EVER. Are you excited?! You should be 🙂 I am going to teach you how I made my fabulous new chair 🙂

I recently finished transforming my twin girls’ old nursery into a home office and craft room. When searching for a desk chair, I fell in love with this gorgeous upholstered chair from One Kings Lane.

I so, so wanted it for my desk chair. Unfortunately, at the time, it cost $329 {which was closer to my budget for my entire room}. SO, I had to get creative to achieve the look I wanted with a much smaller price tag.
First, I hunted down the fabric and was able to find it online {it’s called Waverly Santa Maria Desert Flower, in case you want it for yourself}. It’s not an inexpensive fabric, but fortunately I did not need much of it for my project.
Next, I had to hunt down a chair on which to use the gorgeous fabric. I wound up brainstorming and thinking I could use Mod Podge to apply fabric to a plain, inexpensive wood chair. I honestly I had no idea if it would work, but I decided to take the risk. I found a basic, but sturdy, wood and mental chair on Amazon for only $54.00. If I had time to hunt consignment stores, I bet I could have found one for even less!

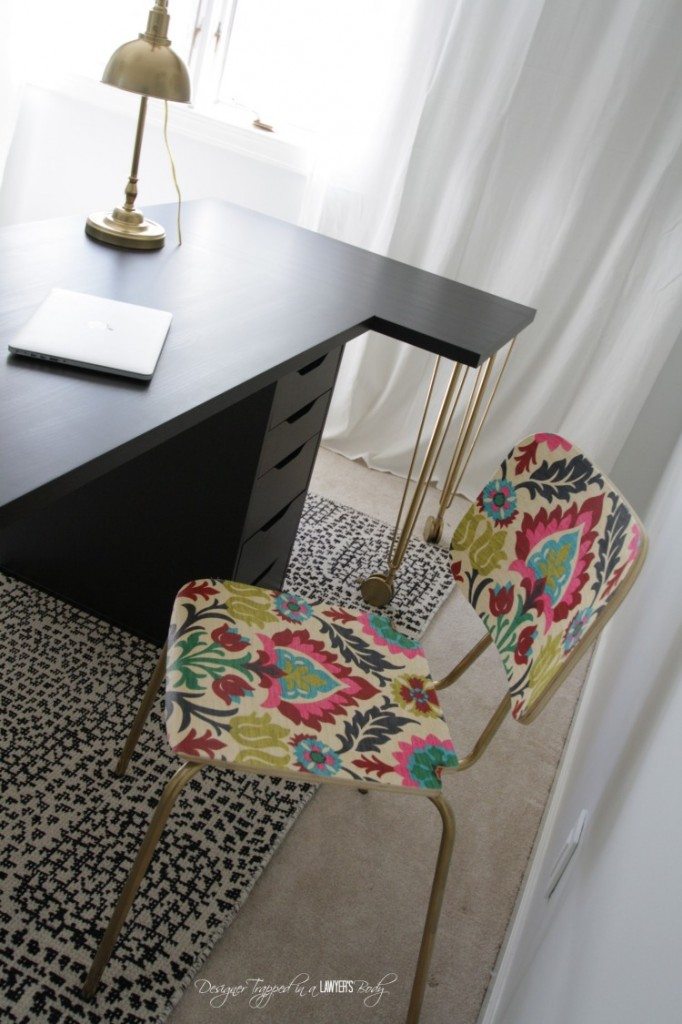
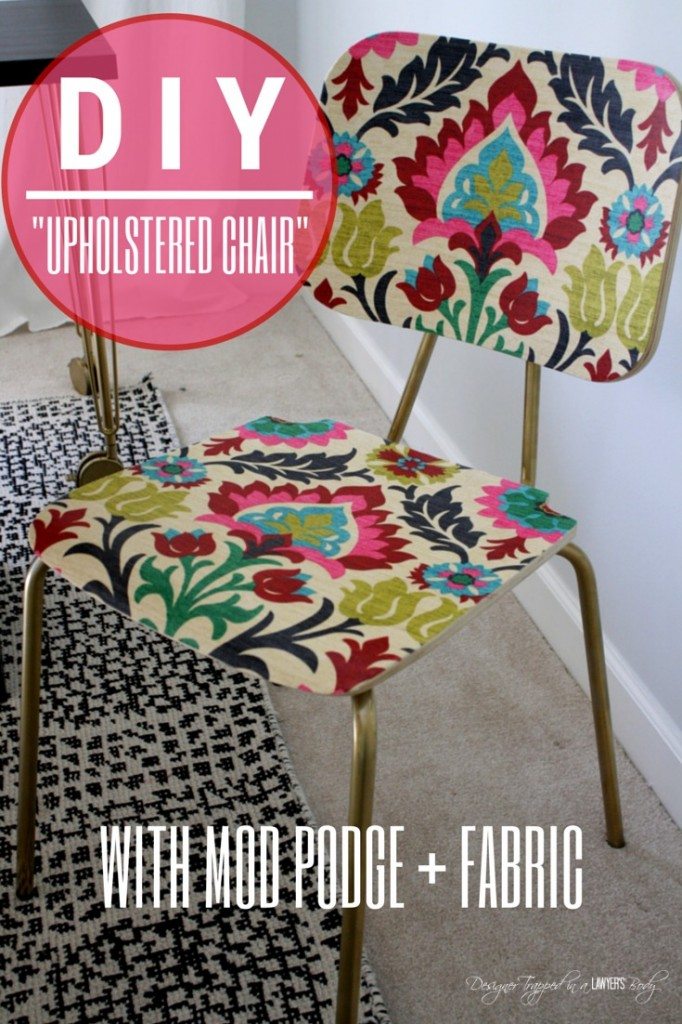
Armed with my fabric and my chair, I created THIS beautiful chair!
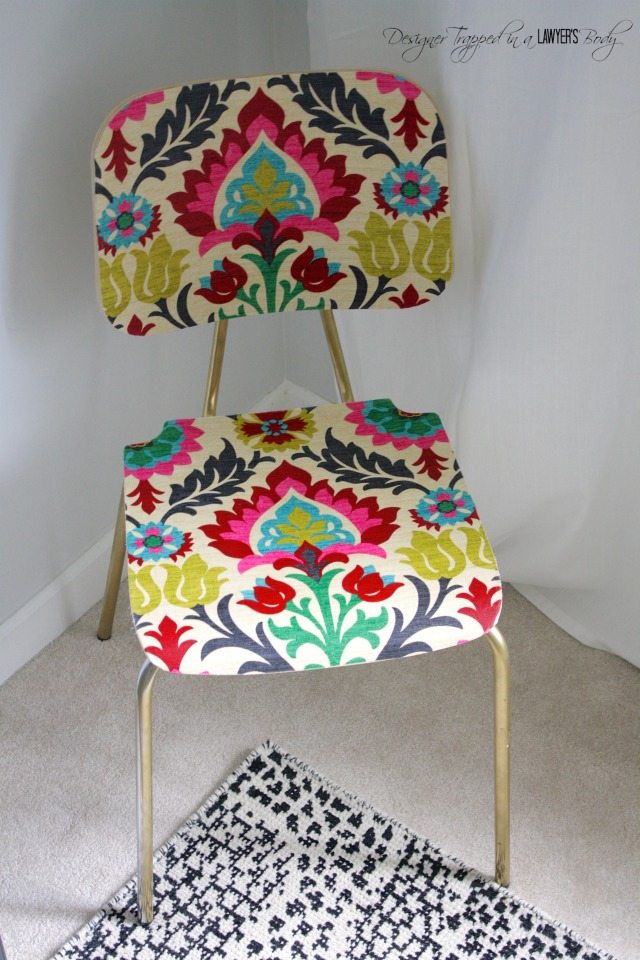
Now, let me tell you how I did it 🙂
Materials Needed:
- Wooden chair
- Spray paint {if desired–I spray painted the silver metal with gold spray paint}
- Mod Podge matte finish
- Fabric of your choosing {I used around a yard, but this will vary depending on the surface area of your chair}
Steps:
1) If you want to spray paint the legs of your chair, do it before assembling it.
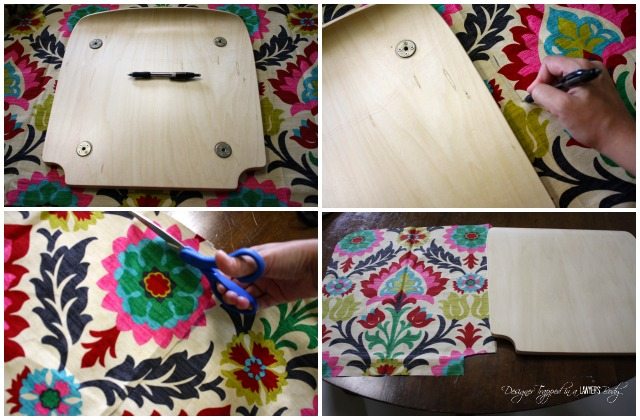
2) Next, lay your fabric on a flat surface. Place the seat of your chair on top of the fabric and trace the perimeter of the wood–be sure to trace about 1 inch beyond the wood surface, so that your fabric piece winds up being a bit larger than the seat itself. Using the lines you have traced as your guide, cut your fabric out.
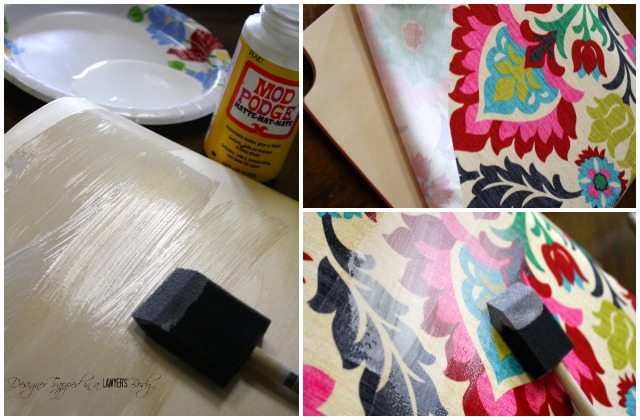
3) Next, coat the surface of your seat with Mod Podge. Then lay your fabric on top and smooth out any wrinkles/bubbles. Once your fabric is in place, coat the top of the fabric with Mod Podge as well. Allow it to dry overnight.
4) By the next morning, your fabric should feel nice and stiff, particularly around the edges of the wood. If it does, you are ready to trim off your excess fabric with a sharp craft or utlity knife. Use the edge of your chair as the guide and cut off your fabric as close to the edge of the wood as possible.
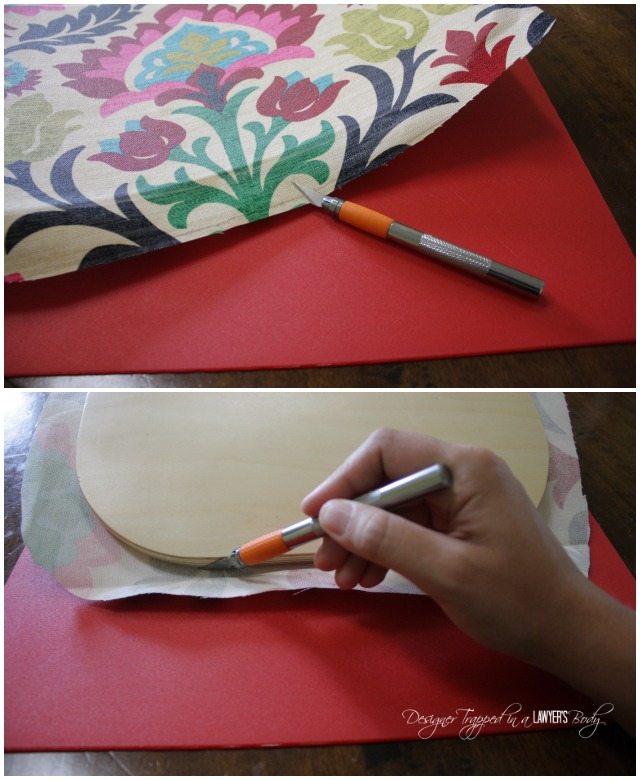
5) You may wind up with some stray threads of fabric. Trim them off as necessary and then coat the entire perimeter of your seat with Mod Podge. This should flatten any stray threads that cannot be trimmed AND prevent further fraying.
6) Repeat steps 2 through 5 for the back rest portion of your chair.
That’s it! For around $70, I have a totally custom chair at a FRACTION of the cost of my inspiration chair. I love, love, love how it looks in my craft room!
If you enjoyed my thrifty “upholstered” chair project, I hope you will pin it for later 🙂
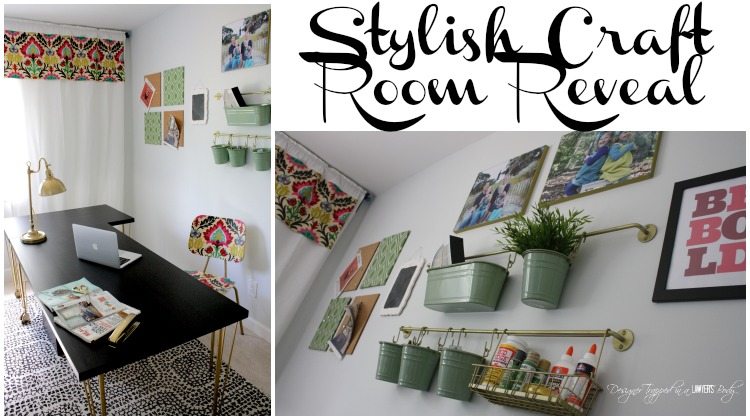
And if you think my chair is drool worthy, I think you will totally love the rest of my craft room reveal.
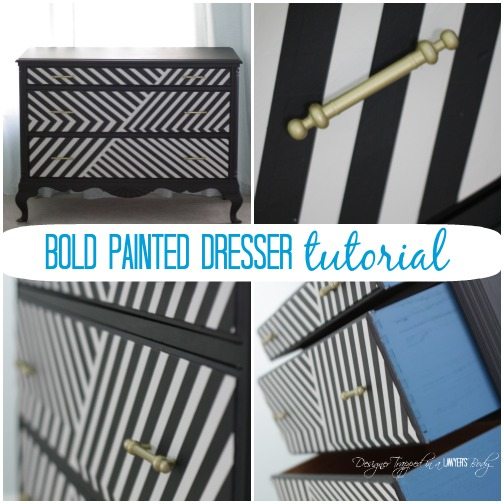
And you may also want to check out the full tutorial for how I painted the BOLD geometric dresser, that I am also using in my craft room.
Thank you so much for hanging out with me today! I can’t wait to join you again when I am back for my next contributor post. Meanwhile, I would love for you to come hang out with me over at my blog! You can find me over at my blog, Designer Trapped in a Lawyer’s Body or connect with me on social media. You can find me pretty much everywhere 🙂
Facebook | Twitter | Instagram | Pinterest | Google+ | Hometalk


Love the chair, love the fabric, ADORE what you did with them! I love working with Mod Podge but never tried anything like this… yet but it is moving up on my list after this. Going to check out the rest of the room now. Thank you for sharing!
Thank you, Beth! And thanks so much for stopping by my blog and taking the time to comment 🙂 Tasha @ Designer Trapped in a Lawyer’s Body
I love this Tasha! I would never have thought to mod podge fabric to a chair, but it’s so much easier than trying to make a cover… Thanks for enlightening me!
Thanks so much, Karisa! I am so, so glad that it worked! I wasn’t sure that it would 🙂 Tasha @ Designer Trapped in a Lawyer’s Body
Too stinkin cute:) I love it 🙂
Thanks so much, Andrea! It was a fun project! 🙂 Tasha @ Designer Trapped in a Lawyer’s Body
Can you give us the Amazon link to the chair? Great project, looks amazing!
Sure, Katherine! Here it is: http://www.amazon.com/gp/product/B007VLXJSQ/ref=oh_aui_detailpage_o04_s00?ie=UTF8&psc=1
Ahhh Tasha, this is amazing!! I had no idea that was even possible. We just bought a little used desk and chair for our room, but the chair is so boring. Now I know how to spruce it up!! Pinning! 🙂
Thanks so much Amanda! It’s a really fun project! Good luck!
Do you think this would work for a plastic type seat chair? Also, how did it hold up to being sat on, did the fabric evert shift? Thank you, definitely want to try.
Hi Cristy! That’s a great question. If it is a thick, inflexible plastic, I do think it would work! The fabric has not shifted at all. It is holding up perfectly so far. Good luck!
That fabric caught my eye and I now am smitten. I would love to redo the porch chairs in this, but it seems small projects seem more fitting. That chair looks great!
I love what you did with the chair! Great choice of fabric. And thank you for such a clear and thorough tutorial.
How has the chair held up over time?