When someone gives you an antique dresser for FREE, you don’t turn it down…
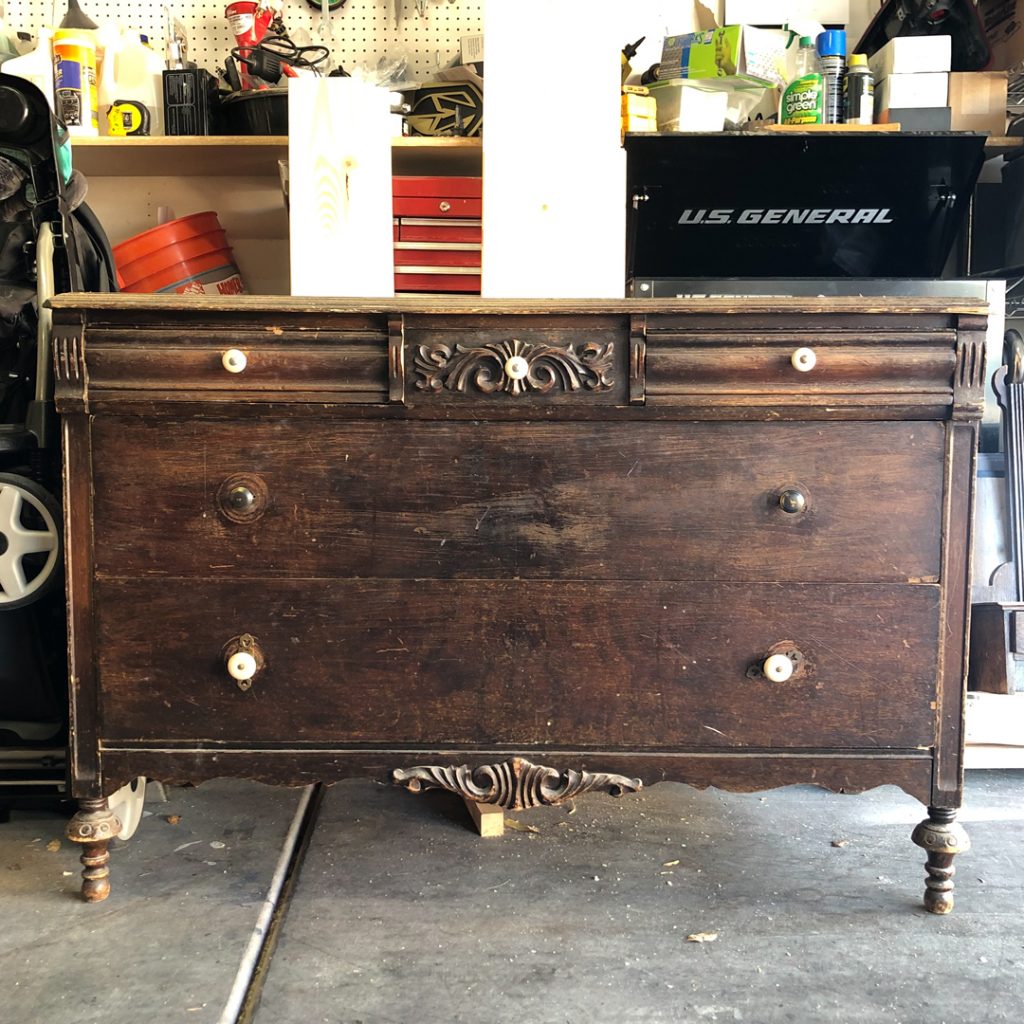
…no matter how many mismatched knobs it has, and no matter how bad the top is…
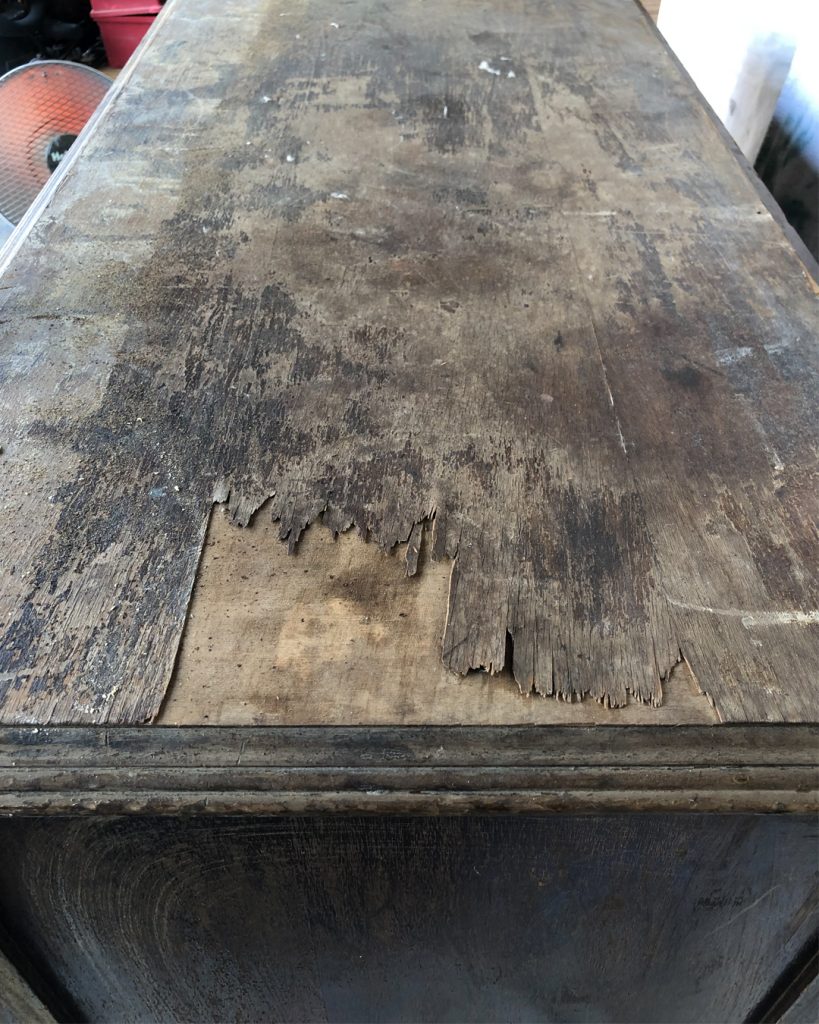
The veneer on this one was peeling so badly that the only solution was to remove it completely. We didn’t know for sure what we would find underneath, so we just started removing. In this post, you will learn a great way to paint and refinish a dresser with damaged veneer.
These are the tools we used to remove and refinish the top:
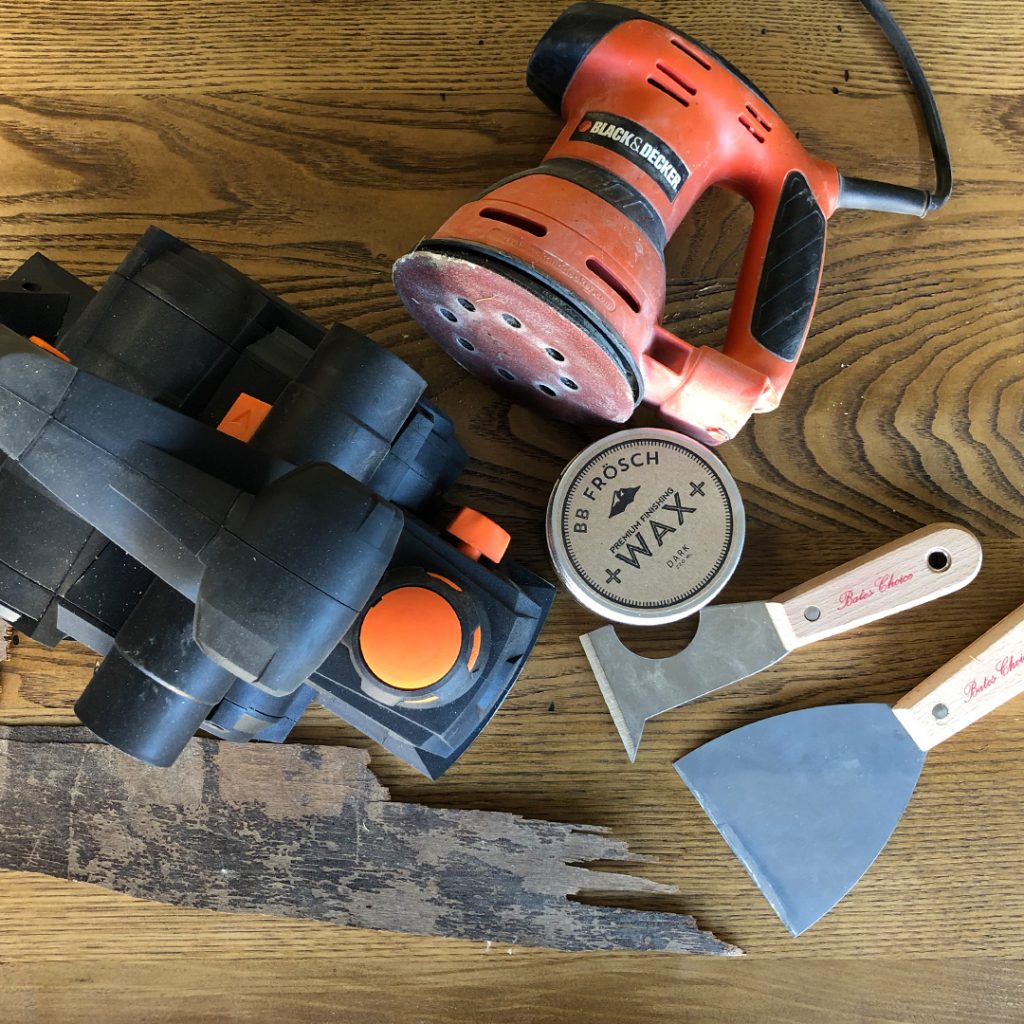
We removed the bulk of the veneer with a hand scraper.
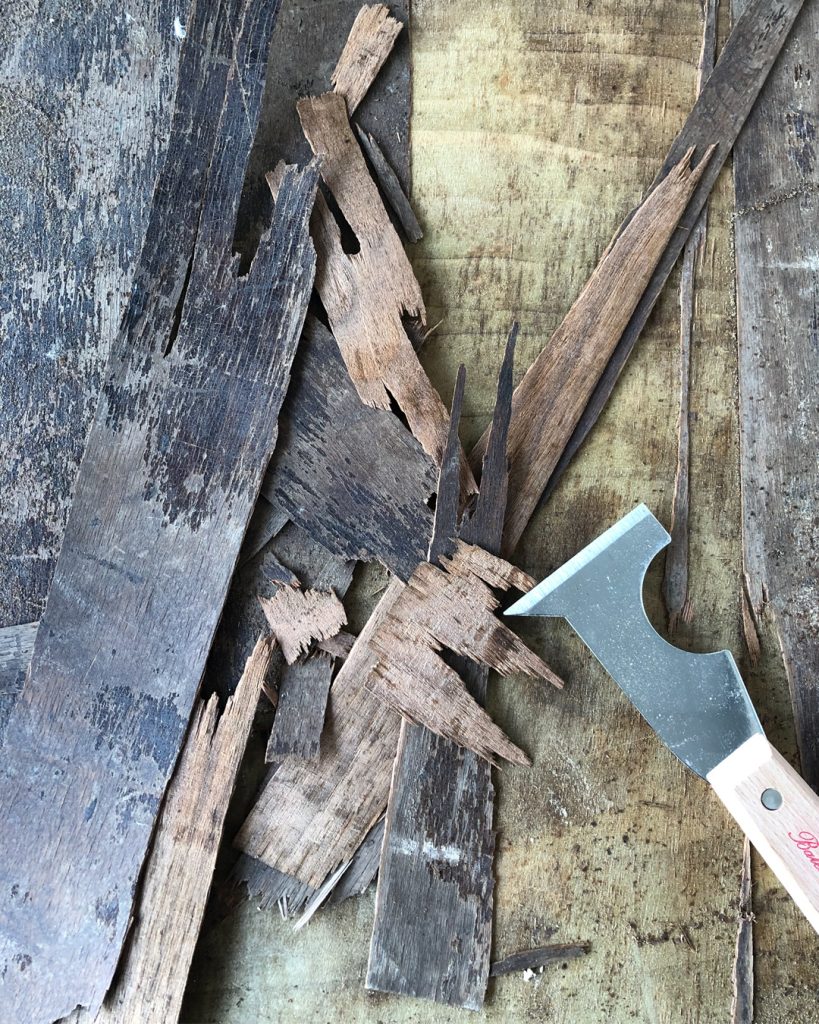
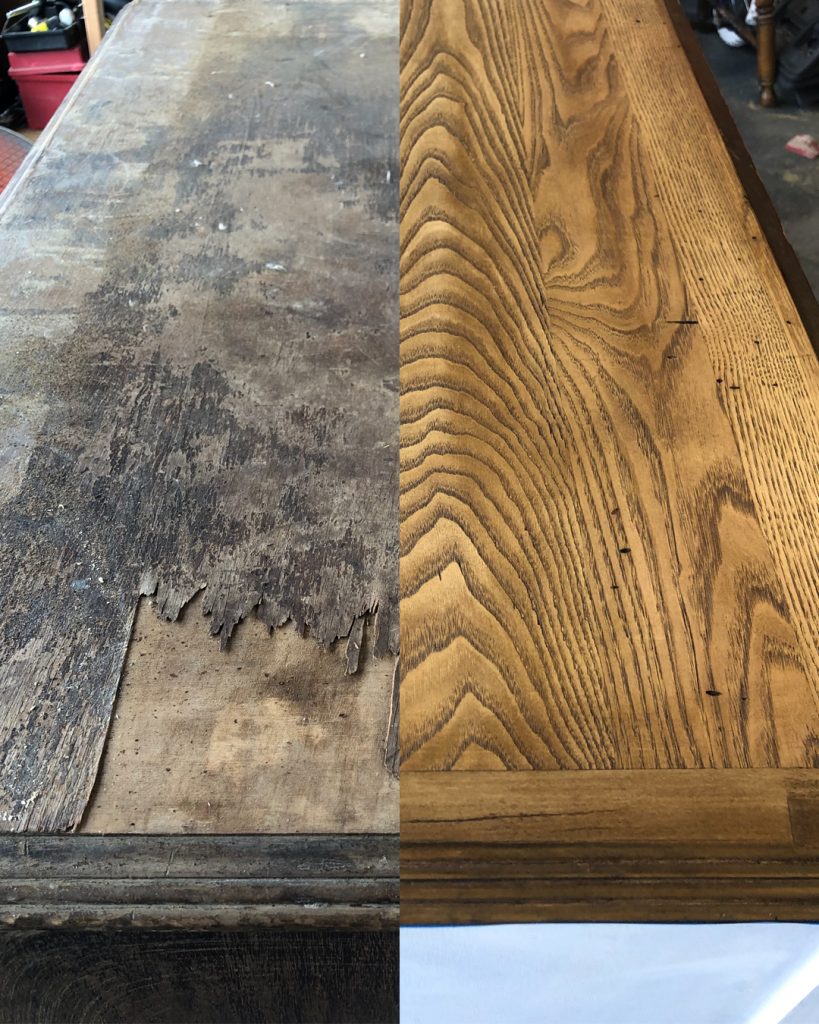
Beneath the first layer, we discovered a second layer of gross veneer that wasn’t as easy to remove by hand. So, we broke out the planer. It would have taken an eternity to remove the second layer with a sander because it was quite thick.
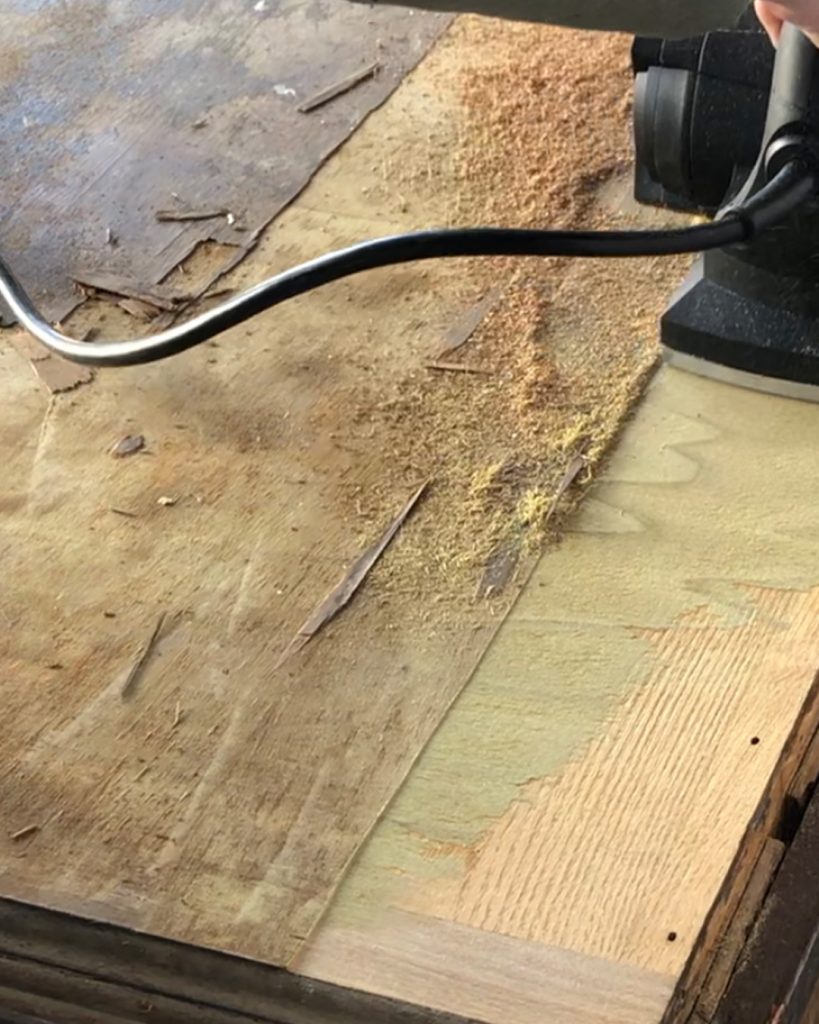
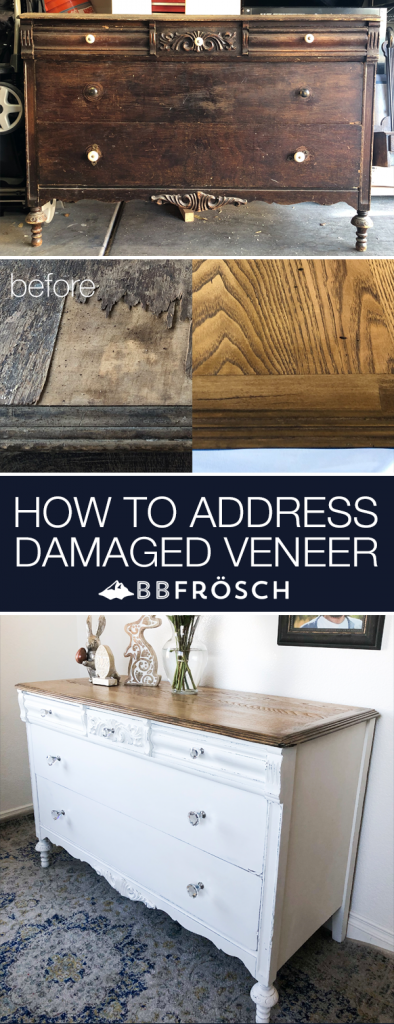
You can see the several different layers we had to work through. Once we completely removed the layers of veneer, we fell in love with the wood underneath! All we had to do was sand it down to smooth with the orbital sander and wax with BB Frösch Dark Premium Finishing Wax.
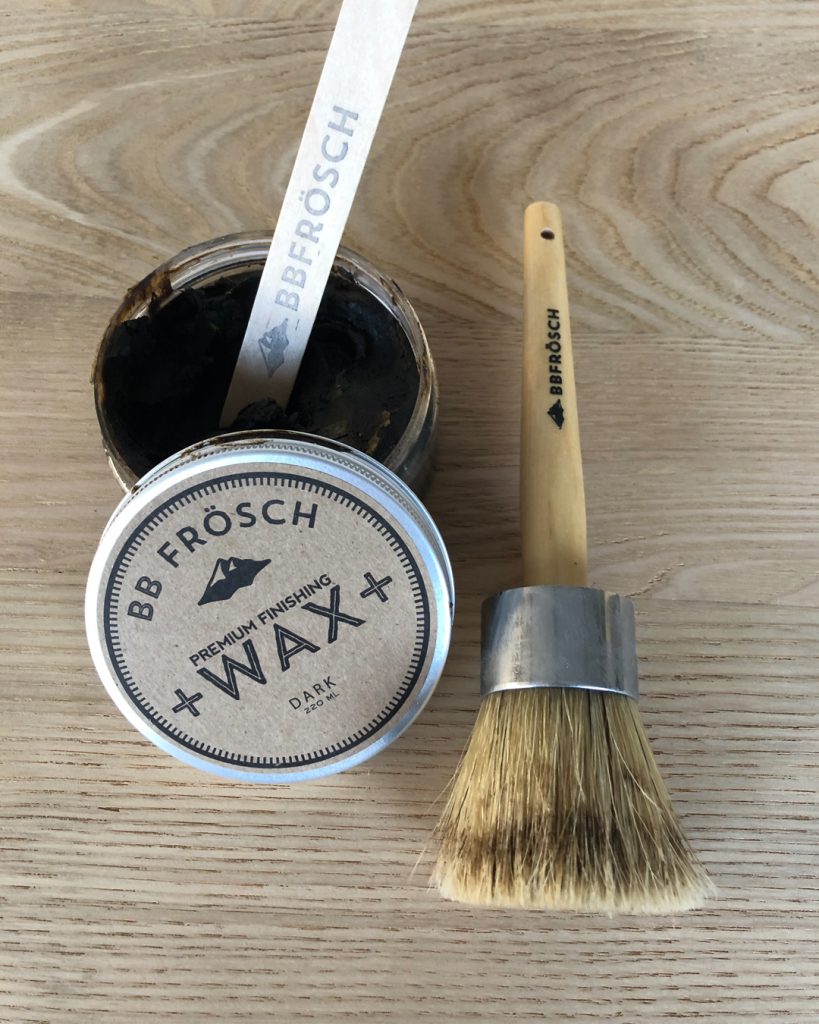
The dark wax made the little holes and signs of age look even better.
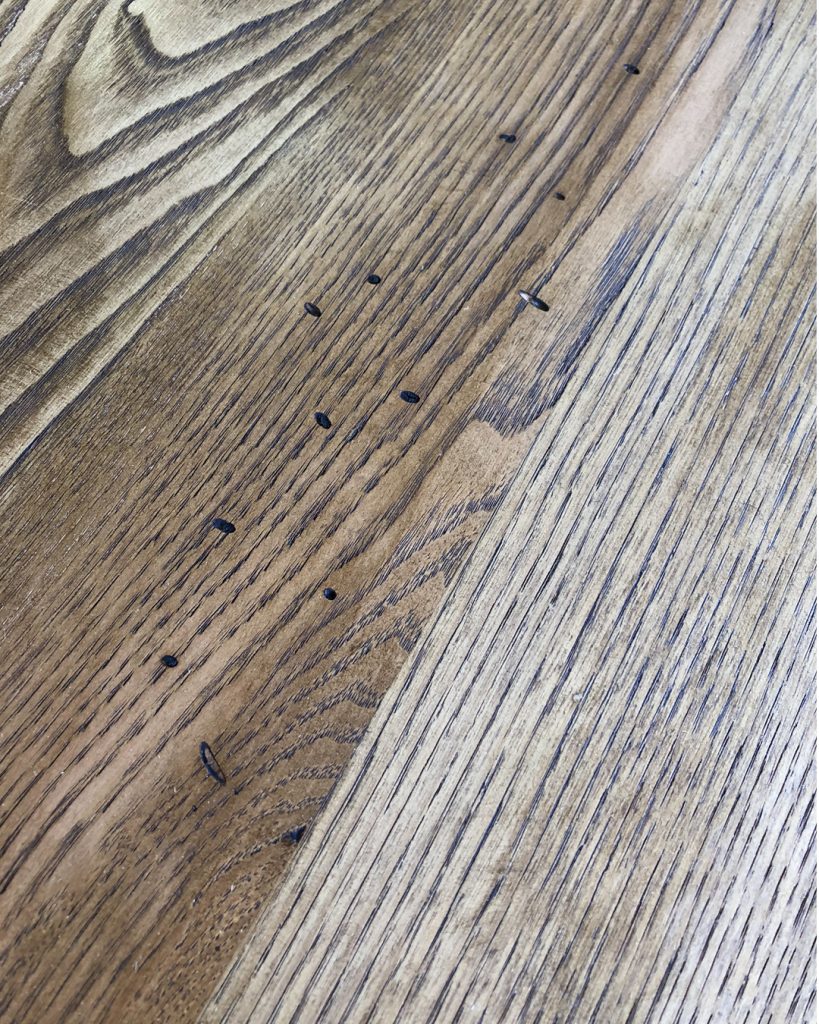
I could stare at the before and after of the top all day. It’s remarkable to me that this incredible grain was hiding under the nasty peeling veneer—all it needed was a little sanding and dark wax!
With top top refinished and looking fabulous, we painted the rest of the dresser white. It can sometimes be a challenge to get good coverage with white, since white doesn’t have a lot of pigment and opacity. Behr Silky White mixed with BB Frösch Chalk Paint Powder gave incredible coverage, though—we only needed two coats!
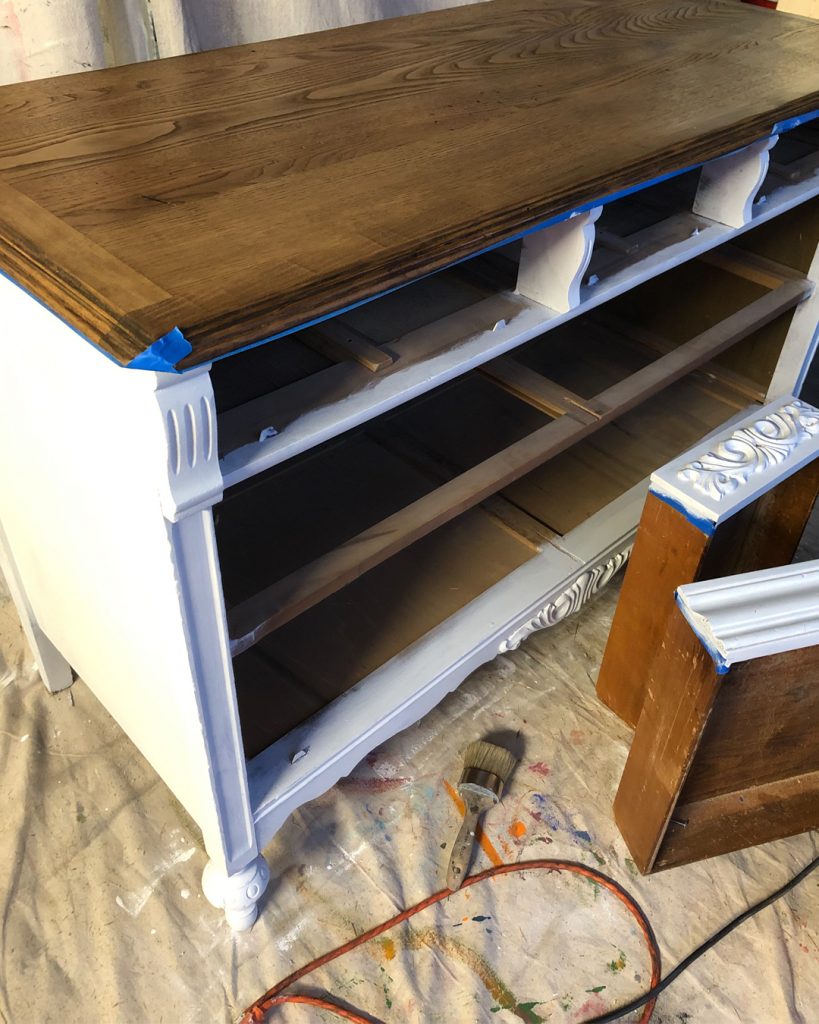
We lightly distressed the raised areas and embellishments with 220 grit sandpaper and smoothed the rest of the painted areas with 400 grit sandpaper. I always smooth my painted pieces with 400+ grit sandpaper because I believe furniture should feel as good as it looks. This is the sandpaper I like.
We sealed the painted parts of the dresser with BB Frösch Clear Premium Finishing Wax.
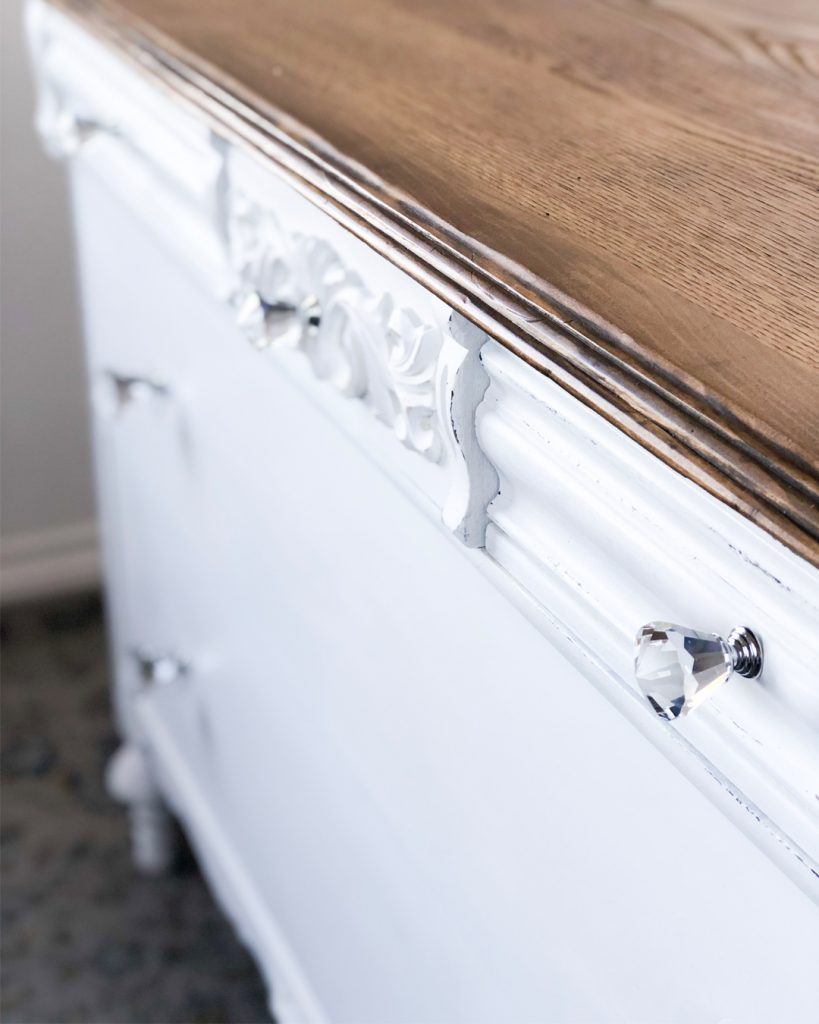
Since the dresser didn’t come with all-matching original knobs, we replaced them with these gorgeous crystal knobs you can find on Amazon:

The whole makeover cost less than $30, including the knobs (which were the most expensive part!)
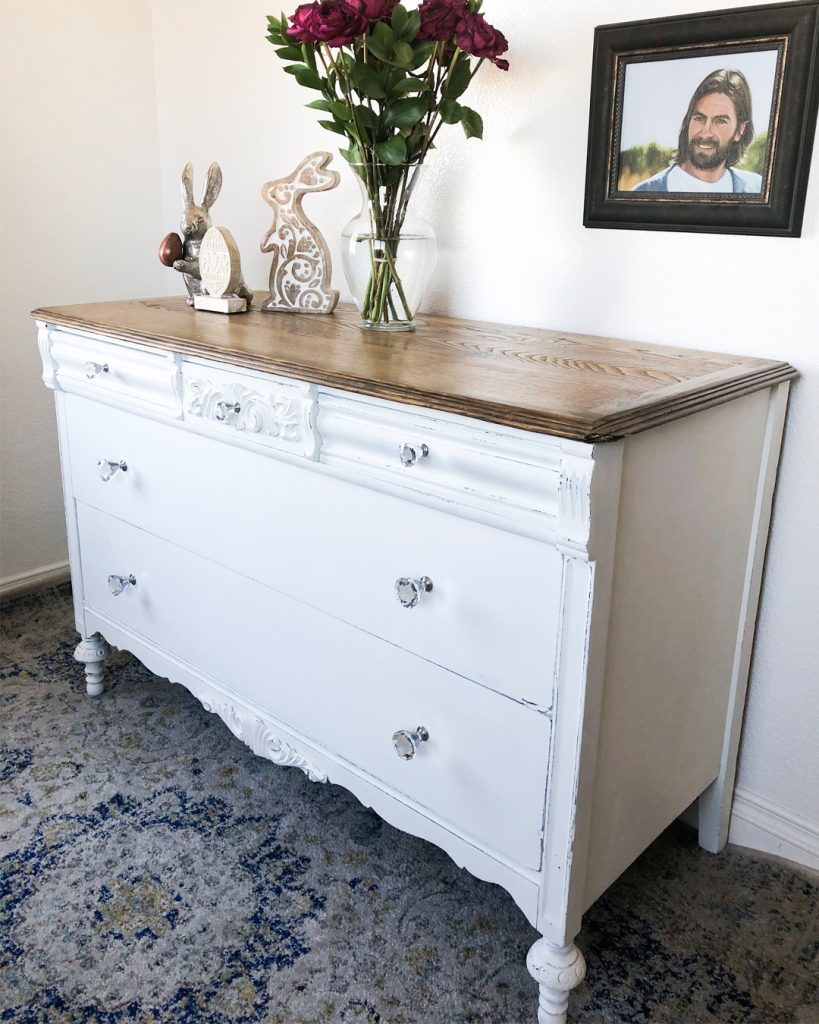
So, friends, if you have any old dressers with peeling veneer you want to get rid of…
Think twice! Or, you could always send them my way…
Find more affordable chalk paint inspiration at bbfrosch.com. Follow BB Frösch on Instagram, Pinterest and Facebook.

I have two old dressers that also have veneer on the front of the drawers. Should I do the same with them and take the veneer off? If it isn’t damaged can you just paint over the veneer?
There is no need to remove veneer that is in good condition.Just paint right over it!
I have an antique dresser gifted to me by a neighbor that has damaged, ornate veneer on the front. I’m worried that taking it off will take away from the charm. Any thoughts on repairing that type of damage?
P. S. Your dresser turned out STUNNING!!!
I just refinished a dresser for my son’s room. The veneer on top looked almost exactly like yours. We scraped off some, then used a heat gun to melt the glue as we scraped. It worked great!