Distressing your chalk-painted furniture doesn’t have to be messy…
…or distressing (see what I did there?)
Before I rock your world with the coolest and easiest “No-Mess-Distressing” technique, let me welcome you to my bathroom… I have an awkward space in the toilet area…
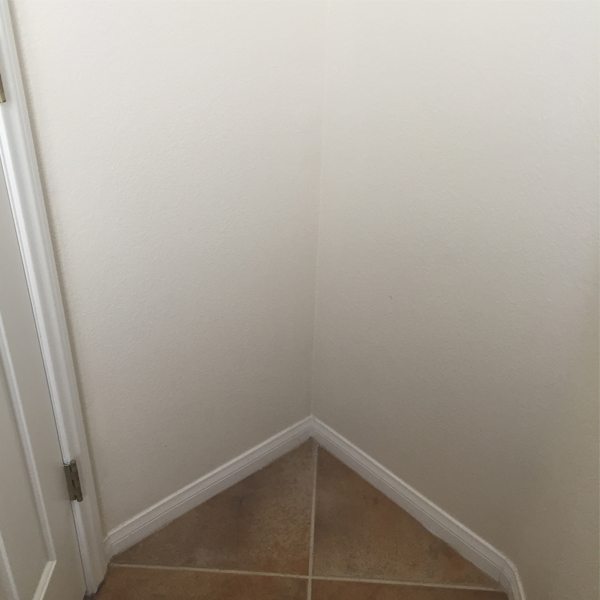
…too big to ignore since it’s directly across from the toilet…
…too small to be completely useful since it’s directly behind the door, and nothing actually fits in it.
Due to the opportunity bathrooms provide for contemplation, I found myself staring daily at the weird space and imagining the possibilities (which were fairly limited given that I didn’t want to spend a fortune on something only I would ever see, and the aforementioned too big/too small situation.)
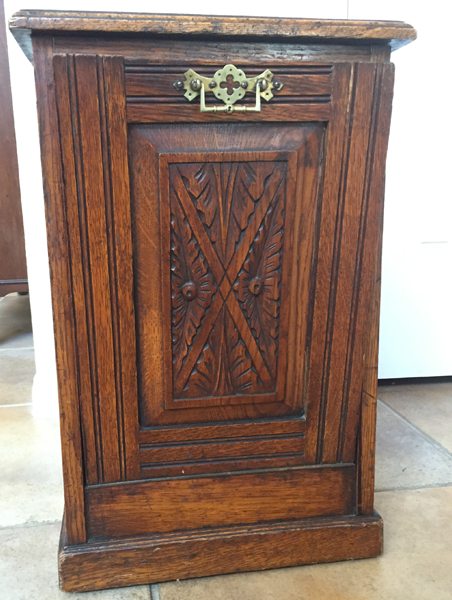
It was more than a desire to have something nice to look at during “contemplation time,” I actually NEEDED to do something with that space. Then I remembered I had this and because people don’t burn coal anymore…
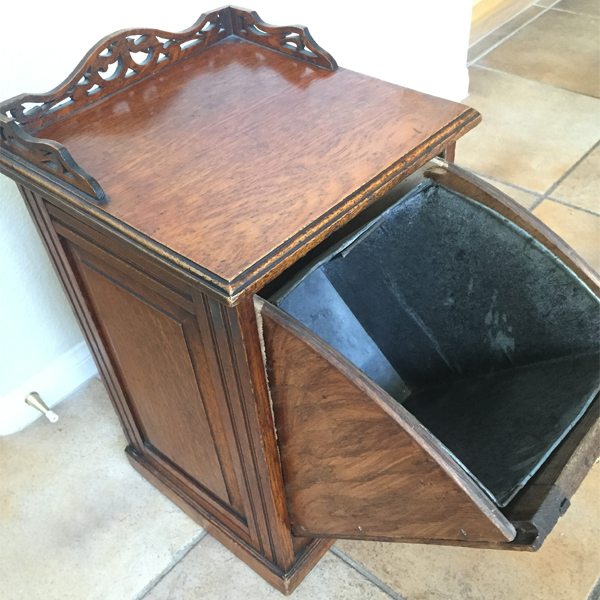
…And, the warped door was hard to open.
Plus, it had too many cracks and other issues to make it of value. Until now!
Unwilling to spend money on this project, I grabbed a jar of grey Behr sample paint that I’d already mixed into chalk paint for another project.
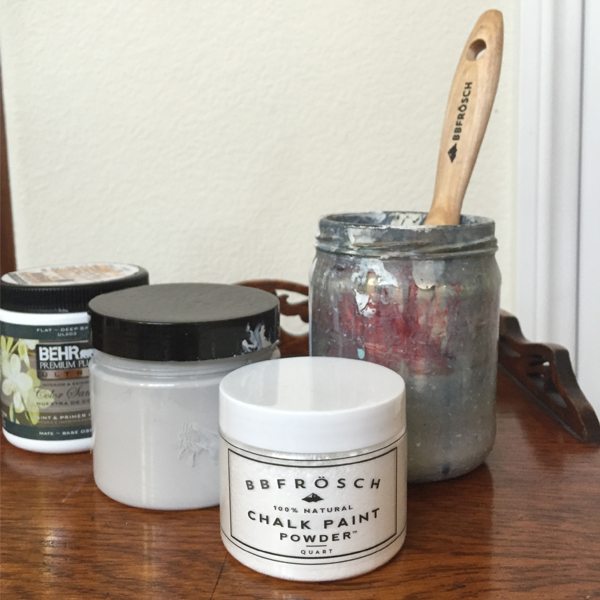
I always make my own chalk paint with BB Frösch Chalk Paint Powder. Besides the fact that I can pick any color under the sun, it is waaaaay more affordable than any premixed brand. For a quick tutorial on mixing your own chalk paint, click here.
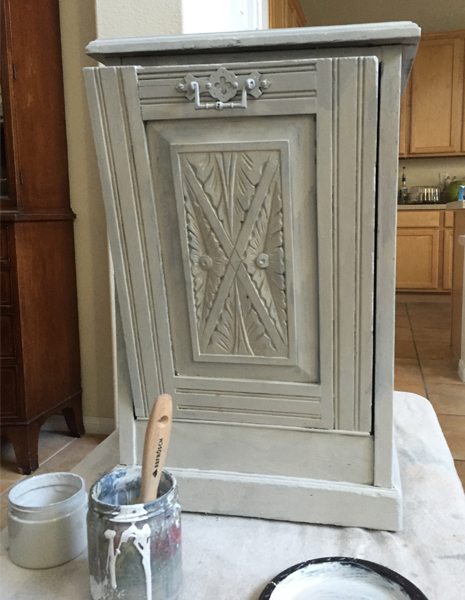 It took about ten minutes to get the first coat of paint on the entire piece. The first coat dried so fast that I was able to get right to the second coat. Two quick coats was all this beauty needed, especially since I planned to do some distressing anyway.
Remember the gorgeous woodwork on the front of the door? Now it looked a little lost and covered up, and that wouldn’t do.
It was time for one of my favorite chalk paint techniques.

This is my go-to technique for when I want to distress through the paint to a beautiful underlying wood WITHOUT accidentally distressing through the wood finish down to raw wood.
With sandpaper, it is easy to accidentally distress through, and there’s no getting the old beautiful wood finish back if that happens.
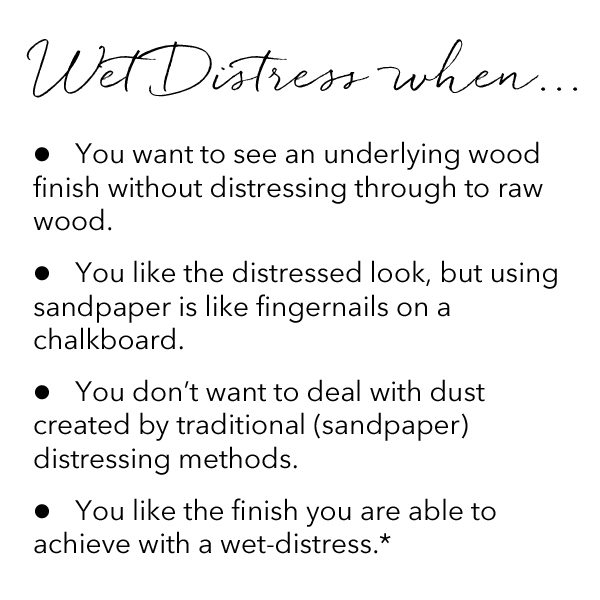
*I tend to have a heavy hand when it comes to wet distressing, which creates a “chippy” look. I don’t always want a chippy look, but when I do, I know I can achieve it perfectly with a wet distress.
Here’s how No-Mess, or Wet-Distressing, is done:
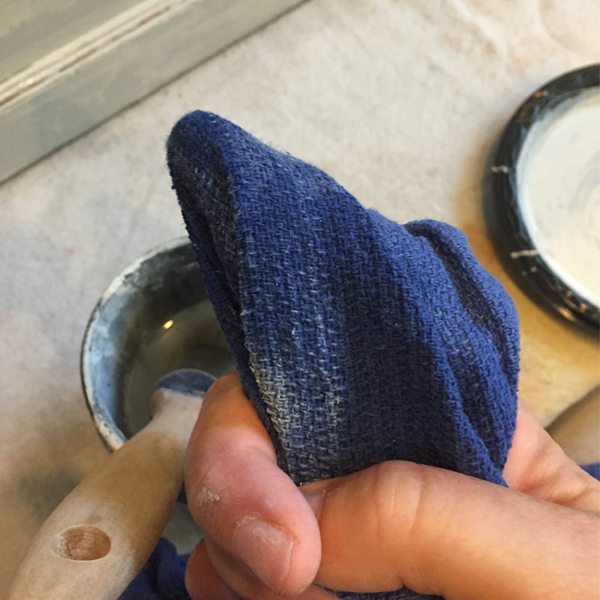
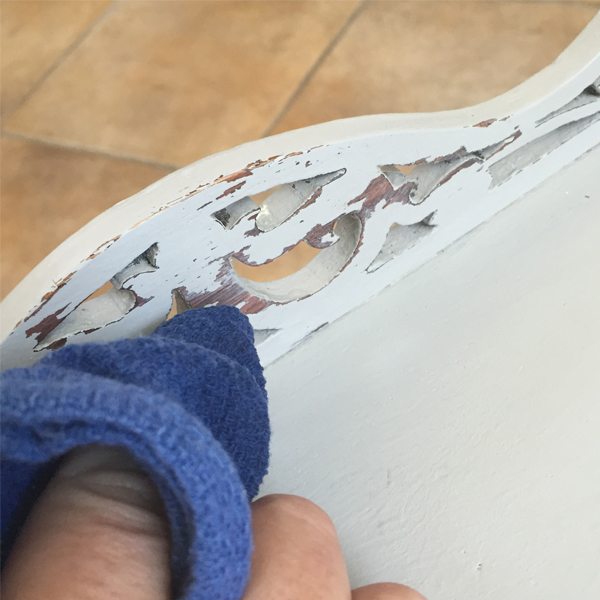
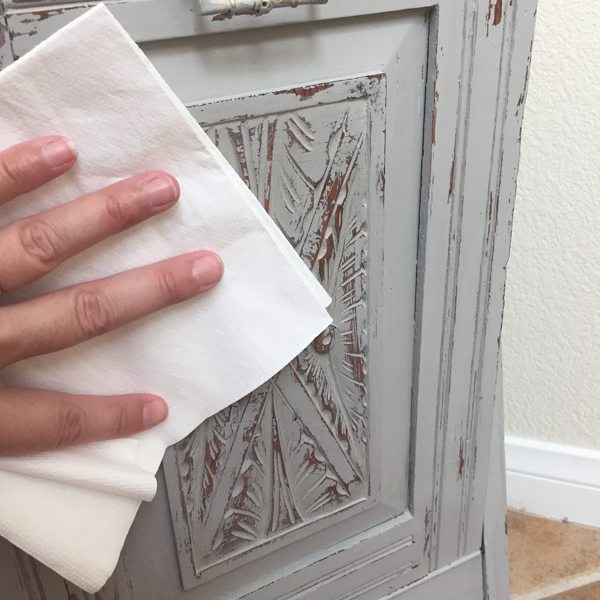
Using a LINT FREE cloth (I get mine from BB Frösch, but you can also use a surgical huck cloth,) cover your finger with the cloth and dip it into water.
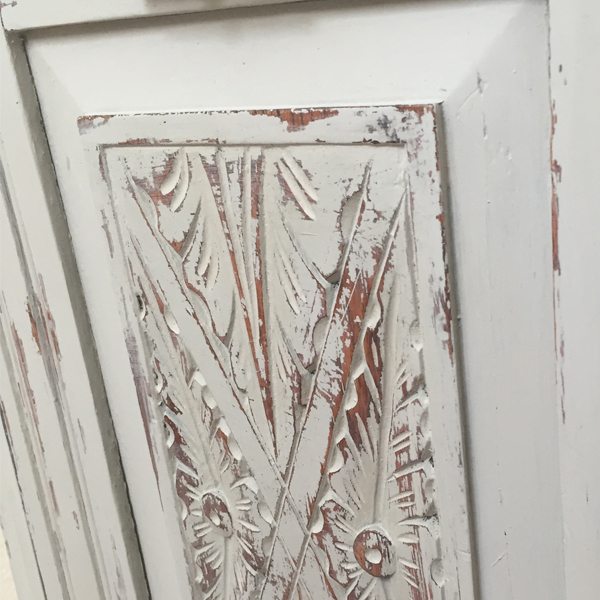
Then, gently rub any areas you want to distress. If you are after a chippy look, like the one pictured, just push a little harder.
That’s it.
Seriously, it’s that easy.
Once I had revealed all the underlying wood finish I wanted to see, I smoothed the entire piece out with a small piece of 400-grit sandpaper.
This little smoothing tip is not a distressing technique, it is a smoothing one.
IT MAKES ALL THE DIFFERENCE in how your piece looks and feels. It takes only a couple of quick passes (kind of like you are moving across your piece with a dust cloth—not rubbing back and forth like you would if you were distressing.)
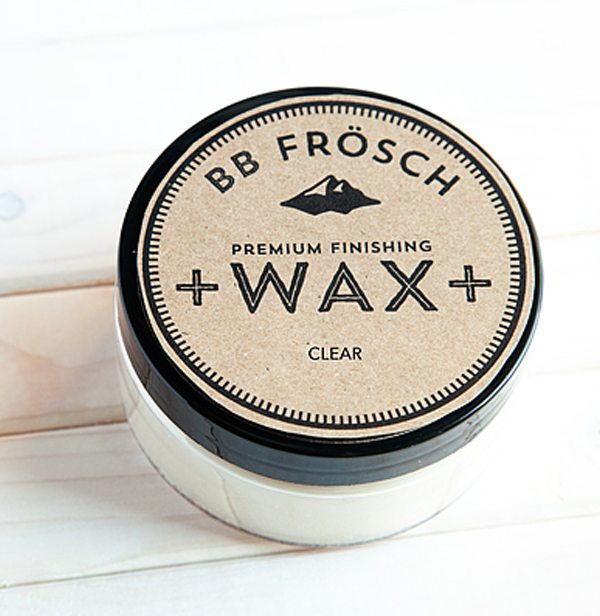
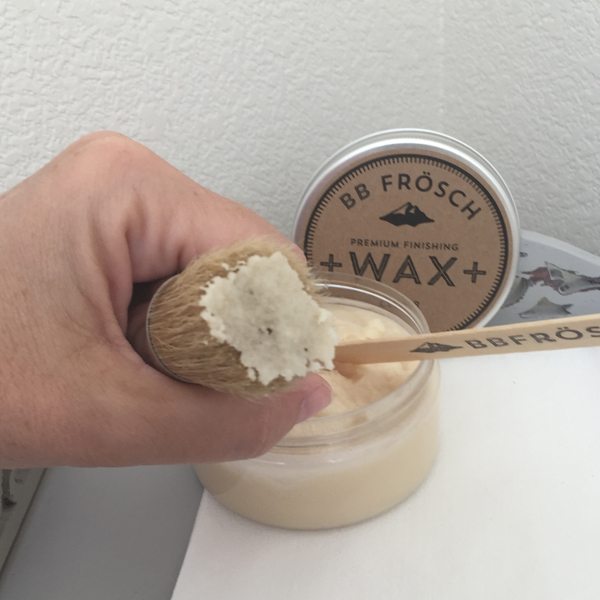
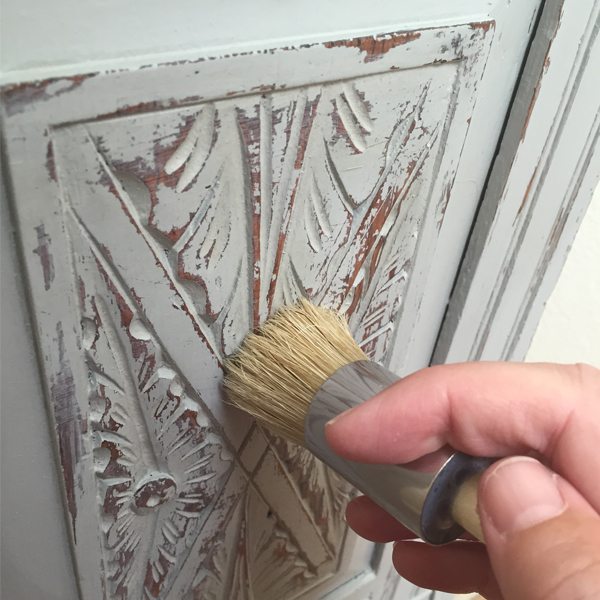
With my piece freshly painted and No-Mess-Distressed, it was time to bring out the full beauty with BB Frösch Premium Finishing Wax. This is my FAVORITE wax–it dries and cures in minutes and goes on like butter.
Applying just a thin layer of wax at a time helps ensure that excess wax is not drying on your brush before it gets onto your piece.
After applying wax, I removed excess with a lint-free wax cloth and buffed to a slight shine. I didn’t want too shiny for this piece, so this step only took a few minutes.
I tried to take a photo of this little beauty in her new home, behind the bathroom door, but the lighting isn’t awesome…
…and frankly, it got a little weird trying to position myself and my camera on top of the toilet for the sake of a good picture.
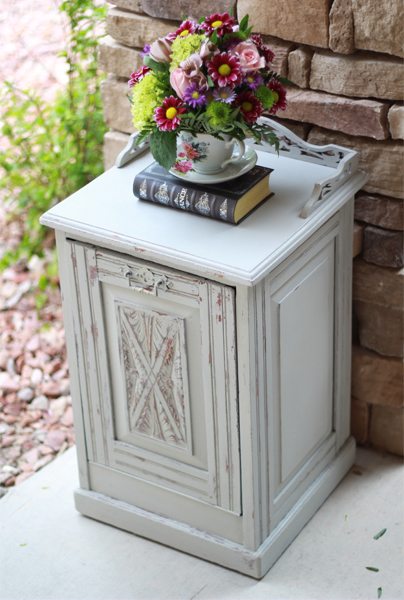
So, here she is in all her wet-distressed glory on my front porch for her photo session.
Check out all that storage!
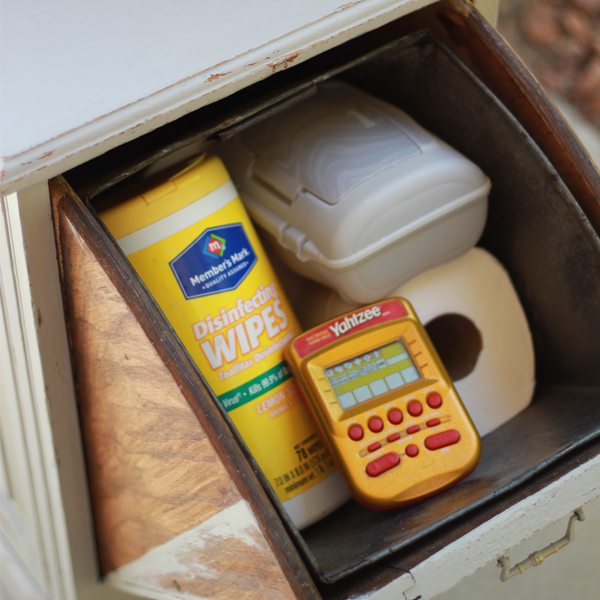
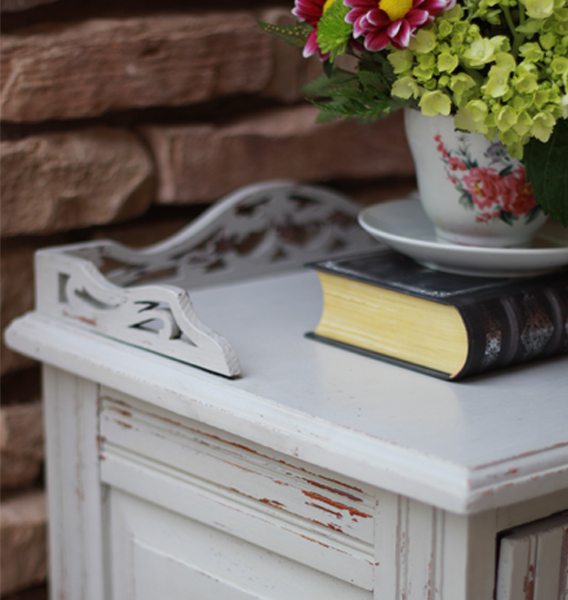
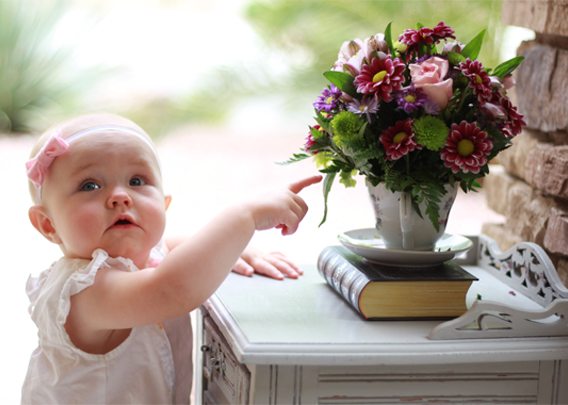
One final shot of my photo assistant/floral arranger just for good measure…
Looking for more BB Frösch Inspiration? Check out BB Frösch on Facebook on Pinterest, on Instagram, or at bbfrosch.com.


This is beautiful! Seems simple to do and I have a nightstand that I think would look beautiful like this! 🙂
You make it look so easy! I like the “no-mess” method. I have a couple of pieces that I wanted to paint but are too big to be moved outside. I may tackle them now:) Thank you.
there are definitely a few pieces of furniture in my house that I want to try this on!
Paige
http://thehappyflammily.com
I love it!! This was a fantastic find… I never used milk paint before but I will in the future…
Hey 😀 This is beautiful! When you start distressing it is the paint dry? You said the 1st coat dried so I am wondering if it still needs to be wet so I can already have everything I need ready so it doesn’t dry!
Again, this piece is really pretty, you did an awesome job! Thanks bunches for sharing 😀
Jes–
The term “wet distress” only refers to using a “wet” cloth to distress. The paint itself is dry when you distress. Hope this helps!
Thank u that kinda got me too!
Do you wait for the 2nd coat to dry completely before wet distressing?
Wet distressing is used when paint is dry (usually within 10 minutes or so)
Lovely! A couple of questions: 1. I have used other chalk paint powders, and they changed the color of the regular paint; do you find this with the BB Frosch? 2. Also, would the wet distress technique work if you only wanted to show a little bit of the first coat painted in a different color? Thanks so much.
Kathleen–
One of the reasons BB Frösch is the best powder on the market is that it DOESN’T change the color of your paint, which allows for accurate color matching and painting in rich deep colors. I LOVE that! For your second question, YES, wet-distress is a great technique and can be used to create a two-color distress. Happy Painting!
THANK YOU for the wet distressing tip, it made my distressing SO much easier! I tried sanding but I had so many layers of paint it took forever. Here is a link to my finished desk and chair set. I am happy with the way it turned out!
http://sfbay.craigslist.org/eby/fuo/5683774829.html
Thanks again,
~Kitty
So glad this helped!Way to go on your project!
Thank you!
When mixing your own chalk paint can you use a paint and primer all in one?
If you are referring to the post you commented on, then yes. As long as it is flat paint then you can mix that with the BB Frosch. If you are talking about making you own chalk paint from scratch, then I am not sure! I have never made my own before. I hope this helps! xo
Hello! So glad to have come across this article as I am about embark on chalk painting and distressing a piece of furniture for the first time. I do have a couple of questions .. I am reading your instructions on how to tmake the chalk “donut glaze” and I do not know how I can measure 8 oz of paint? Is there a way to measure 8 oz before i mix in?
Also, how long do I have to wait to know the first layer of paint has dired? And, how long do I wait until second coat has been applied to start the wet distress process?
Thank you so much in advance!
Deana–
We sell an 8 oz. mixing jar that makes it easy so you don’t have to measure your paint. However, 8 oz. happens to be the size of sample jars of paint at Home Depot, so if you buy that, there is no measuring. Or, you can just just 1 measuring cup as that is also the same as 8 oz.
For most projects, the first coat dries within 15 minutes or so, and you can paint the second coat right away. If you are painting laminate, glass, or any surface that is less porous, I recommend waiting a little longer (up to a day) to allow the paint to cure. You can wet distress as soon as paint is dry (15 min.) you do not need to wait for paint to cure.
Hope this helps!
It does look great. I am wondering though, if you ever wanted to refinish it again, can wax be painted over or do you have to sand it all down in order to repaint?
Beverly–
One of the awesome things about chalk paint is that it can be applied to virtually any surface without sanding, priming, or stripping–even if the piece has already been painted! So, no sanding down to repaint!
Hi Kristin!
This looks go great, and easy, that I’ve decided to do a very large china cabinet! My question is should I do it in “pieces” (doors first, then the base, then the top, etc.) since it is so big, or can I do the entire thing then go back to wet distress? I’m afraid that it will be to dry by the time I’m finished painting the entire thing to actually wipe anything away. Plus, will it work the same if I’ve already bought premixed chalk paint? Thanks!
Penny–
I would wet-distress the whole piece at once. That way, your wet distressing will be more consistent. This technique will work with any good-quality chalk paint. Not all paints that claim to be “chalk paint” are created equal, so I hesitate to predict what your results will be with a pre-mixed.
Kristin
Can I apply the wax with a cloth instead of a brush?
Hi Renee!
Yes, you can apply finishing wax with a cloth as long as it is lint-free. I prefer a brush for two reasons: you use a lot less wax when you apply with a brush, and it is easier to get into grooves with a brush. Hope this helps!
I went to Home Depot and I see they had a sample jar of chalk paint that I ended up buying. Should or could I still add your powder to this or should I pass and just use the chalk paint that I bought? If I use theirs will I be able to wet stress it?
Virginia–If you purchased a pre-mixed chalk paint, no need to add the powder. You should be able to still wet distress!