In case you’ve been living under a rock, chalk paint is the greatest thing since pockets on a T-shirt. There are a million reasons to love it, but the most popular is that you don’t have to prep your piece, you can just start painting! How awesome is that? Those words are probably music to your ears if you hate sanding, stripping and priming… and if you’re like me and into instant gratification and like to get your projects knocked out in a day or two.
People ask me all the time if they have to strip/sand/prep their piece with BB Frösch, and the short answer is NO. The long answer is…
If it looks anything like this:
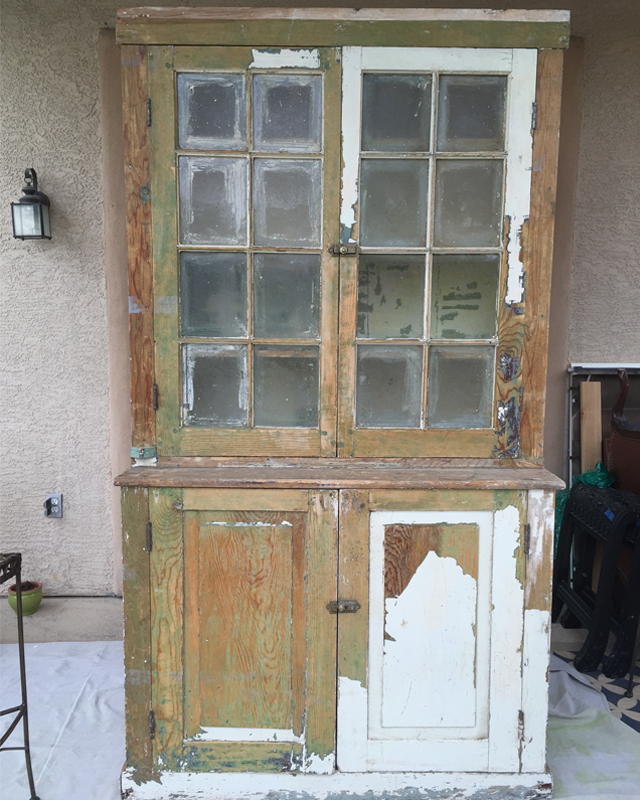
…you better either run the other way, or brace yourself for some prep work. Of course, your chalk paint WILL bond to a piece like this, but do you really want to count yourself among the other five generations who just added a new layer of paint every time the styles changed or the previous layer got a little tired?
This piece is an antique brought to me by a client, and from the picture, it was clear some stripping had already taken place, but overall, the piece didn’t look too horrible…
until I got a closer look and found this:
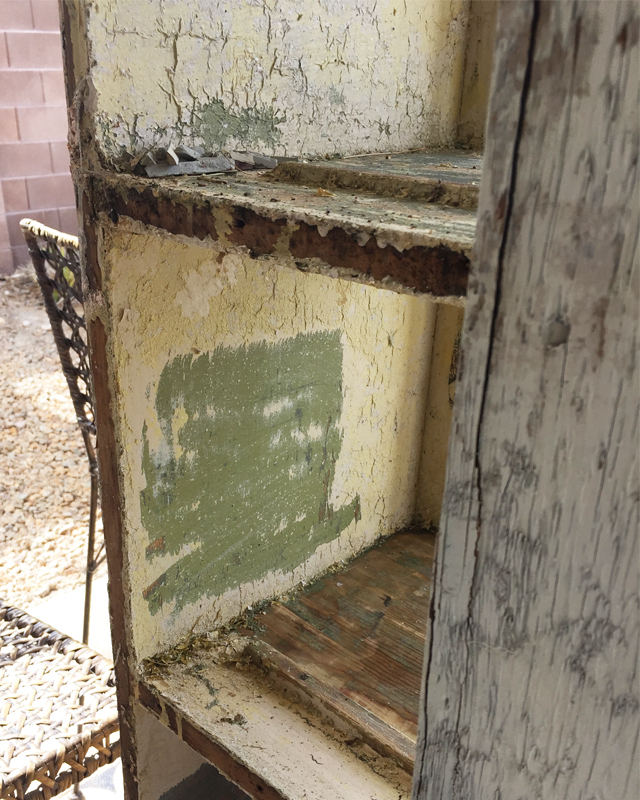
…layers upon layers of crackle finish, dirt, rotten wood, and puttied holes..
It was a mess, to say the least, and I was too lame to turn the project away.
I got out my Strypeeze (not to be confused with Striptease, which I accidentally called it during a live Periscope—yikes!) along with some protective gloves, a putty knife, steel wool, sandpaper, and basically anything I thought could help get back to smooth wood.
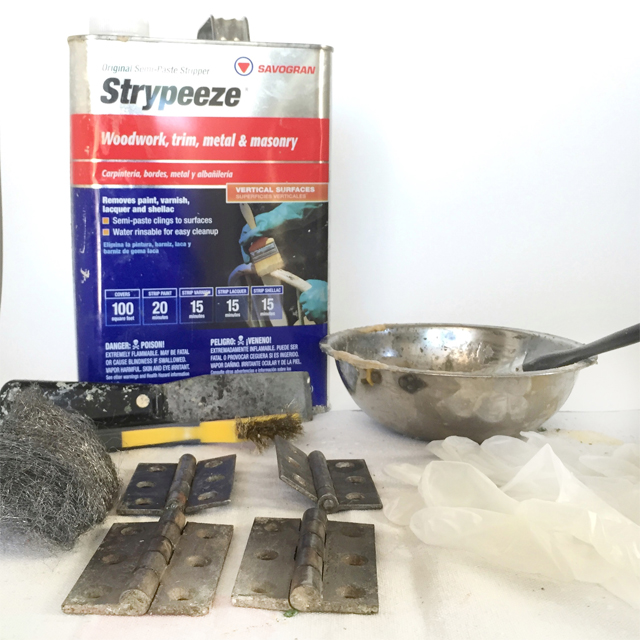
There are a lot of products on the market that will strip paint and stain, but I needed the most powerful one I could find, and this is it! It took several applications to get all the layers off, and it honestly wasn’t pretty.
There may have been a few curse words involved.
When stripping a piece, I remove EVERYTHING…hinges, hardware, glass, the hutch back, included. It just makes it easier to get all the gunk out. You would be surprised what kind of crap is lingering behind loose wood and hinges! Blech!
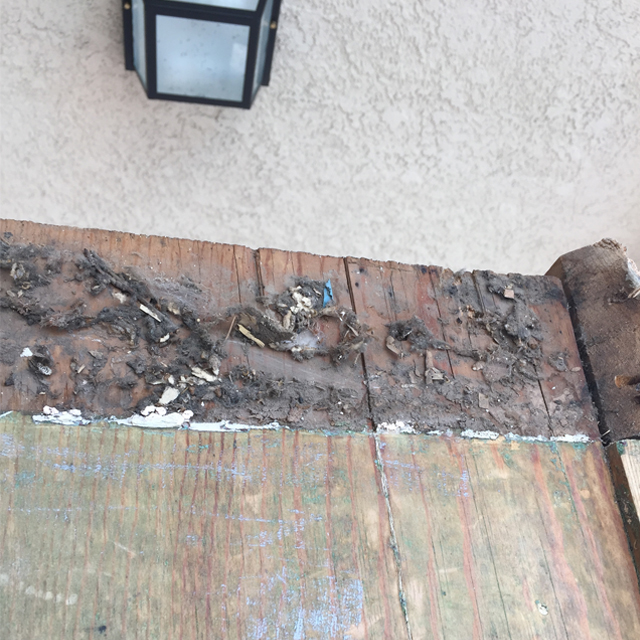
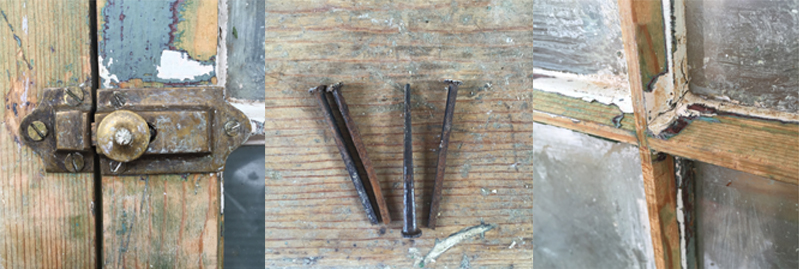
In between the sweat and tears (literal sweat and tears…lots of both) I occasionally paused to appreciate some of the cool features of the antique beast. Stuff like nifty old-fashioned closures and hand-forged nails.
Once the piece was stripped to oblivion (seriously, like months worth of stripping…Jason even paid a kid from church $100 to finish the job for me because our marriage was in jeopardy from how ticked off I was all the time over this piece. Needless to say, it was not $100 well spent, and I got back to stripping it myself…), I got to the fun, quick and easy part—PAINTING!
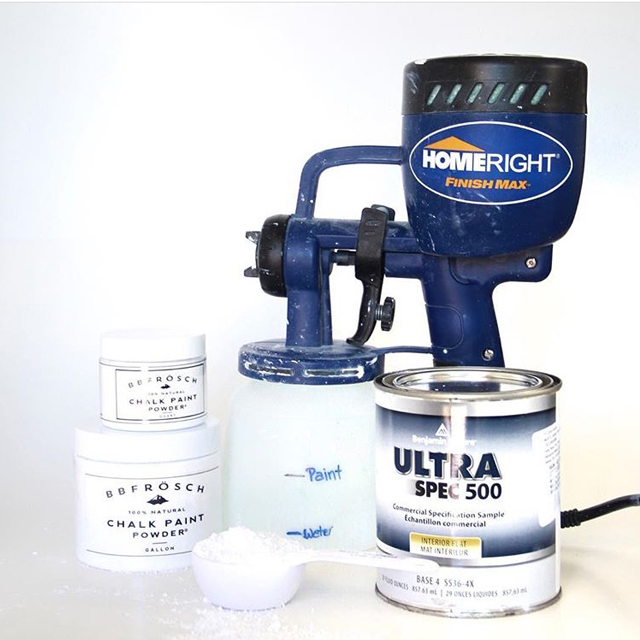
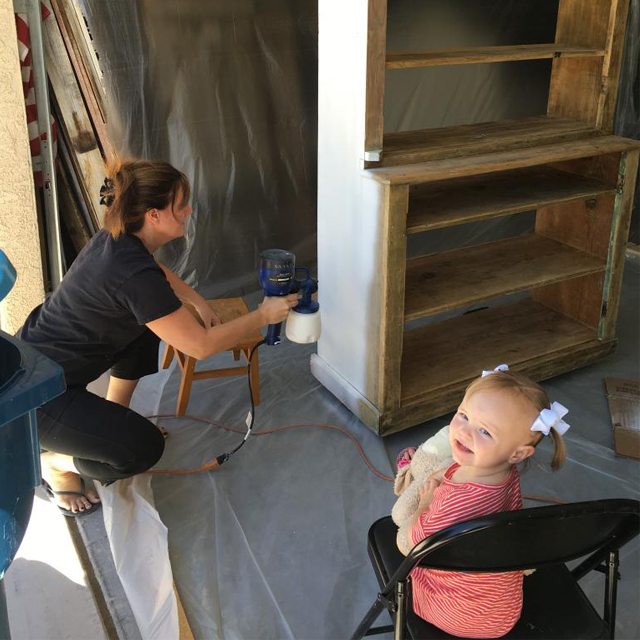
This part was seriously so easy and fast! Because I used a sprayer, I mixed my BB Frösch Chalk Paint Powder and water right into my Homeright Finishmax sprayer hopper, then just added the paint. I go heavy on the powder when using a sprayer just to help compensation for the water you have to add to thin the paint. To mix half a quart at a time, I used a heaping 1/4 C Powder + 1/2 to 2/3 C Water + half quart of paint. I recommend using the viscosity cup that comes with the Homeright sprayer to test the consistency of your paint.
Here are a couple mid-project shots to go with the action shot above! I rarely do a project without my little Buddy Blaire:
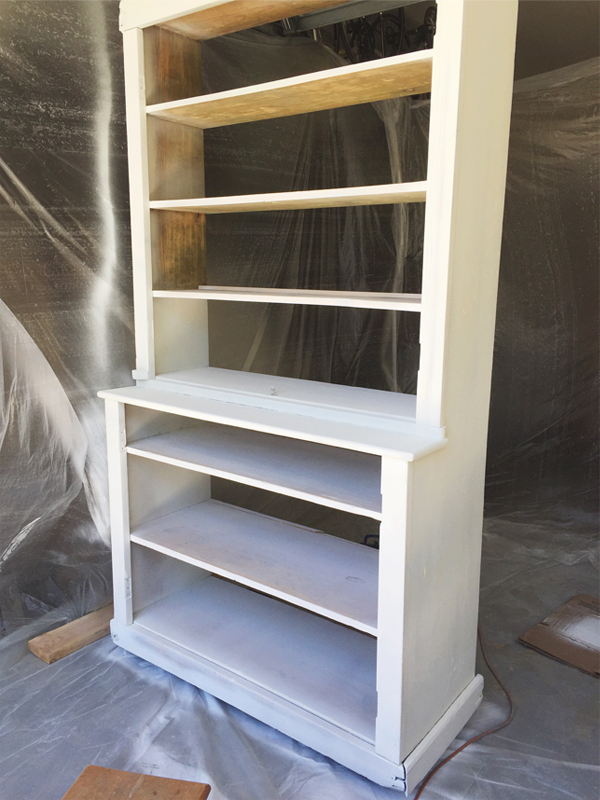
Once the entire piece was painted, I re-attached the doors, hardware, and hutch back, then I gently distressed it to keep with the age of the piece, then I waxed with clear BB Frösch Premium Finishing Wax:
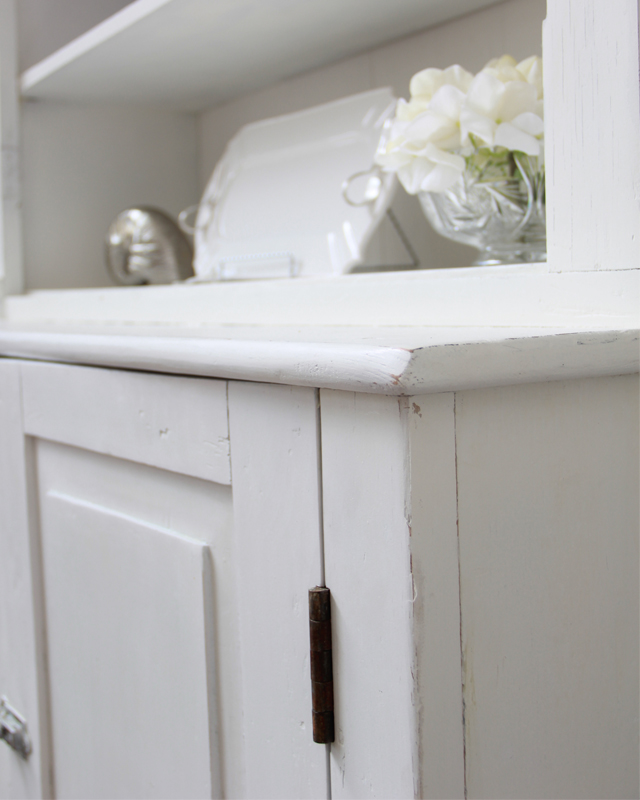
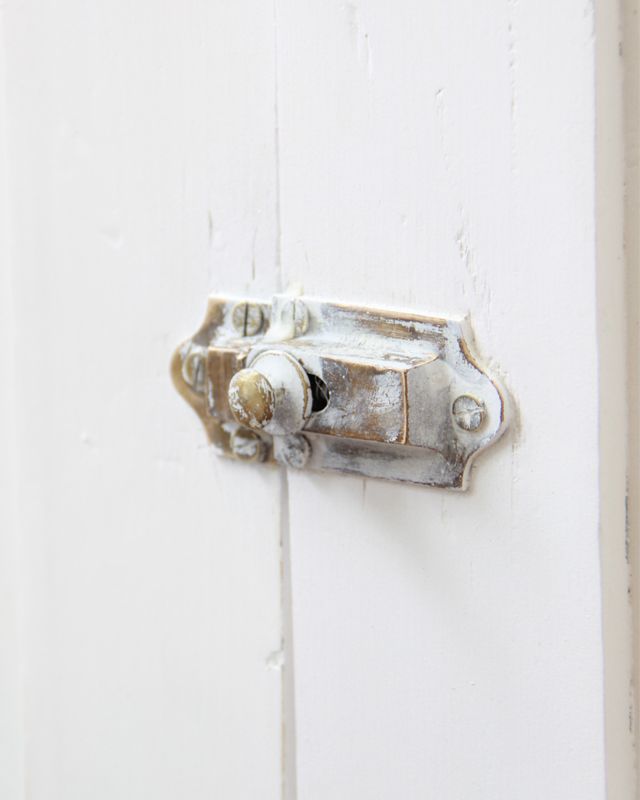
I even gave the hardware a little paint because it didn’t look right all shiny and cleaned up.
Finally, I staged the piece with some of my own things before handing it off to it’s owner, and I secretly wished it belonged to me. When all was said and done, I can honestly say I love the piece, but I will NEVER take on a project I have to strip again!
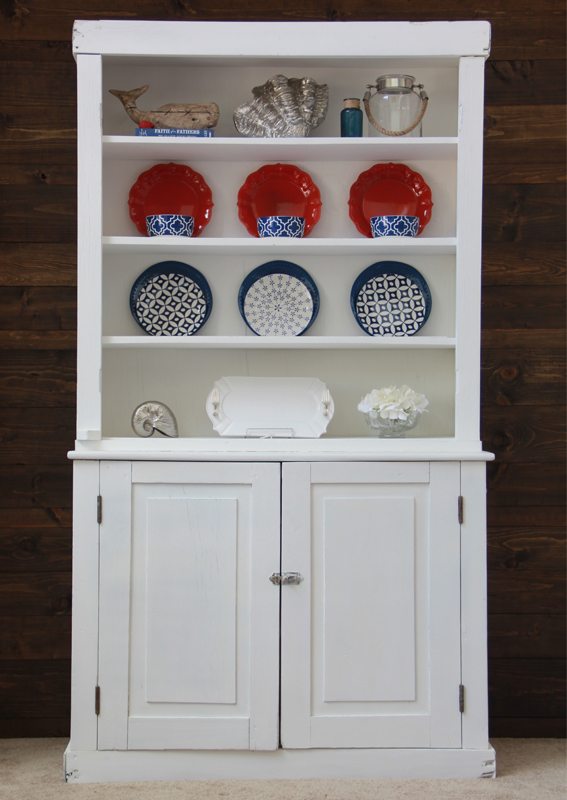
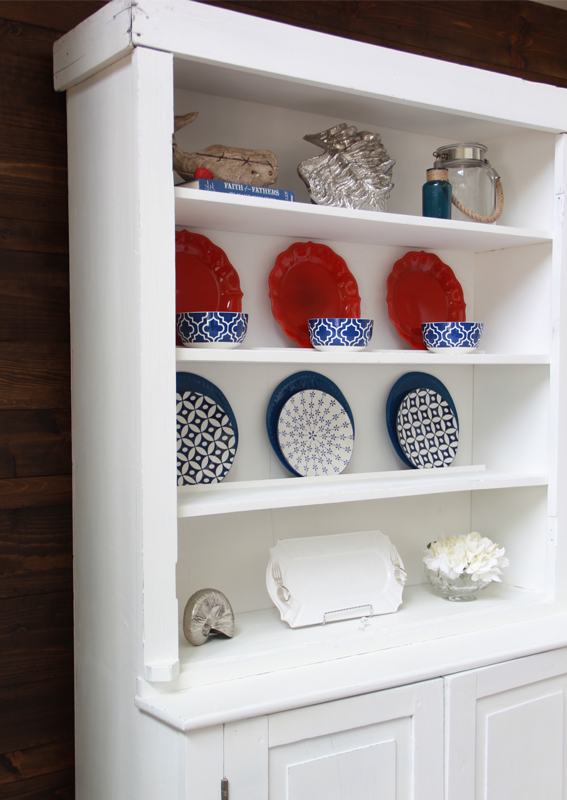
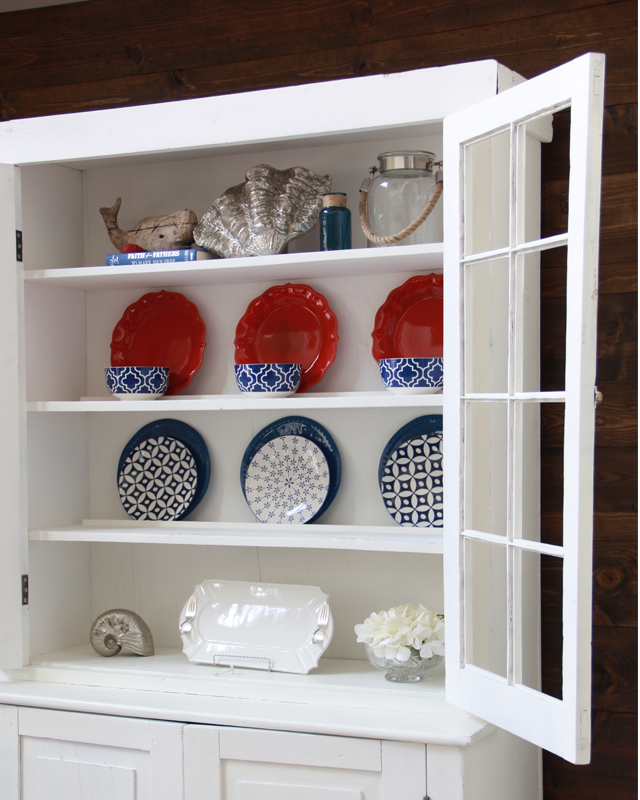
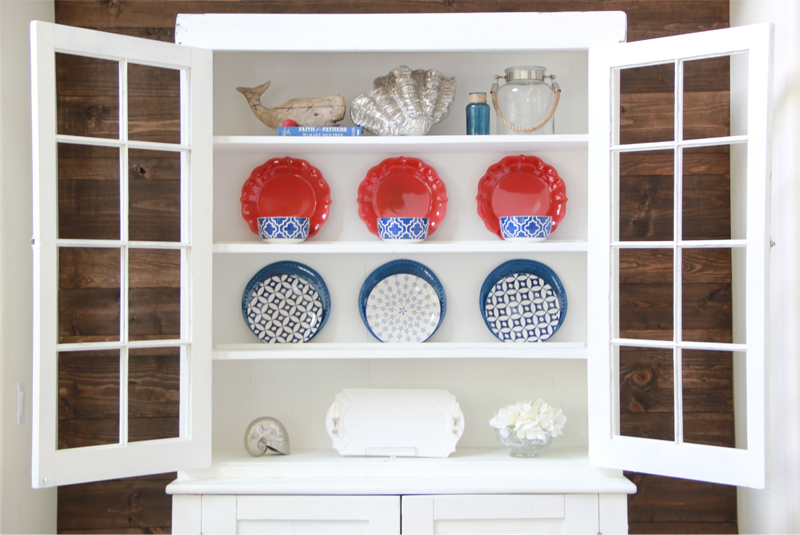
P.S. I special ordered glass to fit the funky-sized panes, but it hadn’t arrived before I had to take photos for this post.
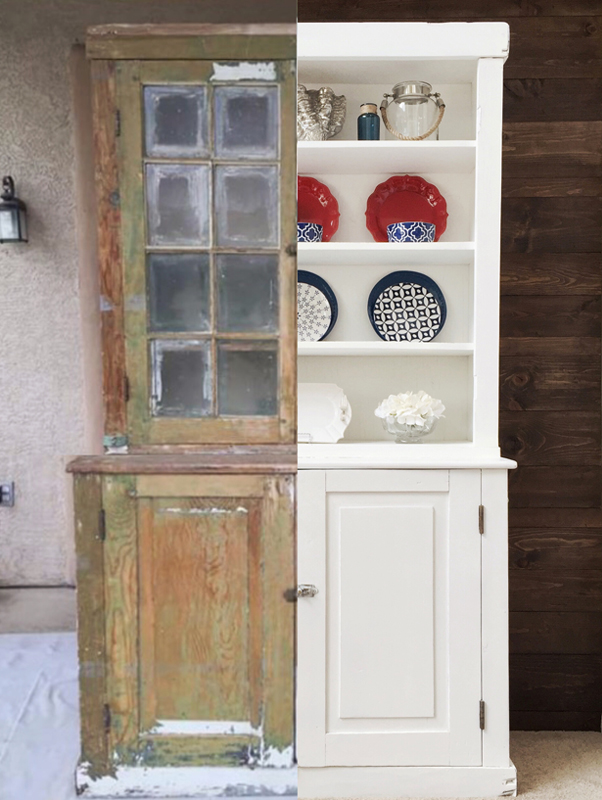
So, yes friends, you CAN chalk paint without stripping, but on a piece like this, you’re going to want to bite the bullet and strip:
Need more affordable chalk paint inspiration? Follow BB Frösch on Instagram, Pinterest and Facebook.


That looks beautiful and what a job getting all the layers off!! Wow!! Well done:)
The final outcome looks amazing! I have a couple of black painted dressers that I want to take to white. The paint is in great condition, just ready for a change. Would you recommend striping the black before applying white chalk paint or do you think it will provide enough coverage and not bleed through? (I really don’t want to stripe these things either!) Thanks!
As long as the previous paint is not peeling or chipping, you should be fine to paint right over it. Any time you paint white, you may need at extra coat or two, but it will still be fewer coats than if you just used regular latex paint. Hope this helps!
How did you clean those window glasses?.
In this case it was easier to replace the glass than to clean it. Several pieces had broken, and I wanted all to match. To clean glass with as much junk as these panes had, I recommend removing the glass first. You can use a razor blade to gently remove paint. Then, warm soapy water and a scrubby sponge!
That is truly amazing and I can’t wait to start my project tomorrow. Your work has inspired me.
What is “C” powder? ?
Chalk Paint Powder. I couldn’t find where you are referring to, but it is probably a typo.
You didn’t need to prime it first? If no, why not?
Nope, no primer thanks to the amazing chalk paint!
I have a question…i have chalked painted my kitchen table and 6 chairs. I would like to know, what products are recommended if I would like to remove this chalk paint. There are two (2) layers of to different colors. I love that piece you did, though i am really fond of the one that you cleaned up. I love the really rustic looking pieces. Thank you for your help regarding my issue. Have a blessed day…Cynthia Gamez, Abilene, Texas
Cynthia–
Although you don’t have to remove existing paint in order to chalk paint over it, you certainly can. Any paint stripper will work to remove chalk paint. I like Citri-strip. Just follow the directions in this post!
Did you coat the chalk paint with anything? We chalk painted some coffee tables and they mark up rather easily. Do you suggest anything?
Rosie–
The only time I don’t seal chalk paint is when it is on a rug, some craft projects, and pillows or curtains. Otherwise, I ALWAYS seal chalk paint. If you don’t seal it, it can continue to be manipulated. The ability to manipulate chalk paint is one of the most-loved features (ie the ability to distress, to smooth, to use as a faux stain, etc.)–once you have the look you want, though, you need to seal it to protect it. You can learn more at bbfrosch.com. I hope this helps!