When my daughter was expecting her first little girl four years ago, we painted a dresser/changing station in what I thought would be the perfect blue to last through baby girls AND boys. It was…back then. Due to dramatic changes in styles and tastes, the nursery is getting a total makeover in preparation for our first grandson.
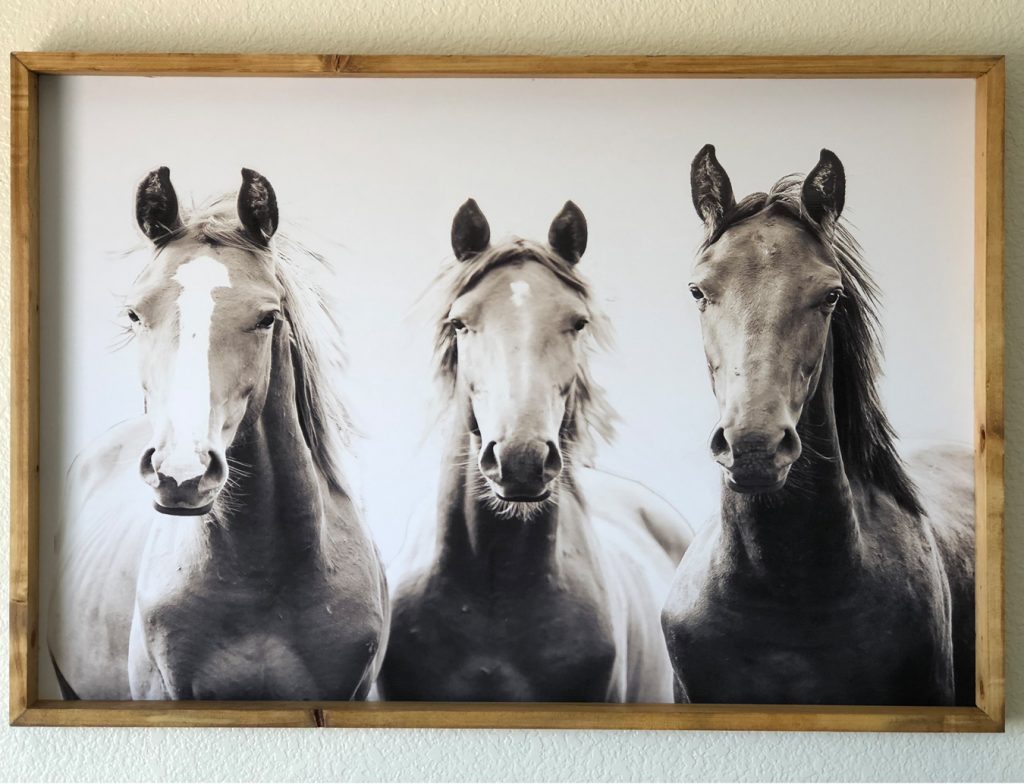
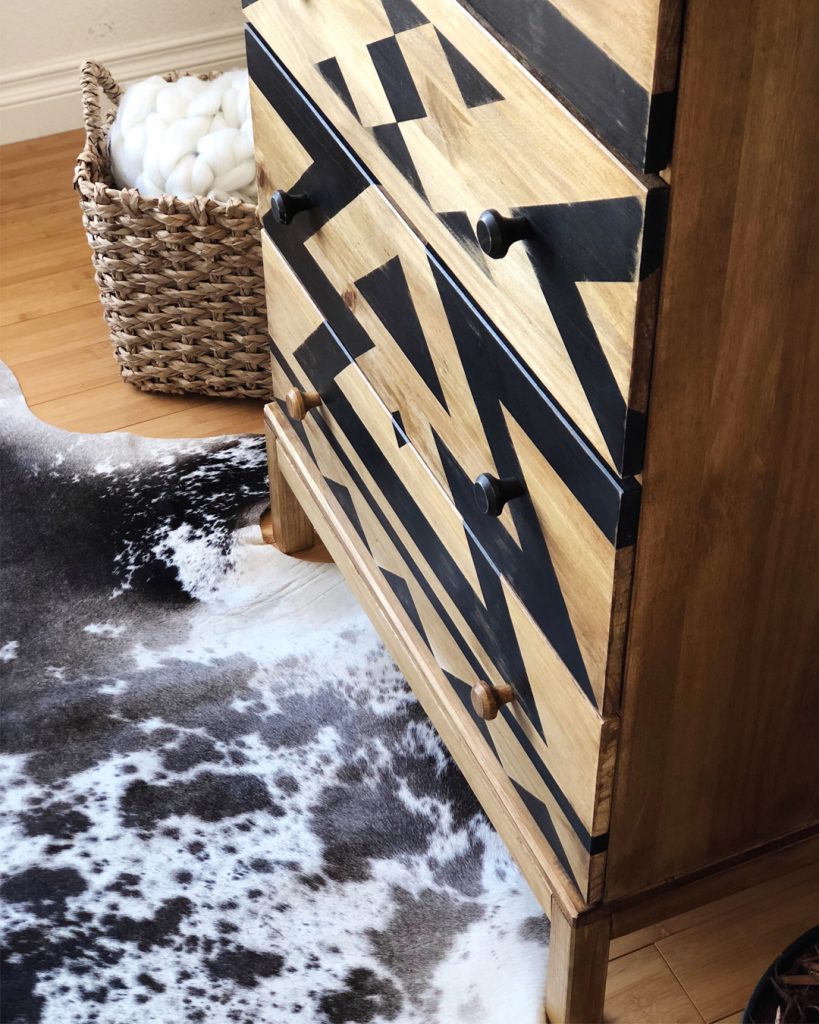
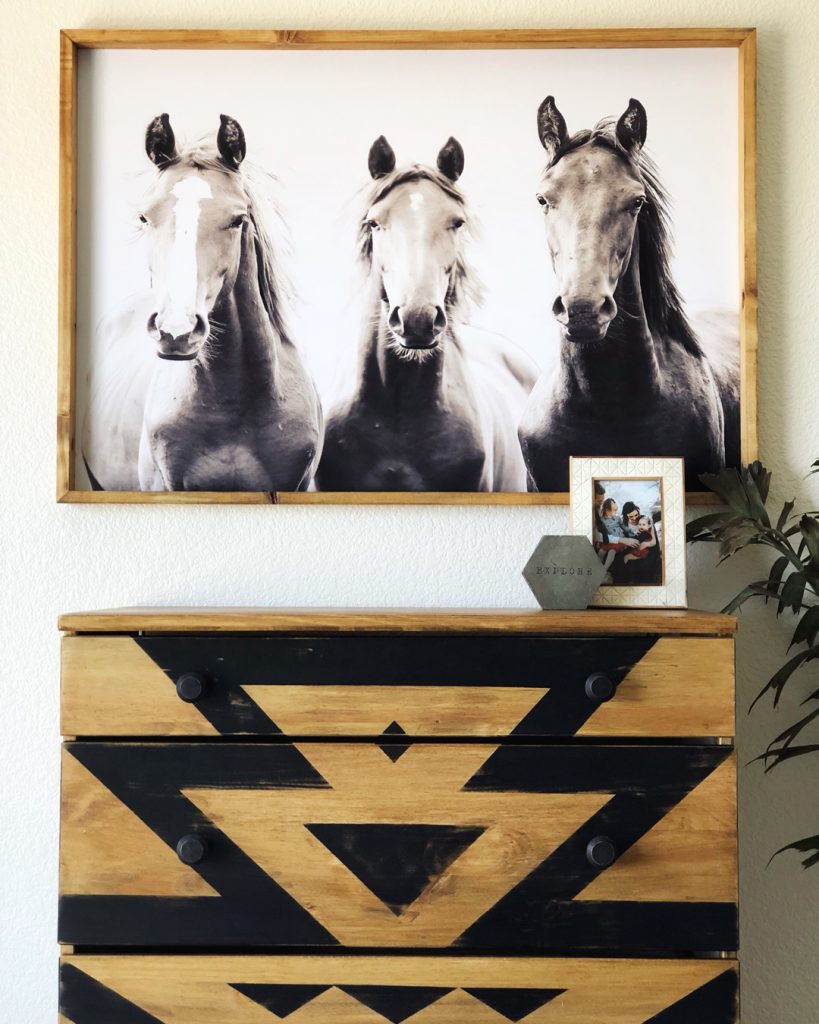
I have been dreaming of the perfect dresser to go with the gorgeous cowhide rug Kacey got from Tandy Leather and this print from Sincerely Us Shop:
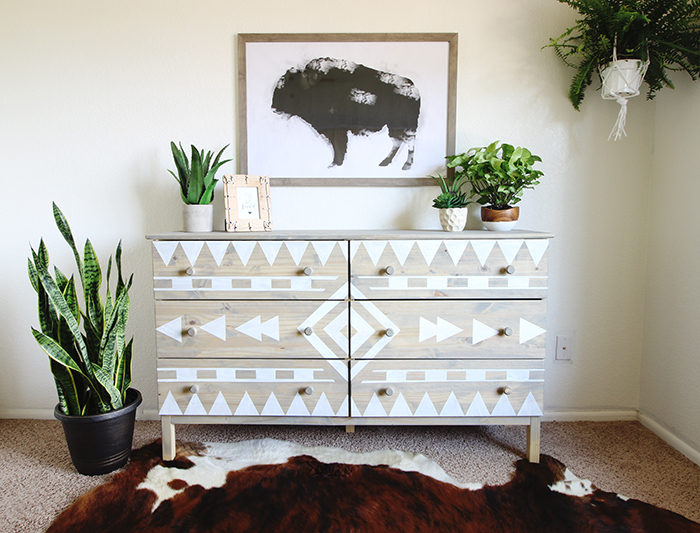
Then, the other day, the Classy Clutter girls posted something crazily similar to what I had been planning!
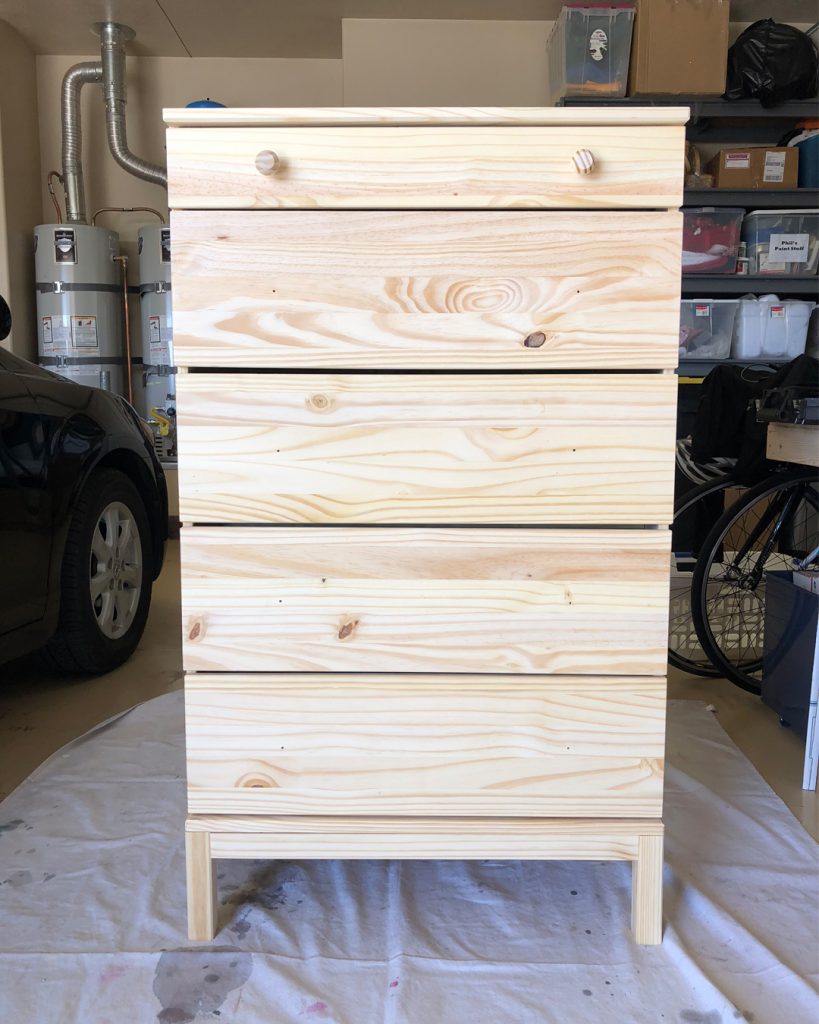
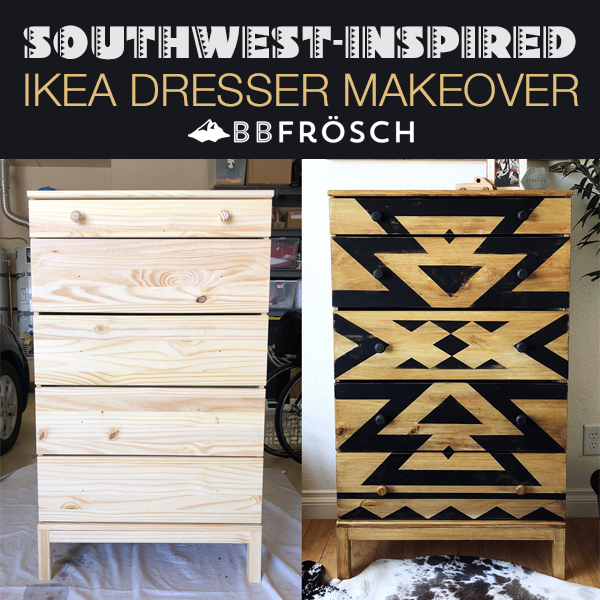
I started with this raw pine dresser from IKEA:
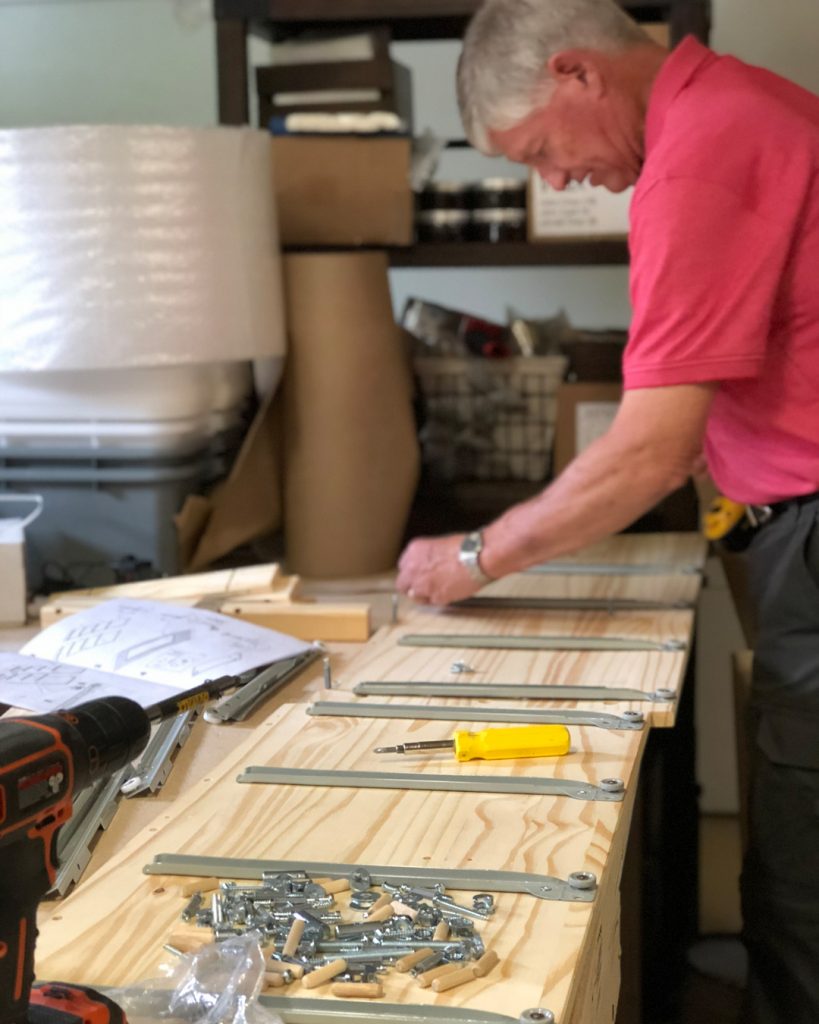
 Note: It took my dad and husband about three hours to put this together–they estimated there were about 90,000 different pieces…
Using Frog tape, my youngest daughter, Kami, and I got to work taping off a random Aztec pattern:
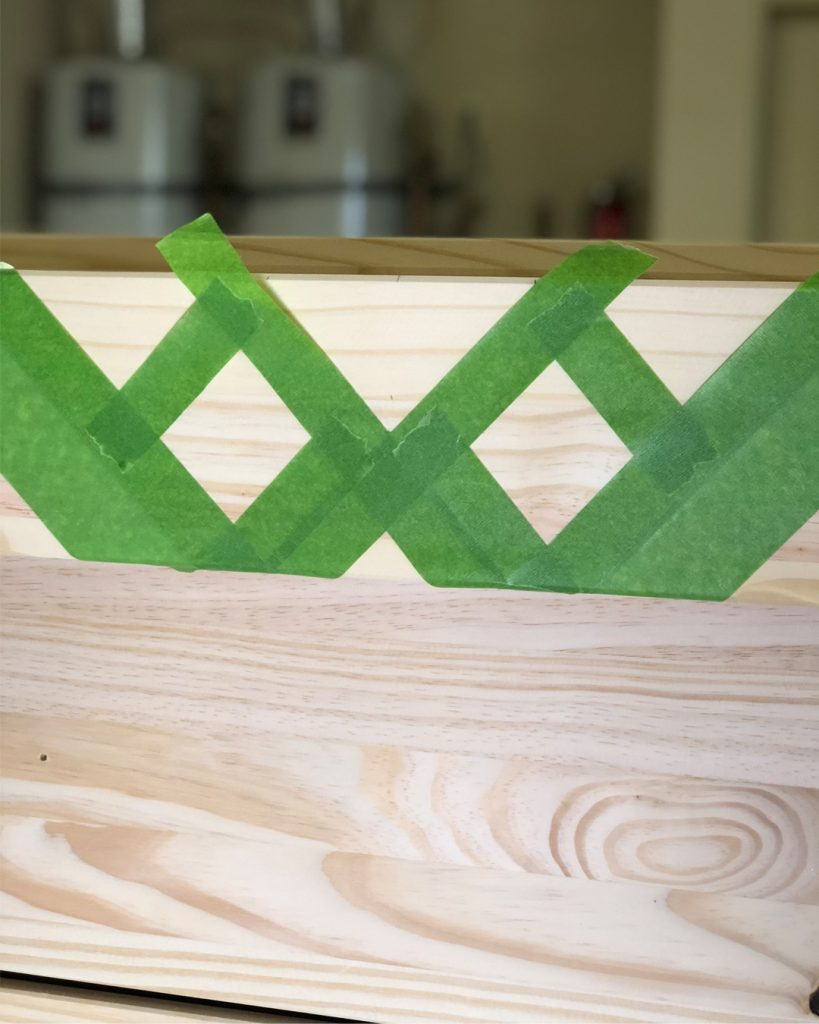
After the top drawer was taped and painted, we quickly realized we needed to be more strategic, so we spent FOREVER measuring and taping off a pattern that would be symmetrical from side-to-side as well as top-to-bottom. It turns out my brain just doesn’t like to think in Aztec patterns!
We found it was easiest to tape the pattern, then use a razor to cut away tape from any areas that needed to be painted.
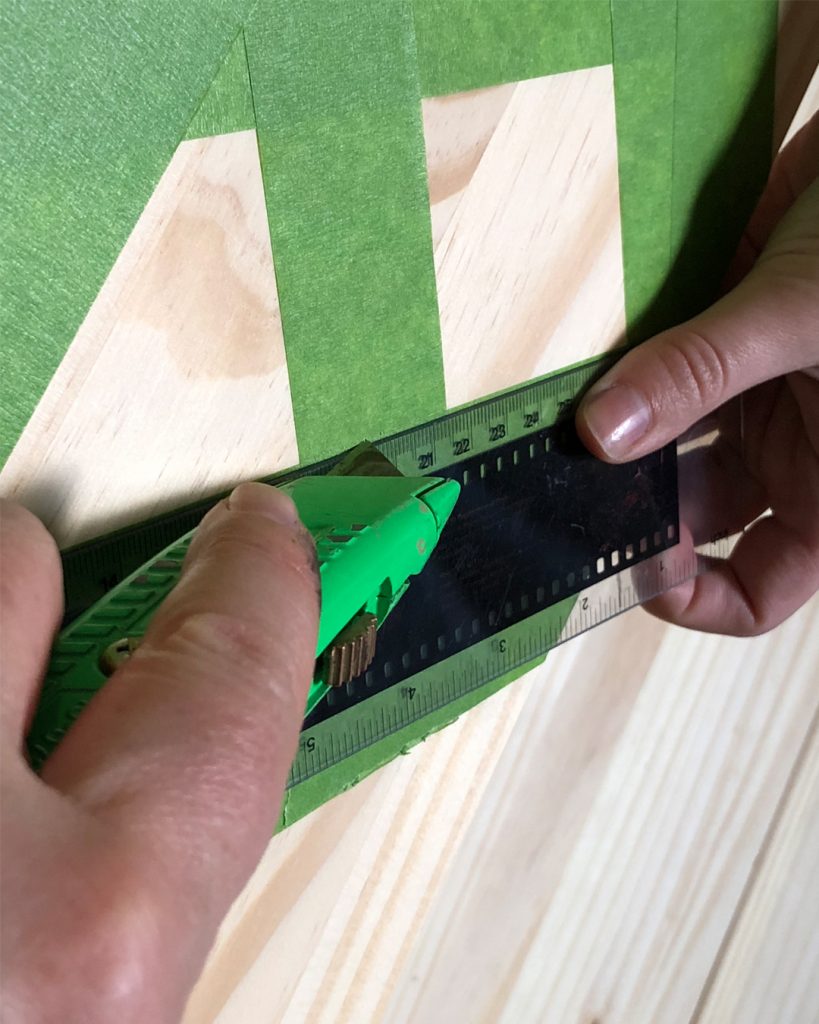
We mixed our own chalk paint using BB Frösch Chalk Paint Powder and black paint from Benjamin Moore. We wanted the paint to bond without priming, and we also wanted to be able to distress the paint, so chalk paint is the way to go!
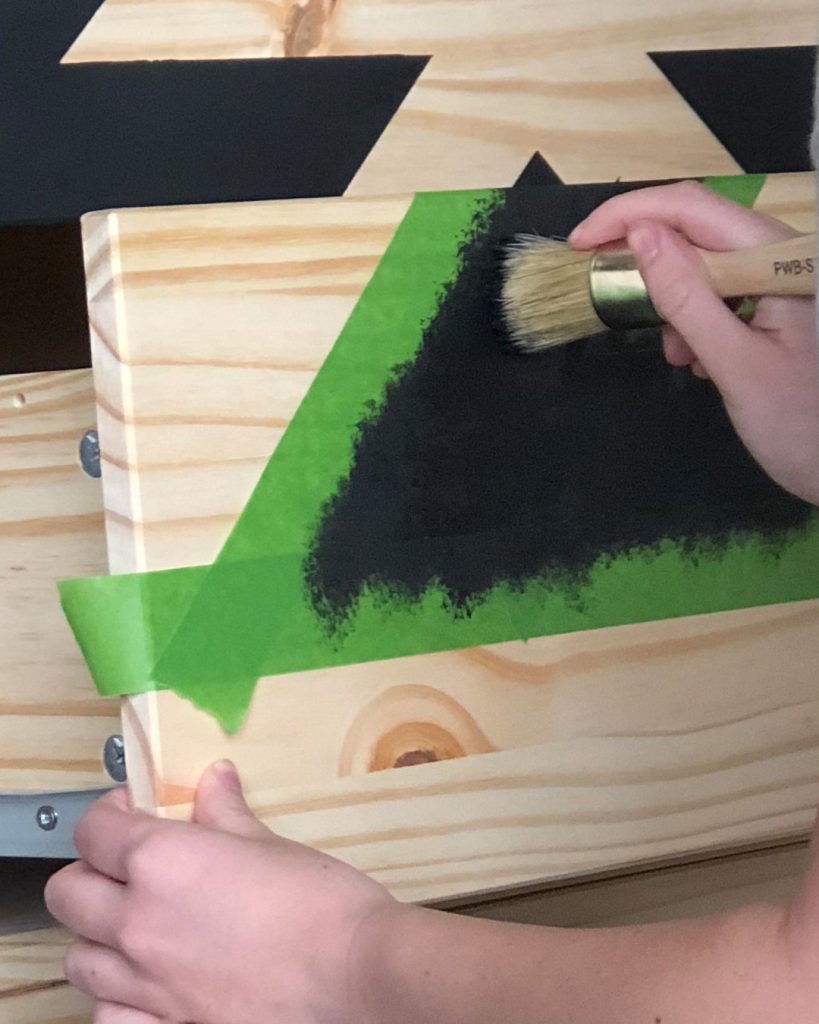
With the paint mixed and the dresser taped off, we used a specialty brush to dab the paint on—one drawer at a time. To keep the paint from bleeding under a stencil or taped-off areas, always dab paint on as opposed to brushing. Although the Frog tape didn’t initially want to stick to the raw wood of the dresser very well, it definitely helped keep the paint from bleeding.
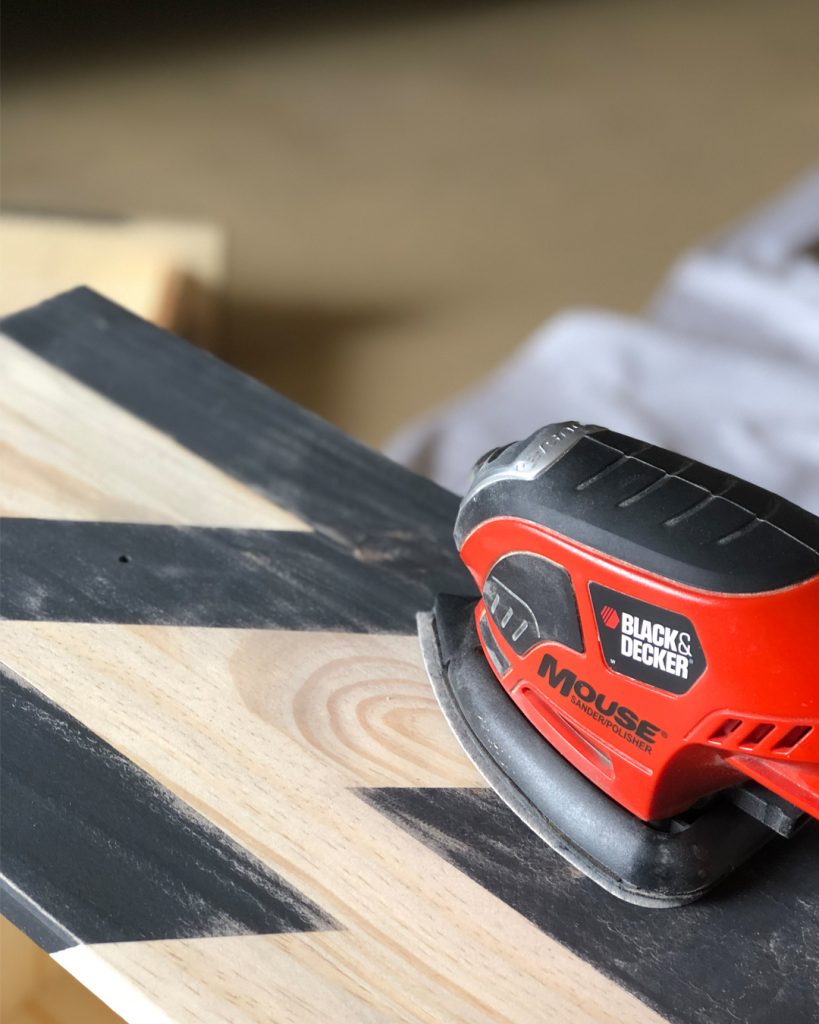
Once the tape was removed and the paint was dry, I sanded to distress. I started distressing by hand, then I switched to a palm sander to make the process go a little faster.
My husband was quick to point out the that pattern we started with (before we got strategic) looked like a smiley face:
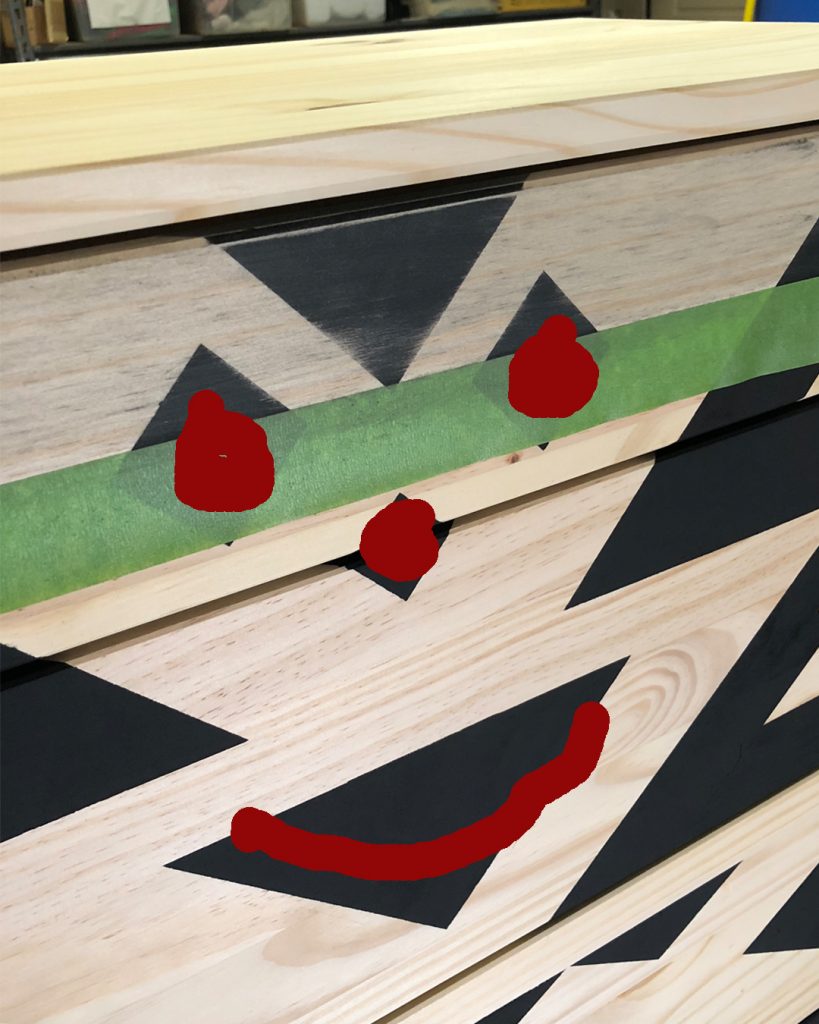
…so we re-painted the top drawer, which involved sanding a small part of the original random pattern off and taping a new line. Because we used chalk paint that hadn’t been sealed, this was an easy fix.
This next step is when the dresser really started to come alive! We used BB Frösch Dark Premium Finishing Wax over the whole dresser, and I LOOOOOVE the way the dark wax made the raw pine look! I love that BB Frösch Wax can be used on raw wood as well as painted wood. 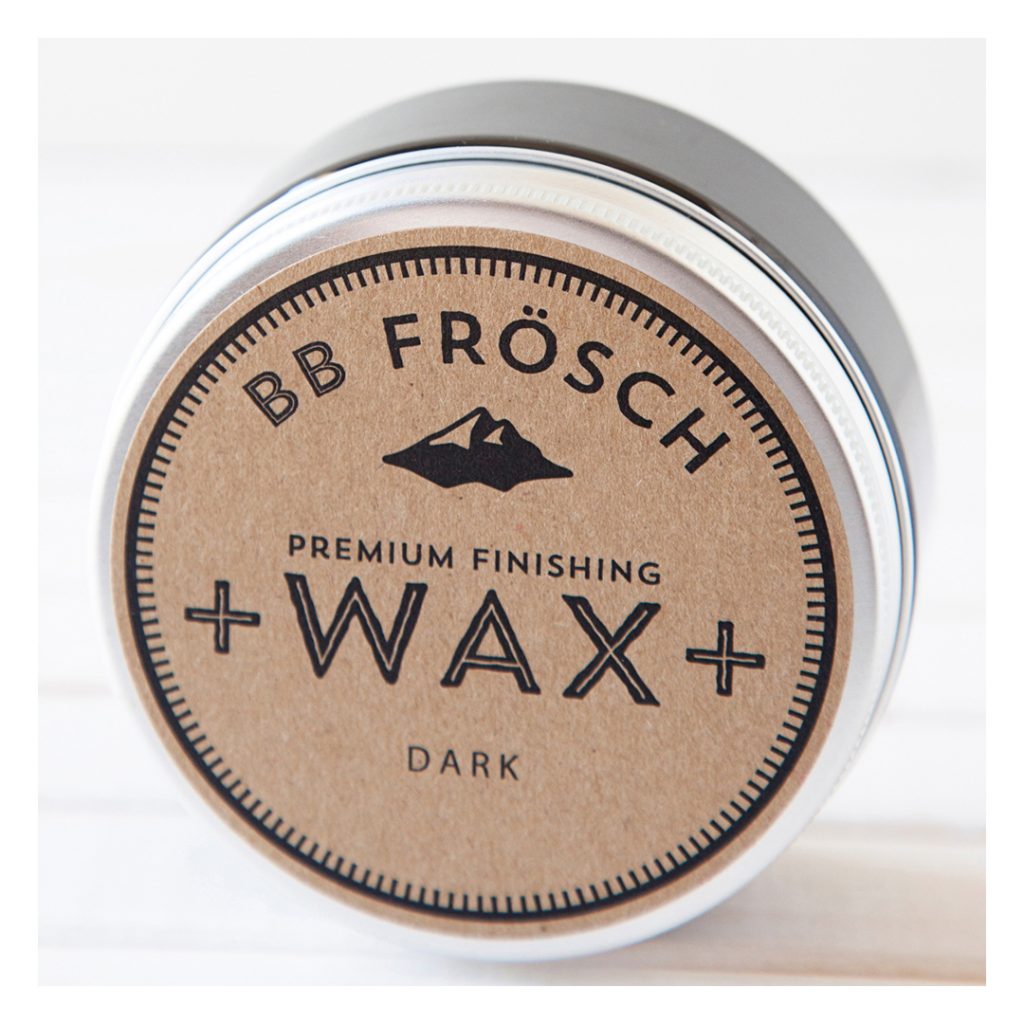
Aztec Dresser Dark Wax Application 1080
Aztec Dresser Dark Wax removal 1080
The wax dried and cured in minutes (another reason BB Frösch Wax is my favorite) so we were able to get the dresser set up in the nursery right away.
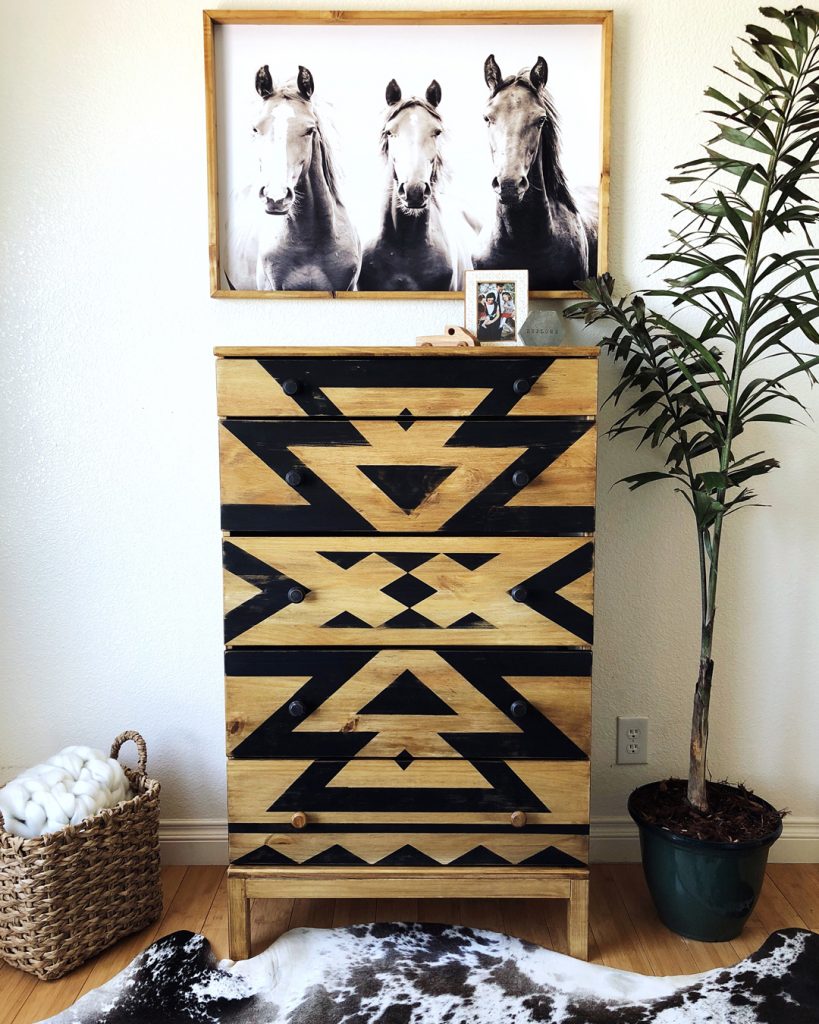
Now all we need is a baby!
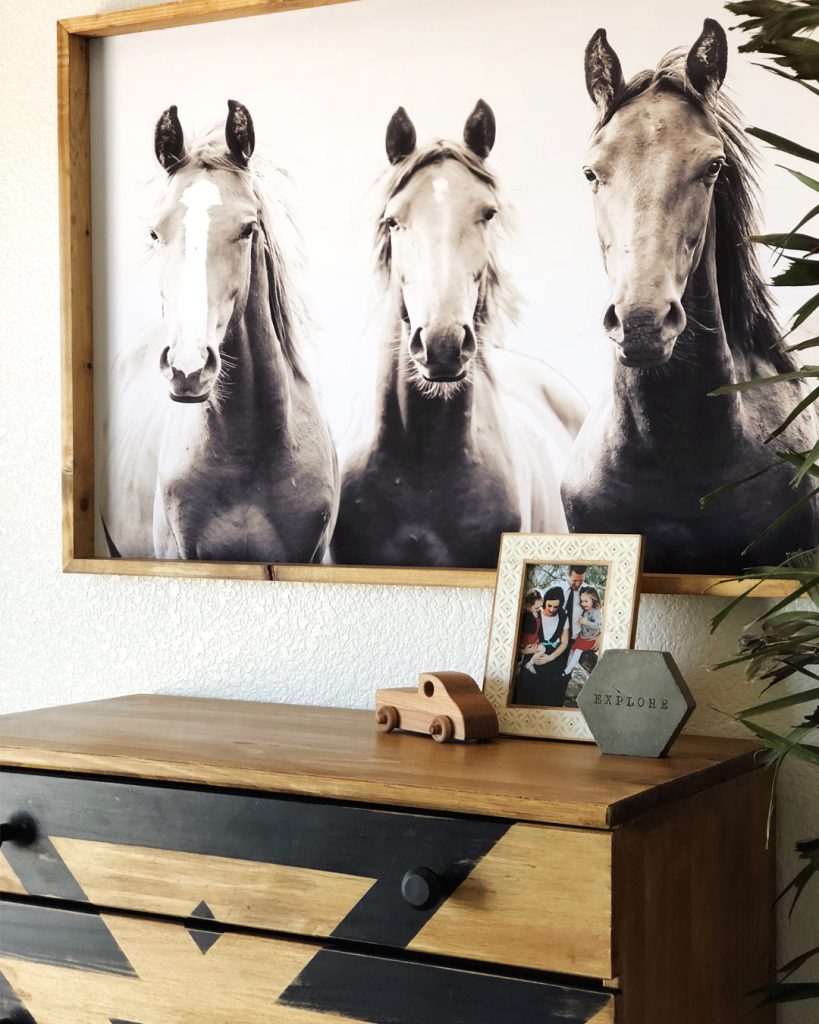
If there ever was a rug worthy of having an entire nursery designed around it, THIS is it!
Since I can never resist a good before and after…
Find more affordable chalk paint inspiration at bbfrosch.com. Follow BB Frösch on Instagram, Pinterest and Facebook.

I love this. The whole set up is awesome. I would love to see your other decor like this. I am needing ideas really bad.
this is amazing..I have a finished dresser that is just blonde with Aztec design. guess I would have to sand it before I stained it?
Patti–If the dresser you have already has a finish on it, and you want to paint a design on it, there is no need to sand first as long as you add BB Frösch Paint Transformer to your paint. If you want to dark wax on the already-finished blond wood, it really depends on what the existing finish is. Some finishes work just great with the dark wax, so I would try a small area first. If the wax doesn’t give you the look you are after, you may need to at least sand the sheen off the existing finish. I hope this helps!