Hello All Things Thrifty readers! I am over the moon excited to be contributing to All Things Thrifty and sharing my debut post with you all. First, let me introduce myself 🙂 I am Tasha and I blog over at Designer Trapped in a Lawyer’s Body.
I mostly blog about thrifty DIY renovations and simple crafts, but I also blog about lifestyle tips that I have learned over the course of my life with my 3 1/2 year old twin girls, firefighter husband and my Boxer, Titan. So, so nice to “meet” you all!
One of the many reasons that became a DIYer {many years ago} is because I cannot bring myself to pay some of the prices for things that I want. It’s that simple. Today’s project is a perfect example.
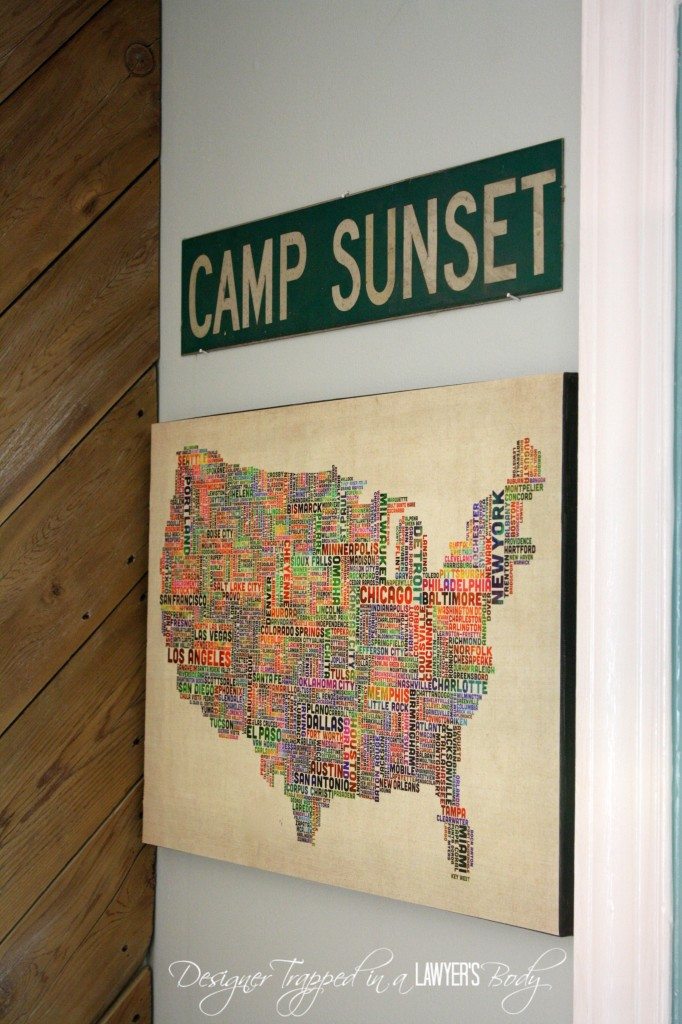
I fell in L.O.V.E. with this beautiful map canvas, but was absolutely not wiling to pay $105.00 for it. I am too thrifty for that!
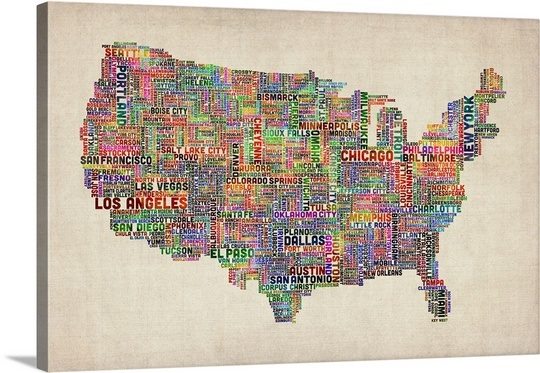
So I came up with a solution that I am excited to share with you all today. I ordered a poster print, applied it to my own canvas AND GAVE IT REAL CANVAS TEXTURE. And I did it for only $21.00! I am in love with how it turned out.
Materials Needed to Make one DIY Art Canvas:
- Any poster print of your choosing {I wound up finding my map in a poster print for only $16.00}
- 1 blank canvas that is the same size as your poster {I got my canvas on sale at Michaels for only $5.00}
- A second blank canvas {it can be any size}
- Mod Podge {I prefer matte finish}
- Foam brushes
- Black paint
- Utility knife
- Cutting board
Steps to Create one DIY Art Canvas:
1) Using your foam brush, paint the sides and inner edges of your canvas black. Any black paint will do. I used paint that I already had on hand. Allow the paint to dry.
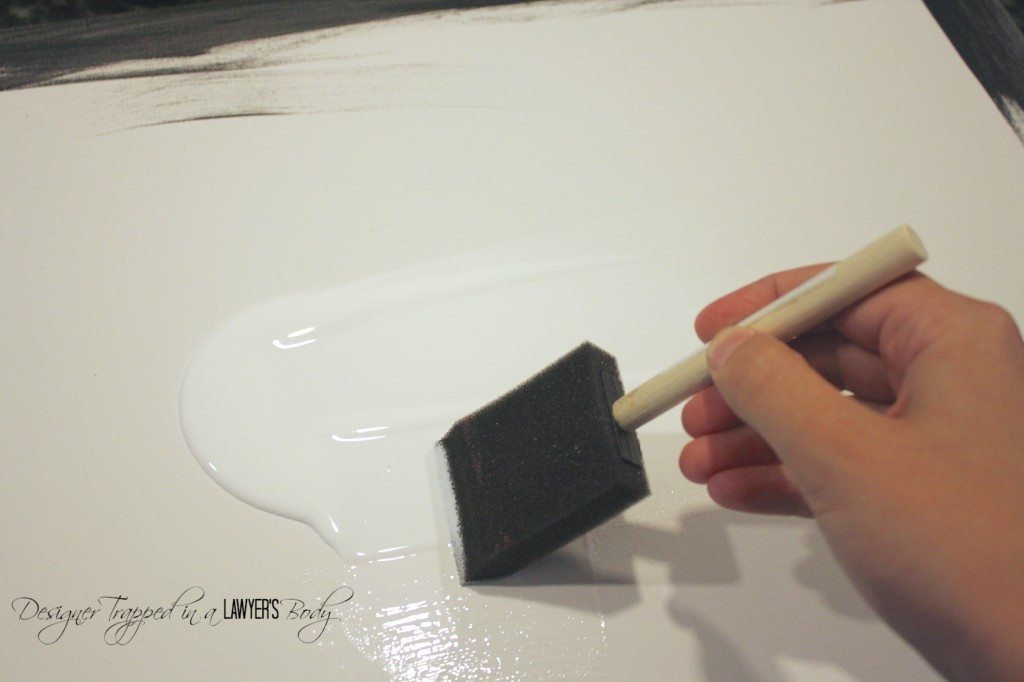
2) Using your foam brush, cover the top of your canvas with a layer of Mod Podge.
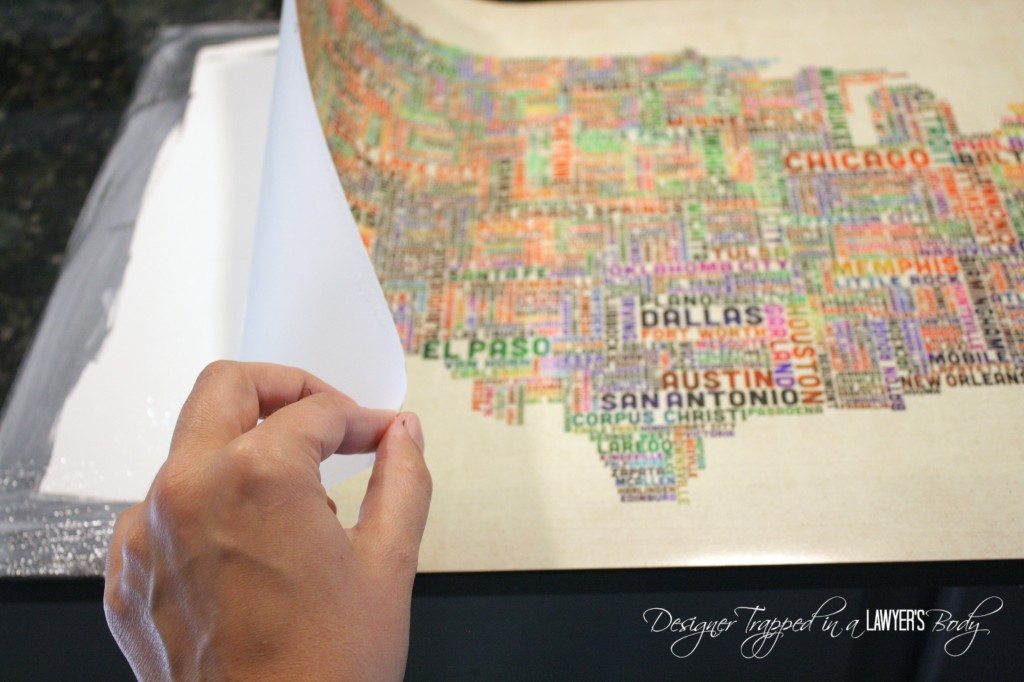
3) Place your poster print on top of the Mod Podge covered surface and flatten and smooth it with your hands to ensure that it adheres nicely without any bubbles. Allow it to dry.
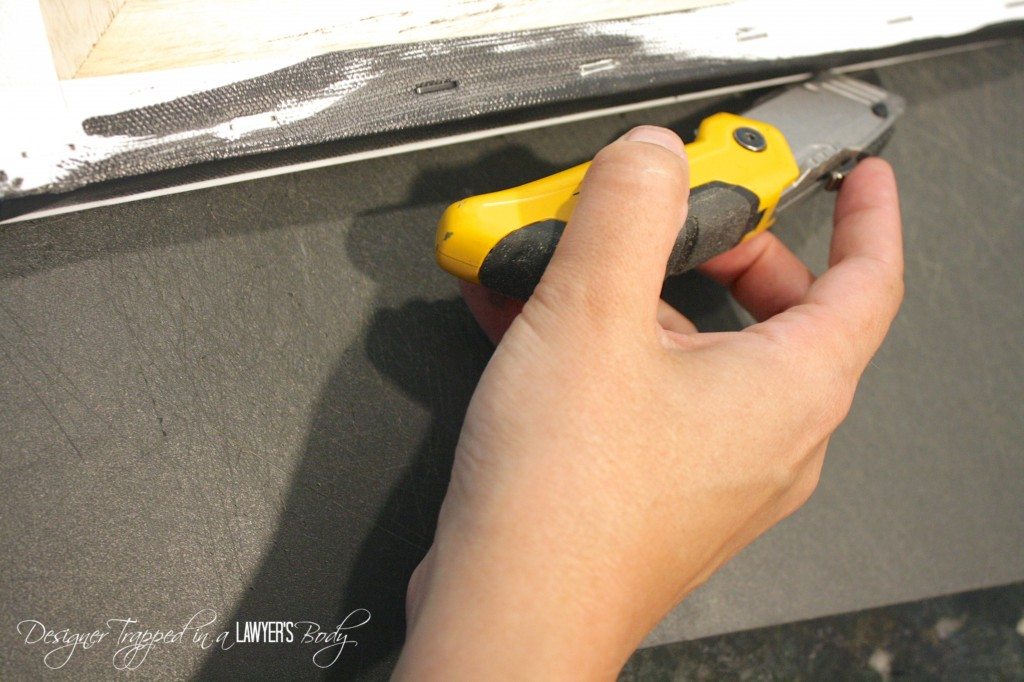
4) After it dries, you will have to cut off any portion of the poster print that is overhanging your canvas. Even though both my canvas and poster print were described as 16 x 24 inches, my poster print was a tad larger than my canvas. No big deal. Flip the canvas over and grab your utility knife and cutting board. Using the edge of the canvas as your guide, cut off any portion of your poster print that is overhanging the edge of the canvas with your utility knife.
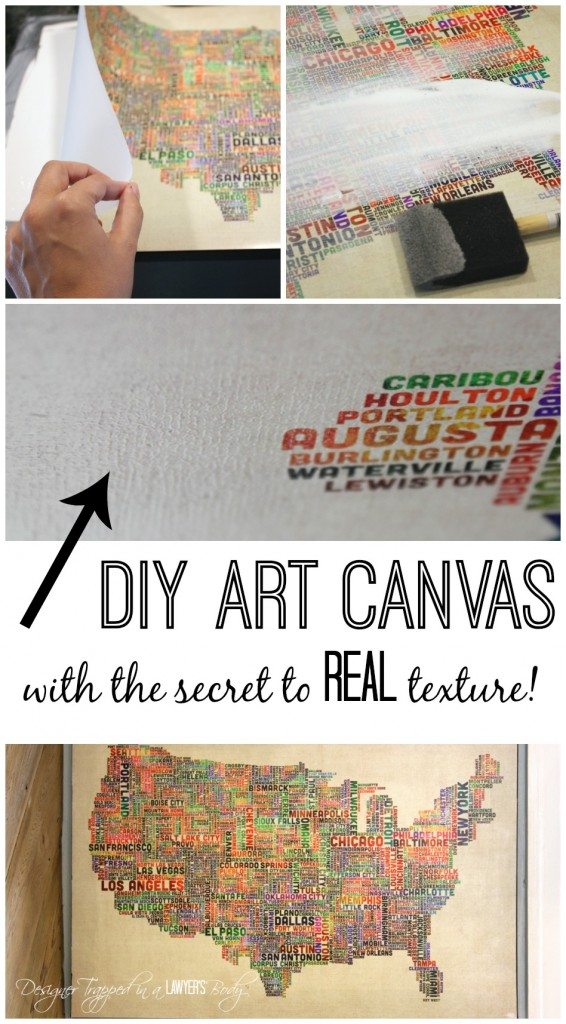
5) Next is the fun part, but you have to have a little faith that this is all going to work out. You are going to coat your poster print with Mod Podge and then “stamp” that canvas texture right on to your print. THIS TOTALLY MAKES THIS PROJECT so don’t panic and stop now. Paint a thin layer of Mod Podge {matte finish} RIGHT OVER THE TOP OF YOUR POSTER PRINT. Do not be nervous! I promise, promise, promise you that it will dry clear and will look gorgeous. Use long, even strokes to smooth your Mod Podge over your poster. Be gentle with your paint brush. Don’t coat the Mod Podge too thickly–if your poster print gets too wet, it could cause the ink to smear or the paper to tear.
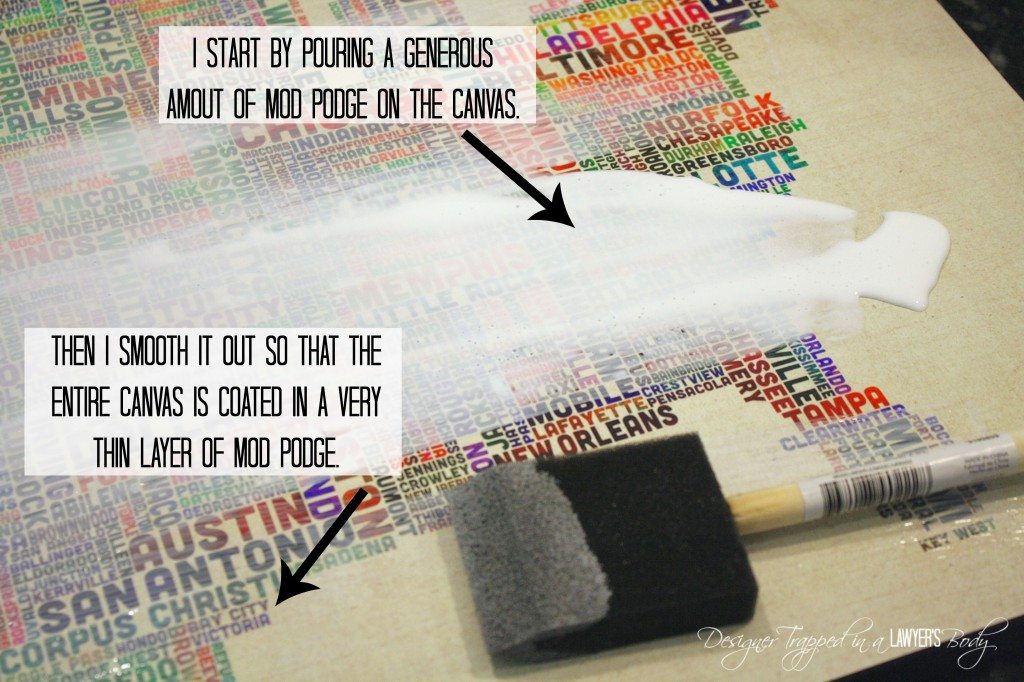
6) Now, quickly grab a blank canvas and sandwich it ON TOP of your wet photo. Gently press the two surfaces together. Now, peel the blank canvas off and you will be left with that authentic canvas texture. You know, the texture that makes people spend $105.00 on the map canvas that inspired my project. But you are too thrifty and clever for that! Since I used a spare canvas that was smaller than 16 x 24 inches, I repeated the “stamping” process until my entire canvas was done.
NOTE: This is a quick step. You want to “stamp” your canvas texture on AND remove the blank canvas while the Mod Podge is still wet. If you complete this step and your texture looks more like the Mod Podge was just smushed around, you may have used too much Mod Podge. Stay calm. Wipe some of the excess off with your foam brush, smooth out the strokes and try again. Now, let the Mod Podge dry.
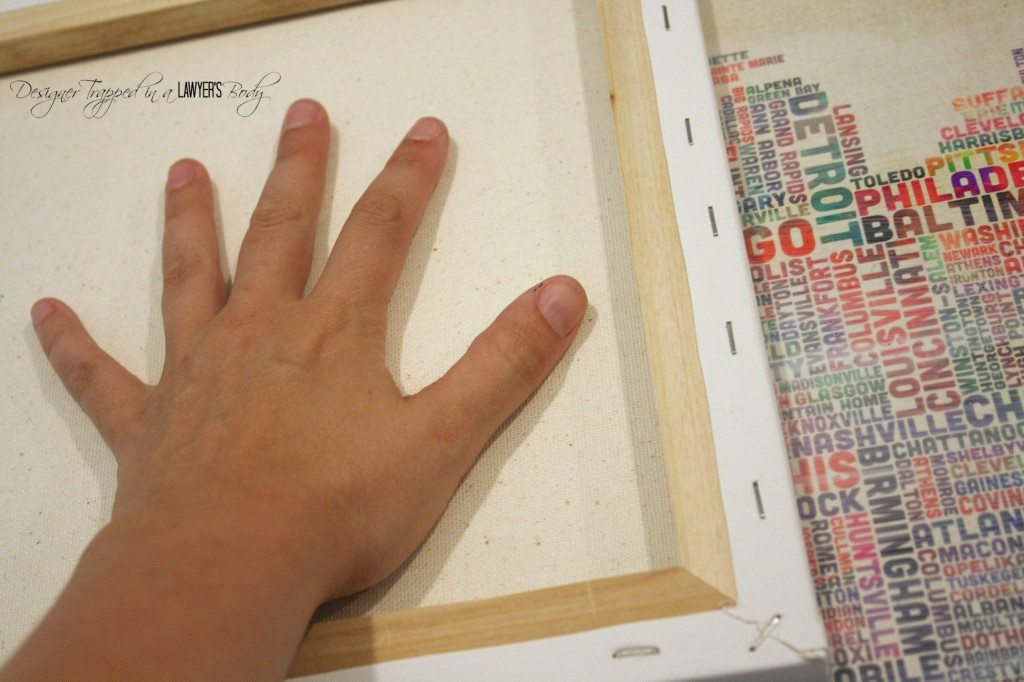
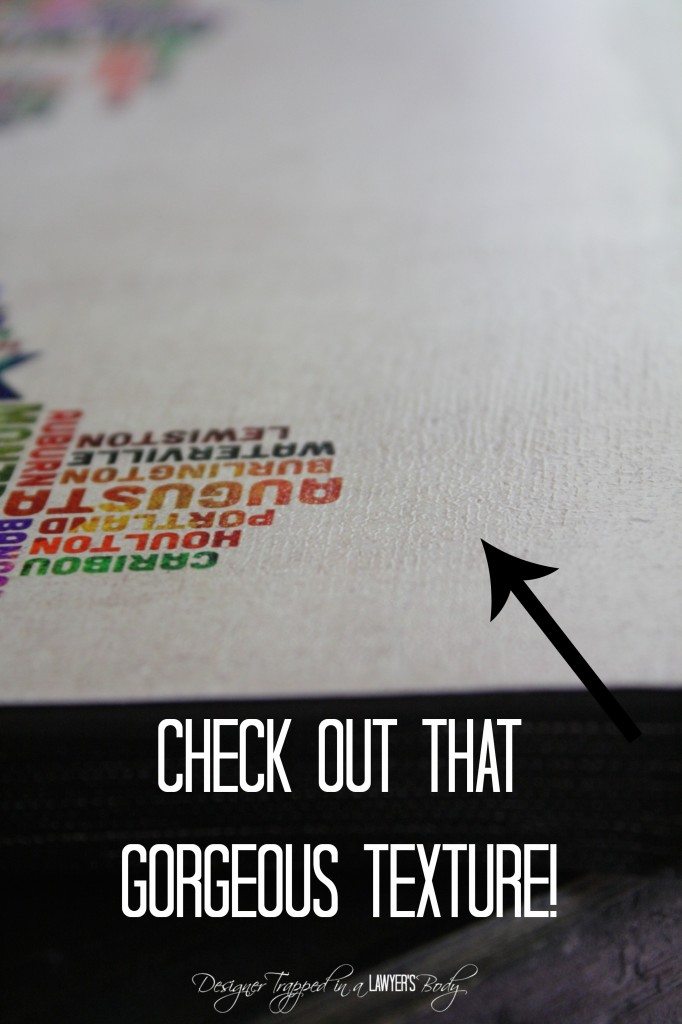
This is how that A.M.A.Z.I.N.G. texture will look once it is dry. Can you believe it?!
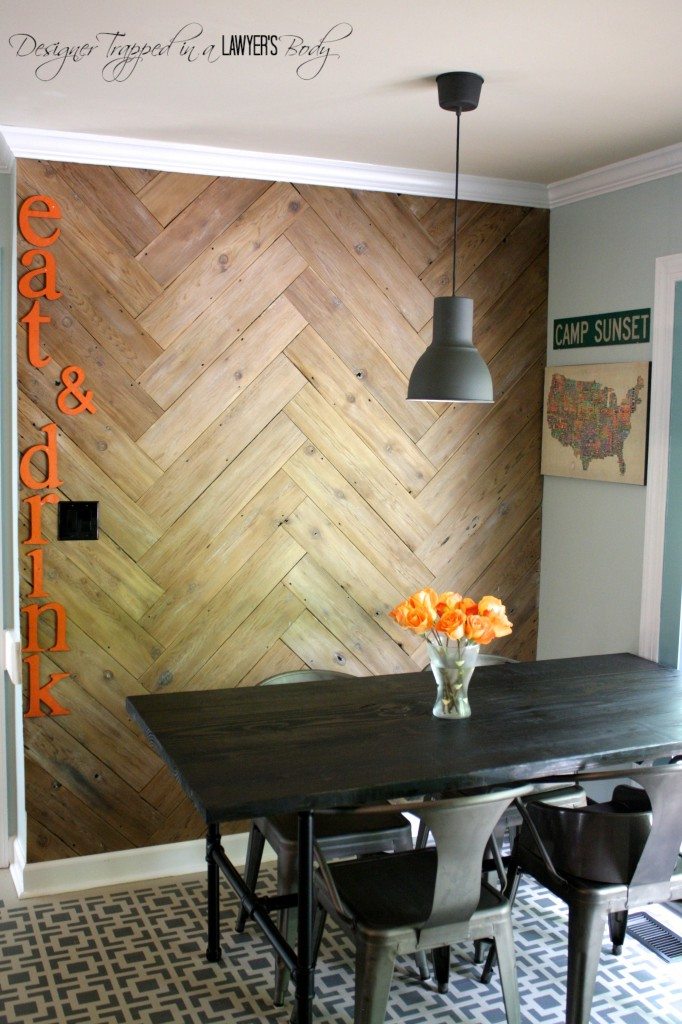
Now you are ready to hang up your beautiful and THRIFTY art! I hung mine in my kitchen, which recently received a makeover. I just love it and especially love that I got exactly what I wanted for a fraction of the cost of the original canvas that inspired my project!
If you enjoyed this post, please pin it for later!
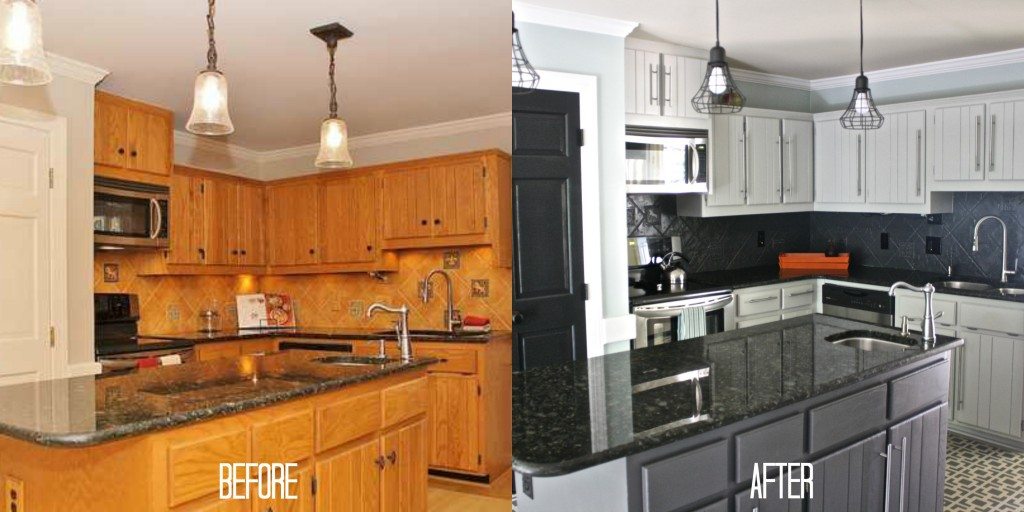
You may also enjoy learning more about my recent kitchen transformation that I accomplished for less than $700 {including that gorgeous herringbone plank wall you see above, which we made for FREE from an old, ugly fence}.
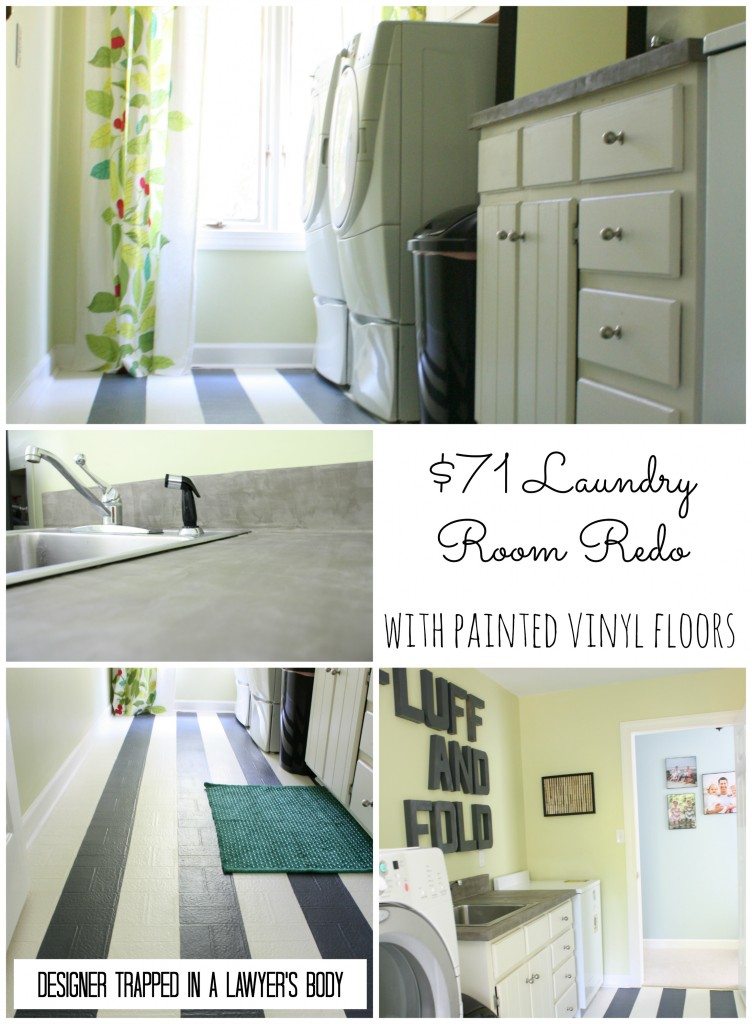
You may also love my super thrifty renovation of our laundry room for only $71.00.
Thank you so much for hanging out with me today! I can’t wait to join you again in a few months. Meanwhile, I would love for you to come hang out with me over at my blog! Please come and visit me at www.designertrapped.com or connect with me on social media. You can find me pretty much everywhere 🙂


What a great idea! Canvas pieces are so expensive but they look amazing. I totally want to try this!
Thanks so much, Sami! So glad you enjoyed my tutorial. The possibilities are endless. I have done it with many, many, many photos! This was my first time using this method on a poster print and it turned out perfectly. I can’t wait to try it again!
Awesome! Where did you get that poster? I would love to do the same thing myself.
Hi Mindy! Thank you. I was able to find mine in a random shop, but the poster print is available on Great Big Canvas: http://www.greatbigcanvas.com/view/united-states-cities-text-map-multicolor-on-parchment,1403517/ The regular price is $29.99, but I got it on sale. Right now, there is a 40% off sale, so you could get it for around $18.00. The shipping looks a bit pricey, though, so you may want to shop around or look for a free shipping code. You could check with Michaels. You could also Google “typography map united states michael thompsett” to see if you can find a great online deal. Good luck!
Wow, what a creative and awesome idea! It came out great, I’m impressed :). Thanks for sharing, I never would have come up with that.
My pleasure, Kat! So glad you like my idea!
What a cool technique!
Thank you! It’s so easy and fun!
This is super cool! I Want to try this.
You should! It really is fun and easy!
This is a fabulous idea and one that I think I will try out tomorrow on a project. Thanks so much for the inspiration and a great tutorial post. I know how hard it can be to write an excellent tutorial.
Traci
My pleasure, Traci! So happy to hear that you plan to try it out!
Beautiful…I think I am going to give this a try with some of baby-grands artwork! Clever and very cool.
Thanks so much, Stacy!
Hi Tasha: When you put your poster on the very first canvas, did you trim your poster (in the shape of the map)? or is the entire poster, background and all modge podge’d to the canvas? I didn’t know because I can’t see the poster prior to it’s being glued to the first canvas. Thanks so much 🙂
What I really want to know is what is on your kitchen floor, is it vinyl tile? Did you buy it that way & where did you buy it? What is the name of the pattern? Also where is the place called Random shop where you bought the poster? Would you please tell us, it might be near us. BTW, that kitchen makeover is miraculous.
Hi, I loved the ideia.
Just one question. Did you buy the black canva or did you paint it at home?
Thank you for the tutorial. Can’t wait to try it.
Ana
I’m bummed! I was happy with how my project was going, I decopodged a map onto a canvas, cut out a saying in vinyl with my Cricut, and attached it. This was all awesome! Then I put the top coat of decopodge on and laid my second canvas on to get the texture, and when I lifted the canvas, parts of the map coloring came off and stuck to the second canvas. It basically ruined my picture. It’s for my master bathroom, so I’m going to still hang it, but I’m a perfectionist, and very sad it is ruined. I went very light on the top layer so that’s not it. Maybe because it’s. A Map and not a poster? Bummed.