Top of the mornin’ to ya ATT readers!! I’m Beth from Sawdust and Embryos! Are you feeling jubilant that it’s the weekend? ME TOO!
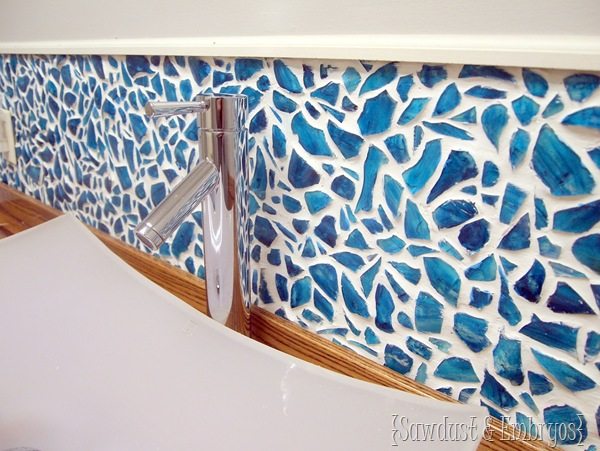
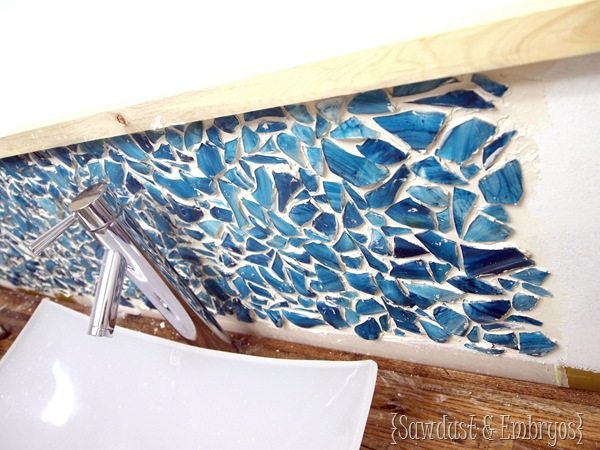
Today I’m going to share one of our favorite projects OF.ALL.TIME… How to make a Mason Jar Mosaic Backsplash!
This project is tedious, but it turns out looking so fabulous! And this backsplash only cost us $40… for EVERYTHING. (wha????)
If you have the good fortune of having a whole slew of already-tinted mason jars, then you’re ready to get started! If you end up needing to dye some spaghetti jars like me, click here for that tutorial. (they also now sell new tinted mason jars, so that could be an option too! Three cheers for skipping steps!)
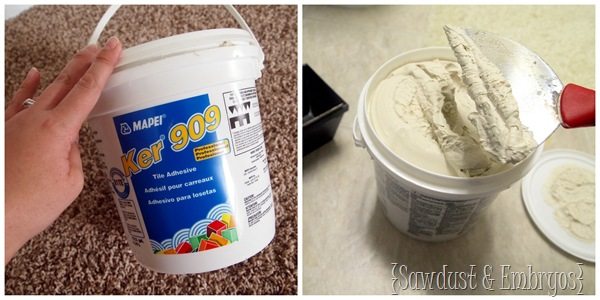
We bought this tub of Tile Adhesive at our local hardware store (Ker 909) for $8.99. It comes pre-mixed! So just dig in your trowel (or putty knife), and start frosting it on your backsplash! Stick with a 1’ area at a time, because you don’t want this stuff to dry before applying your tessere.
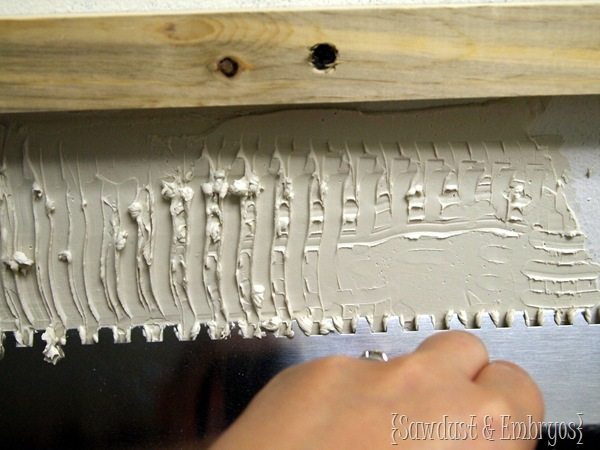
Use a notched trowel to create a ‘grid’ in your tile adhesive. This makes lots of tiny air bubbles that allow your ‘tiles’ to adhere stronger.
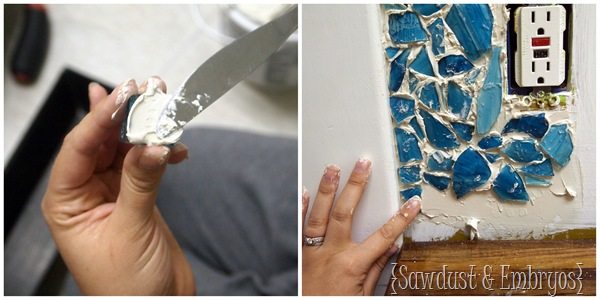
Because your mason jar pieces are rounded (some more than others), butter on some tile adhesive to the back side, and press it into the backsplash. On some of the more rounded pieces, you may need to add more tile adhesive for it to have a good grip on the backsplash. You’ll ‘just know’ when you press on each piece of glass if it needs more.
I’m not going to lie friends. This takes FOREVER. I seriously took breaks after each square foot area. But if you can just power through, it’s worth it!
When you press in each piece of glass, use a finger to wipe any excess adhesive that blobs up between pieces of glass. The instructions on the tile adhesive tells you to immediately wipe off any adhesive that is on the front of each tile before it dries. I found this to be difficult because it would move around my ‘tile’. I ended up just trying to be as clean as possible, and then coming back and scraping the blobs of adhesive off with a chisel after it dried. MUCH EASIER.
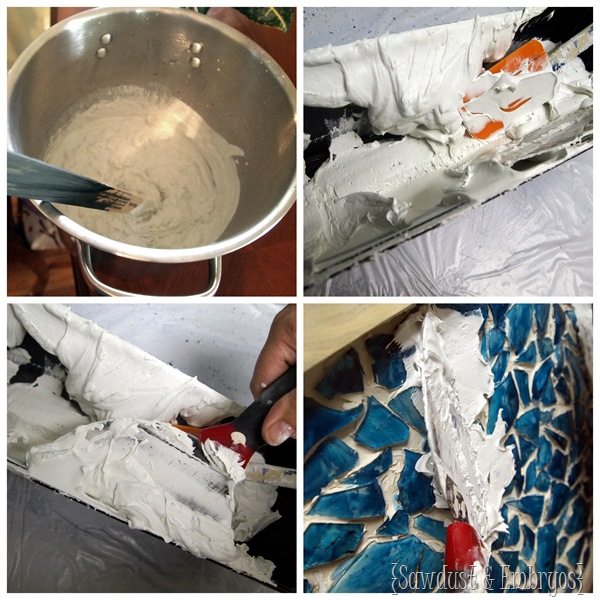
We let everything dry for a couple days before we did this next step… grouting! Make sure you buy NON-SANDED GROUT, because you don’t want tiny particles of sand scratching up your glass. Mix according to package instructions.
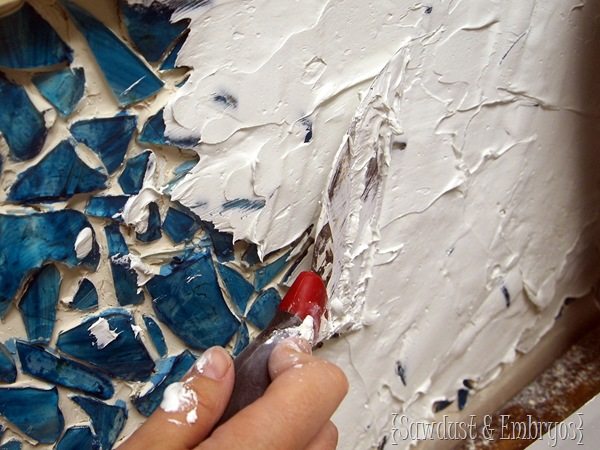
Scrape it on with the flat edge of your trowel, applying pressure to make sure the grout is getting down into all those nooks and crannies.
After the grout was packed in real good, we scraped off the excess with a rubber spatula. This step will also show you if there are any places that didn’t get grout all the way down into the cracks in certain spots. Just go back and slap on some more grout!
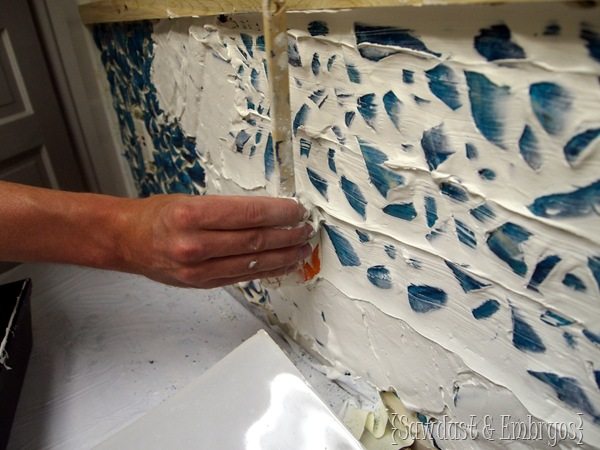
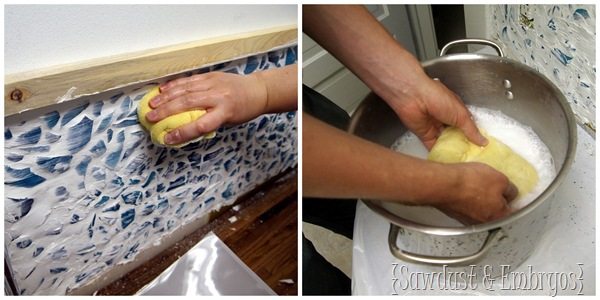
After letting that sit about 10 minutes, start wiping it with a large damp sponge. You’ll want to hit a different part of the sponge with each wipe so you’re not just smearing grout around. You’ll find yourself having to rinse your sponge after 4-5 wipes. Some of your pieces will be pretty buried, but you’ll know where they are because there will be a blank spot… just scrub ‘em out!
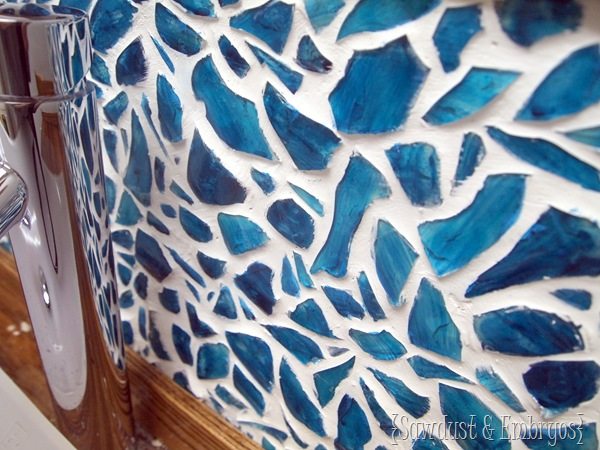
You’ll be left with clean (yet hazy) glass. Let it sit this way for two hours, and then come back and buff it with a cheesecloth or lint-free cloth.
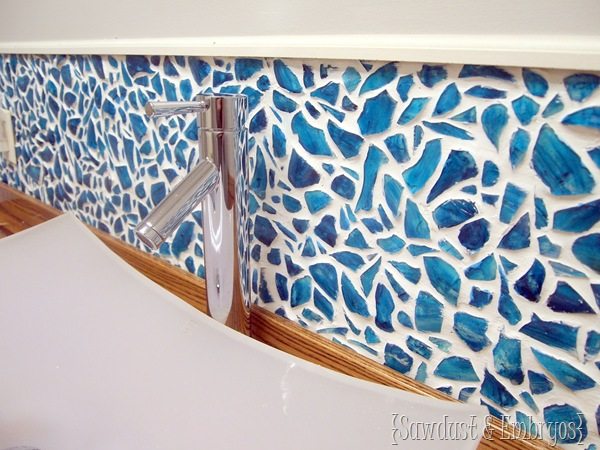
All done! It turned out looking SO FABULOUS!
We love how unique and custom our backsplash is… and the fact that it cost us $40 is just insane.
Frequently asked questions:
- How many times did you cut yourself during this whole process? I did cut myself once, but that was it! Wearing rubber gloves wouldn’t hurt. 🙂
- Did you seal it? Since it’s in our bathroom and doesn’t get grease splatters or much water thrown at it, we did not seal the grout. But if you were doing a kitchen backsplash, I would recommend doing that.
- How do you clean it? We just wipe it down every once in awhile with a damp cloth to get rid of the water spots that develop over time.
- Are there sharp edges that small children could cut themselves on? There were a couple pieces that stuck out more than others, and we filed down the edges so they weren’t sharp. We’ve had this backsplash for two years now, and our twin toddlers have never cut themselves.
- Would you do it again? This was a TON of work, but it was fin(ish) work… and I’m so glad I did it. With that being said, I would probably never do a full kitchen, because I’m not that patient.
Phew! Do you love it? Do you have any questions? Be sure to come on over to our blog Sawdust and Embryos for lots of inspiration and eye candy projects. And have a fabulous weekend!
Oh PS! If you’re wondering about the butcherblock counters, here’s the tutorial for that!
![DIY Butcher Block Counter Tutorial www.sawdustandembryos_thumb[1] DIY Butcher Block Counter Tutorial www.sawdustandembryos_thumb[1]](https://www.allthingsthrifty.com/wp-content/uploads/2014/04/DIY-Butcher-Block-Counter-Tutorial-www.sawdustandembryos_thumb1.jpg)

![Butcher Block Counter Tutorial (with Mason Jar Backsplash!!) www.sawdustandembryos.com_thumb[5] Butcher Block Counter Tutorial (with Mason Jar Backsplash!!) www.sawdustandembryos.com_thumb[5]](https://www.allthingsthrifty.com/wp-content/uploads/2014/04/Butcher-Block-Counter-Tutorial-with-Mason-Jar-Backsplash-www.sawdustandembryos.com_thumb5.jpg)

This is gorgeous Beth! Good work lady!
wow. that looks awesome, and makes me wanna smash some stuff.
That’s crazy awesome. I never would’ve thought to use mason jars!
I just tiled our kitchen and that was a ton of work! Although I just used white subway tiles, not little pieces like this! This is gorgeous!
How many Mason jars did this take? Where do you recommend purchasing Mason jars or similar glass pieces? Thanks!