Happy October all you ATT people!
This month, Sam and I have been slammed. Wedding season is in full force! However, we never let cooking and designing parties for 300 slow us down from getting our hands dirty in the craft room or garage. Today’s post shares a special place in our hearts, because we got back to our roots with a little dumpster diving. If you have visited us over at zestitup.com, you probably know that we started our company with earnings we made from zesting up an old, warped desk that we found on the side of the road. What better way to build up a little capital for starting a company than digging through the trash.
Well, yesterday, Sam and I were driving home through Santa Margarita, and we found THIS!!!
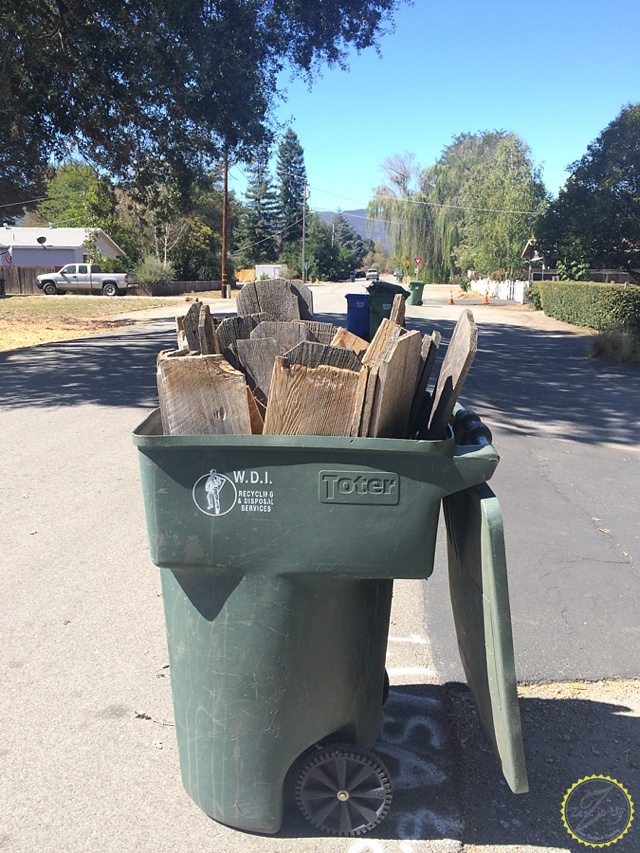
I will not even begin on a rant about throwing away such beautifully textured wood. I get it. They built a new fence, and they needed to clear. No problem, just a huge blessing for us. So, Sam and I loaded up the truck and raced home for a little creativity time!
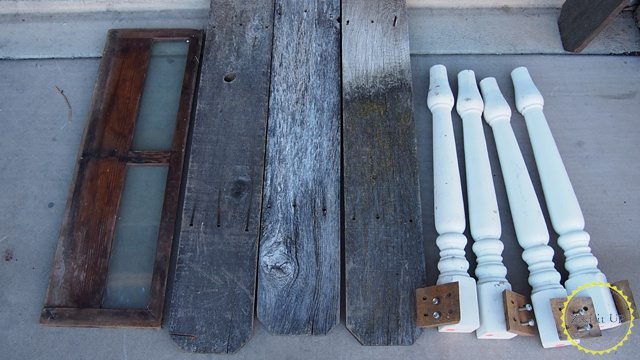 Fortunately, we already had acquired this uber cool window from a friend, and these detailed table legs from Restore (the Habitat for Humanity thrift store). Woot-woot for a practically free project, right? Well, maybe you will agree once you see the finished project. So, here we go!
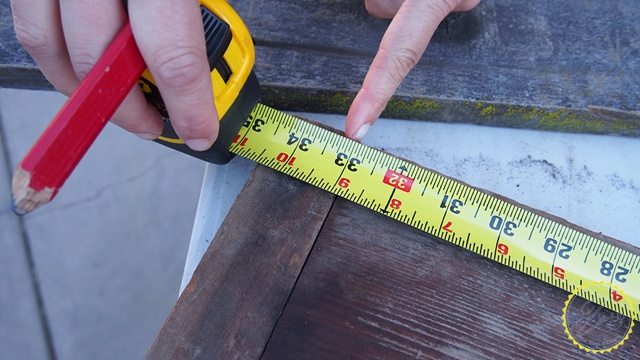
First we measured the width of the window, because we knew that we would want it for the back of our bench. 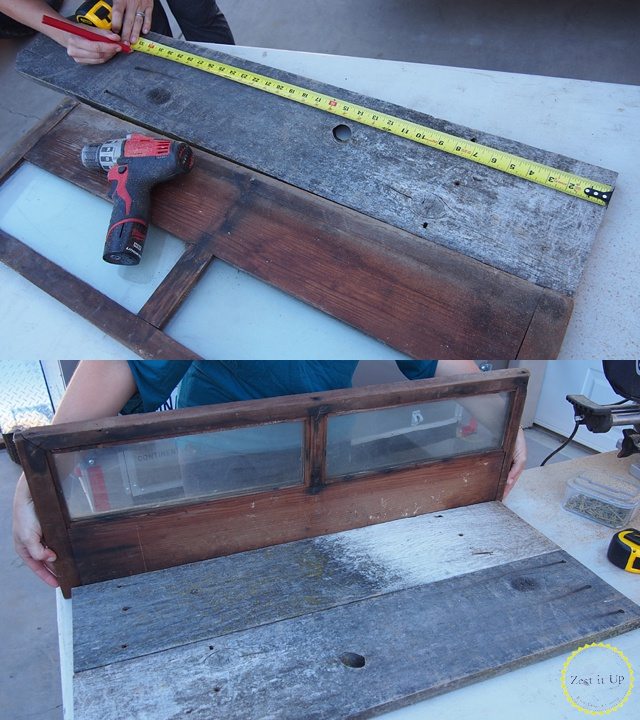
We made sure to to measure the thickness of the boards, because we knew that we would want to make an apron. You can see in the above picture that the “seat” of the bench is actually 3/4″ shorter on each side. That is because we knew the apron would take up that space. As you can see in the picture below, the boards were exactly 3/4″ thick.
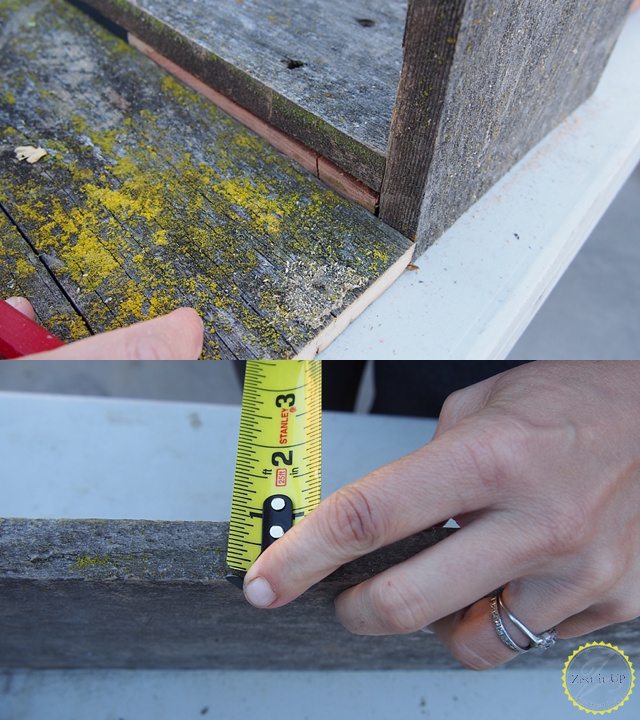
If that seems confusing, just keep reading and it should become clear :).
Time to flip the boards over and give them some support. We decided to use new wood here, because we wanted the sturdiness. After all, who knows how many people will be chilling on this one-of-a-kind bench!
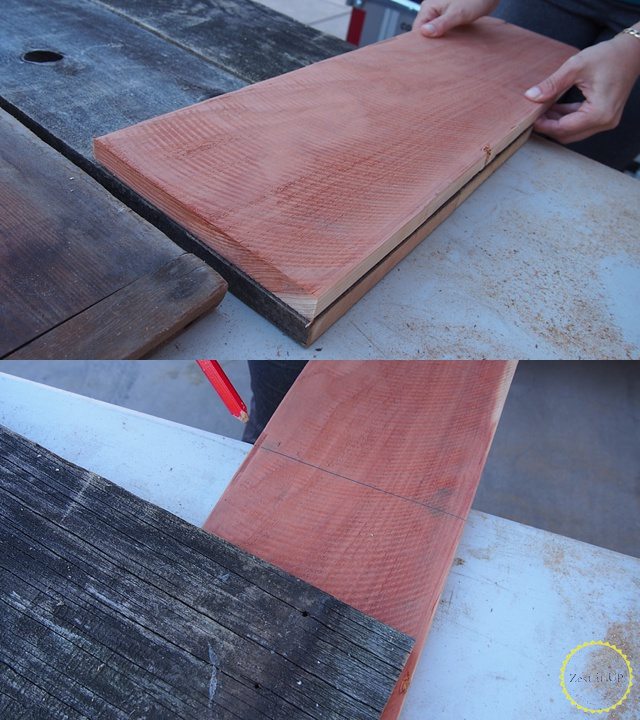 With measurements made, we headed to the chop saw once again.
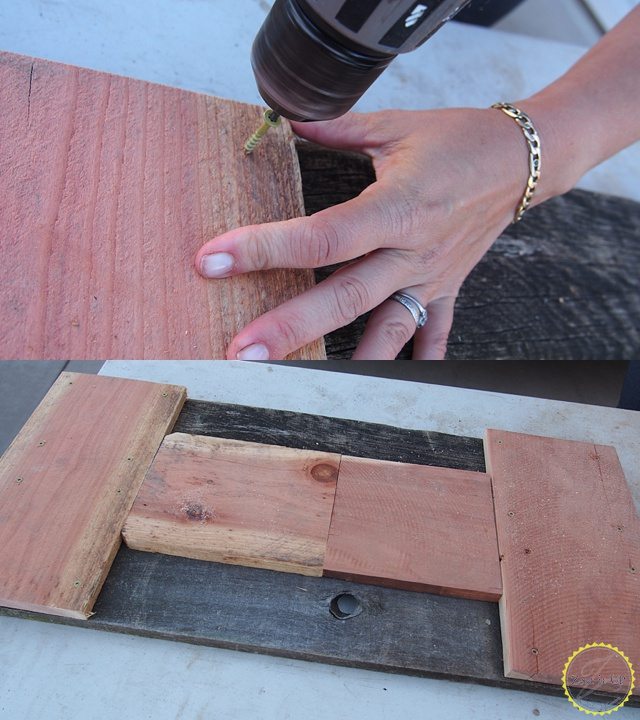 The install was a cinch. Just make sure to pre drill wherever you want to use a wood screw, because old wood has a nasty habit of splitting and cracking. You do not want to get this far, only to have to chuck it due to severe cracking.
Time to flip over and add an apron.
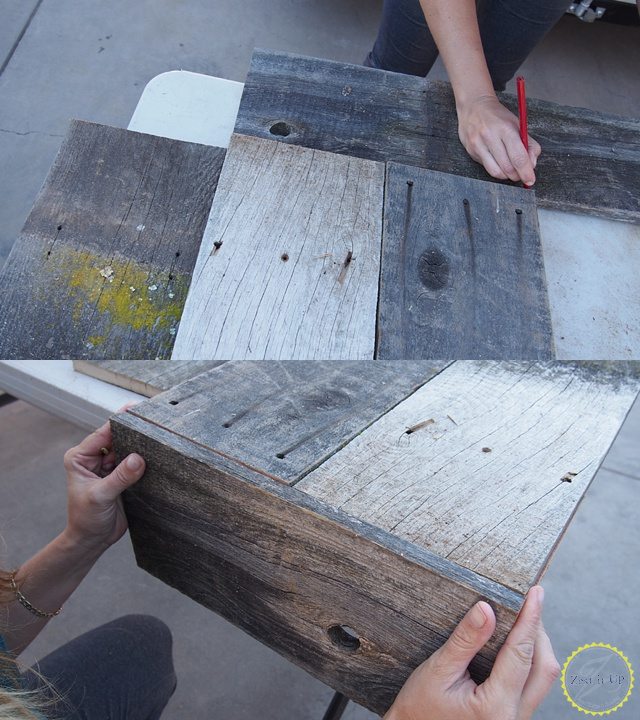 Now, does the weird measurement from the beginning starting to make sense? I hope so. We measured the sides to be flush with the depth of the bench, so that we could have the front look seamless. That way we wouldn’t have any seams showing from the front.
Time to pre drill and screw this baby together.
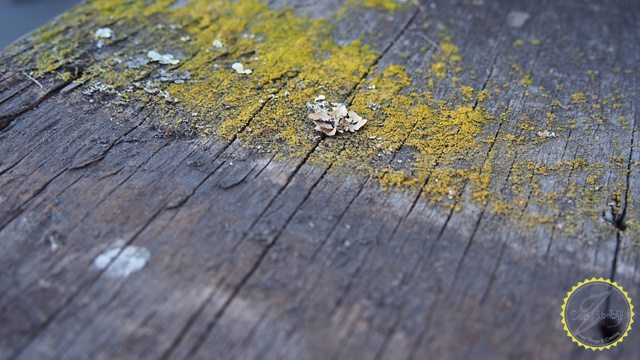
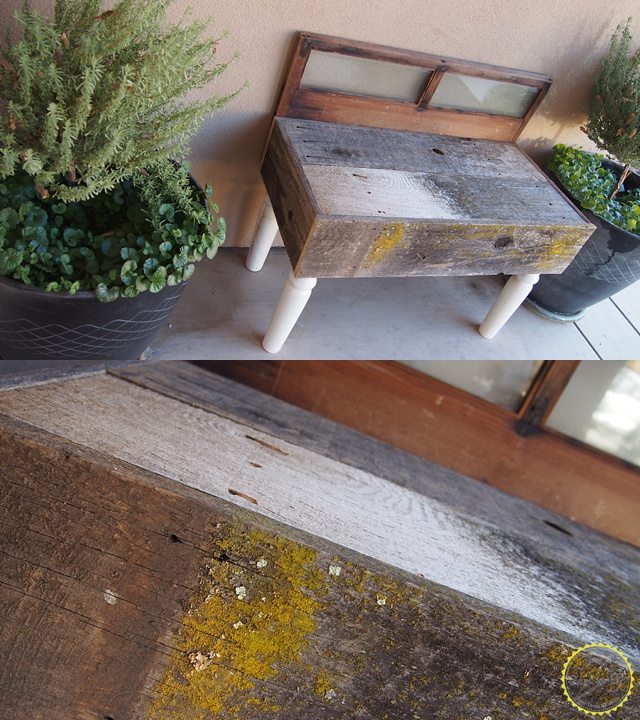
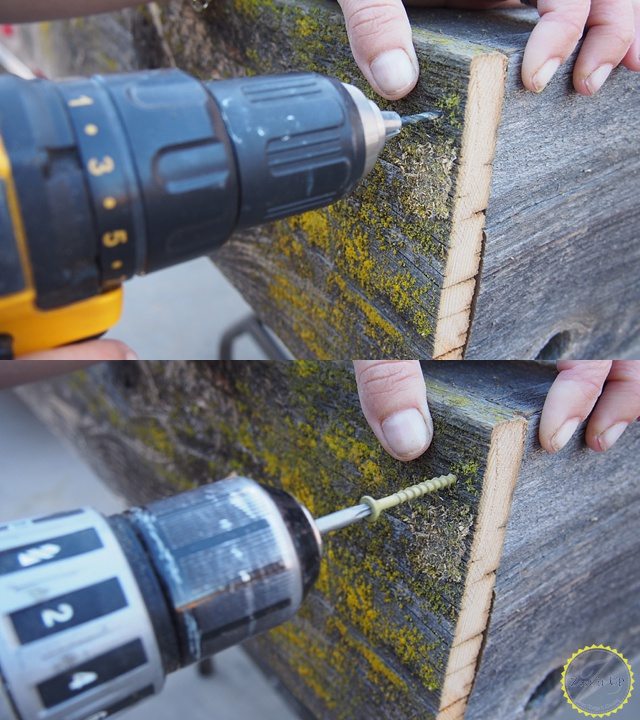 Things are looking great! Can you believe that gorgeous lichen.
Time for legs!! Obviously, our legs were meant for a table so they would be way too long. With a little trim, they were the perfect bench height.
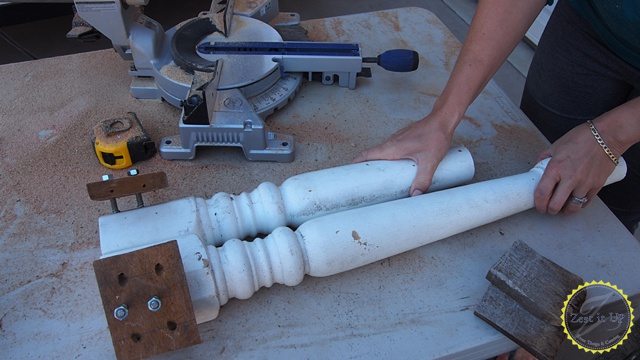 Again, pre drill and screw in!
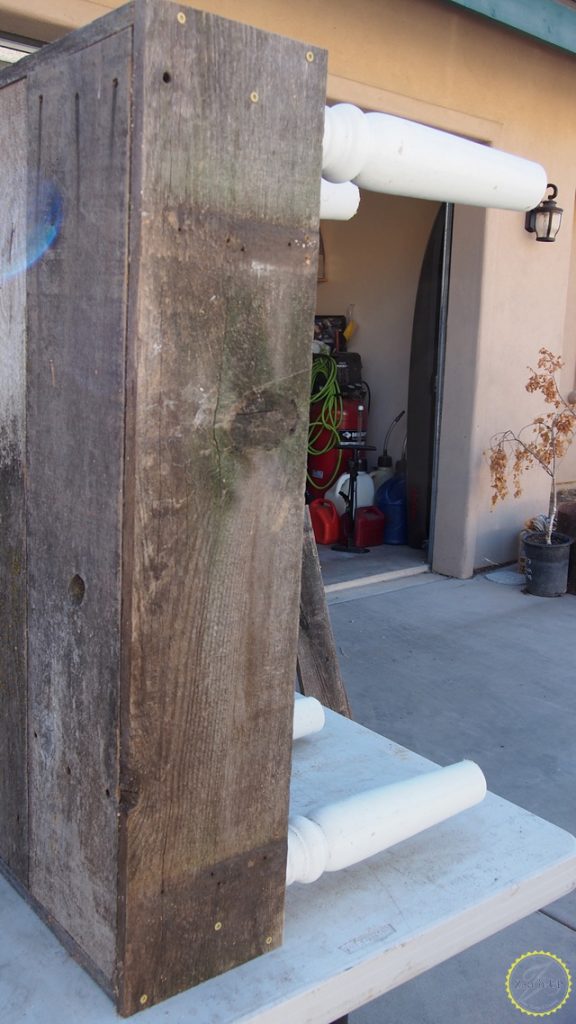 Oh happy day! All that is left is our old window for the “back rest.”
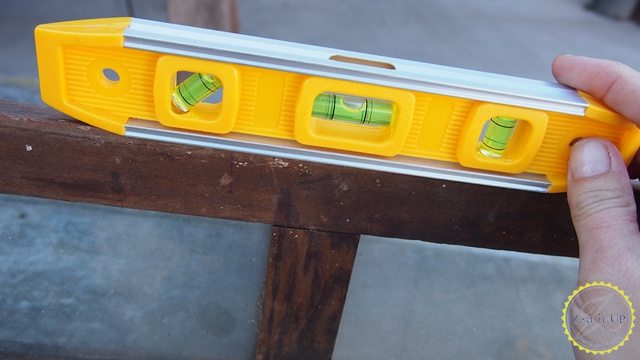 Use a level to make sure that you attach your window correctly. You do not want a chair back that angles at a slant.
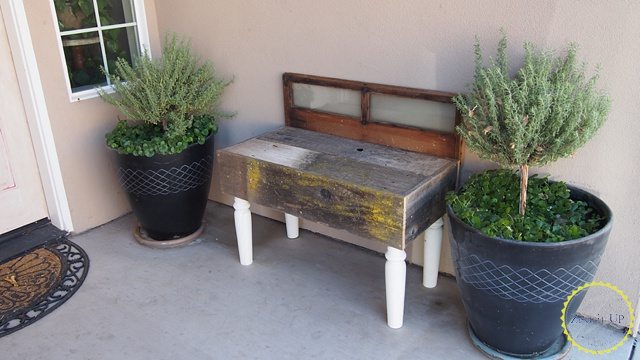
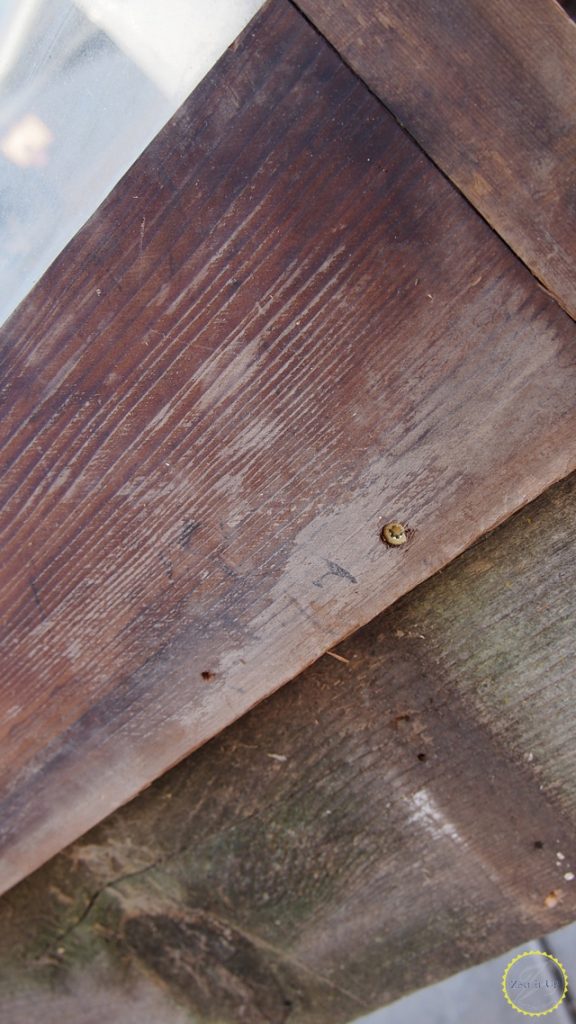 A few screw across the bottom and we are done! Super gorgeous!
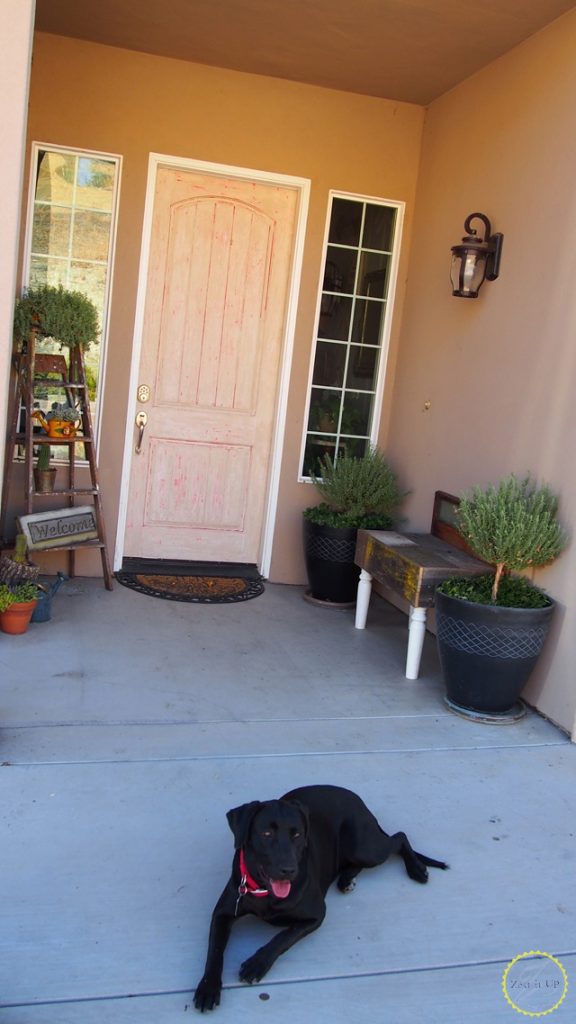
Whatcha’ think??
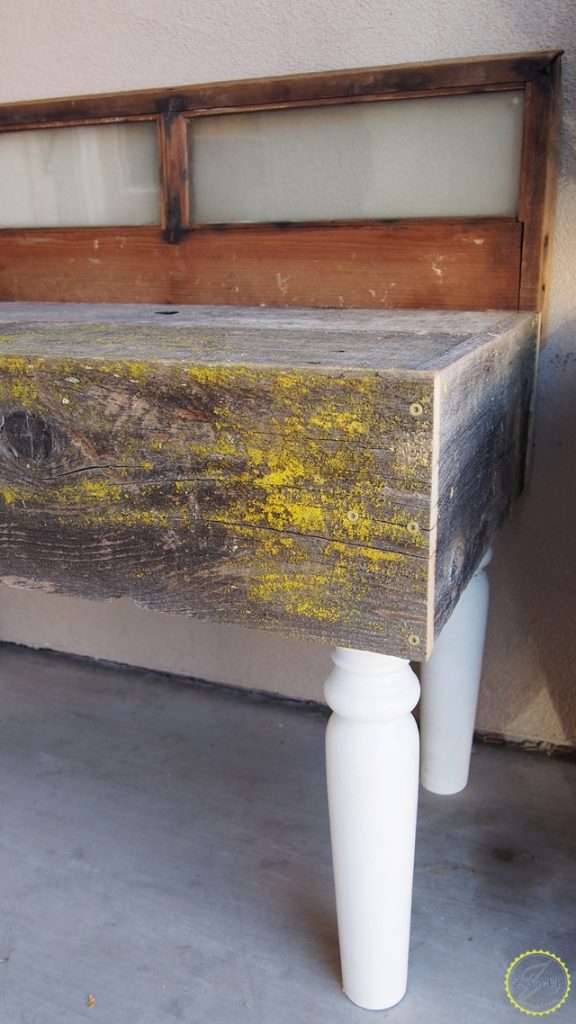
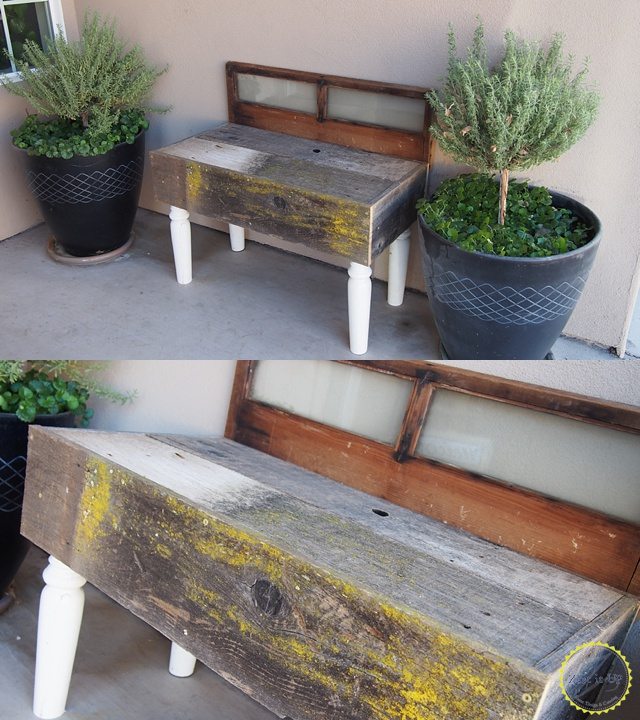
 xoxo
xoxo
Chanda & Sam
Facebook / Instagram / Pinterest / Tumblr / Twitter


The bench turned out beautiful! Glad you saved that gorgeous wood!
Very nice. Thought you were going in th direction of a potting bench which would have been great, as well.
Oh my stars – I would have had a coronary if I came across all that. How exciting!!! LOVE what you did with it.
My heart would have been racing at the sight of that free wood!! Lovely! I love the little bench you made out of it…so unique!
haha right?!? We couldn’t stop doing the happy dance!! Thanks so much for the compliments ladies!!xo