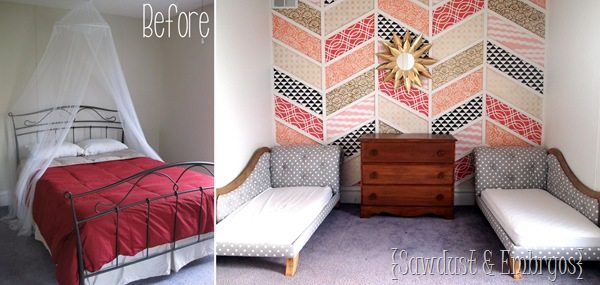
Gooooooooood MORNING my friends! Beth here from Sawdust and Embryos… and as always, I’m overjoyed to be here! My husband and I have been working away at our twins’ big-girl room in preparation for the day they’re throwing themselves out of their crib. Seeing as they’re 2.5, that could happen any day.
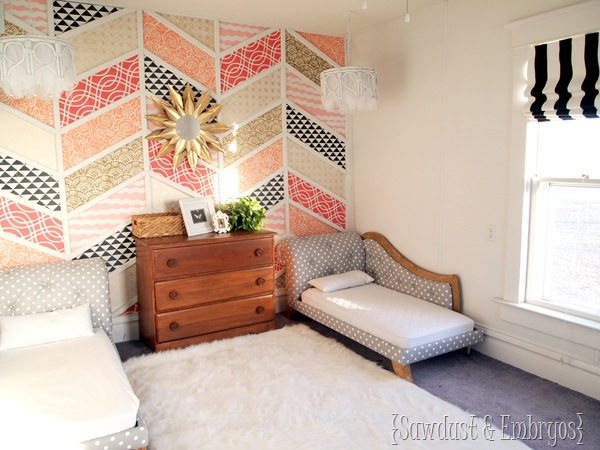
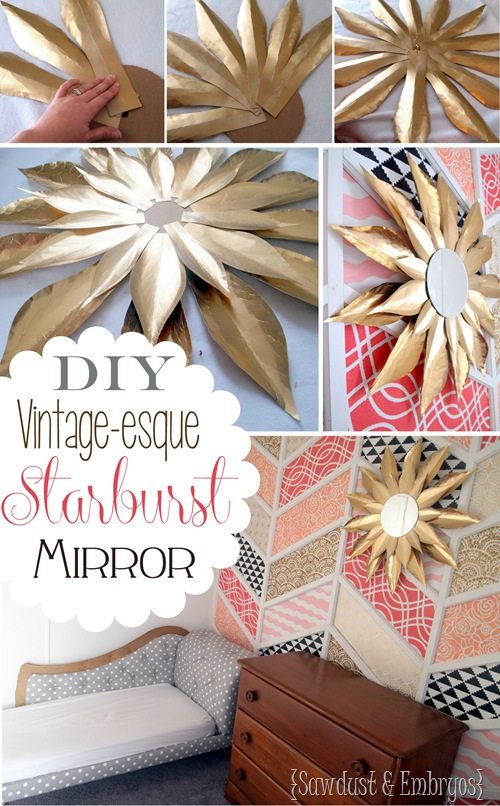
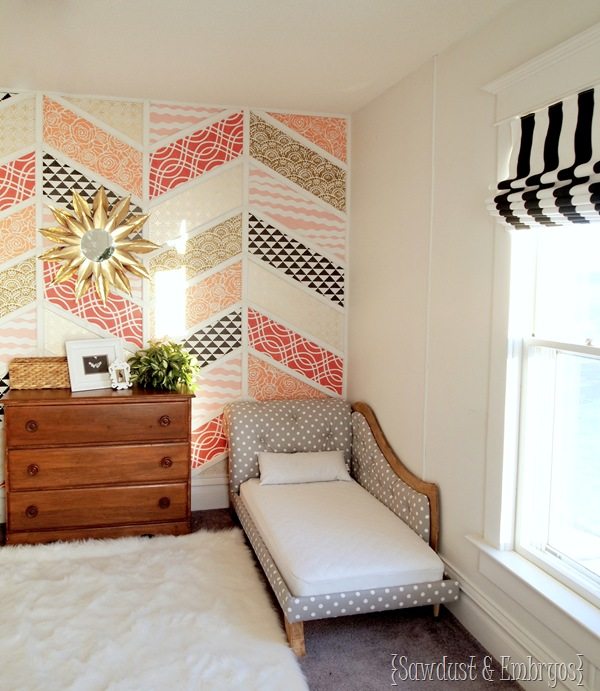
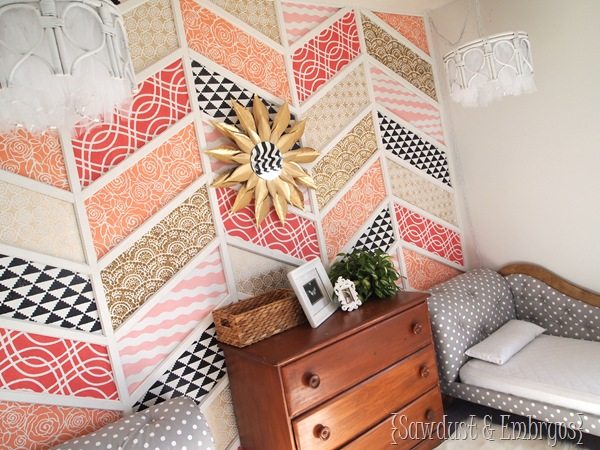
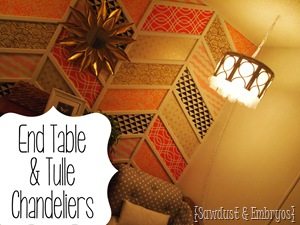
So far, we’ve built and upholstered their mini fainting couch / toddler beds, stenciled the Herringbone Accent Wall, made simple DIY Roman Shades, and repurposed an end table into two sparkly/soft pendant chandeliers for above their beds. But today I’m going to show you how we made the vintage-esque starburst mirror you see below!
All I needed for this project was
- a small round mirror
- cardstock (two large sheets)
- Gold spray paint
- hot glue gun
- E6000 adhesive
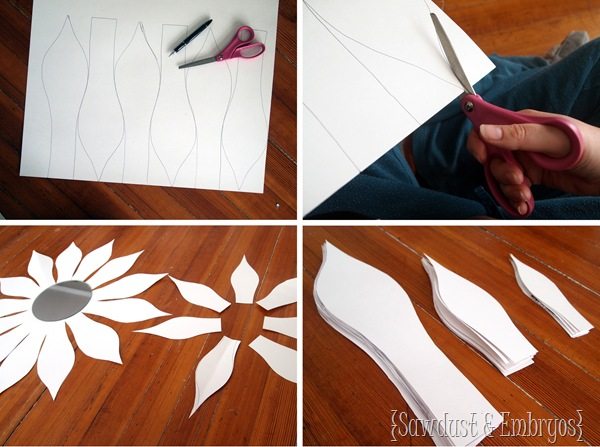
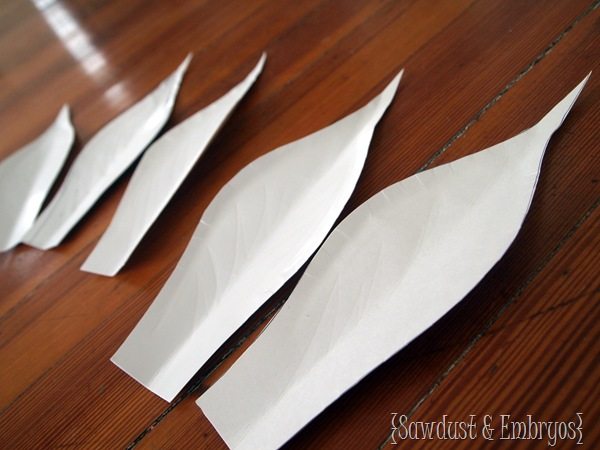
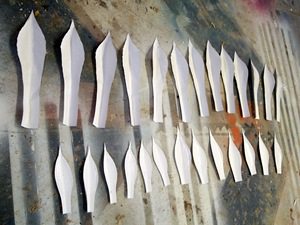
I started out by cutting the cardstock into a leafy shape. There’s really no science to it… just make sure they’re symmetrical by folding the first one in half when cutting. Then use it to trace the rest. I did 3 different sizes. I ended up with 14 large leaves, 7 medium, and 7 small. It wouldn’t hurt to have a few extra of each though.
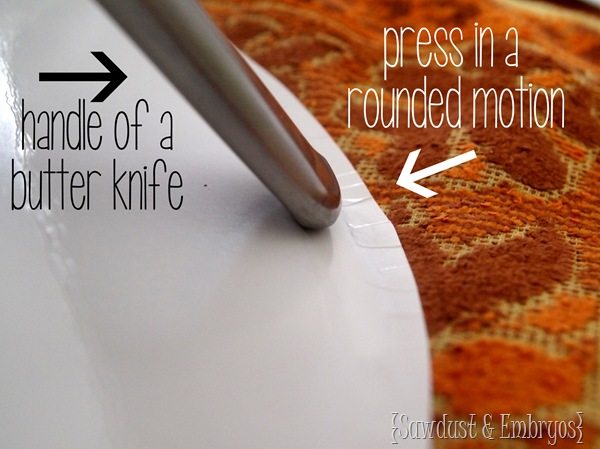
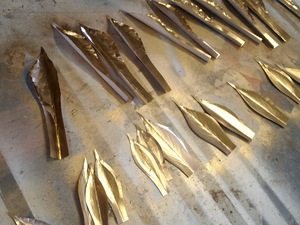
I really wanted my leaves to have some dimension and curl up on the edges, so I used the butt of a butter knife and rolled it along the perimeter of each leaf in a rounded motion. The edges of the cardstock slowly break down and begin to curl up! I also gently creased each leaf down the center.
I spread out my leaves on the garage floor and misted them with gold spray paint. I did several light coats until they were fully golden, and then flipped them over and did the backs too. The spray paint actually helped my ‘leaves’ to curl even more!
I traced my mirror on a piece of 1/8” plywood, and again on a piece of corrugated cardboard. I cut out the wood circle with my scroll saw, and the cardboard pieces with scissors.
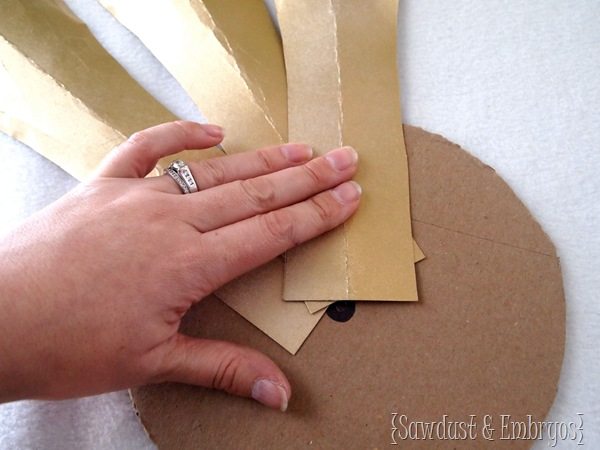
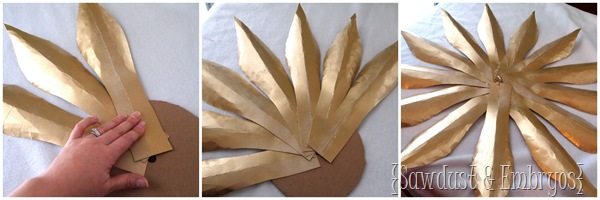
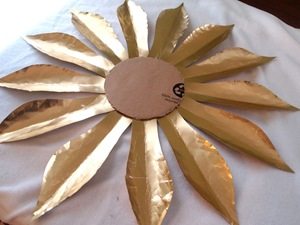
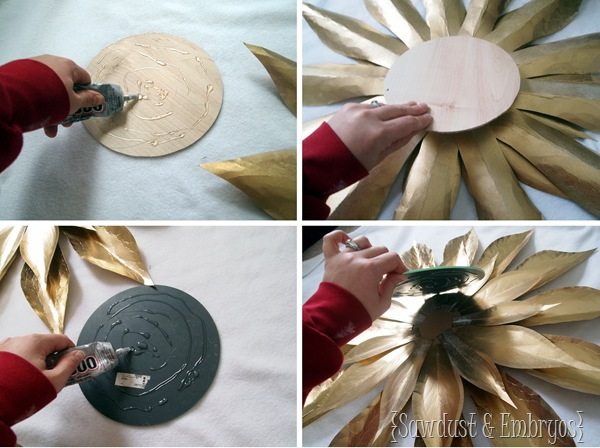
On my cardboard circle, I marked the center, and began gluing down each leaf with a hot glue gun. I recommend laying them out first and make marks on the cardboard to make sure you have the spacing right.
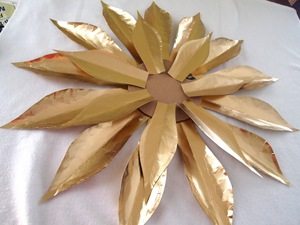
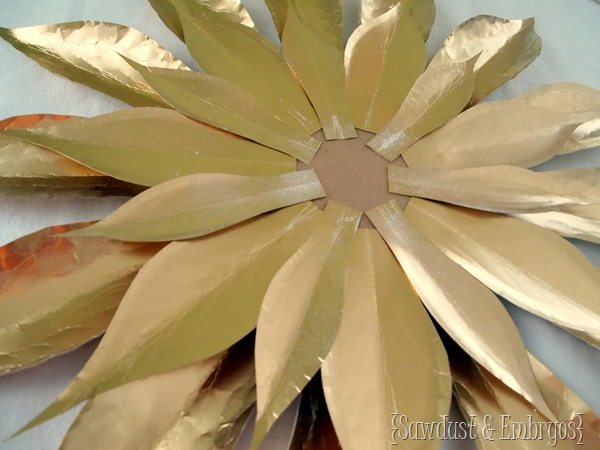
Then I flipped over my mirror so it’s facing up, and glued town the medium leaves next.
Now all that’s left is to affix the mirror and the wooden backing! I globbed on some E6000 glue to the wooden circle (after drilling a small hole for hanging) and pressed it in place. Then I flipped everything over and did the same to the mirror… minus the drilling part HA!
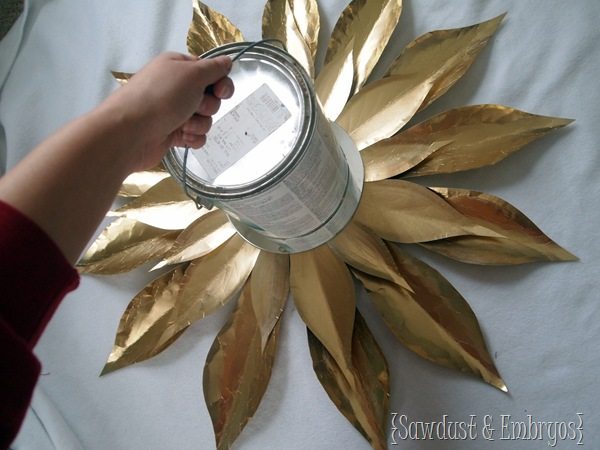
After making sure that everything’s centered and where I wanted it, I set a full can of paint on it and left it overnight. This glue is pretty fumey, so no babies or pregnant mommy’s nearby! (picture me wagging my finger in your face )
I was sooooo excited to hang this bad boy the next day! It’s pretty light, so I just pounded a tiny hole in the wall and popped it up! That dresser definitely needed something above it (without competing with the herringbone accent wall) and I feel that this is the perfect solution!
It’s amazing how such a simple thing can add the perfect finishing touch! We’re working on some super fun things for the other side of this room, so be sure to follow along (subscribe here!). And feel free to check out the tutorials for the other elements in this room. So much time and love has gone into it for our precious girls!
As always HUGE thanks to Brooke for letting us stop by and throw down a tutorial each month! Feel free to come on over to our blog Sawdust and Embryos and snoop around! We’ve got tons of tutorials and furniture transformations to get your creative juices flowing!.
Happy weekend one and all!


This whole room is amazing. The clock is adorable. But, OMG, that wall is like a gorgeous quilt pattern. I love it.
Awesome work, as usual. Even I could do this!
Aaa this is SO cute! I particularly LOVE the wall. I shall check out that post next 🙂
What a great makeover, the whole room is really cool, but I have to say what is most impressive is that herringbone wall! So different and pretty, I love it! -Elyse Ashley
I love it! That room is just stunning especially the herringbone wall!
I love that wallpaper-good job!
http://www.thelipstickchannel.com
Love this, Beth!! That room looks FAB!!
Adorable room. Everything is amazing.
Could you tell me what brand of gold paint you used for that mirror. Thank you.
Adorable room. Everything is amazing.
Could you tell me what brand of gold paint you used for that mirror. Thank you.
I don’t know the exact brand used here but I LOVE Rustoleum’s metallic Gold. It goes on like a dream! 😉