Merry Christmas EVE everyone! In case you are wondering…yes, I am still sleep deprived from another night of building a Barbie house, but it is coming along nicely! I hope you have GREAT plans today with your fabulous families! I am learning how to make fudge and English Toffee today…I am sooooo excited! Then later, we will stuff our faces with delicious food and let the kids open their Christmas EVE present (new pjs). I am giddy with excitement to see my kids’ eyes light up tomorrow morning! I LOVE CHRISTMAS!
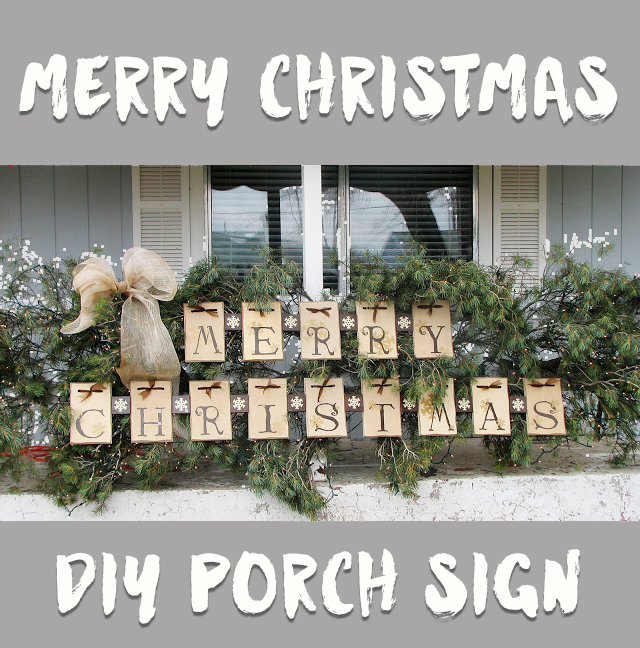
I thought I would share a project from my Sista to keep with the Christmas theme today. 🙂 My sister Natalie is very creative and EXTREMELY crafty! I love her projects, and I’m jealous that she has a front porch that she can do fun things for each holiday!
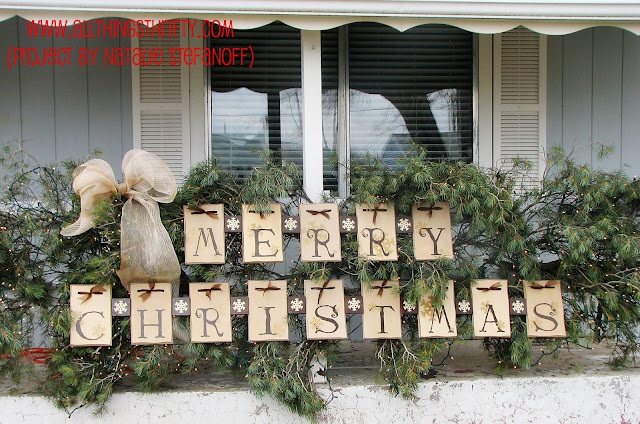
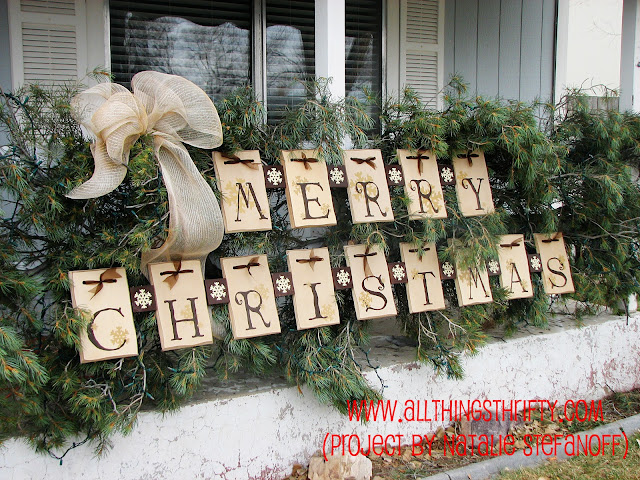
This is her newest creation: Ummmm, can you say DARLING!?!? I love what she did with the trimmings of her tree, a few blocks of MDF, and her Cricuit cutting machine and vinyl.
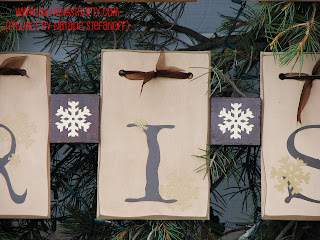
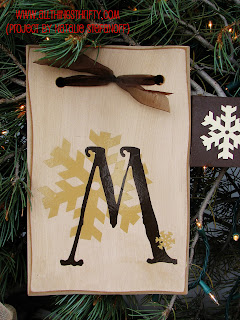
She cut different sizes of MDF and painted them.
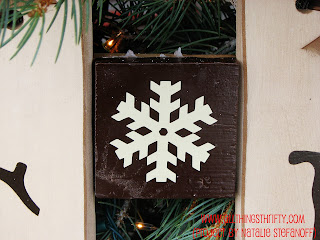
Then she cut vinyl snowflakes and letters to dress them up real nice!
I love the colors she chose too!
It looks amazing, and I only wish she lived closer to me so we could be crafting partners more often! I love the white Christmas lights that she strung throughout the design, and that bow is absolutely FAB-U-LOUS!
Thank you Nat for sharing your amazing project with all of us!
Don’t you just love how she creates this stuff!?! I love how creative she is, and it makes her house look super duper cute and festive this holiday season!

I love this. I hope to have a porch one day to be able to do something like this as well. Thank you to you and your sister for all the ideas. Merry Christmas to you and your family.
I love this project!!! Too cute!
Hey just wanted to let you know that I've featured you on my blog as a blog that has inspired me! you can check it out!
http://potential-treasures.blogspot.com/2010/12/blog-feature-all-things-thrifty.html
Love this project! One day I will have a porch to decorate.
Merry Christmas to you and your family!
Ohhh, I want to do this! What a great idea and so do-able. Thanks for the idea!
Love the project by Natalie Stefanoff, I would love to make this but need more detailed info, what paint did she use to paint the boards, trim color. Any information on how to make this project is greatly appreciated, thank you!
Hi Cynthia! I’ll ask her to come and answer your question! She’s my sister. 🙂
Hi Cynthia! This is Natalie. Sorry for the delay in answering!! It was made quite a few years ago so I’m not exactly sure on the colors any more? But I think the big letter board color was “antique ivory” and the little snowflake squares are just a complimentary dark brown color. The vinyl is beige and white (or off white) your preference. . After I painted everything I sanded down the edges and antiqued everything with a stain I got at ACE hardware called “Early American.” Make sure you apply the vinyl before antiquing. Good Luck!!
So Cute thanks for sharing!
Hello! I really like this. Can you make and sell please..
I was wondering how you hung them on the branches.
I came across this pin on Pinterest but when I clicked on the link it took me to a different site. Just thought I would let you know that another site stole your picture http://www.familyholiday.net/60-trendy-outdoor-christmas-decorations
Thank you Ann!
I WISH THERE WAS MORE INSTRUCTIONS ON THIS AS TO THE SIZE OF THE BOARDS, THE SQUARES THAT THE SNOW FLAKES ARE ON AND HOW THE BOARDS ARE FASTENED. WHAT ARE THE GREENS FASTENED TO? I HAVE THE PERFECT PORCH TO PUT THIS ON.
8/5/16
Hi Jan! I wish I had more instructions too! My sister made this so many years ago, and she doesn’t even have the pieces to it anymore.
Anybody have any ideas on what size the boards maybe.
This is a cool project and would love to make for my porch.
I also would love to have the sizes and to know how the snowflake blocks are attached to the letter boards, any directions would be very helpful, could your sister recreate this?
love this
Love this idea! We live on 10 acres mostly wooded with a metal farm type gate across our driveway. Going to do this on our gate instead of porch and maybe use some solar lights.
Send me a picture after! I want to see!