My latest chalk paint obsession is the BB Frösch Faux Stain Technique. Or, as I like to call it…
the affordable, no-mess, no-smell, quick and easy way to stain!
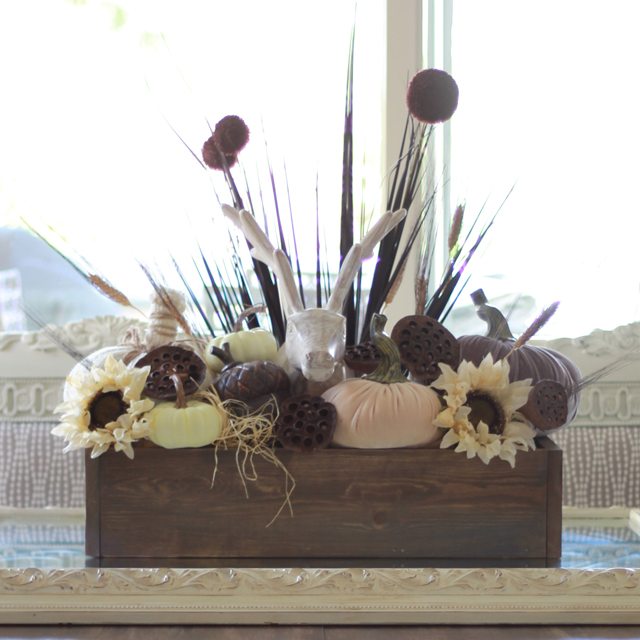
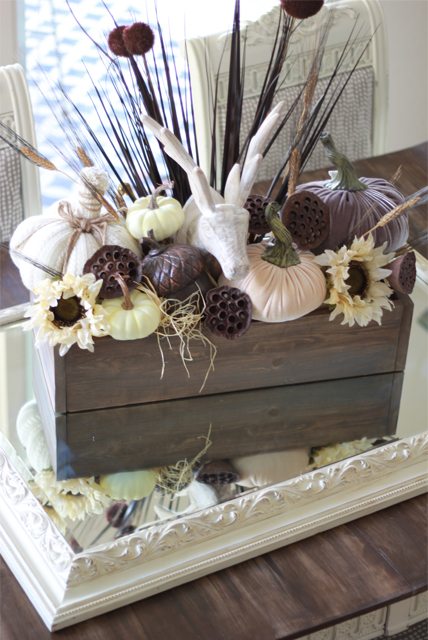
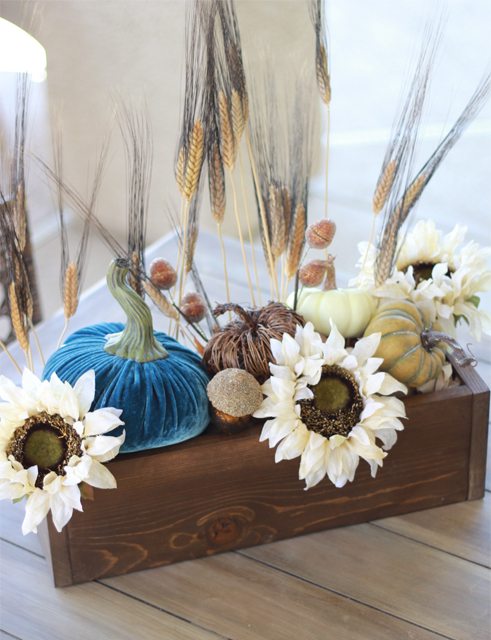
Before I share the tutorial for faux-staining this fall centerpiece box:
… take a moment to linger on the photos below for incredible inspiration by some of my awesome friends using the BB Frösch Faux Stain technique…
FURNITURE
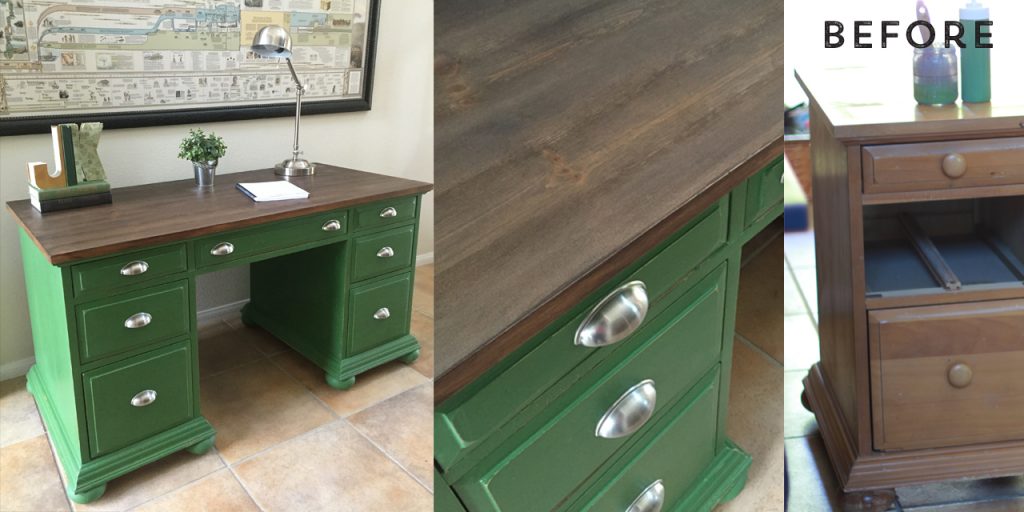
SHELVES MADE FROM A SIMPLE PINE BOARD
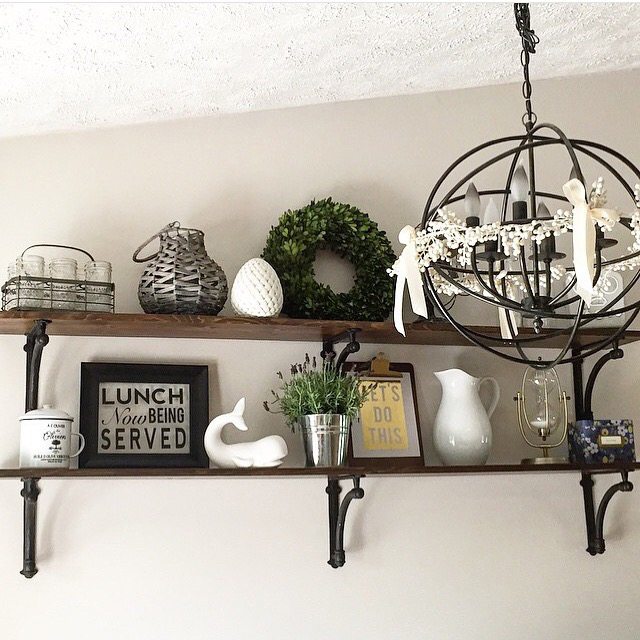
HOME IMPROVEMENT PROJECTS that don’t require replacing, just updating…
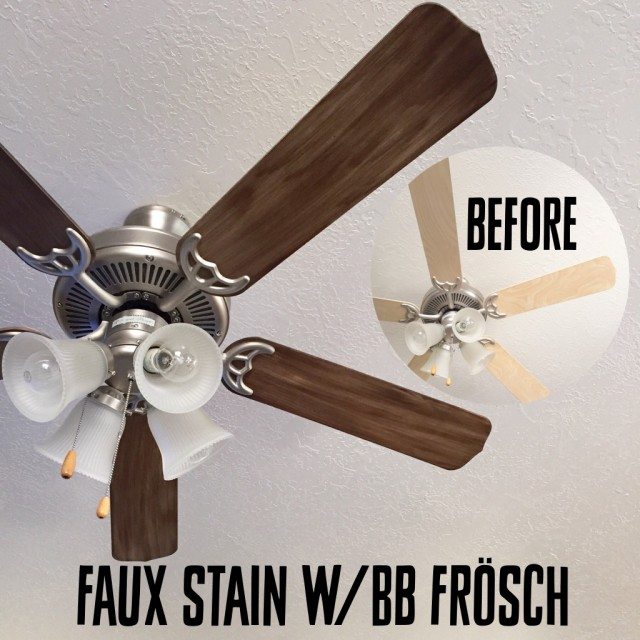
CRAFTS

SIGNS like these adorable hand-calligraphy place holders by Handcrafted Brunette…
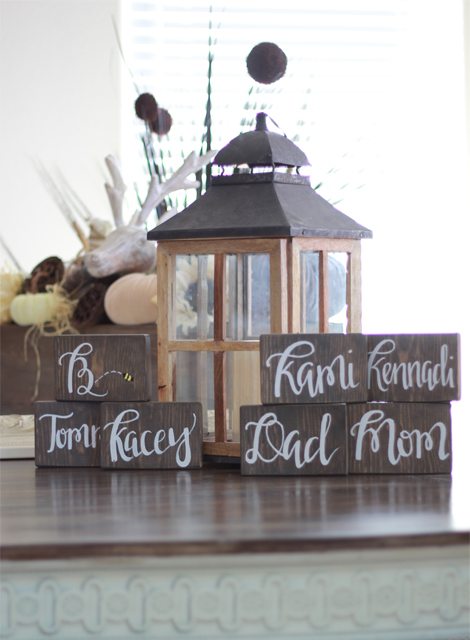
HOME DECOR
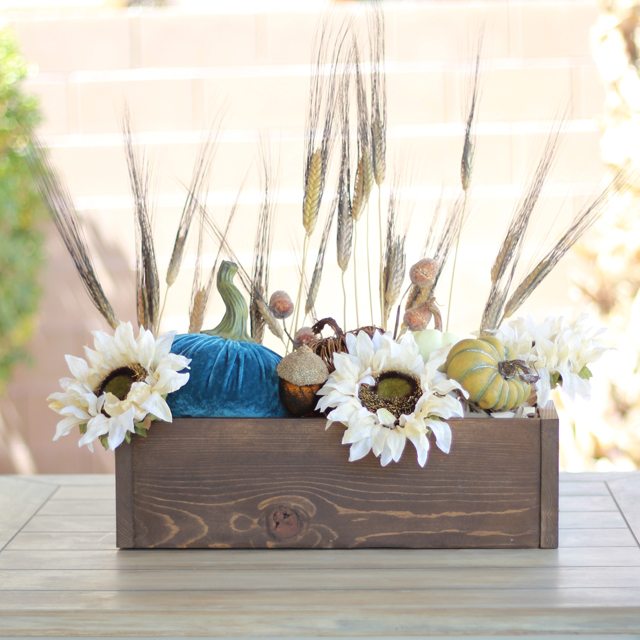
Basically, it’s the perfect solution for ANYTHING that needs a stained look…
…WITHOUT the drawbacks of traditional stain
(which, for me, include a lack of staining skills, the smelly mess, and the fact that I’m just too impatient to deal with how much time it takes!)
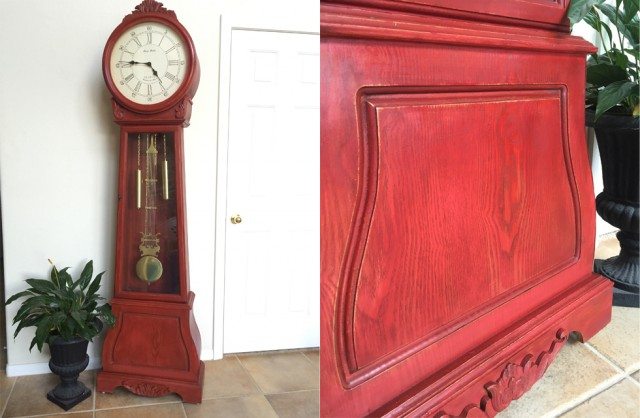
Faux-staining with BB Frösch means I can choose ANY color, like this oak grandfather clock I “stained” red a couple months back:
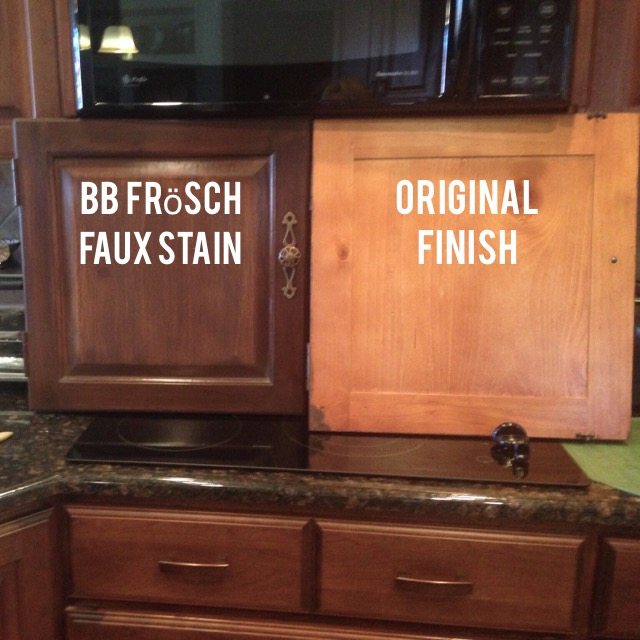
Unlike with traditional staining methods, I can faux stain on raw wood or wood with an existing finish, like my mom did on these cabinet doors (If you look closely, you can see the top of my mom’s head in the reflection on the microwave–she’s a little short, but she’s so cute, and she’s got mad painting skills!)
With chalk paint, I eliminate ALL the things I hate about stain! With BB Frösch, I mix up only the small amount of chalk paint needed, so there’s really no waste.
Since you use even less chalk paint for faux-staining (I used about two tablespoons for the centerpiece box below), it’s truly affordable!
Hopefully you’re sufficiently inspired to go faux-stain something, so let’s get started!
Kacey and I worked together making our fall centerpieces last week. We started with raw wood, but this technique can also be used on wood with an existing finish. The cabinet doors, ceiling fan, and clock examples above were all faux-stained over an existing finish.
***Note*** You don’t need to sand through an existing finish, but scuffing the surface a bit will aid in bonding. Because you are adding water, your chalk paint may bead up on an existing finish. If it does, cut water back slightly, or scuff the surface.
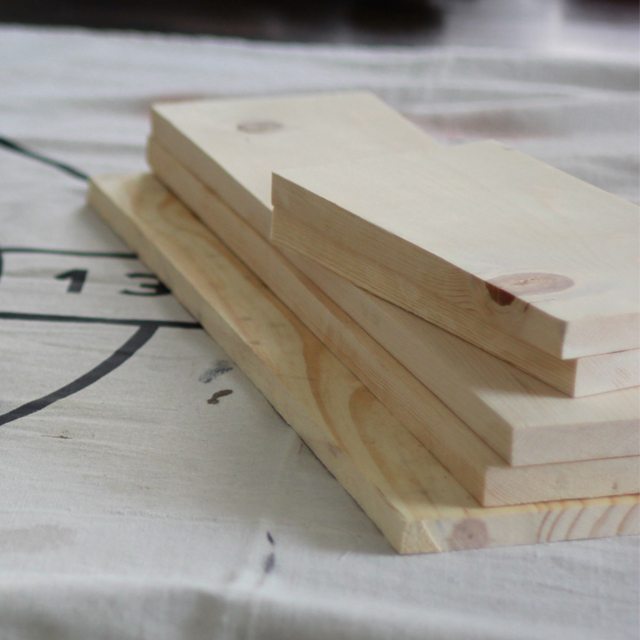
For her box, Kacey used Benjamin Moore FLAT paint in “Mink.” I chose to use a little of the same brown as well as a gray paint I had on hand to achieve a more weathered looking “stain.”
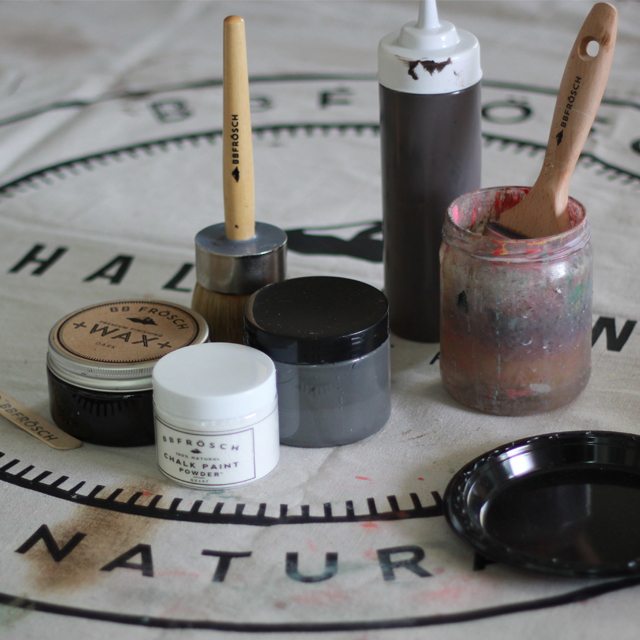
In addition having your chosen color of paint mixed with BB Frösch Chalk Paint Powder, you will also need:
- paint brush (I used a specialty brush because it’s what I typically use, but any brush, or a sponge, will work for this technique)
- jar of water
- plastic plate
- lint-free cloth for wiping (I use a surgical huck cloth)
- BB Frösch Dark Premium Finishing Wax
- wax brush
- lint-free wax cloth
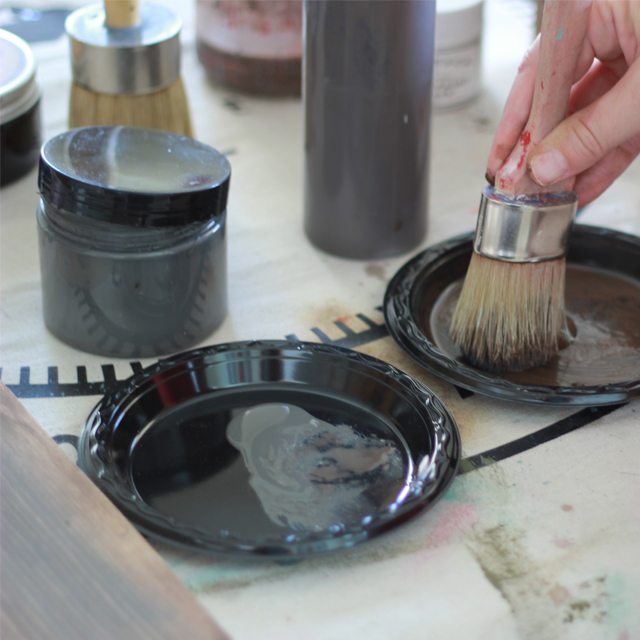
Pour about two tablespoons of mixed chalk paint onto your plastic plate.
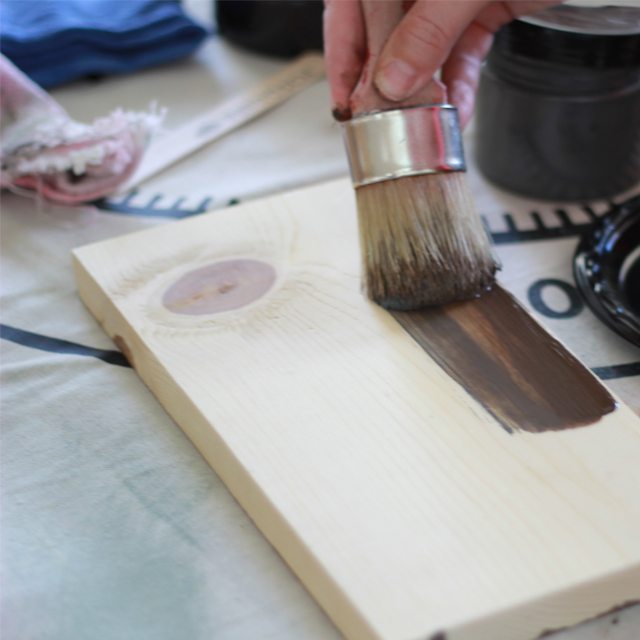
Submerge the bristles of your brush in water, then squeeze out about half of the water.
Swirl your wet brush into the paint on your plate.
Paint one or two broad strokes WITH THE GRAIN on your piece. Don’t stress if your paint feels too watery or drips, because you are going to wipe it.
Figuring out how watery I want my paint to be is one of the reasons I add water to my brush instead of directly to my paint. This is where the plastic plate comes in handy!
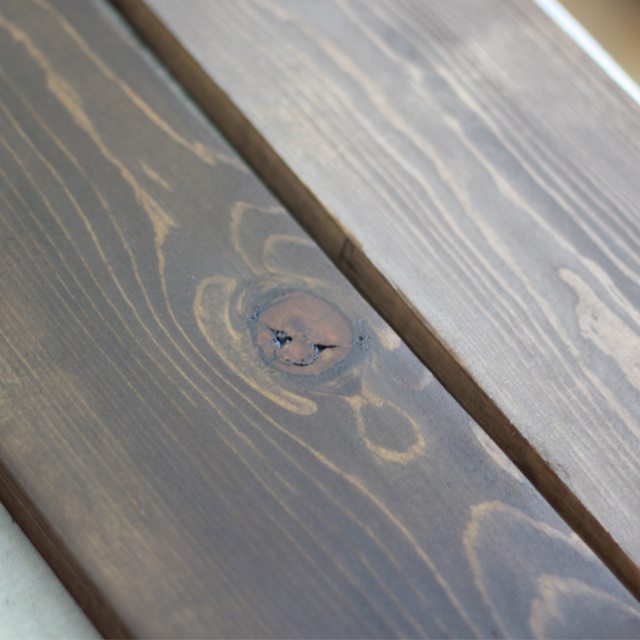
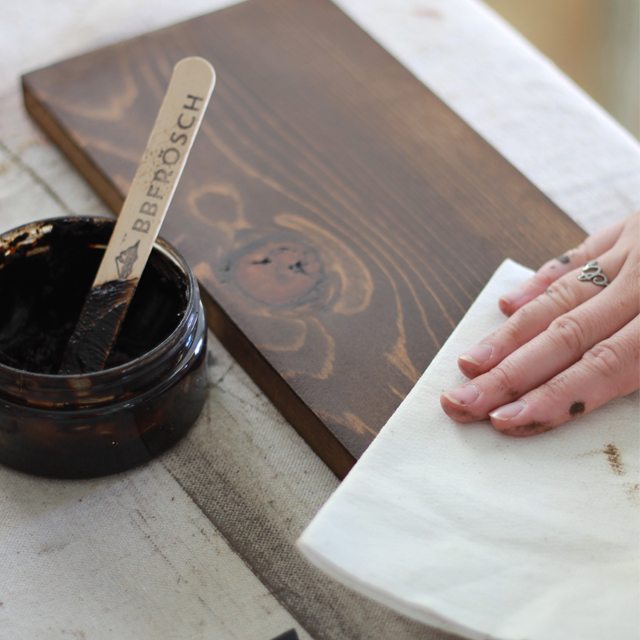
Using a lint-free huck cloth, and wiping with the grain, wipe off excess paint.
If you do not immediately see the grain after wiping, your paint is too thick. If this happens, just add a little more water to your brush and go over the area you just painted again, then wipe.
Repeat the above steps for each board like this:
For our boxes, Kacey and I painted all the boards, then went back over any areas we wanted to be a little darker. You’ll notice Kacey did this on the last board in the video. If you blinked, you may have missed it, so go back and check it out again.
Allow boards to dry completely. Because you have added water, it will take a little bit longer to dry than regular-strength chalk paint. We are in Las Vegas, so our “little bit longer” was only about fifteen minutes.
Once paint has dried, apply wax to seal and protect. Although this step isn’t entirely necessary for a craft project, it is VITAL for furniture, cabinets, and anything more than just decoration. If you like the color of your boards, you can use a clear wax. If you want to make your stain more rich, like Kacey did, use dark wax.
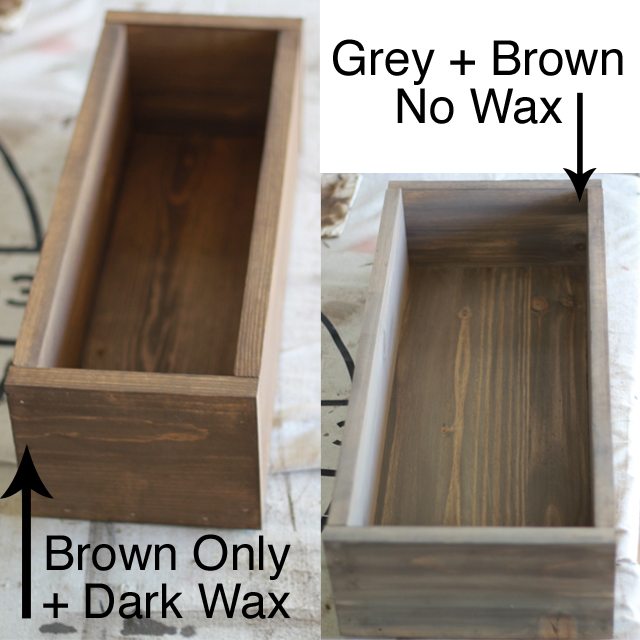
Below left is Kacey’s board faux-stained brown and dark waxed. The board on the right is mine, faux-stained with the brown and grey paint and not yet waxed.
You can see how the dark wax makes the faux stain more rich, but both looks are really cool!
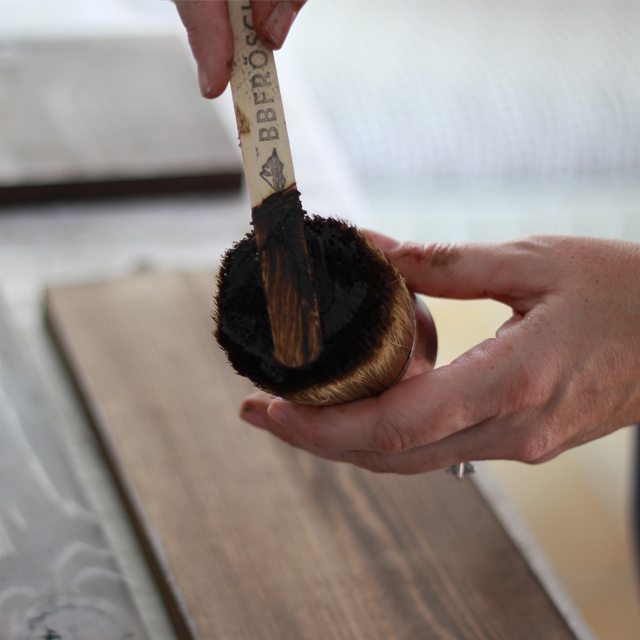
Waxing is incredibly easy! Just “butter” the end of your wax brush with a thin layer of wax, and apply wax WITH THE GRAIN in broad, even strokes.
Remove excess wax with a lint free wax cloth. Wipe excess wax off each section as you go. Do not wait until entire piece is waxed to remove excess.
…just like we did in this high-speed, professional-quality video (once again, don’t blink or you’ll miss it and have to spend an additional 2 seconds re-watching it!):
Once your whole piece is waxed, and excess wax is removed, you can go back over it with a lint free wax cloth to buff to your desired sheen. We didn’t want our boxes too shiny, so we skipped buffing.
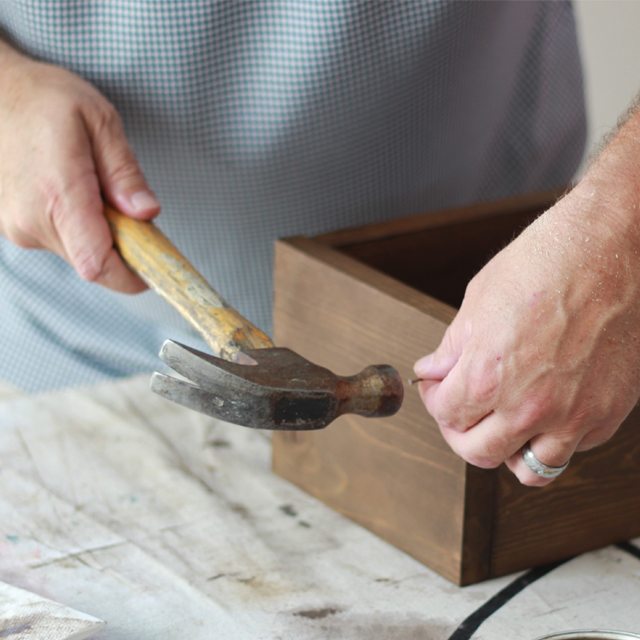
Once our boards were faux-stained and waxed, we discovered that we had loaned out our brad nailer, so I talked my husband into nailing the boards together by hand to make our boxes.
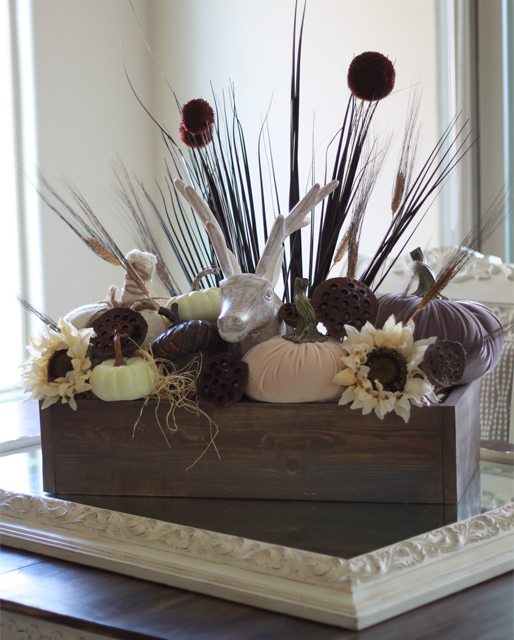
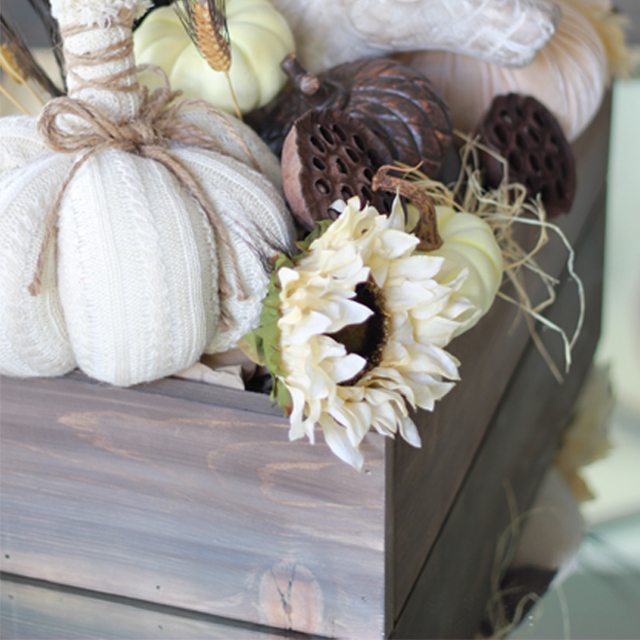
After a quick trip to Hobby Lobby for some fun fall decor, we spent five times longer arranging the decor in the boxes than we spent making the boxes themselves. We discovered that we are better painters than floral designers, but we’re still pretty darn pleased with our faux-stained centerpieces!
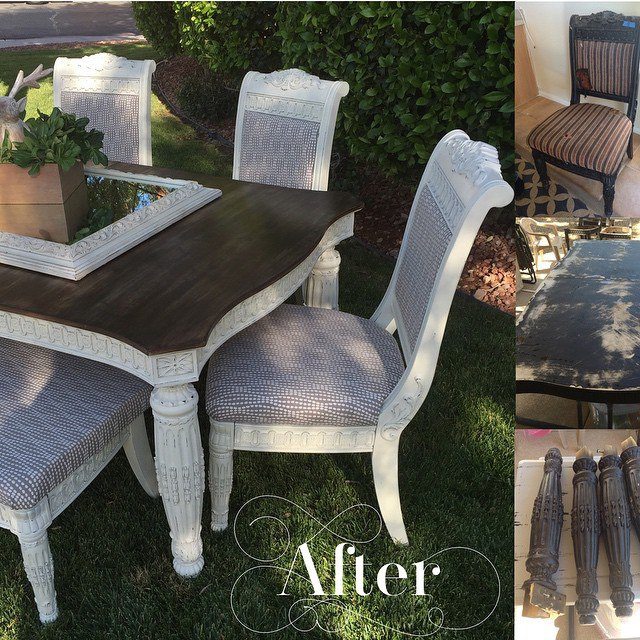
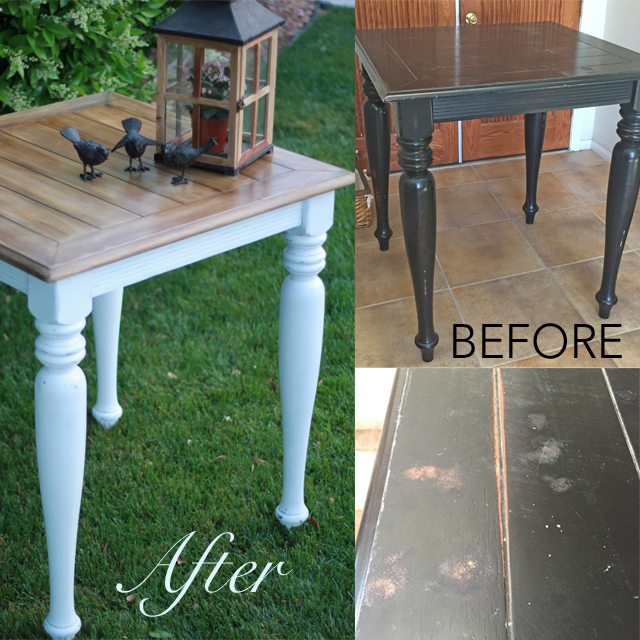
P.S. The finishes on both tables under our centerpieces were also created entirely with chalk paint made with BB Frösch using a “weathered wood” technique I shared here on All Things Thrifty last spring. The weathered wood technique is awesome for when your piece doesn’t have any visible grain to work with, which was the case for both tables.
What are YOU going to go faux stain now?
Want details on WhipperBerry’s dice? Check out this awesome video tutorial.
Looking for more BB Frösch Inspiration? Check out BB Frösch on Facebook, on Instagram and Pinterest!


I’m totally going to try my hand at doing this! You make it look so easy!
Paige
http://thehappyflammily.com
Ohhhhhhh how I love that. Definitely give this a go- I have about a million & one projects that this would be great on.
Lovely. I’ve been searching for a tutorial like this. THANKS!
Did you post about redoing that red grandfather clock? If so, could a girl get a link? Or even the materials/color (s) used? I’d like to include some rustic red pieces in our kitchen but not sure how to go about finding stain that isn’t… well.. ‘wood’ colored. :\ Any information would be greatly appreciated. Thanks in advance!
I don’t have a post about the red clock, but it’s the same technique. A gorgeous red to use is Benjamin Moore “exotic red,” mixed with BB Frösch, of course. If you don’t mix your paint with Chalk Paint Powder to make chalk paint, this technique will not work. To make the red more rich, use dark wax instead of clear. Hope this helps!
Thank you for the information! Not sure what value of red we’ll choose yet, but I’m definitely hanging on to this tutorial, along with Brooke’s ‘Whitewashing, but with COLOR’. Going for a look where the wood grain still shows, but has been stained red, rather than painted. Now I’m off to the Benjamin Moore site to scope out ‘exotic red’. Thanks again!
YES! I have been waiting for this tutorial. THANK YOU so much.
Do you think this would this work if I used a white paint for the faux stain to make them look more beachy?
Also, is there any reason why you didn’t just use a clear wax?
Love this so much!
This technique works with any color, including white! I’ve used it with red, navy, white, light blue…that’s the beauty of a faux stain over traditional stain–picking whatever color you want. I mentioned in the post that you would use a dark wax to make your “stain” darker or more rich, but you can absolutely use clear wax, or no wax at all if you want a weathered stain look that doesn’t need sealing. Hope this helps!
You’re pretty much a genius! Thank you so much. I am about to break out the paint! Thank you so much for answering my questions. I AM SO EXCITED! <3
Would this work for a kitchen island too? The island is brand new and not painted or stained yet.
Paula–
Yes it will work on any surface with an existing “grain”–finished or bare. My sister recently did her island and all her kitchen cabinets with this technique. You can find a picture of it on the @bbfrosch instagram feed. It is from six weeks ago, about 65 posts back.
The video showed raw wood – can you do this type of technique on painted surfaces? Or do you have to sand the original color stain/paint and then apply this technique?
Gina–
This technique can be done on any surface that has a visible wood grain, even if it isn’t real wood, but looks like wood. That means you can do this with previously finished cabinets and veneer! Of course, if there is no visible wood grain, you will not achieve the same look.
Hi Kristin!
I have a table/chairs that are currently stained a darker color than the ideal color for my dining space. When you refinished the table with the white legs did you sand off the dark finish first? Is it possible to do a lighter color on top of a darker color and have it come out looking nice?
Thank you!
Alie
Alie–
I paint white over dark all the time. I do not sand off the darker finish first. That’s the beauty of chalk paint–you don’t have to sand off the existing surface!
Do you think this technique would work on a railing? I was planning to restain, but this looks so much better! As long as it wouldn’t rub off or anything. Thoughts?
Yes! We have used in on several railings. You can find photos on our instagram feed @bbfrosch.
I was wondering if this would work for hard wood floors? Any suggestions?
Hello, love ur site . Since this is a paint would you recommend using this on laminate ? It does have a wood grain feel and look . Thanks ! Happy Holidays
you can definitely use this on laminate!
Do you know if you can write on this finish like you can on chalkboard?
No, you cannot.
Could you share what specific brown you used? It looks what I’m in search for.
My favorite brown for this look is Benjamin Moore “Mink.”
Typically, when I paint furniture with chalk paint, I sand off the chalk paint so it’s smooth before I apply wax. But I notice you did’t do that? Why did you skip that step?
Hi Meg!
The finishing wax itself tends to smooth out a chalk-painted surface quite a bit. However, I almost always smooth my chalk painted surfaces with 400 grit sandpaper before waxing. I call this smoothing rather than sanding because it isn’t intended to distress, simply to smooth out. It gives the surface an incredibly baby-bottom-smooth surface!
How much paint is mixed with chalk paint? Thanks! Also is there a different chalk paint that could use if I can’t find the kind you used?
Lisa–I think you are asking how much powder is mixed with the paint to make chalk paint? If so, each cup of paint (8 oz) uses 2 heaping tablespoons of powder. The faux stain technique works with any brand of pre-mixed chalk paint, but I like to use BB Frösch Paint Transformer because it’s more affordable, I can mix up as much or as little as I need, and I can pick whatever color I want.
Kristin