These fun Hocus Pocus tees are a simple DIY that you don’t only have to wear around Halloween (but of course it is highly encouraged!!)
Halloween for me means movies and candy! Hocus Pocus is of course a classic and I honestly think it’s good for any day, not just halloween. With so many quotable moments I knew it would be perfect for some tee shirts!
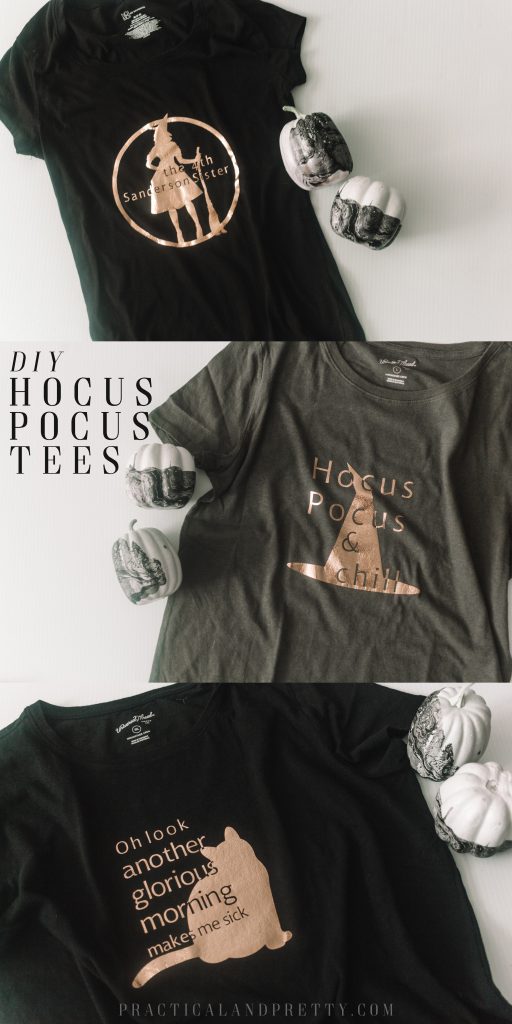
What you need to make your Hocus Pocus tees
- Tee Shirt
- Gold Foil Iron on
- EasyPress
- Cricut
- This cut file
- Lightpad (optional but you need one of these if you don’t have one anyway!!)
The first thing you always do when making a custom tee shirt is wash your shirt! Clothes from stores typically have some sort of coating on them so iron on stays best when it has been washed.
Next you will cut your file. Don’t forget to mirror for iron on! If you’ve never used iron on I made this checklist for you as a step by step guide.
Once your file is cut, you will weed it. This cut file is a little more intricate than just a simple set of words. Because of that I suggest using a Lightpad to see what you are weeding.

Here you can see exactly where and where not to weed because the Lightpad will back light it for you.
Once it is weeded, heat up your easy press to get ready to iron it on.
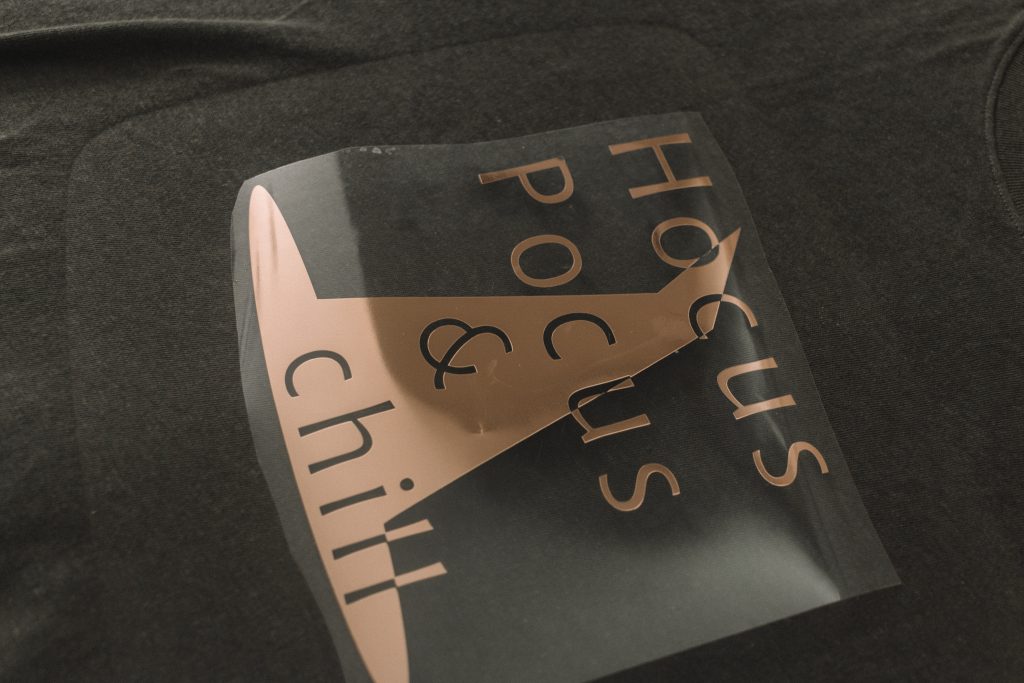
Now you will put your EasyPress on the tee shirt and heat it up for 5 seconds.
Then you will put the heat press on for 30 seconds. With foil iron on, you want to wait for it to cool off before you peel away the plastic.

Then you are all finished! I did all three designs but you could choose to just do one or two if you’d prefer. Which one is your favorite?
The little pumpkins featured in these photos were also a pretty simple DIY that you can find here! I also made this fun little cat chipboard decor I think you’d like.
