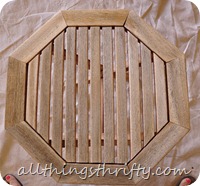
 I live in the desert. I had no idea that most states actually STAY green during the summer until I went on the GMC/Habitat for Humanity trip a few weeks ago. The lush green freeways of Kentucky, Tennessee, Ohio, and Alabama were amazing. Southern Utah is beautiful too, don’t get me wrong. But, the rye fields aren’t green this time of year. They are yellow and dry. Because of the heat and dryness around these parts, outdoor furniture gets cooked. You can’t just spray paint outdoor furniture and expect it to last. So, today I’m going to explain how to paint outdoor furniture to last.
First, you need to make sure that your wood is prepped.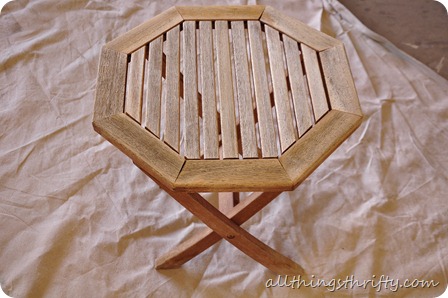
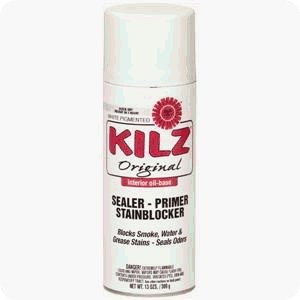
Sand lightly with 220 grit sand paper.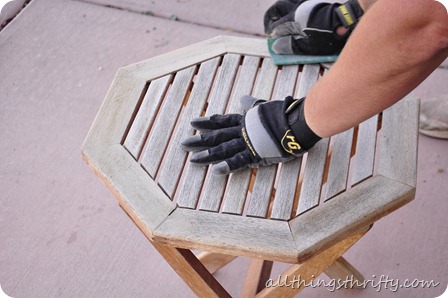 Prime with KILZ. Ok, peeps, listen up, this step is NOT optional. I’ve had to talk a few readers off the edge because they skipped this step. You cannot skip it. Their paint is chipping off and on some occasions it is PEELING off. You will be sorry if you choose another brand of primer. I only speak the truth.
 Important step: After your KILZ is dry, sand it with 220 grit sand paper to remove the gritty feel. If you sand off a little bit of the paint, don’t stress. You do not need to re-prime. Just sand until the surface feels smooth by touch.
Then you need to decide on what color you would like to paint your furniture. I LOVE krylon spray paint so if they have a color you like, proceed with spray paint. Unfortunately I wanted this particular table to be the same color as my front door {backstroke by Valspar}. So, I brushed it on. It is a rarity around here to actually BRUSH on any paint. I realize this. But, sometimes weird things happen.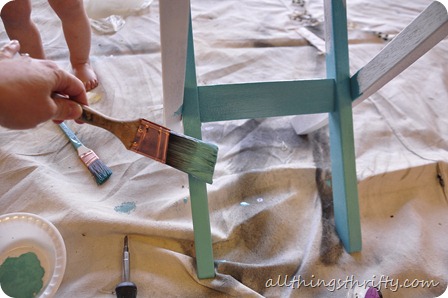 Next I made a stencil with my Silhouette machine. It was super easy, and if you would like instructions, check out my post about how to make a stencil.
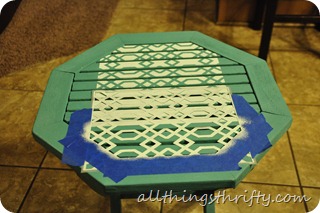
Then I taped on the stencil and got busy stenciling.
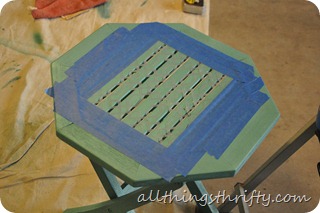
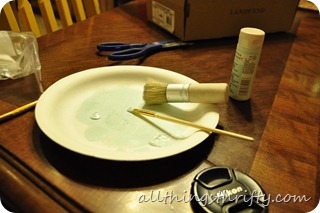
After the first area dried, I moved the stencil and continued until the entire top was stenciled. 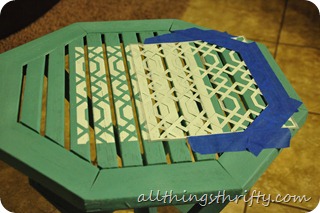
After the entire top was dry, I brushed on outdoor Minwax satin poly to protect it from the weather. I used the same product for my front door project and it has been great so far. I followed the directions perfectly. I brushed on the poly {with a nice Purdy brush}, let it dry, sanded it with 220 grit sand paper and repeated three times. I bought the poly at Wal-Mart.

 I’m pretty pumped with the finished product.
 Here is a reminder of how it looked “before.”


I LOVE IT! More importantly, my friend {who I painted it for} LOVES it more!

Love it! Especially the colors. Great job!
Super cute, I have that same table, might have to paint it now
Kathy
That turned out great! Love it!!! I wish I could stencil. Just haven't had a lot of luck at it!!
Jaye @ Just Tryin' to Make Cents of it All
http://justtryintomakecentsofitall.blogspot.com
I loooooooove it!
Perfect match!Love the color itself,i wonder where did you get that pattern?
Thanks,
Mia from Girls Tennis Clothes
Let me know if you are interested in submitting an article for the topic "Home Decor"
Send me the link to it with a short bio of yours before Aug,23 to ver.akanksha@gmail.com
ADORABLE! Love the color and the design in the center. Great job.