I’ve seen Shibori Dye becoming a “thing” over the past little while, and I couldn’t wait to try it myself. If you have never heard of Shibori, it’s a Japanese fabric dyeing technique that involves folding, twisting, bunching and binding of fabric and then dying it indigo. There are some amazing projects out there! Check out this post that displays a ton of different techniques. I’ve mainly seen it done with indigo and white, but I am a rule breaker, what can I say.
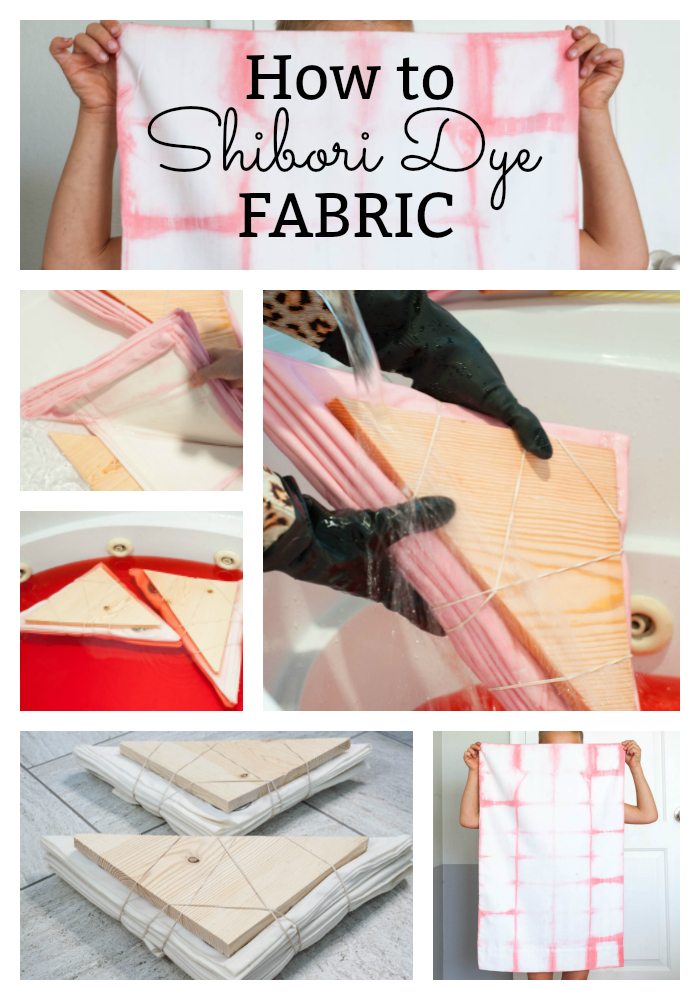 I had a big project in mind [our shower curtain in our newly renovated bathroom], but I wanted to make sure that my skills were up to par before I attempted that. So, I tried the shibori technique on some plain white pillow cases first. I’m glad I did because we had a few little dying situations on the first try. So, I’ll try and explain everything well so that you don’t have the same problem when you try it yourself.
Items you need:
White fabric {natural fabrics work best}
Rubber Gloves
2×8 wooden plank and a miter saw
Rit Dye in the color of your choice we used petal pink
Color Stay by Rit
Measuring spoons and cups
Elastic Bands
Stirring spoon or dowel
A tub
and an extra person {if you are dying long fabric}
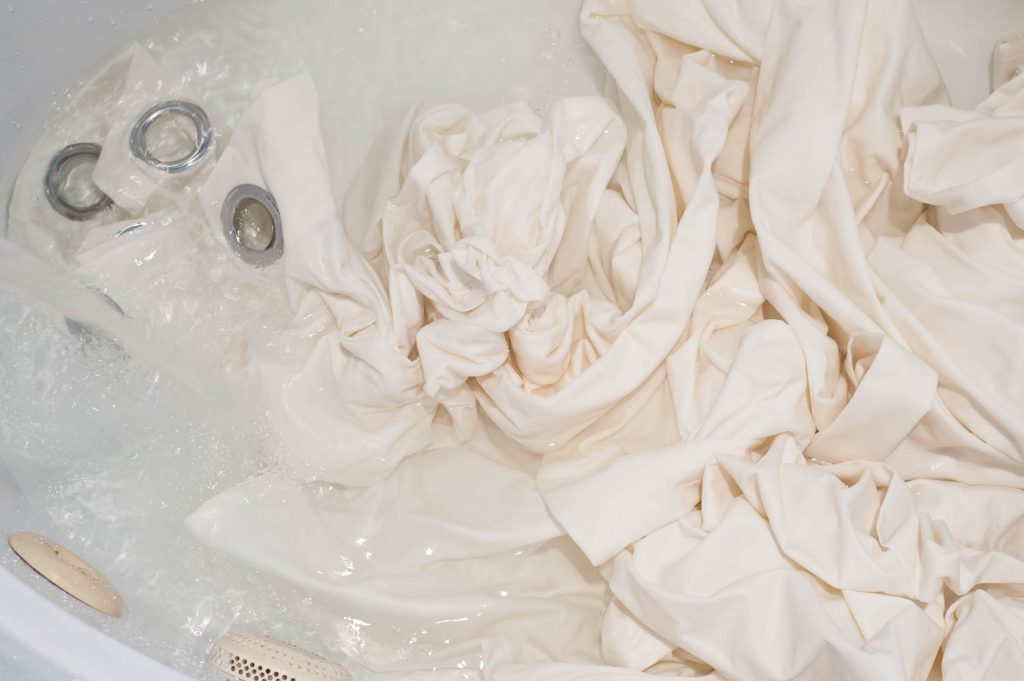
Step 1: Prewash your fabric and wet it thoroughly. Then wring out excess water.
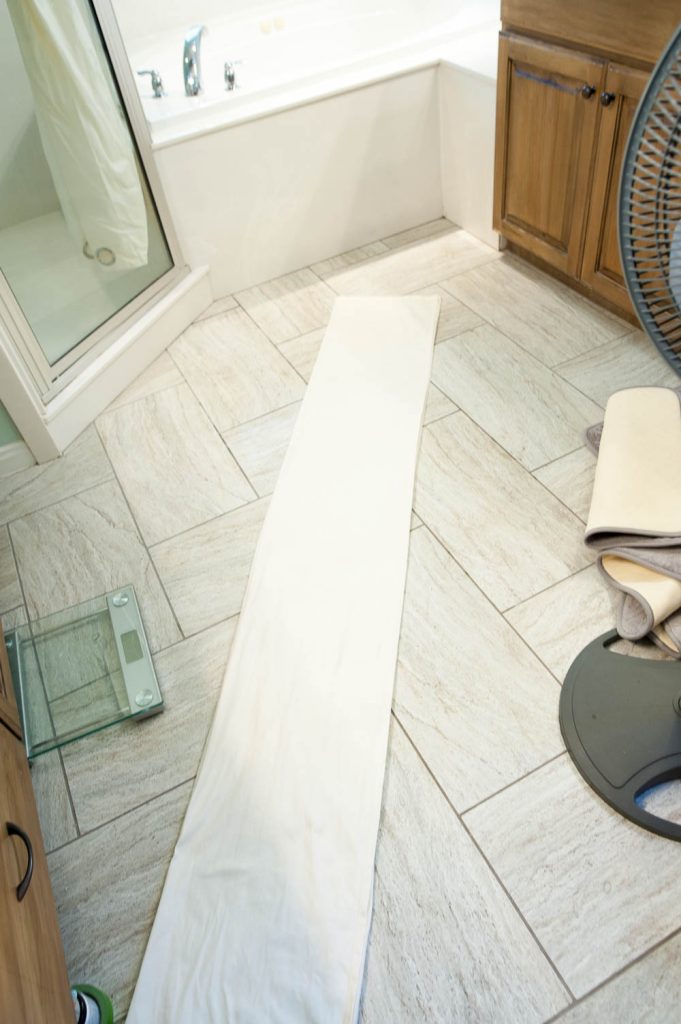
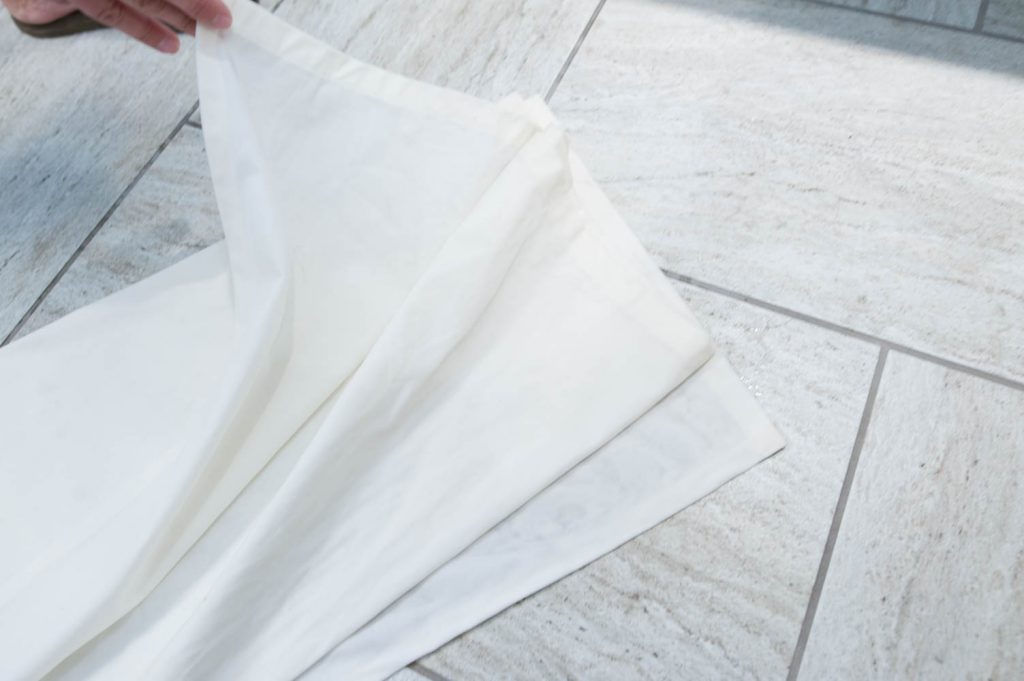
Step 2: Fold your fabric like an accordion into folds the size that you want your shibori pattern. If you want your pattern to be small, then fold your project smaller. If you want your pattern bigger, fold it bigger.
When I say fold it like an accordion, think about when you are a kid and you would make a paper fan. You would fold the paper one way, turn it over, fold it the opposite way, and repeat.
Step 3: After your fabric is folded like an accordion, now it’s time to decide if you want a triangle pattern or a square pattern.
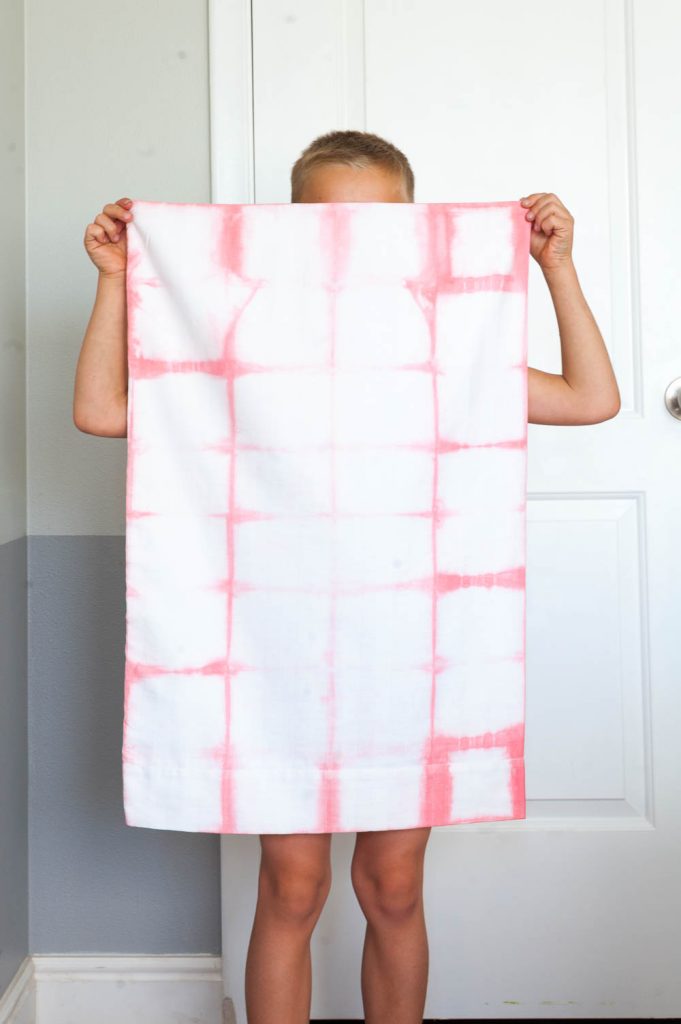
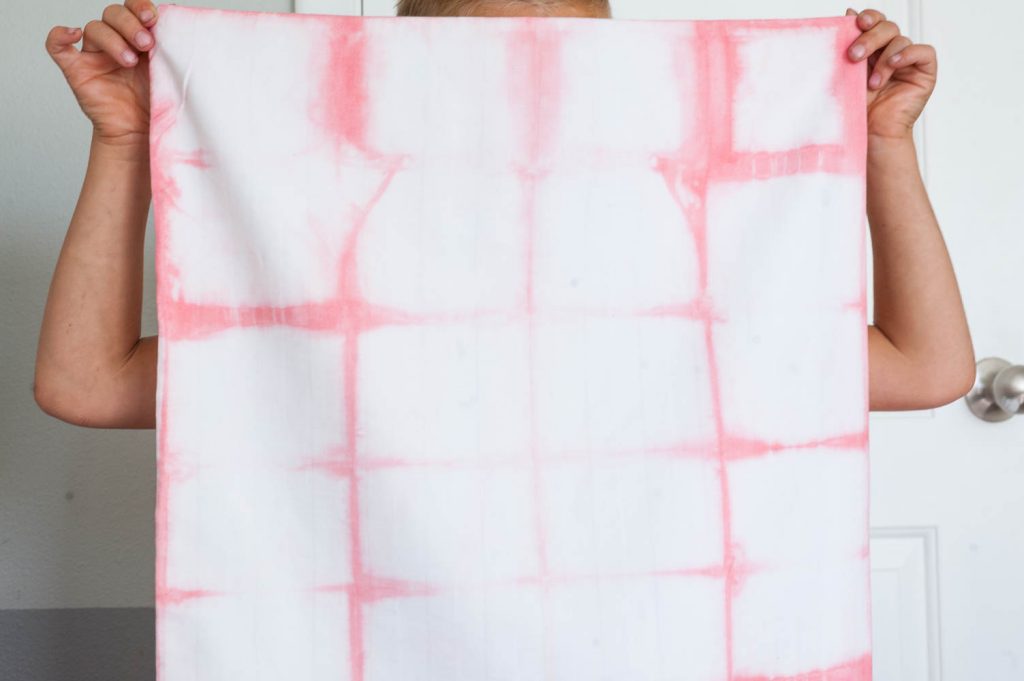
This is a pillow case that we did a smaller square pattern on. The blocks of wood we used for this pattern were about 4 inches square.
Sidenote: To achieve this coral pink color, we added 2 parts pink and one part yellow, and then a drop of gray.
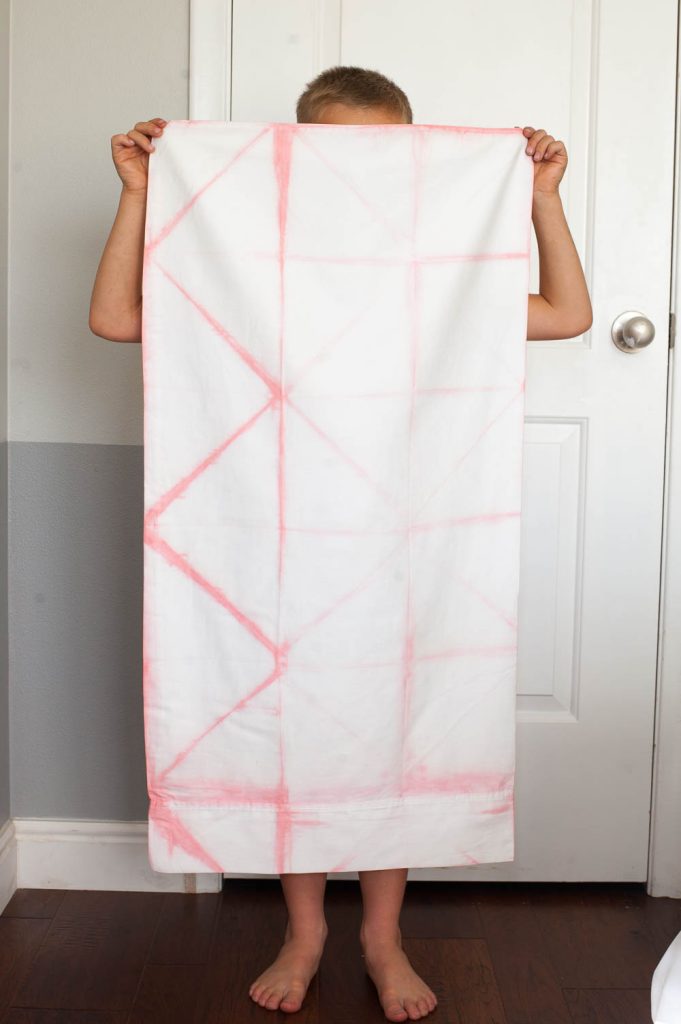
This is a triangle pattern that we used triangle wood pieces that were about 6 inches wide.
We decided on a triangle pattern for our curtains, so I started folding the triangle again, like an accordion.
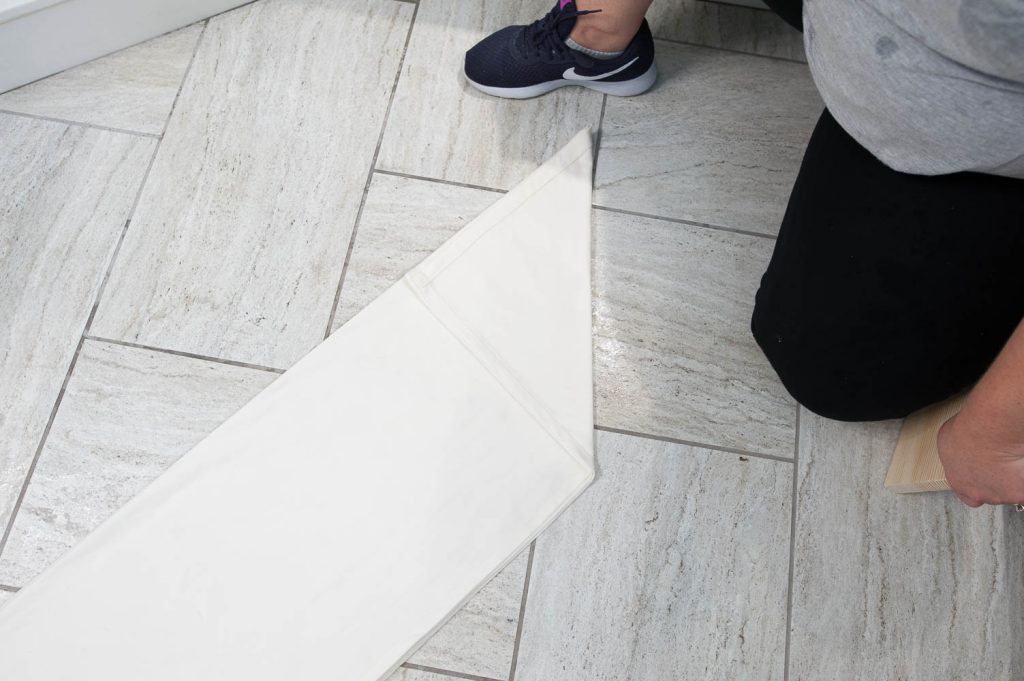
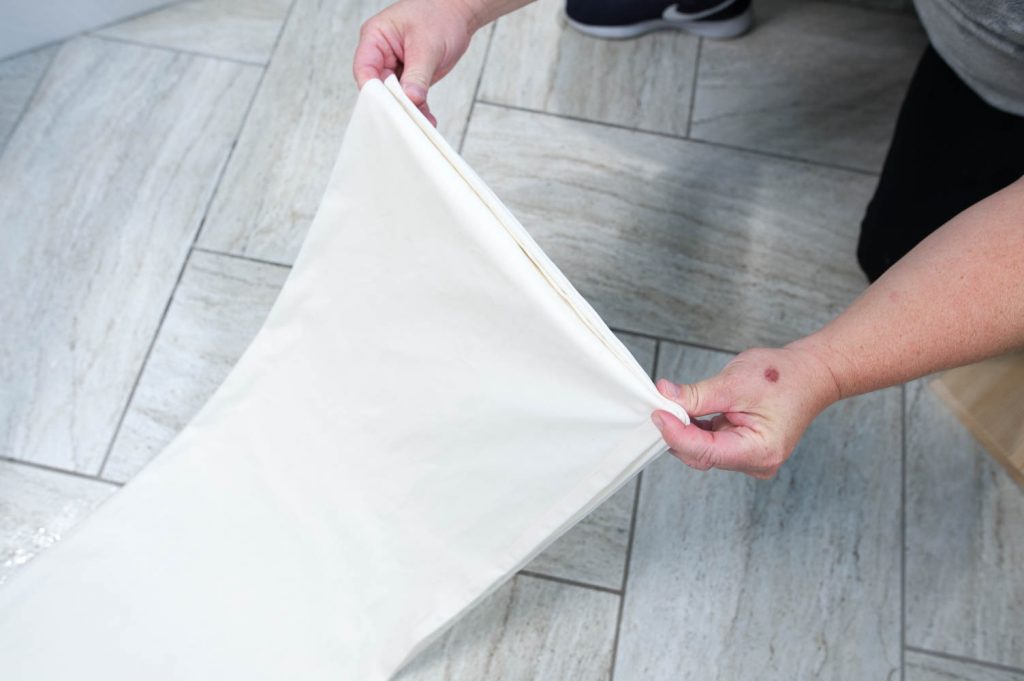
We folded the curtain back and forth, until the entire thing was folded into a triangle.
Step 4. Cut your wood slightly smaller than your fabric. You want it to be smaller because the part that is sticking out will be the part that your dye touches.
Step 5: As soon as you have the wooden pieces, secure your fabric with two pieces of wood on the top and the bottom of your fabric. Secure it tightly with elastic bands. We arranged our elastic bands to mimic each other so that the patterns would be the same on each curtain.
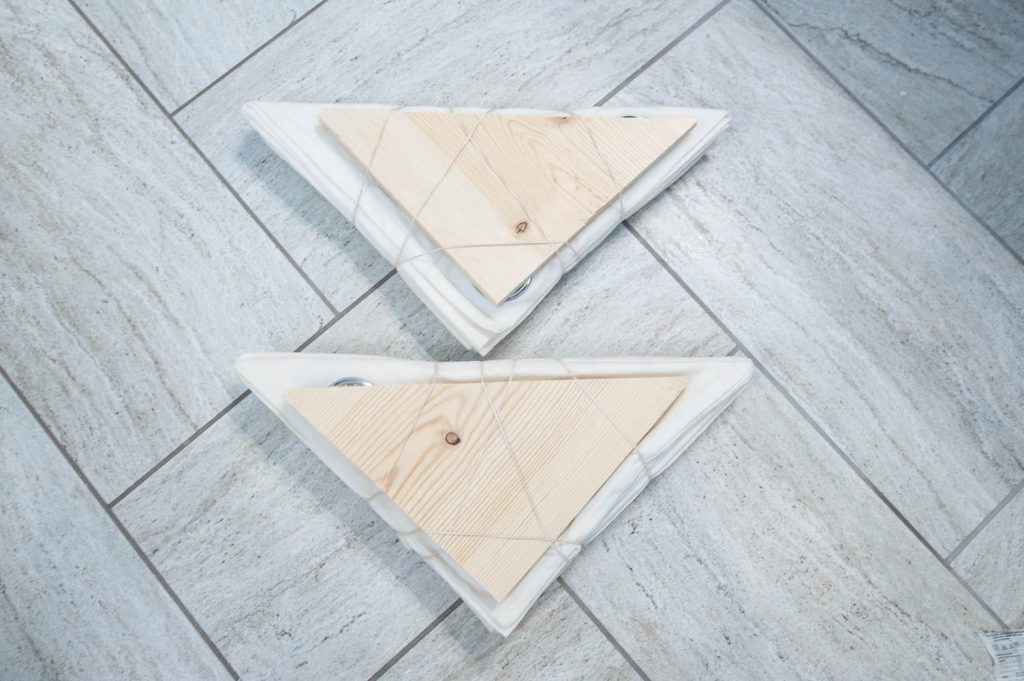
Make sure that your elastic bands are tight. You don’t want them to fall off during the dying process.
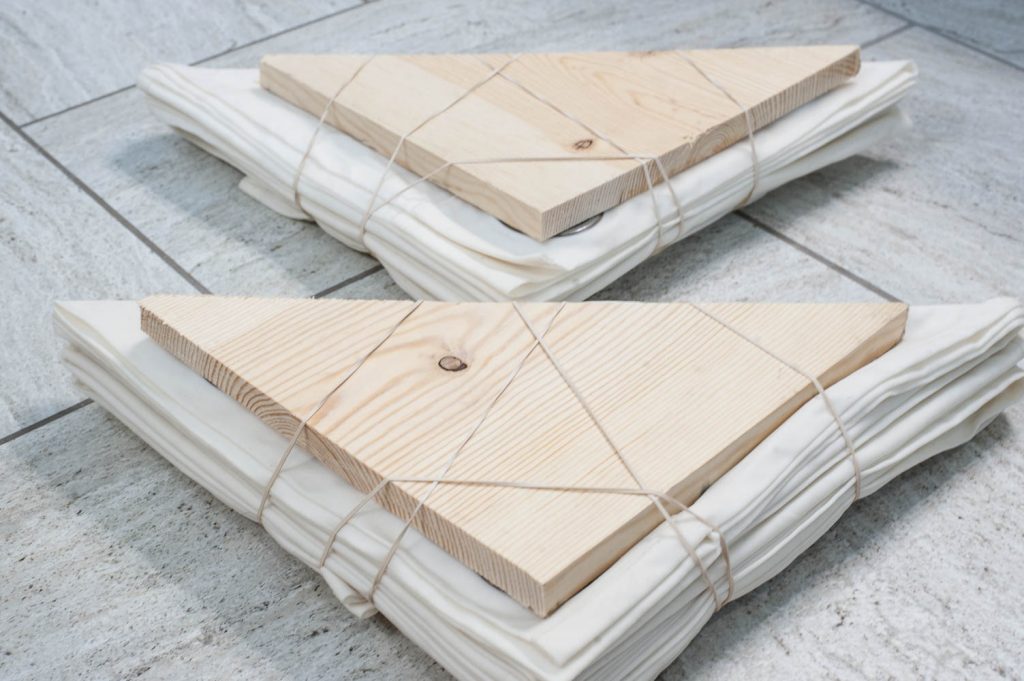
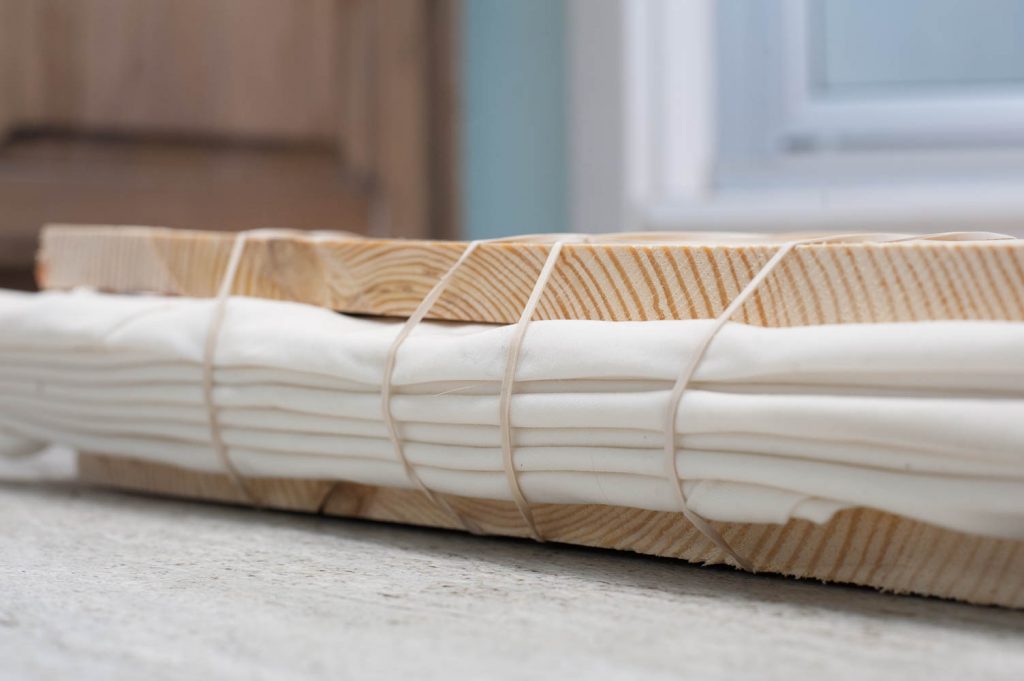 Step 6: Mix your dye to the color of your choice {follow the directions the package}. Stir it with a spoon or a dowel to make sure it’s mixed well. I chose petal pink, and I had read on Little Green Notebook’s Shibori tutorial, that by adding a tsp of pearl grey dye to any Rit color, it will muddy up the color slightly to make it look a little better. So I took her advice.
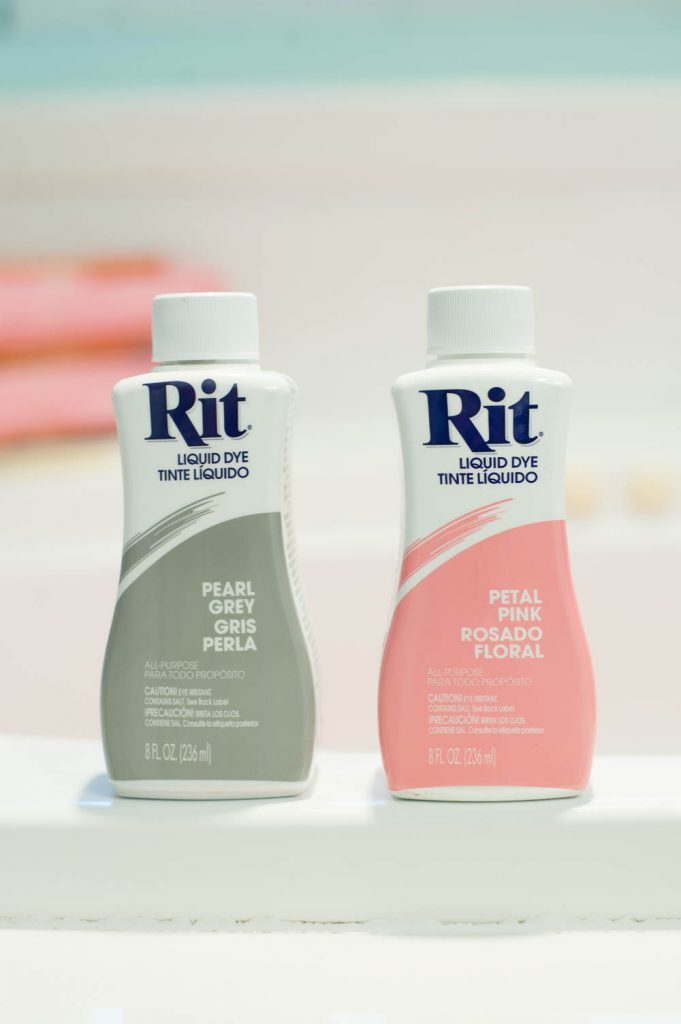
Important Tip: Make sure you shake up your dye beforehand. We didn’t do this during our testing phase, and the dye came out looking BROWN. It was insane. I had to completely start over because it looked so bad.
We weighed the fabric to make sure we knew how much dye to use, and mixed it up in the tub.
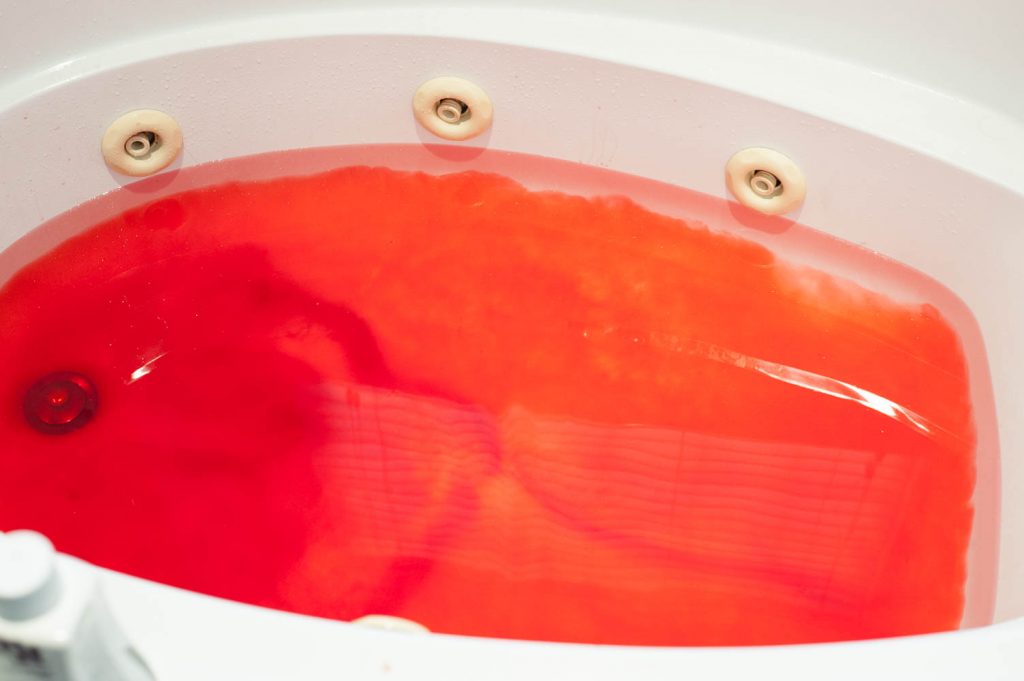
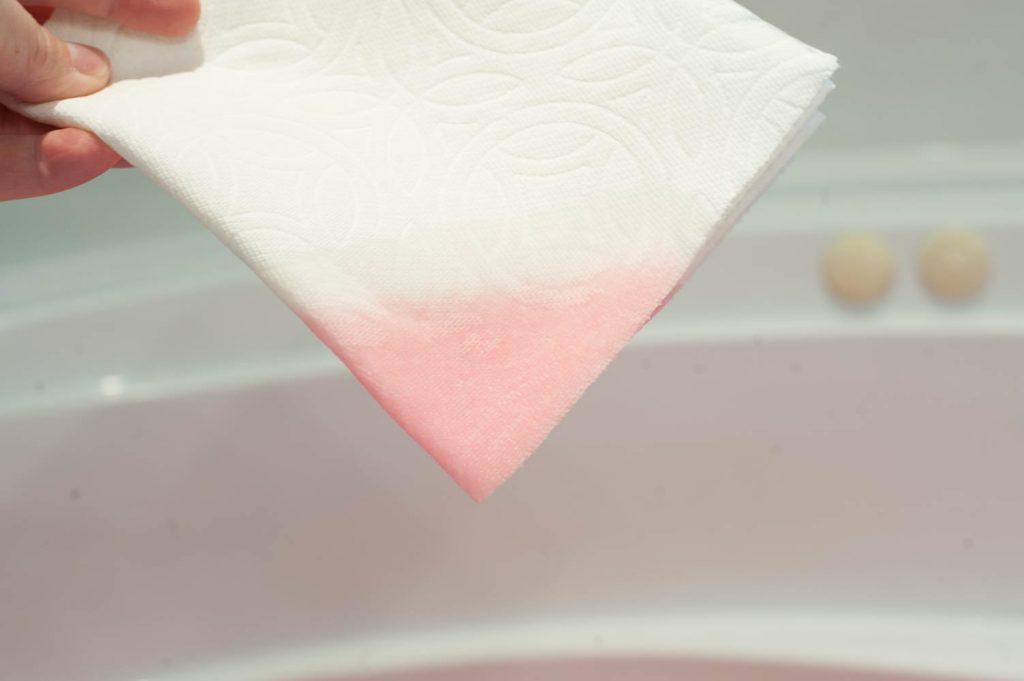
Step 7: Fold a piece of white paper towel and dip it into the dye to test the color. That will be a good indication if you have achieved that color you are going for. If not, add other colors until you have reached the color of your dreams.
Step 8: Place your folded fabrics into your dye. Leave your fabric in the dye between 2-5 minutes depending on how deep you want the color to be. Since our curtains were canvas, we kept our fabric submerged in the dye for about 5 minutes.
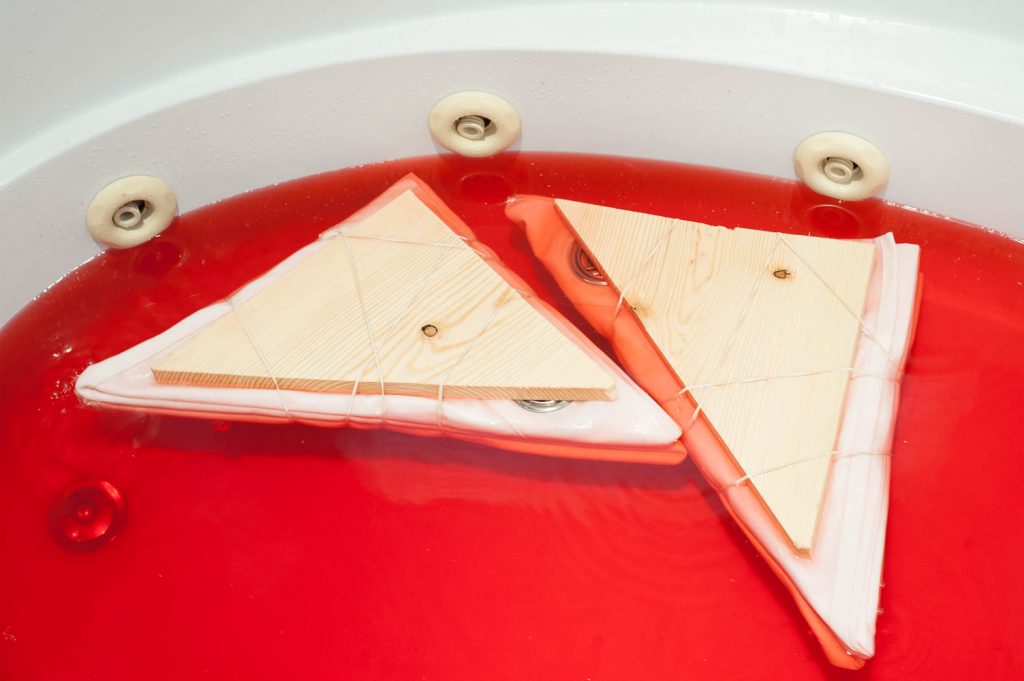
We held the fabric under the dye so that it would dye evenly. We even turned it over after two and half minutes.
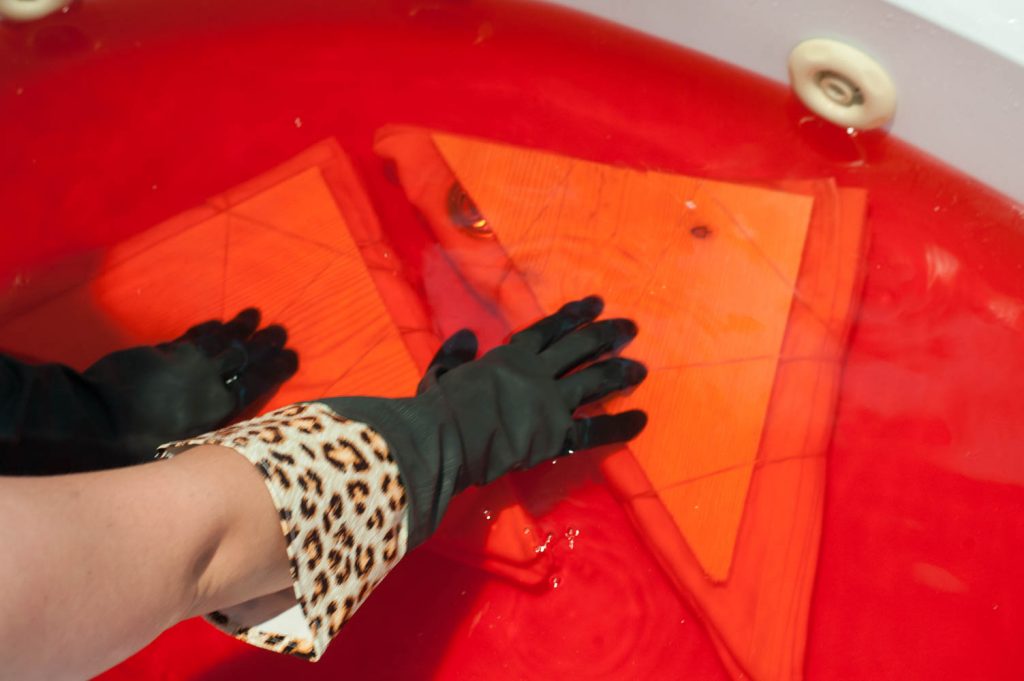
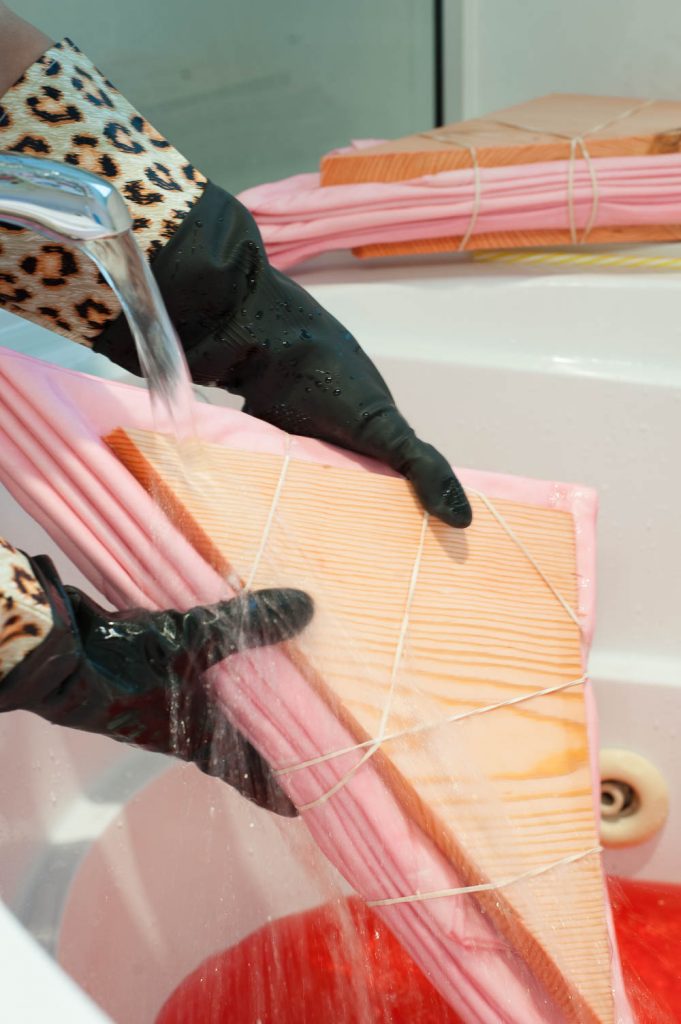
Step 9: Rinse your fabric thoroughly until the water is clear. Leave the wooden bundles on during this process.
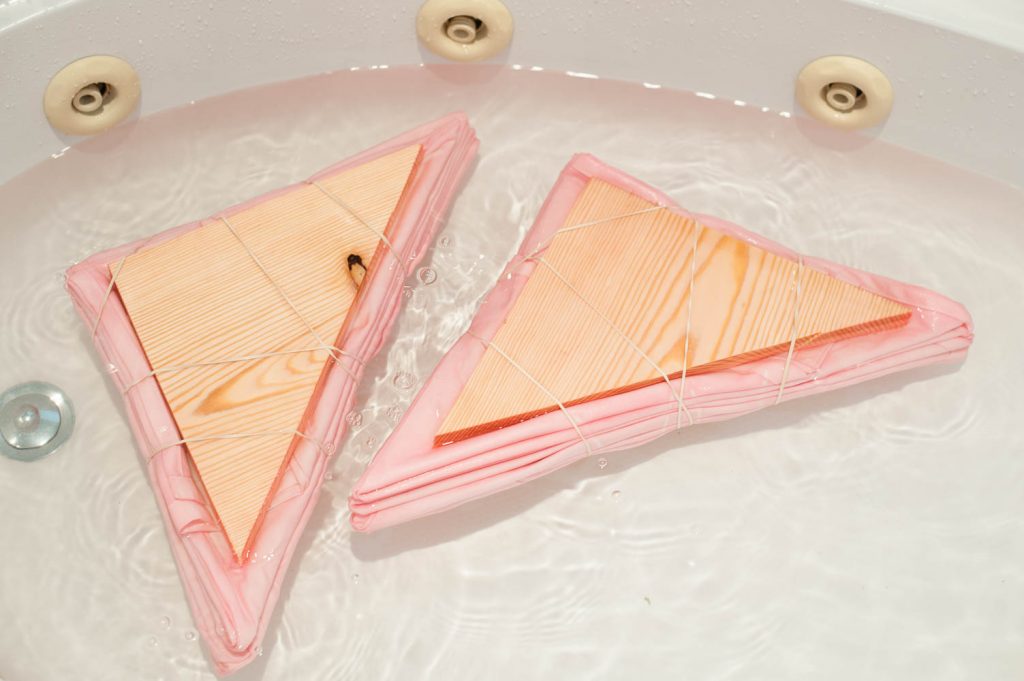
Step 10: After your fabric is fully rinsed. Fill your tub with clean water and treat it with Rit Color Stay. This will help prevent your color from fading. I can’t remember exactly how long we left the fabric in the color stay solution, but I do know that we followed the instructions on the package. 😉
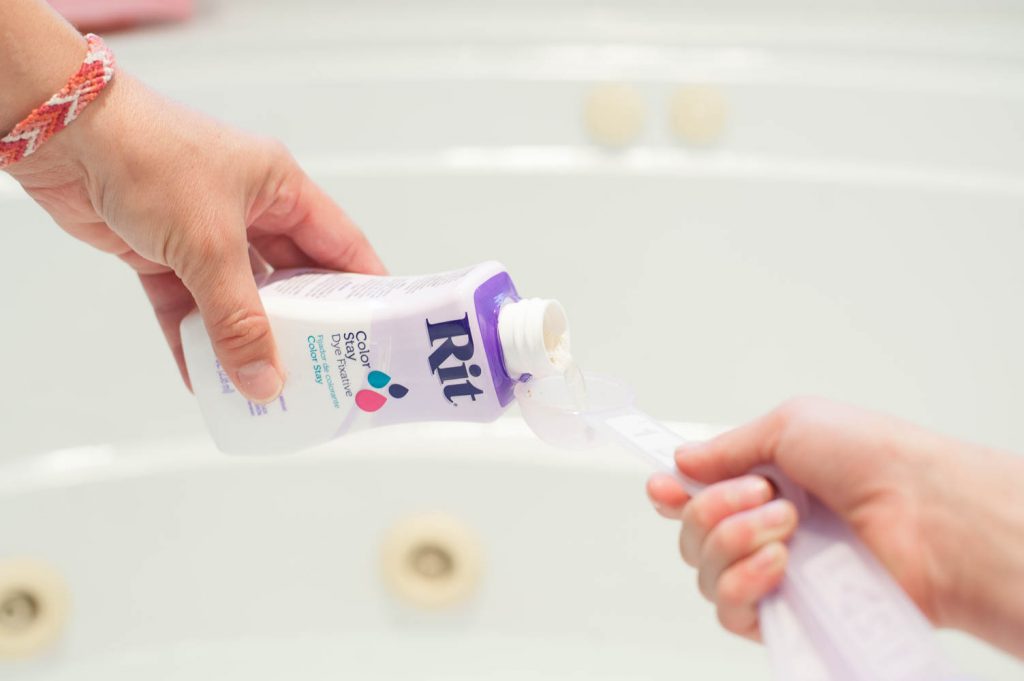
We even turned the bundles over half way through on this also.
Step 11: Remove your wood and elastics.
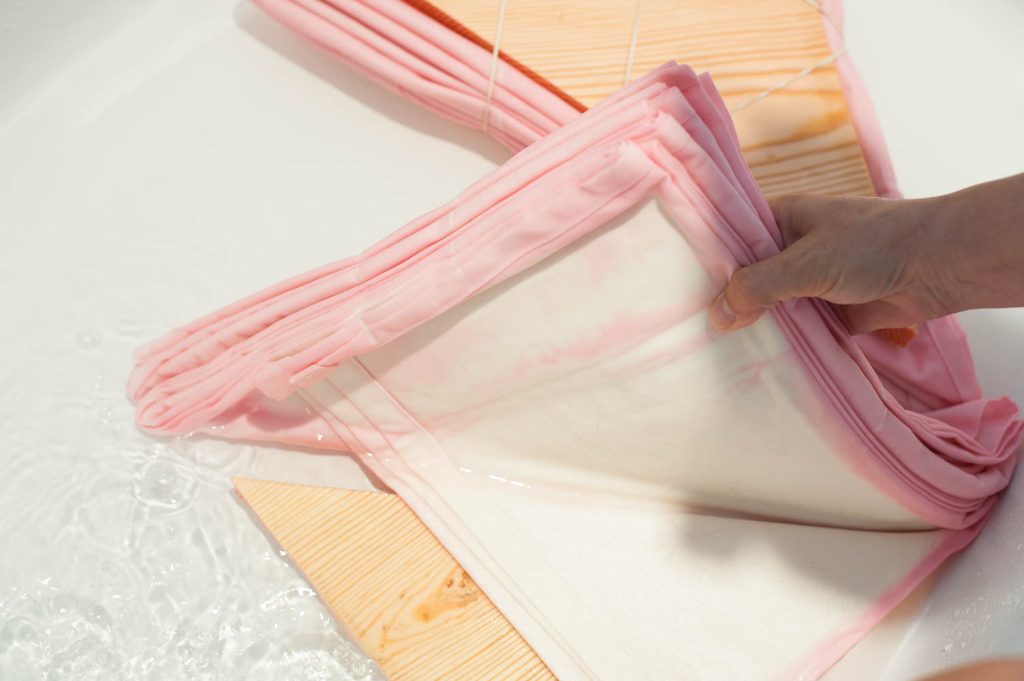
Step 11: Rinse one last time.
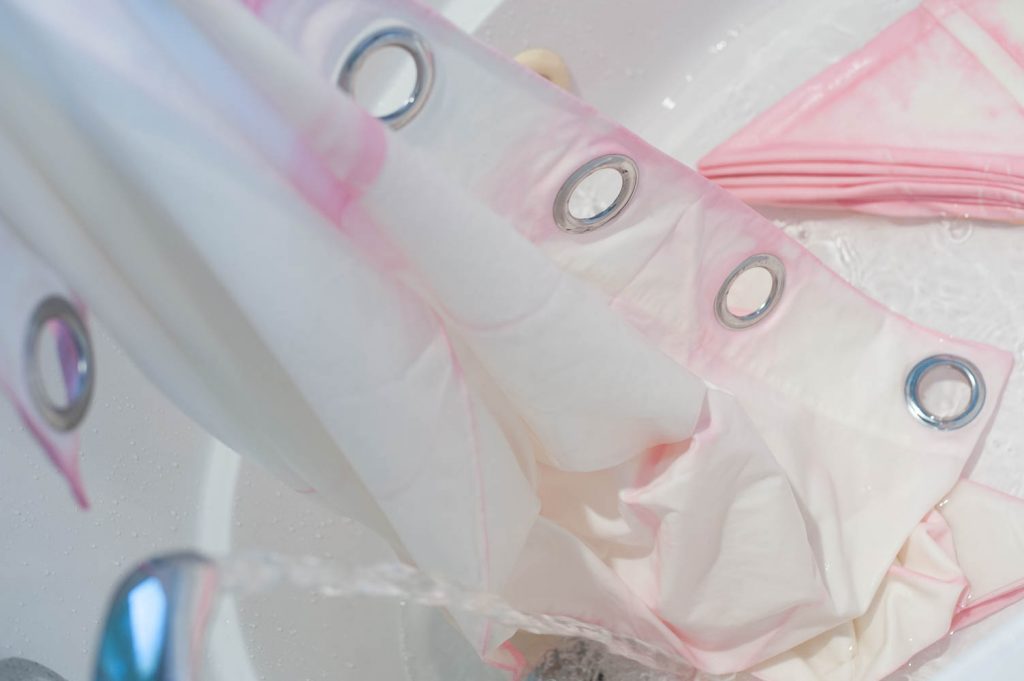
Step 12: Wash and dry your fabric with regular detergent.
Enjoy!
The pattern on our shower curtain ended up exactly how we wanted it. It’s a little subtle, but noticeable. If you want a deeper color, use a thinner fabric. That will help your dye to penetrate a little deeper. I didn’t want that because I didn’t want the shower curtain to be overwhelming. It turned out exactly how I wanted it to!
TIP: We used IKEA MERETE curtains for our project, but we originally thought we would do this technique on a regular white shower curtain. We didn’t end up using the shower curtain because it wasn’t made out of a natural fabric. So, if you have fabric that is synthetic, you can still dye it, but you need special Rit dye for synthetic fabrics.
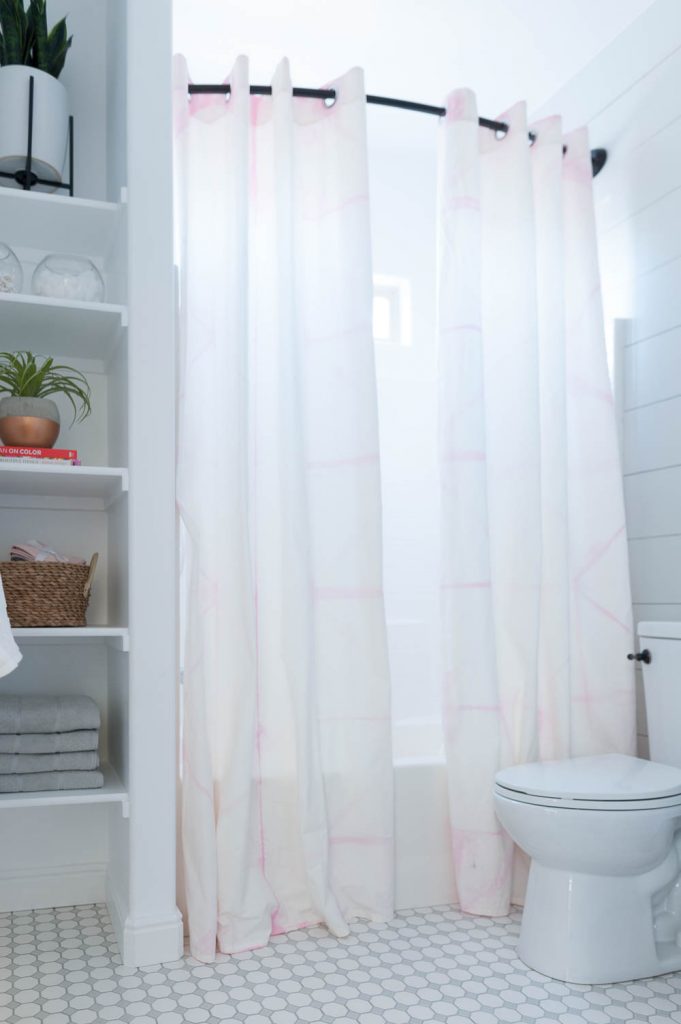

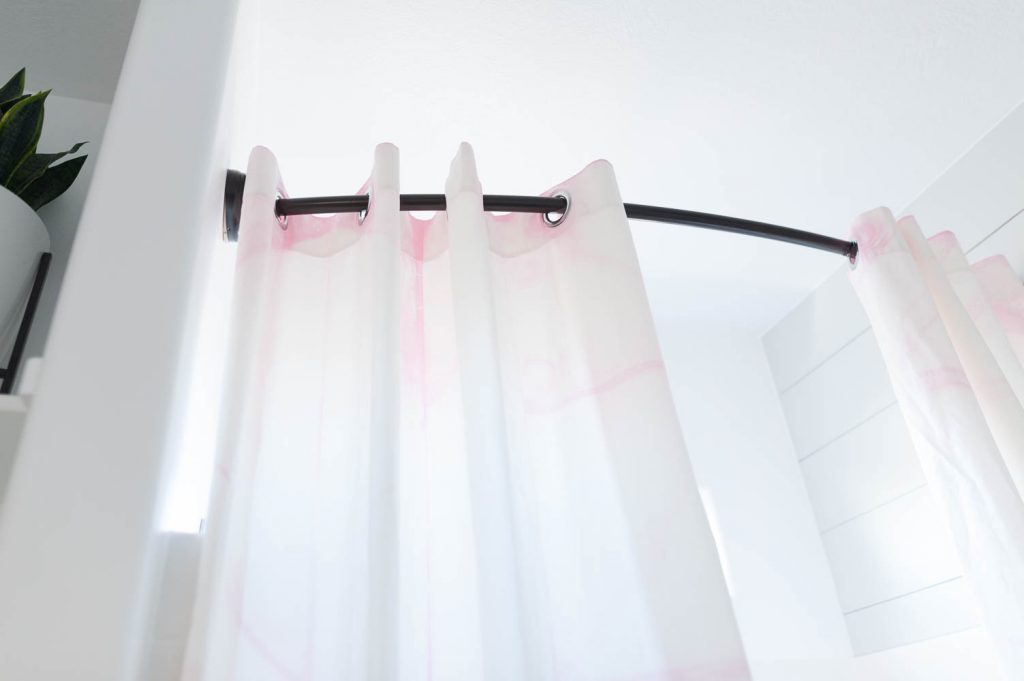
Again for our pink shower curtains, we used plain petal pink with a tsp of pearl grey, and then for the pillow cases, we used 2 parts petal pink, 1 part sunshine orange, and 1 tsp pearl grey.
If you do any Shibori dying yourself, please tag me, I want to see! I will admit, it’s pretty addicting. I kiiiiinda want to Shibori dye everything in sight!
xoxo,
Brooke
