This post and giveaway are sponsored by GE REVEAL®.
You guys. $100 is NOT a lot of money to use for a DIY project. I have $100 to Walmart and free reign. I love a good challenge!
My favorite projects are the ones that don’t cost a lot of money but make a huge impact on a room. So when the folks at GE Lighting asked me to participate in this challenge, I was ecstatic. They invited me to share four projects over the next four weeks that cost $100 or less. Some of the projects will blow your mind! I have a vision for each one, and I am so excited to share them with you. I am honored to be a part of this #100reveal challenge. I’m not going to lie… I have walked the aisles of Walmart a lot in the last week. I hope you like our first project! Check out our new and improved master bedroom ceiling.
And guess what!?! It didn’t even cost $100. It was less than $85.
Sidenote: I realize I’m a total weirdo on camera. I’ve embraced my weirdness. HA!
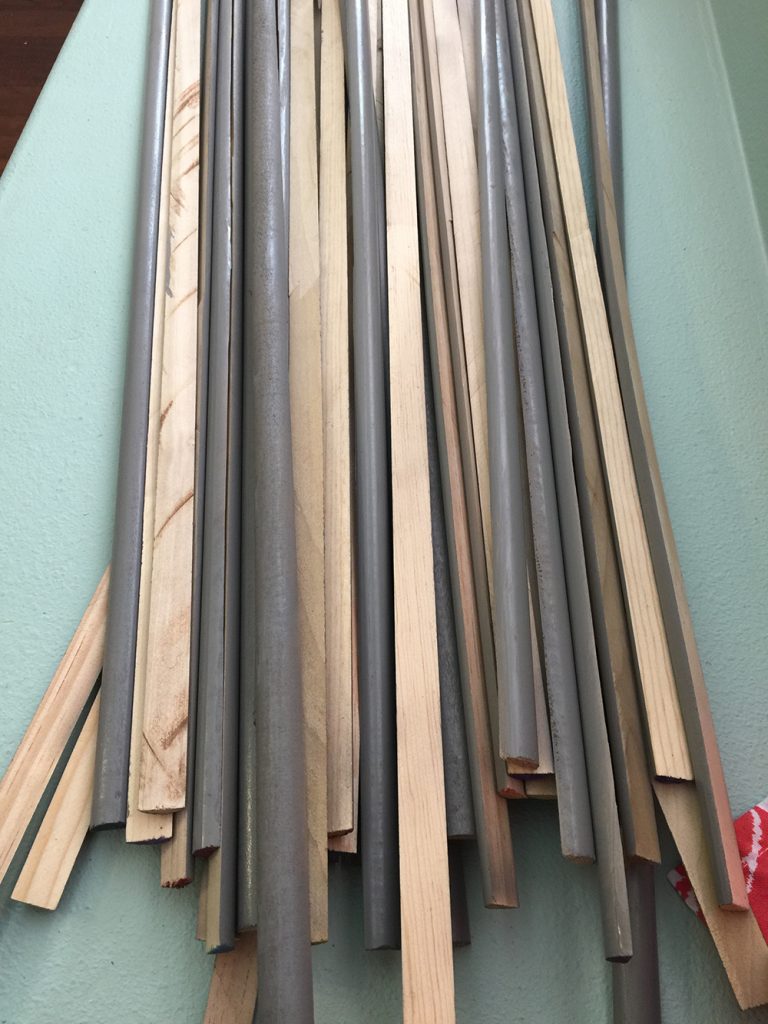
We used 34 7/8 inch wooden dowels and three cans of Krylon Dual Classic Gray spray paint for this project. {Side note, you can get dowels at Home Depot also, but they are almost half the price at Walmart}.
Bless my husband’s golden heart. He always helps me put my visions into fruition.
We ripped the dowels in half with our table saw and found out quickly that we needed to rip half the dowel, back it out of the saw and then rip the other half. Dowels love to swivel and we found that by doing it half way at a time, it prevented most of the swiveling.
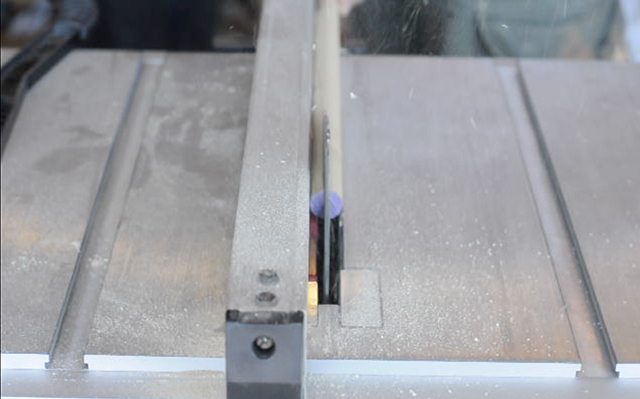
Then we spray painted the dowels with 2-3 coats of Krylon Dual classic gray spray paint and we were ready for installation.
I drew up the design plan in photoshop. I have to be honest here. I’ve wanted to put a design on my ceiling for ages, but we just haven’t gotten around to it. So, when I found the dowels at Walmart, I knew we could do something awesome.

We started with making four equal quadrants with the dowels. We used a brad nail gun to secure the dowels onto the ceiling and a miter saw to cut the dowels to size.
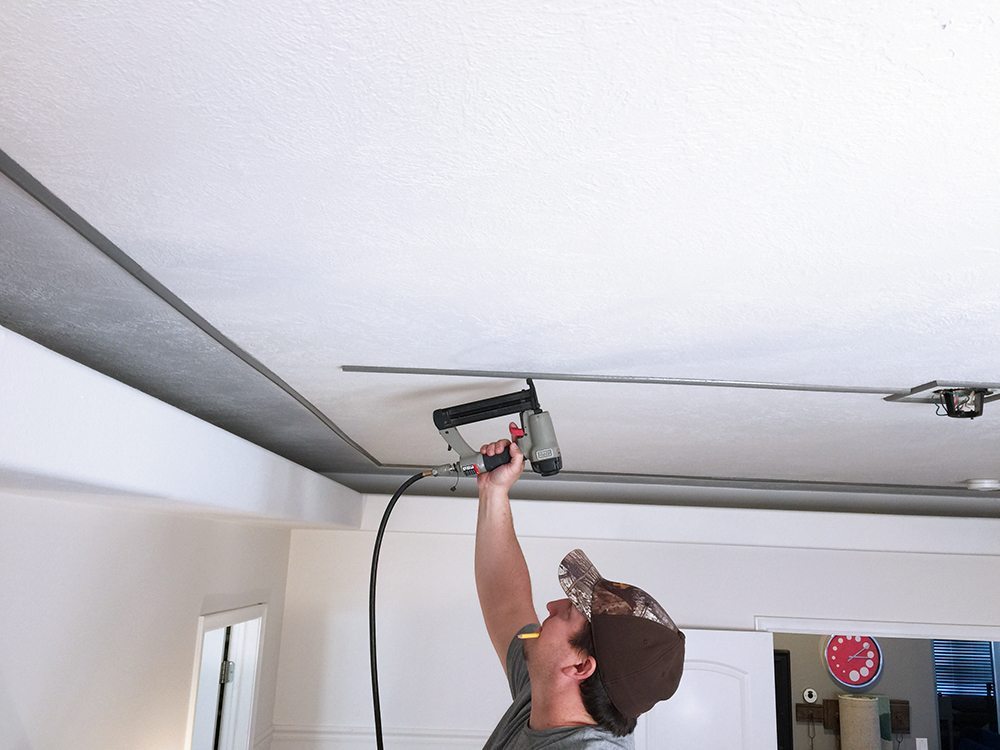
It was so fun, and I promise I helped even though I’m not in any of these pictures. 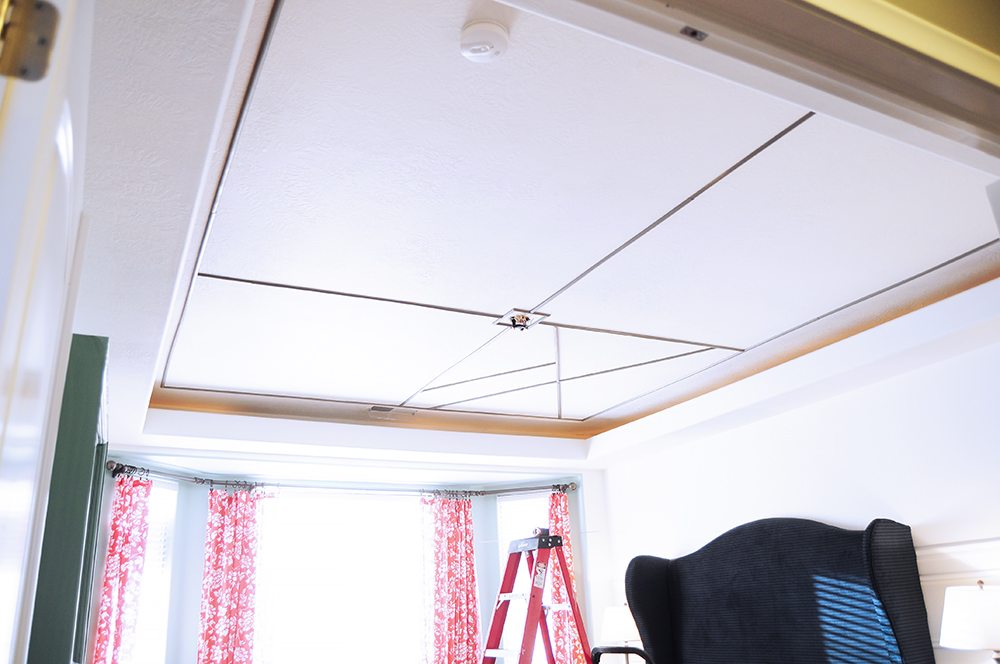
Then we snapped a chalk line to make our design lines. We learned that most of the angles inside the quadrants were 31.5° and a few were 60°. 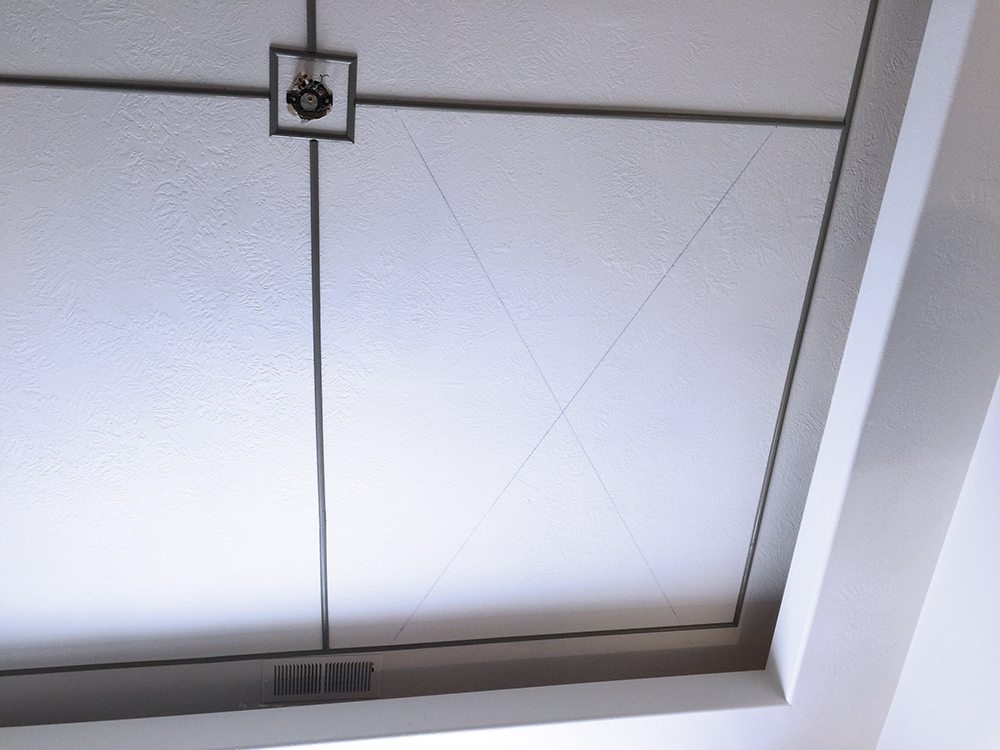
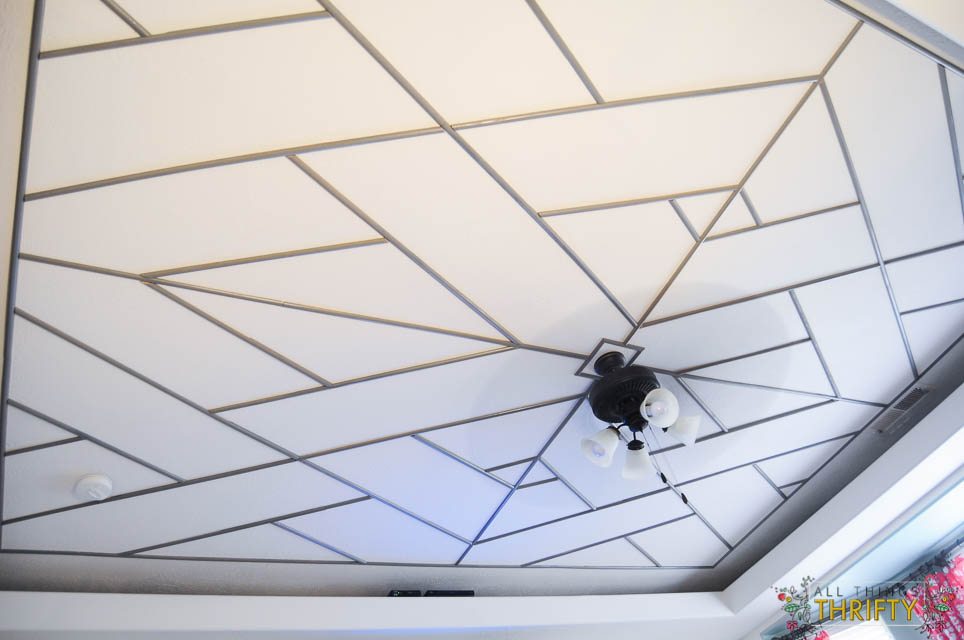
It took about 5 hours to install, and pictures don’t do it justice!
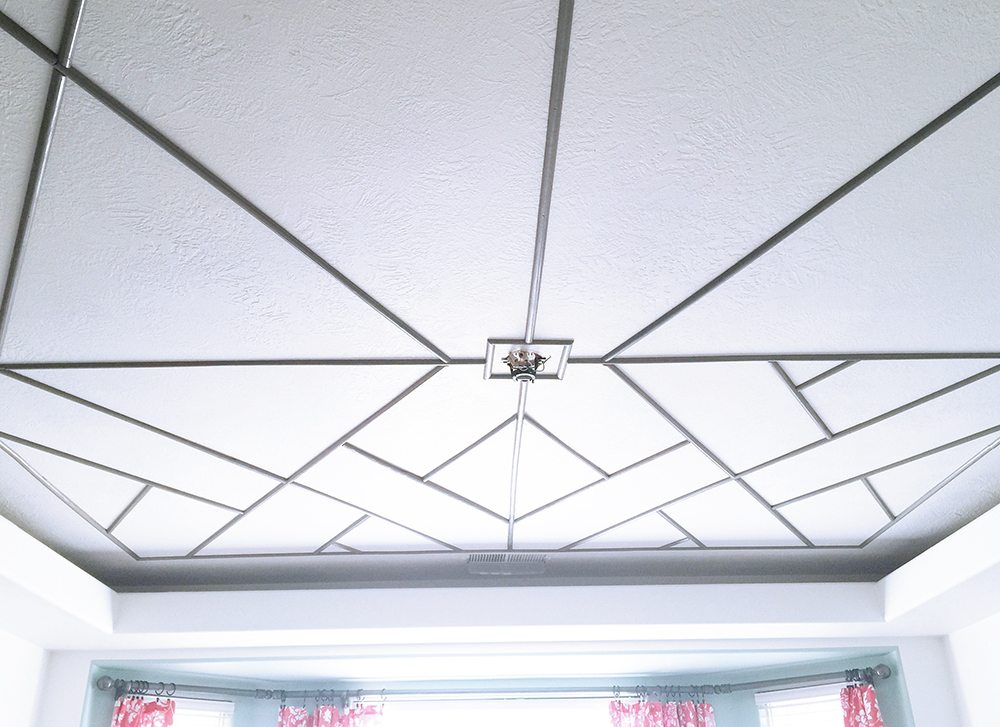
It turned out better than I imagined.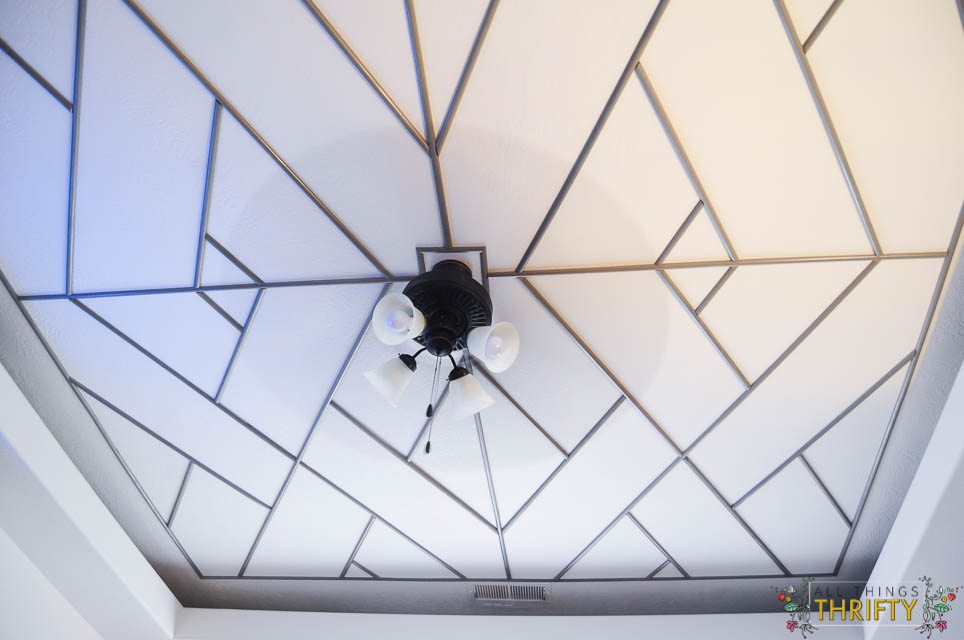
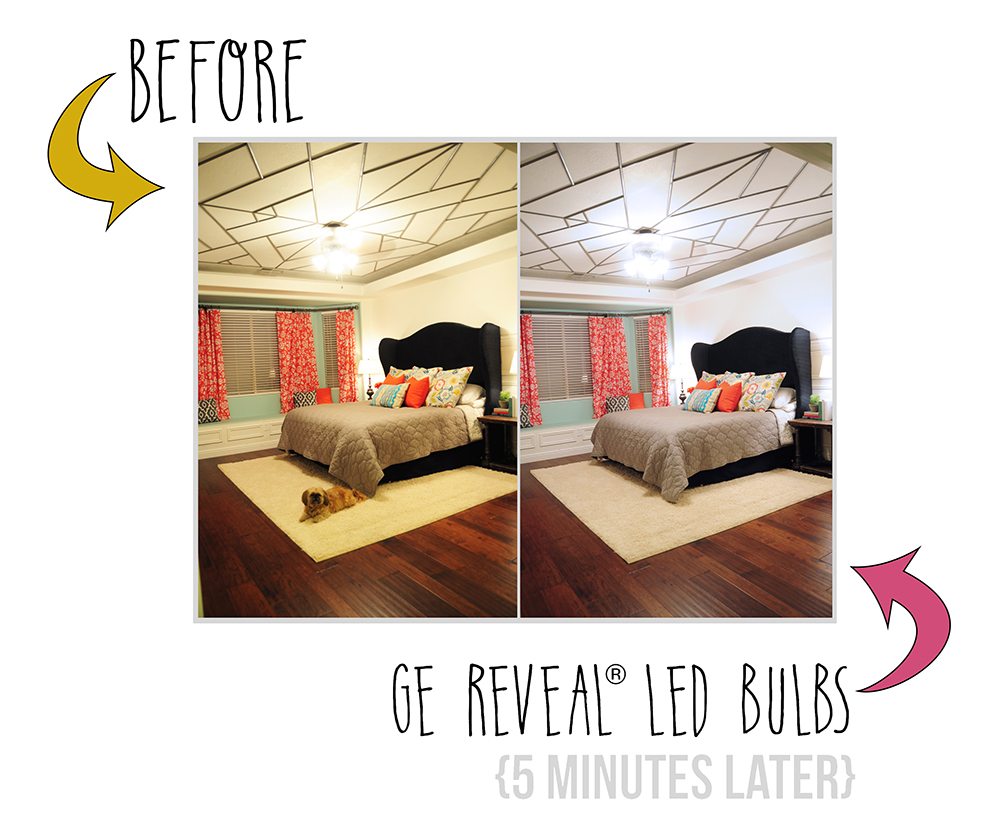
After we finished the ceiling, it was time to test out the GE reveal® light bulbs. I was blown away at the difference. I took the pictures when it was dark, and it was insane how much brighter the Reveal bulbs were. The pictures below were taken 5 minutes apart.
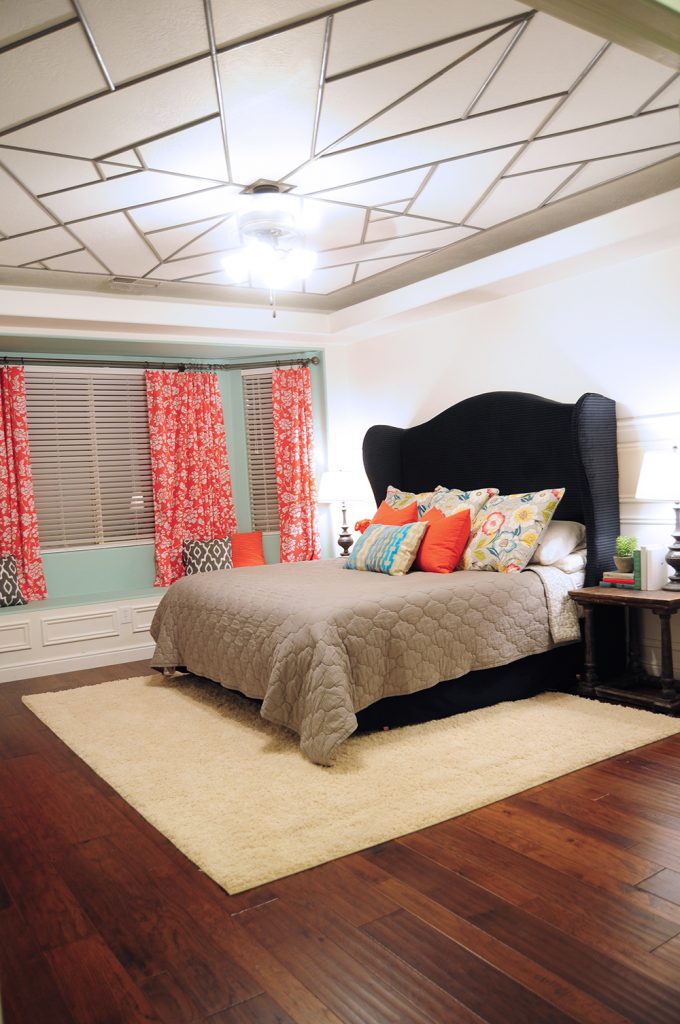
With the reveal® light bulbs, the colors were true and bright.
With the previous light bulbs, the colors were yellow and dingy.
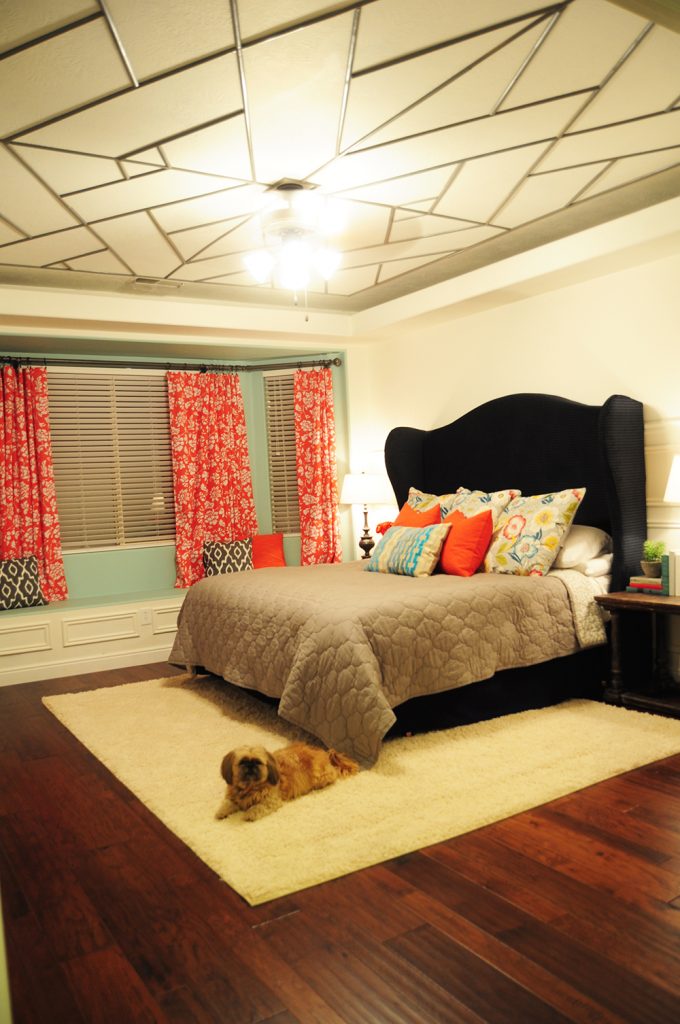
The lightbulbs make such a difference!
Want to try GE reveal® light bulbs yourself?

Enter to win one of ten $100 Walmart gift cards and GE reveal® bulbs packages! And guess what!?! I’ll be doing a giveaway just like this every. single. week during this program.
That’s $4,ooo in gift cards that we are giving away over the next four weeks!
To enter the giveaway for this week, just simply tell me in a comment below what you would do to liven up your space if you had $100 to Walmart and a GE reveal® bulb package.
Official rules for the giveaway can be found HERE.
Also, on Thursday 2/26 I will be doing a twitter chat with Mandi from Vintage Revivals and from Nicole from Making it Lovely at 8:30 ET. We will be chatting about all things DIY! Come join us!
Don’t forget to come back next week for the next challenge!
