*** Hi All Things Thrifty readers… this is Natalie, Brooke’s sister. Brooke wanted me to put a note in here to THANK ALL OF YOU for your well wishes. Baby Creed and Mommy are doing great. Brooke has been working SO hard on the nursery… hope you enjoy her first post!! IT’S DARLING!!!! But what did we all expect right???? 🙂 LOVE YOU BROOKE and BABY CREED!!! ****
Decorating Creed’s Nursery has been SOOO much fun! I think I’ve mentioned before that decorating kids’ rooms are my VERY favorite! 🙂
I’m going to show you a fun, SUPER-DUPER easy, and of course THRIFTY way to create some unique wall art for a nursery!
Items needed for this project:
2 Vintage Windows (I got mine for FREE from a friend, but thrift stores and garage sales are great places to find them)
Black felt (or whatever color you want)
An old-school overhead projector
1 Transparency (with design choice printed on it)
A piece of chalk to trace the image
Fabric Scissors
Glue Gun
Let’s get started! 🙂
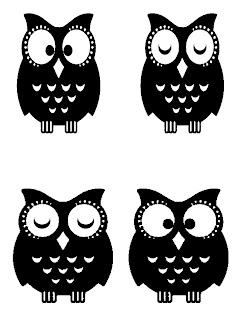
Step 1: Print your image onto your transparency.I had stretched the images in Photoshop because I wasn’t sure which ones would fit the best on the window glass area. Plus I couldn’t decide if I wanted my owls to be asleep or awake.
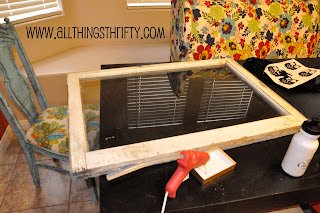
Here is a before picture of the window!
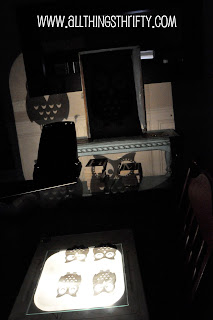
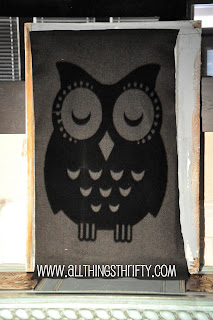
This is what it looked like with the image projected onto it.
Caution: Be careful not to bump the projector…let me re-phrase that. Make sure your kids are not around. Lol. My three year old kept bumping the projector during this project! It was a pain because every time she bumped it, the image would shift and I’d have to realign it.
Next, I laid the traced owl onto another piece of felt. I wanted to cut both the images out at the same time. This ensured that both images were EXACTLY the same. I used my good, sharp fabric scissors for this task.
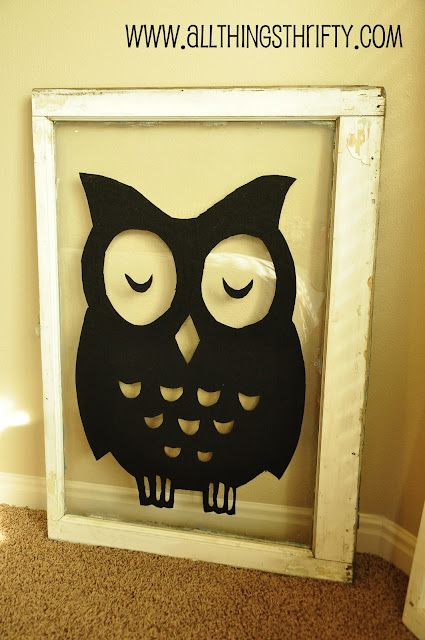
Next, I laid the owl onto the window as a preview, decided where I wanted it to be, and began hot gluing him in place. I chose hot glue because I wanted to be able to remove the image later if I wanted.
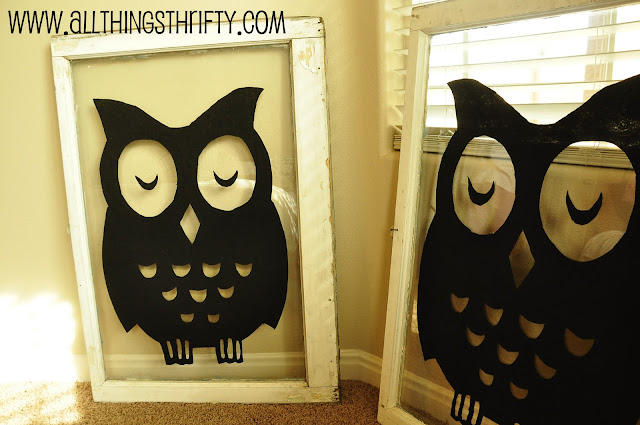
I was THRILLED with the end result.
I love the character of the windows too! Plus, I will be hanging these bad boys on a colored wall in the baby’s room, so I was digging the white frame on them.
I can’t wait to hang them up!
Total cost of this project? Ummm for me….nada…zilch….ZERO dollars and ZERO cents. I had all of this on hand from previous projects. 🙂




I LOVE this project! I saw another idea for a nursery with owls and I decided next baby I am definitely using owls to decorate the nursery. So cute!
This is a cheesy reply, but I couldn't resist…the owl project is absolutely owldorable!!
SO Adorable!
(And your baby is as well!)
🙂
Natalie, this was cute. I've really been into owls this winter, painting several on canvas for friends who have children. I might have to give this a try. Making two was a great idea, they'll look great together! Glad to hear Brooke and the baby are doing great. ~Lori
I have had a slight obsession with owls for about 3 years and I LOVE LOVE these! And even have a new baby coming and a nursery to decorate, how perfect! Thanks for the post.
i look forward to seeing how it looks up on a colored wall!
The owls are so cute! I should have known to look here for news of the new baby. He's a keeper! Fun stuff!
Very cute! I never know how you come up with these things!
This is so adorable! That owl is just the cutest!
Lauren
http://31diy.blogspot.com
Such cute little owls! Thanks for showing us how to do it!
This is just fabulous. Owls are one of my most fav thing in the world. Plus we just moved across the country and are in desperate need of some wall art. Thanks!
H MY GOODIES! I LOVE YOUR BLOG! I STALK IT!!! I have just been out off stalking for about6 months…so i am catching up and I LOVE EVERYTHING you do! You are so Inspiring!
THANKS
Loves from another crafty sister
-Ali-
http://www.gorgfabgoodies.blogspot.com
I love this! I am putting a nursery together and this gave me some awesome ideas. (I linked this to my blog!)
Wow – you are one busy gal! Love the window owl!! Can't wait to see what 2012 brings! Following along.
Kelly
WOw, this is just amazing! I love owls and I will definitely feature yuor blog and this post on my blog 🙂 Lovely!
introsfera.blogspot.com
Can you tell me where you found those owl images. It’s exactly what I’ve been looking for.
It was just a Google image I found! Hope this helps! xoxo
Love this idea. Can’t tell but did you hot glue the black side of owl to the back of the glass so the owl is under it. Cannot see the glue, I was thinling it would show?
It’s on the back of the felt, but on top of the glass. It would totally show if you did it the opposite way.