Happy early Thanksgiving to all you lovely ATT readers! We hope this is a time for family and friends gathering together, breaking bread and shootin’ the breeze! Over here in California, we have a good old fashioned Thanksgiving Day hike on the books. So excited to eat turkey and then get out into the great outdoors with some of my favorite people. This may seem weird, but with a wedding to cater just two days after turkey day, Sam and I are looking forward to a bit of relaxation for Thanksgiving. Weird, I know!
Since life never really slows down for us women, I decided to bust out a cute little bookshelf to share with all of you this week. I had a couple of drawers that I had been using off-and-on for organizational purposes. Since they were made out of solid wood, I got to thinking. Why not give them a more permanent residence in my home. I have been loving all the Anthropologie styled decor pins that I have been eying for a while now. So, I decided to try my hand at creating something with that vibe. So, here we go!
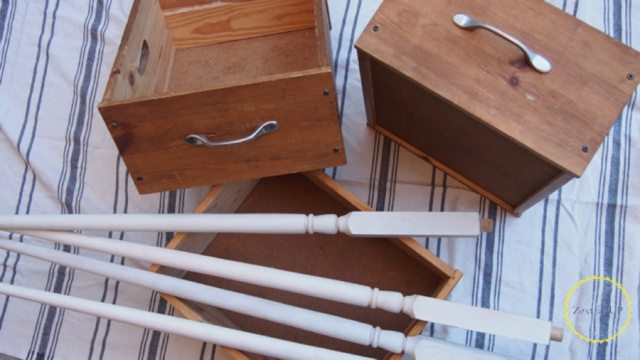
Fortunately, Sam and I almost never pass up a good set of spindle legs at our favorite store, Restore. If it is not familiar to you, Restore is an awesome building supply thrift store run by Habitat for Humanity. These babies were so cute, and we got them for about $5. Score!
Project Supplies:
- wood drawers
- spindles
- paint
- paint tape
- rollers
- drill
- screws
- saw
- Mod Podge
- wrapping paper
(Confession: I started the project with this super compact electric saw, but moved onto using my chopsaw, as the cut was way easier and cleaner…I needed the cut clean, as you will see later.)
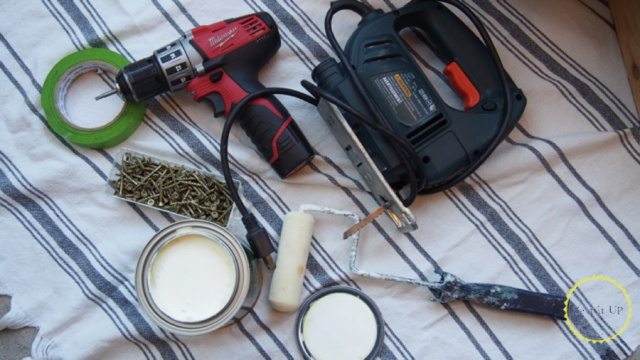
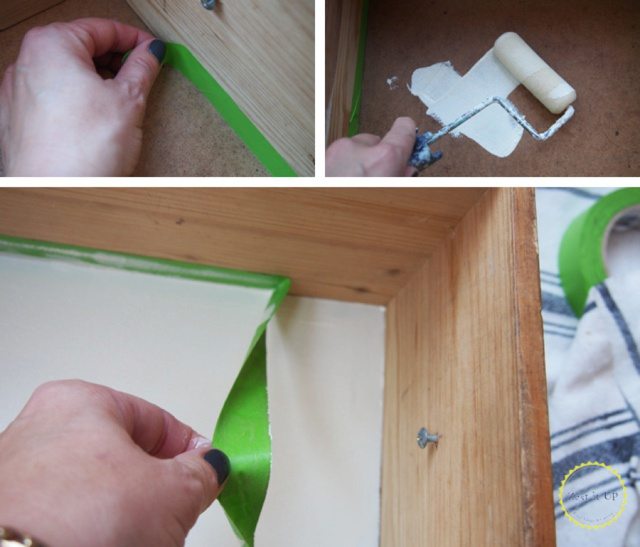
Step One: time to paint! I went for a super neutral cream paint in a satin finish for good durability.
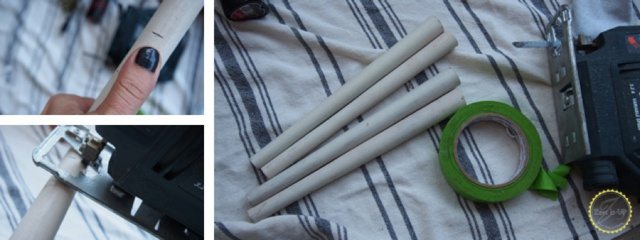
Step two: while the paint is drying, it is time to cut the spindles. I know, it may seem totally crazy to cut such cute spindles. Crazy! However, I have excellent reasons, lovelies. 1) I wanted a clean, almost modern look. 2) I did not want a bookshelf that was resting on four foot legs…too wobbly and ridiculously out of proportion. 3) By cutting the bottoms and using them for this project, I still have the cute spindle tops for another project. Yay! Two project from the same spindles. Happy day!
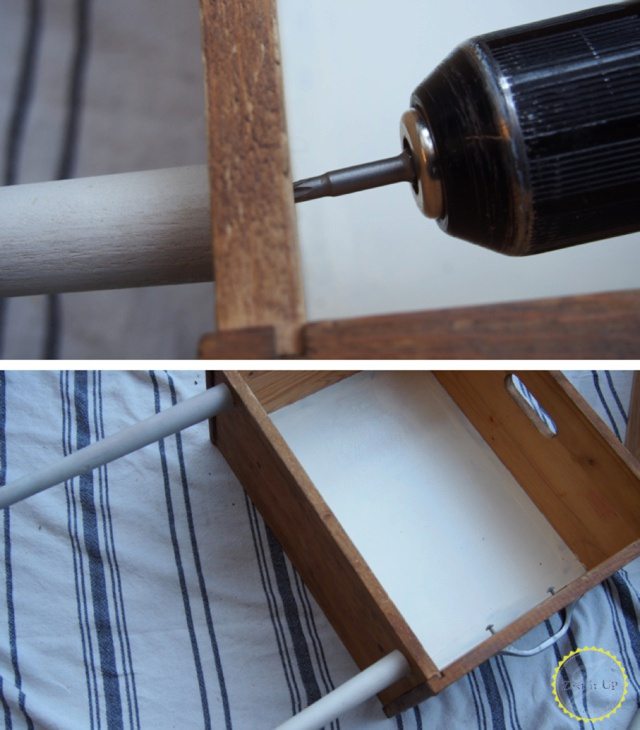
Step Three: Using a drill, I simply attached the legs to my bottom drawer. Two things to note here: this is obviously why I needed to use a chop saw, so that the ends would be even and smooth, and (very important) I attached the legs to the side of my drawer. This bookshelf is going to be created by stacking the drawers on their sides.
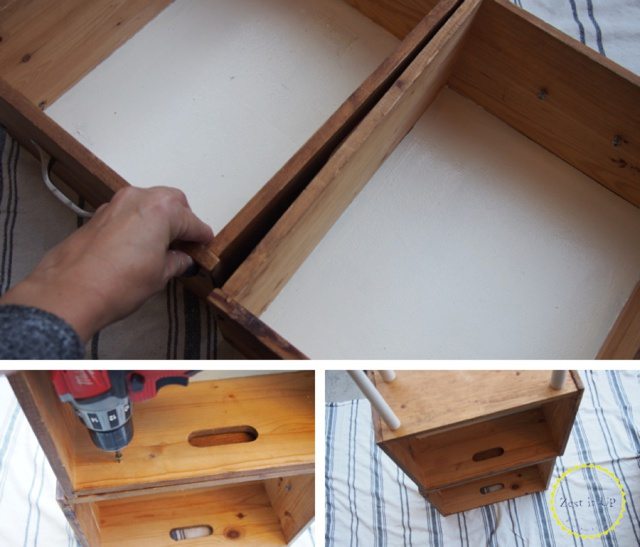
Step four: Time to stack! I used wood screws and a drill to attach the shelves from the bottom, so that I would not see the screws when the bookshelf was upright. Important thing to note here, drawers have little lips on the ends due to the way they are constructed. I used this element to make my piece even more charming by creating a super subtle staggering effect.
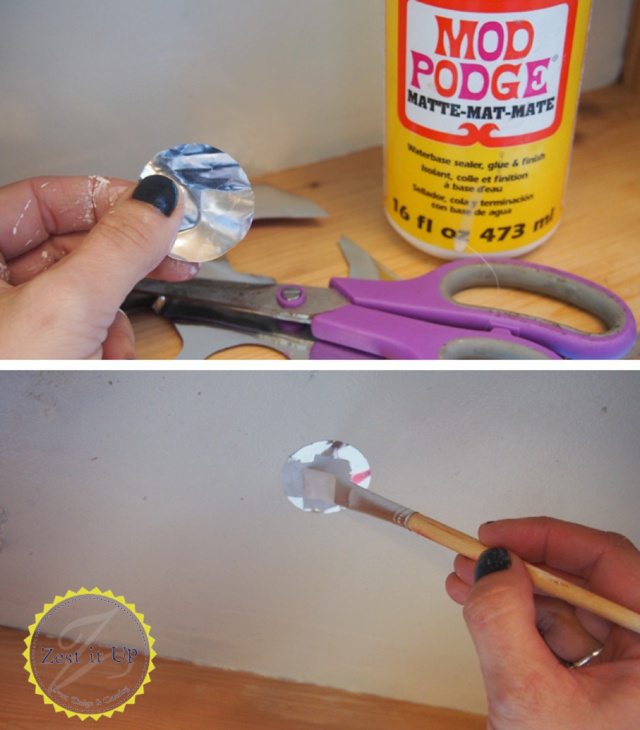
Step five: Things are looking great! Time to add some more detail with Mod Podge and some silvery foil wrapping paper that I had left over from last Christmas.
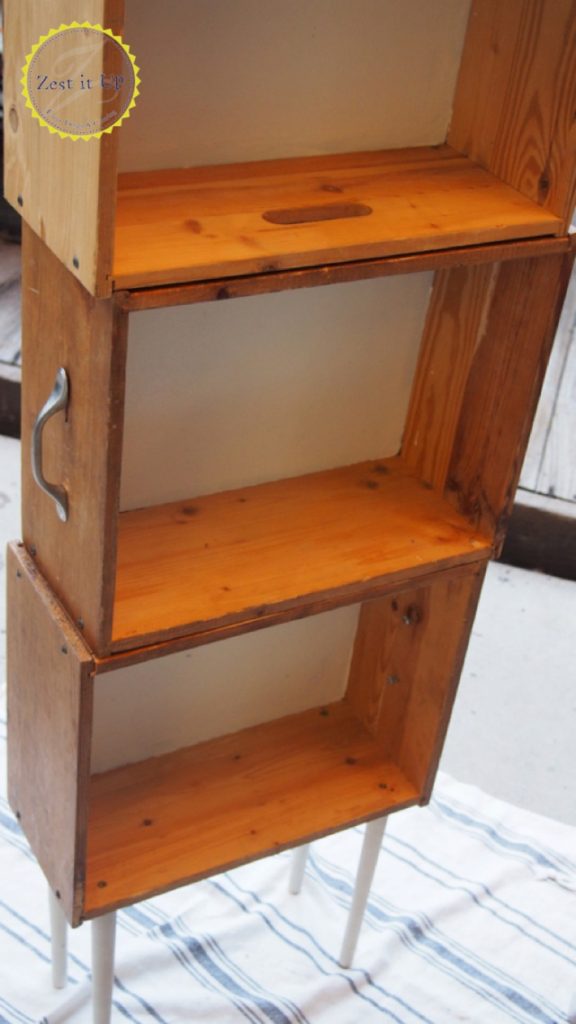
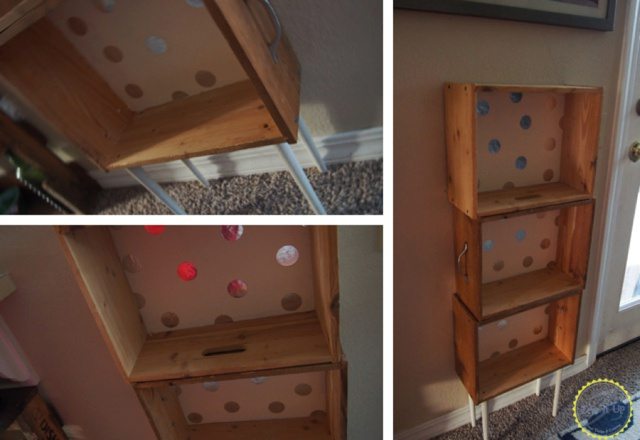
Step six: Sit back and enjoy the efforts! It turned out so cute!
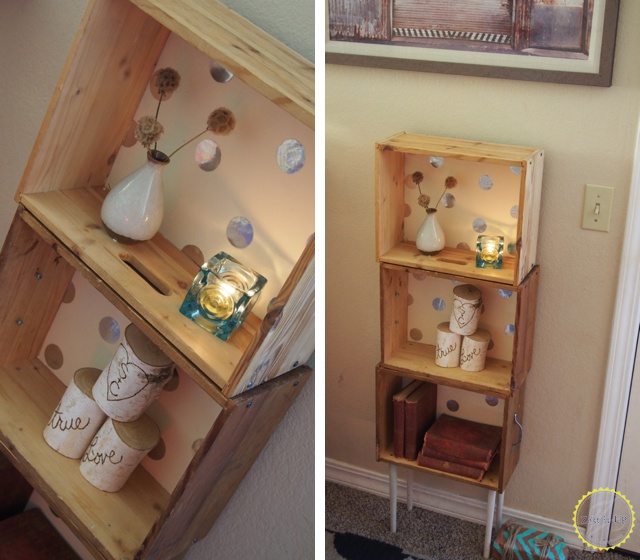
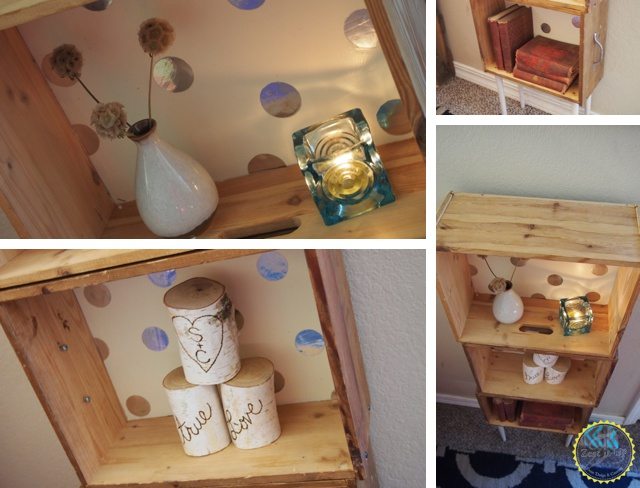
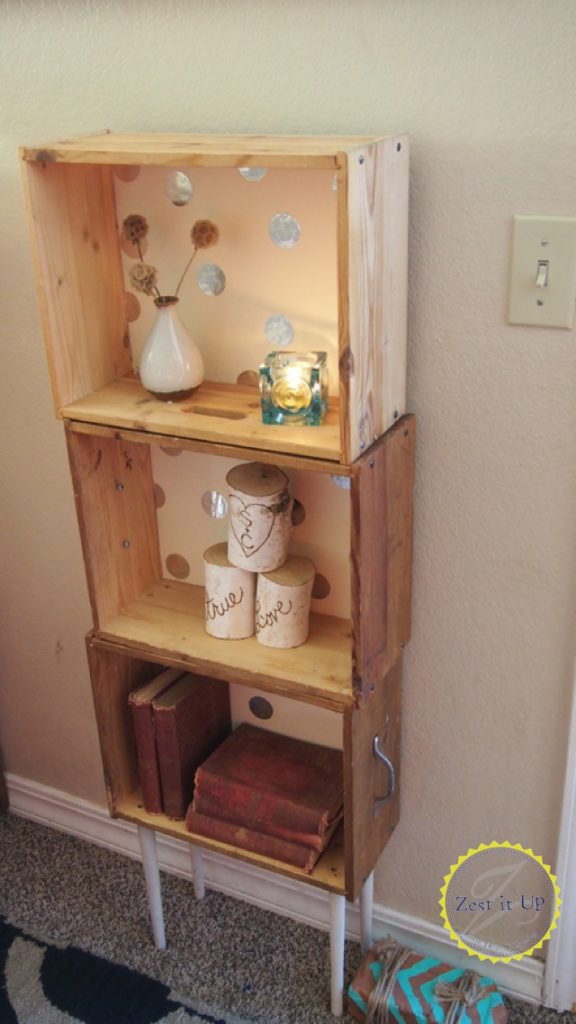
Hope you are inspired! Time to turn some trash to treasure!
xoxo
Chanda & Sam



What is the teal chevron object on the floor?
Hey Katie!! Good question- haha! That is our fun door stopper we zested, check out how we made it at the video tutorial below- would be a great easy gift idea!!
http://vimeo.com/98161365
Cute idea!
Thanks Mindy 🙂
That is soooo handy! Never thought about that. Great DIY project. I need some shelving so this might be the way to go!
http://alldaydaisychains.weebly.com
Thanks Kelsey!! We would love to see your project if you do it- so fun!!
Love this! You’ve given me a great idea for three free drawers I scored in the summer, which I’ve yet to do anything with. Time to dig ’em out and see if this would work. Thanks Brooke!
Love this idea!! Especially the staggering of the drawers! I wanted to know though; where did you secure the drawers to each other? Was it where the “lips/edges” of the drawers met the side of the other? I may create something similar!
Thanks, Amanda! No sweat! I simply assembled the piece upside down basically. That way, I could use plain old wood screws and a drill to screw the shelves together from “underneath”. So, when I flipped the attached shelves back over, I couldn’t see the screw heads at all because they were underneath the shelf. Does that make sense? I used four screws to join each, screwed right into the draw sides that rested on top of eachother. Check out the images above step 5.
Best of luck in your endeavors! I would LOVE to see your project when it is done!
-Chanda