Hey guys!! It’s me, Beth (from Sawdust and Embryos) once again! Did ya miss me? I’m guessing not, since you follow my blog too! hehe… right?
So listen… there’s an epic problem going on in our country, and it’s called: THE NAKED BACKSPLASH.
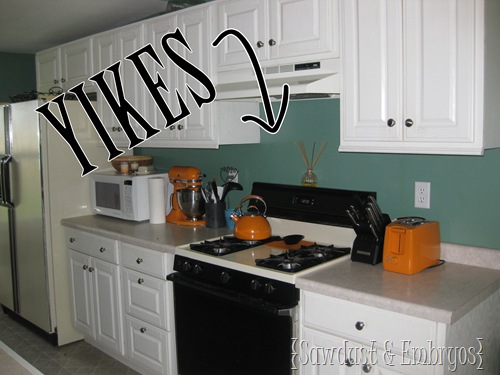
Is your backsplash in the buff like mine was? Just a plain painted wall?
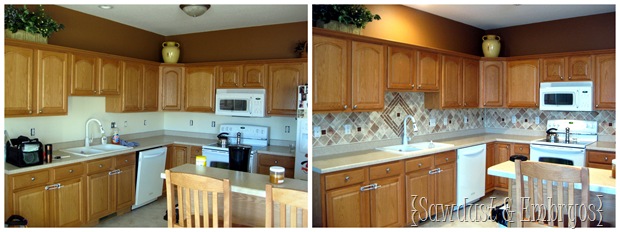
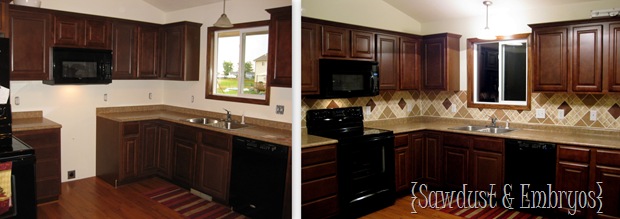
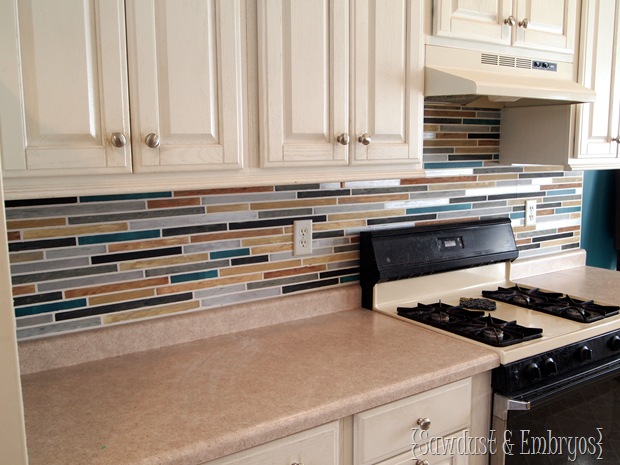
It might be because tile is too expensive. Or maybe you can’t find tile in the colors you want. Or maybe you never realized what a HUGE difference it could make in your kitchen. BAM… check this out.
And this:
And this:
All of it is PAINTED ‘tile’ my friends.
And the best part is that it costs about $10 bucks. For the whole.freakin.thing.
HAVE I CONVINCED YOU?
Good, let’s break it down…
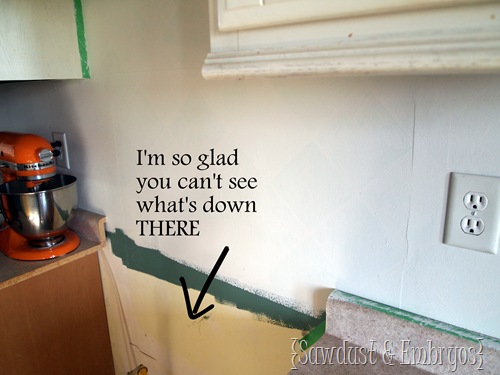
We began by painting our backsplash white, and letting that dry for several days to fully cure.
The next step is to decide which pattern you want! The possibilities are endless, but here are a few basic examples.
 |
 |
|
 |
 |
|
 |
 |
We chose the long/skinny staggered tiles for our backsplash. And the next step is to do a little measuring and figuring, and making the necessary markings on your backsplash in pencil.
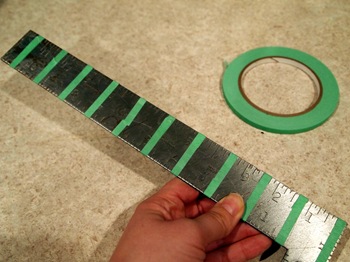 |
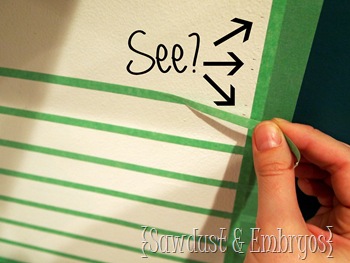 |
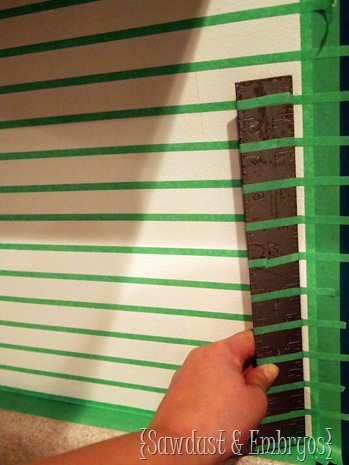
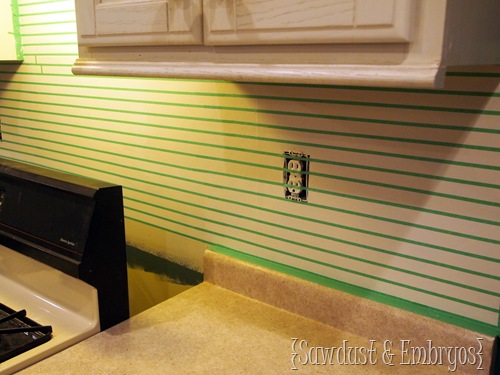
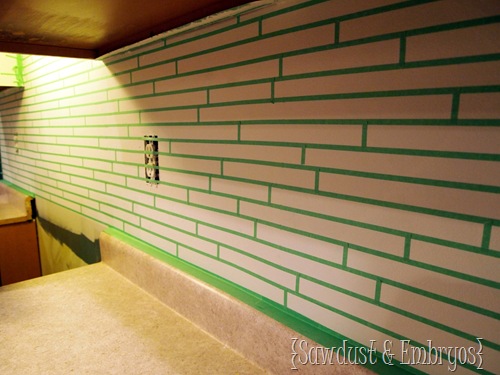
And begin taping away! We bought our 1/4 inch ‘grout’ tape here.
This is by far the most tedious part, but if you choose to have a good attitude about it and put on some fun music, it can actually be a bit therapeutic!
After we got all the horizontal lines taped out, I went back through and added (very randomly) little vertical lines… to make each ‘tile’ a different length than it’s neighbors.
FINALLY it’s time to paint! Happy dance… happy dance!!
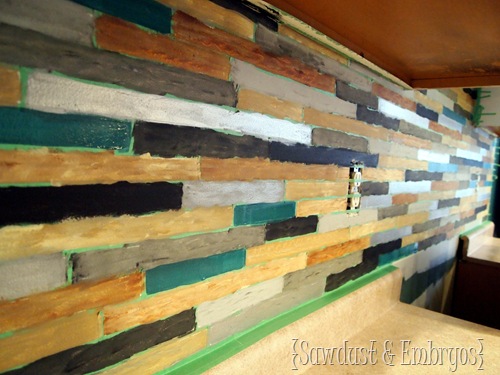
Decide on a color palate that complements your kitchen (we have tons of examples here in our S/E Backsplash Gallery). We just use simple little acrylic craft paints. For our backsplash, we chose neutral tan, cream grays… and threw in some metallic silver, black and our dark teal wall paint.
Then we just dabbed on different combinations of paint with a foam brush. We’re constantly being asked by our readers how we make it look like actual stone… but there is NO trick to it. You just kinda blotch the paint on until it looks the way you want. For the silver, black and dark teal… I just painted them on solid, because I wanted them to look more like ‘glass’ tiles than natural stone.
Start removing the tape as soon as you’re finished, because you don’t want the paint to dry completely… otherwise the tape will pull away some of your paint. NO BUENO!
Removing the tape is the best part… such instant gratification. Can you believe it? LOVE those shiny metallic silver tiles!
I love how custom, yet edgy it feels!
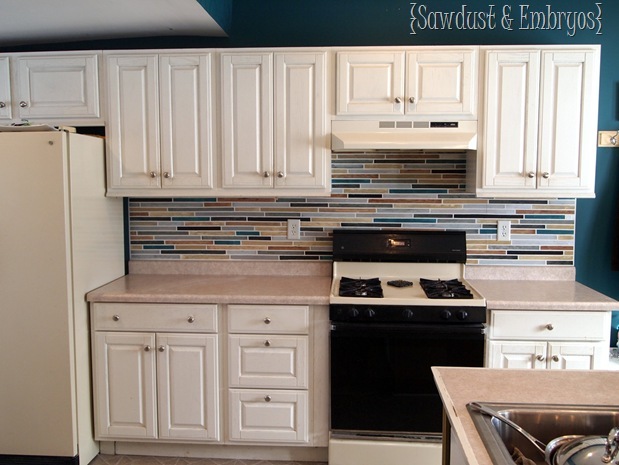
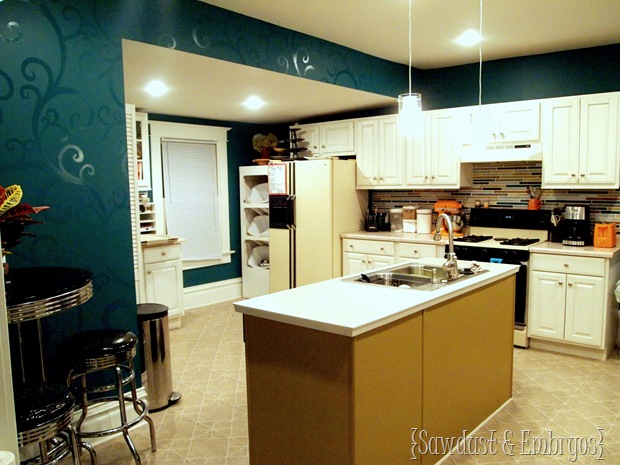
And here’s my whole kitchen! (Tutorial on how I did the glossy swirly accent wall HERE)
Another benefit of having a painted backsplash instead of tile, is that when you get bored of it? JUST PAINT OVER IT and start again! No messy demolition of your tile, or expensive installation! In fact… this is the second time we painted this backsplash. Here is what it looked like last time.
We do recommend rolling on some PolyAcrylic after your paint has dried (for maximum durability). Believe it or not, your backsplash will be easier to clean than if you had real tile (with all those grody/greasy grout lines). I think a high-five is in order.
We hope you’re super inspired, and have the confidence to give it a go for yourselves!


I love this! Thanks for the idea.
Wow, that looks great! I’ve painted my backsplash but just with chalkboard paint… I might try this when I want to change it up – thanks!
I LOVE this! It looks so good! I can’t believe how much it changes the look of the room.
Wow. Amazing.
Nuh-Uh! Jaw officially dropped. I am SO doing this!!
Wow! I didn’t even know this was possible!
I so want to do this in the house we’re renting, but I have orange peel walls. Any suggestions? My landlord has pretty much given us full approval on any improvements we’ve asked to make. So any suggestions would be appreciated :). Thanks so much for sharing your talents!!!
Fun examples. I had painted faux tile on my backsplash several years ago and it is currently covered with bead board wallpaper. Some of my friends had a cow when I covered it. They couldn’t believe I would do such a thing but it didn’t fit my kitchen style any more. Now I may just redo with new colors. Thanks for the inspiration!
Awesome! I did this once with square tiles in multi brights. It was wonderful. Yours is cooler with the long skinnies! Great job!
Okay! Seriously! This totally rocks! I love it! AWESOME WORK!!!
Jessica
myworldmadebyhand.blogspot.com
Beautiful! I’m going to try this in my own kitchen.
LindaLee at
CrossN’ My Stitches
HOLY.CRAP! Freaking fantastic. I can’t believe you did this, such a huge job of taping, but I want to copy you now!!! Awesome, awesome job. I’m so impressed.
ok I’ll leave quietly now…
This is great! I’m worried it’s not as easy as it looks but I would love to try this in our kitchen.
LOVE!!!!!!! really a great idea!
Excellent idea!!! Pity that I have granite in my backsplash!
Wows its so beautiful…..Thanks for giving me great idea.
Lifetyme Exteriors
I impressed it is really awesome! I want to try in my next project…Thanks for sharing
AWESOME! I am curious, every time I use painters tape, the paint still leaks through and doesn’t have crisp lines like yours. What’s your trick for making sure the paint doesn’t sneak under the tape?
Julie, some backsplashes have more paint seepage than others. We’ve found that having the base color be a matte finish helps keep paint from seeping under the tape as much. But it really depends on the amount of texture on the wall. One thing that you could do is after taping up your grid, paint over it all with a roller and the original color that was already there. That way any seepage that happens is the same exact color and will be invisible! And it will seal the tape edges so when you paint your ’tiles’ it will be a perfect line. We’ve never gone to this much trouble with backsplashes, but if the crispness of the line is important to you, it might be worth it. Good luck!
hi,
I’m about to do this really neet back-splash today in my own kitchen. My wall is all tapped up and I’m going to buy my paint as soon as I finish my morning coffee.
What I’m wondering is did you (because you don’t mention it) or would it be a good idea to put a lacquer / varnish type over the back-splash once it’s completed to make it easier to wash, it is after all above the kitchen sink. Seems to me it would make it easier to wash.
I was thinking of doing this, would you have a suggestion of what product I could use?
thanks for your help
Joanne
At the very end of the post, we do mention that you should add a coat of Poly-acrylic. In the past, I have used Minwax water-based. Good luck!!
I love this!!! I just moved into a new house, painted the kitchen and now the current backsplash is looking super drab. It’s an old school “vinyl” board from the 70’s…and this meets my budget needs! Question about the project: do you recommend a specific kind of paint like a latex wall paint? Or could it be any type of paint? Thanks!
This is amazing!! I’ve been wanting a backsplash but have not wanted to spend the extra money; so, this is exactly what I was looking for. Sometimes my projects end up looking a little like a kindergartener did them; so, could you suggest some colors for me? My upper cabinets are white. My lower cabinets are dark chocolate, and my wall color is a really light grey. Any suggestions? The backsplash I had originally wanted was neutral tans with some light color stones. Any help would be great! Thanks!
I can’t believe I never thought of this before. I love tape and paint and stenciling. This is so “me” and I can’t wait to find a place to apply it! Thank you!
love it great job starting ASAP you rock!!!!
FYI This tape for grout lines can be found at Auto paint stores 🙂 If anyone has a local store near them. My store has it for $3.84 a roll!!!!! BONUS no shipping 🙂
THAT is freaking fabulous!!! I found this post because I’m actually looking for instructions on how to paint tile… but what a treat to find this one. Great job!!!
Amazing! I feel so inspired instead of discouraged. I was pricing some of the glass tiles and they are really expensive. I’m having fun deciding what colors to use. Thanks!