This pretty little darling, was only $25 at my local Habitat for Humanity Restore location. She’s a sewing desk, but that didn’t stop me from wanting her! 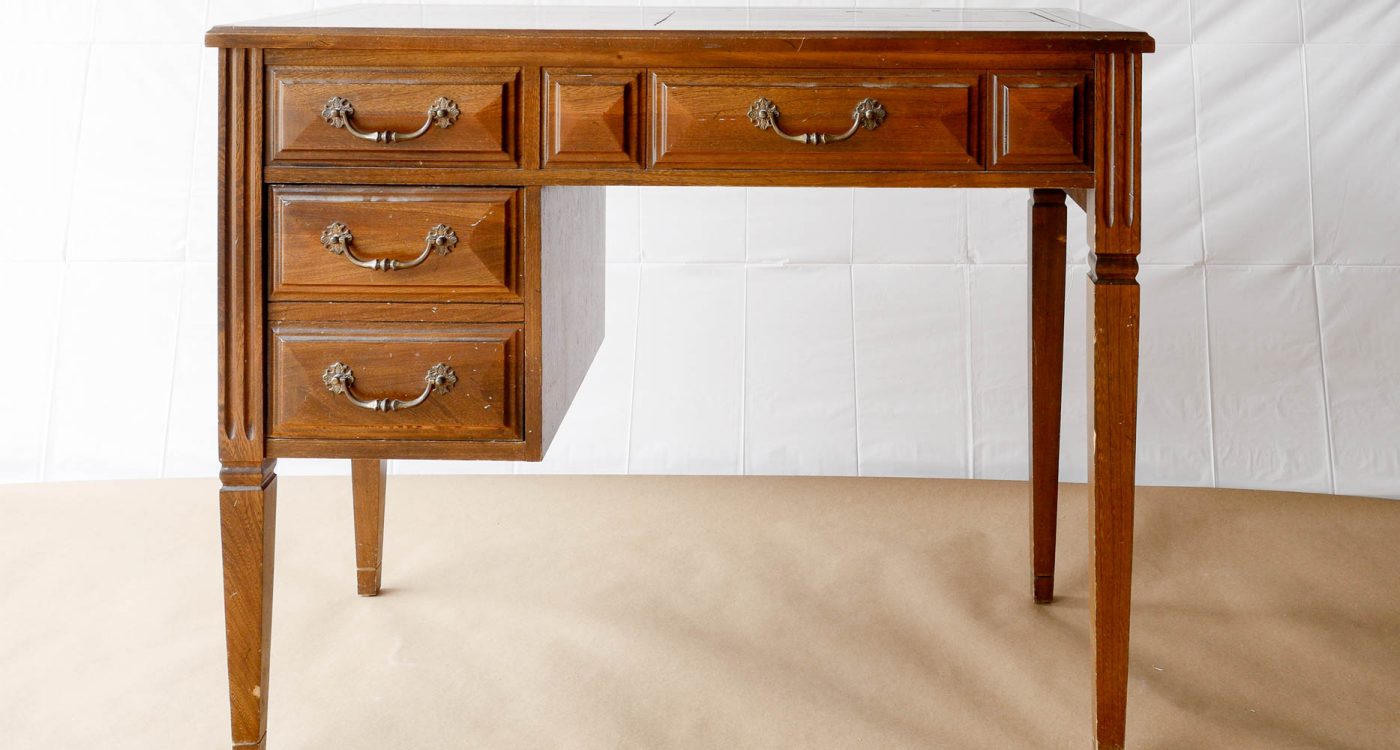
I loved the size and shape of this cute little desk, and I had the perfect spot in my guest room for her!
I used the same steps that I always do when painting furniture with spray paint, and if you have any questions about painting with spray paint, check out my post called “everything I know about spray paint.”
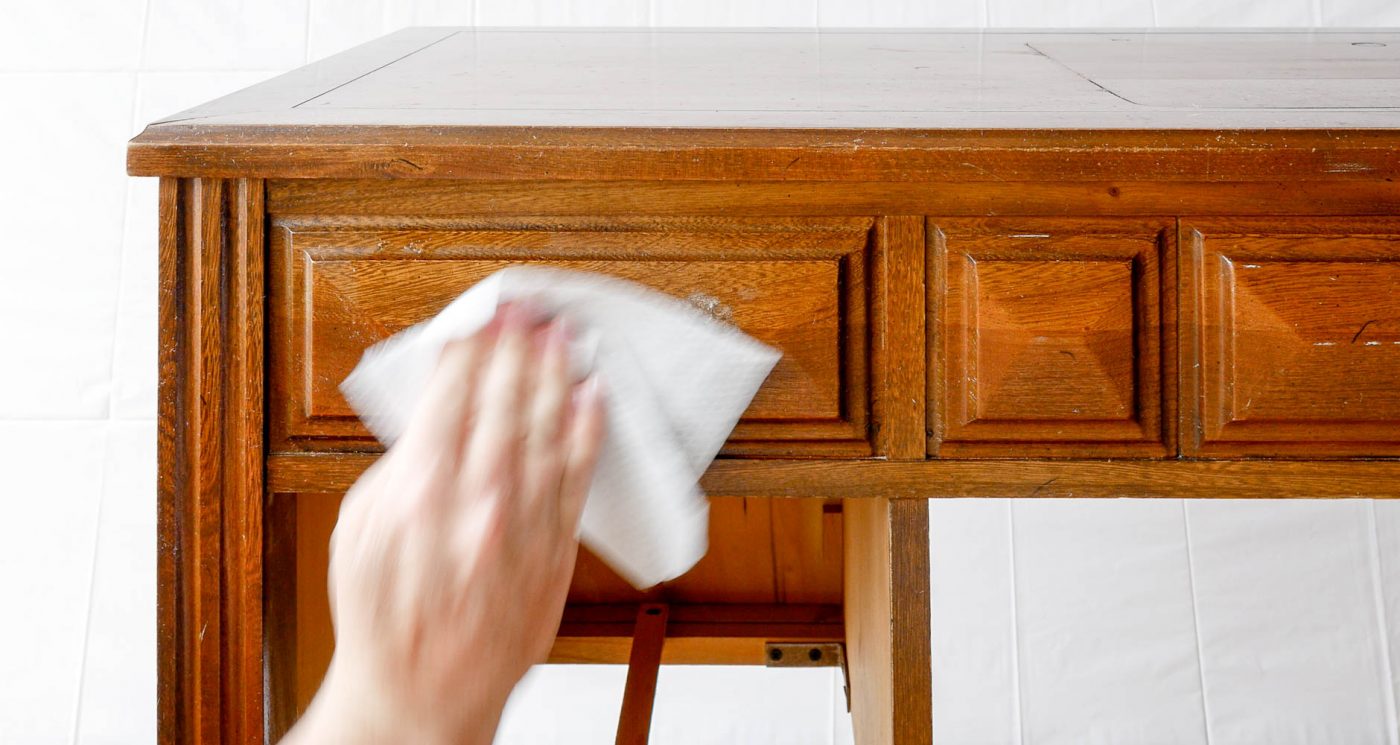
First, I gave the desk a good scrub with a clorox wipe or two and let it try completely.
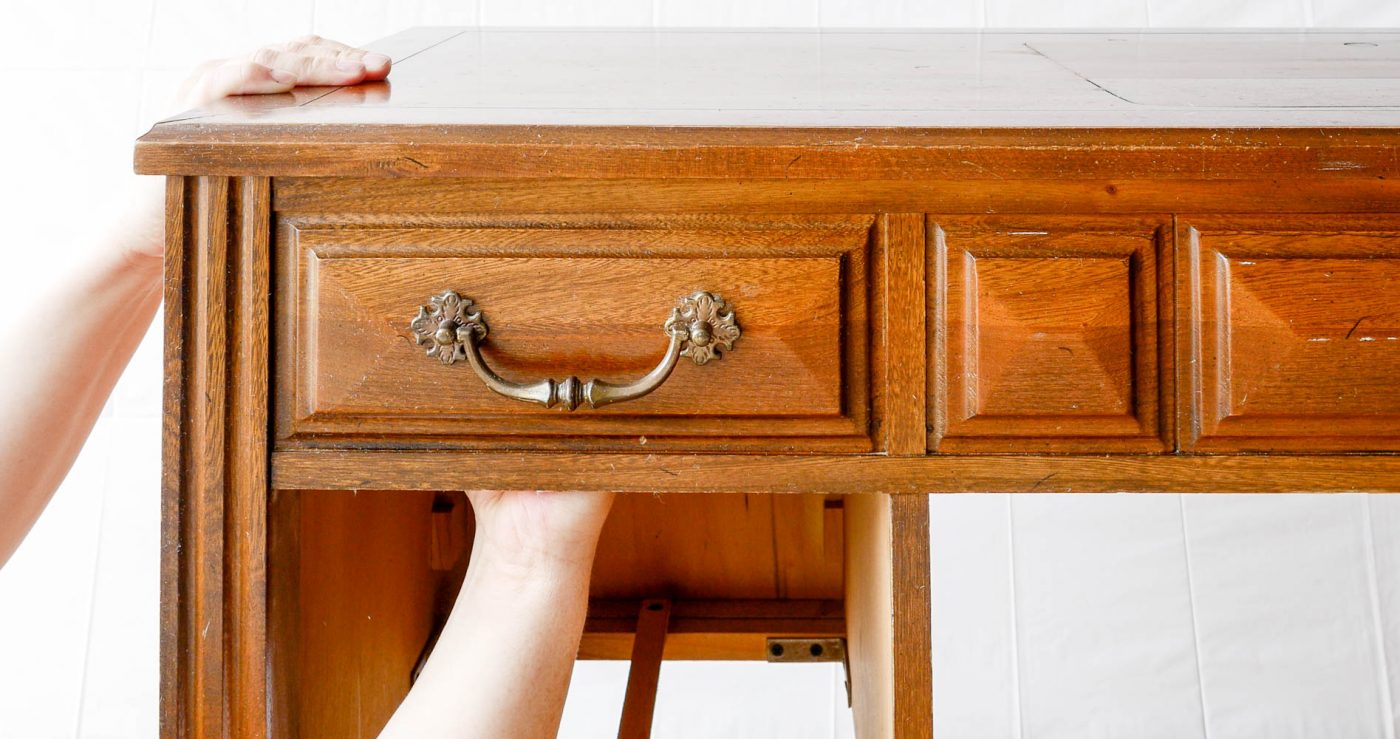
Next, I removed the hardware with a screwdriver.
Prime:
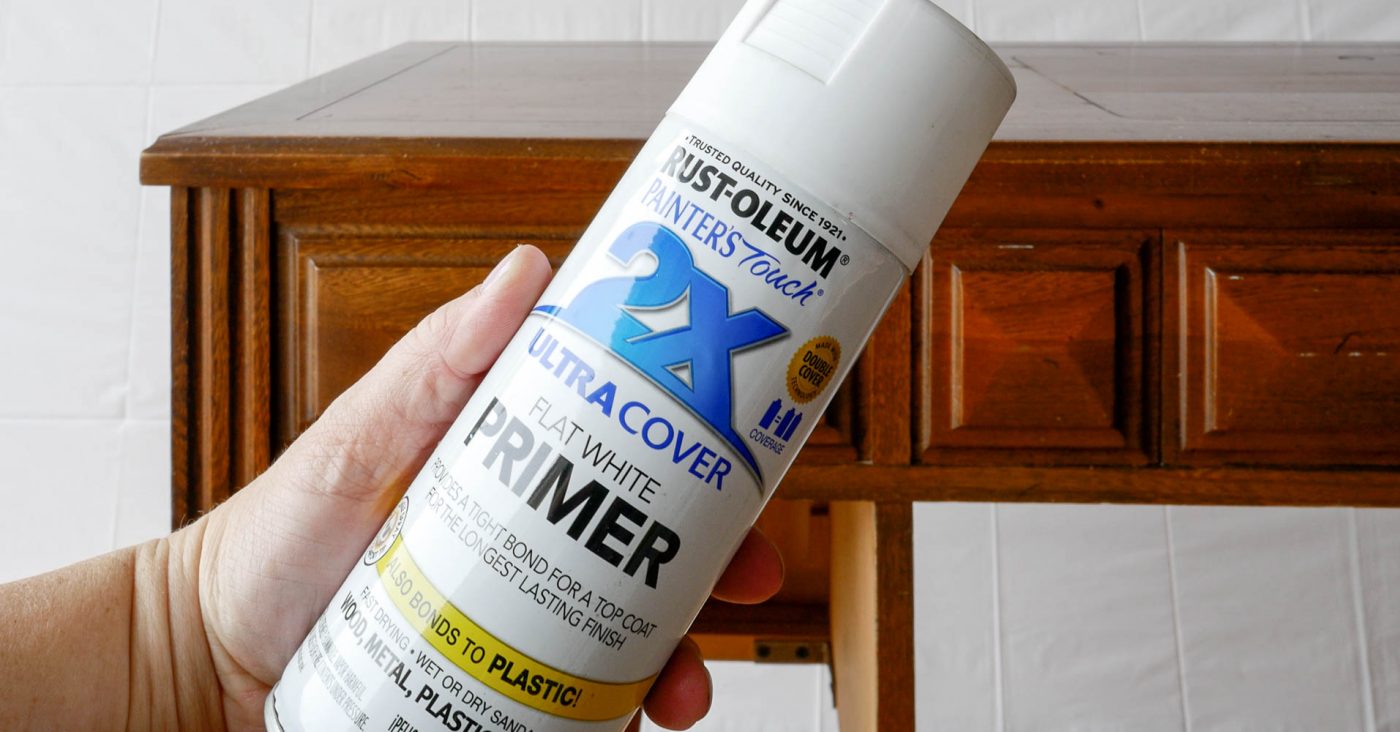
Next I primed the desk with 2X primer and let it completely dry for a few hours. After priming, I always run my hand over the desk to feel if it needs a quick sanding because primer can sometimes leave a bit of a sand-papery feel. If it’s not smooth, I sand lightly with a 3m sanding sponge {my favorite}, or 220 grit sand paper to smooth out the texture. Make sure you wipe off the desk after sanding with a lint fee cloth.
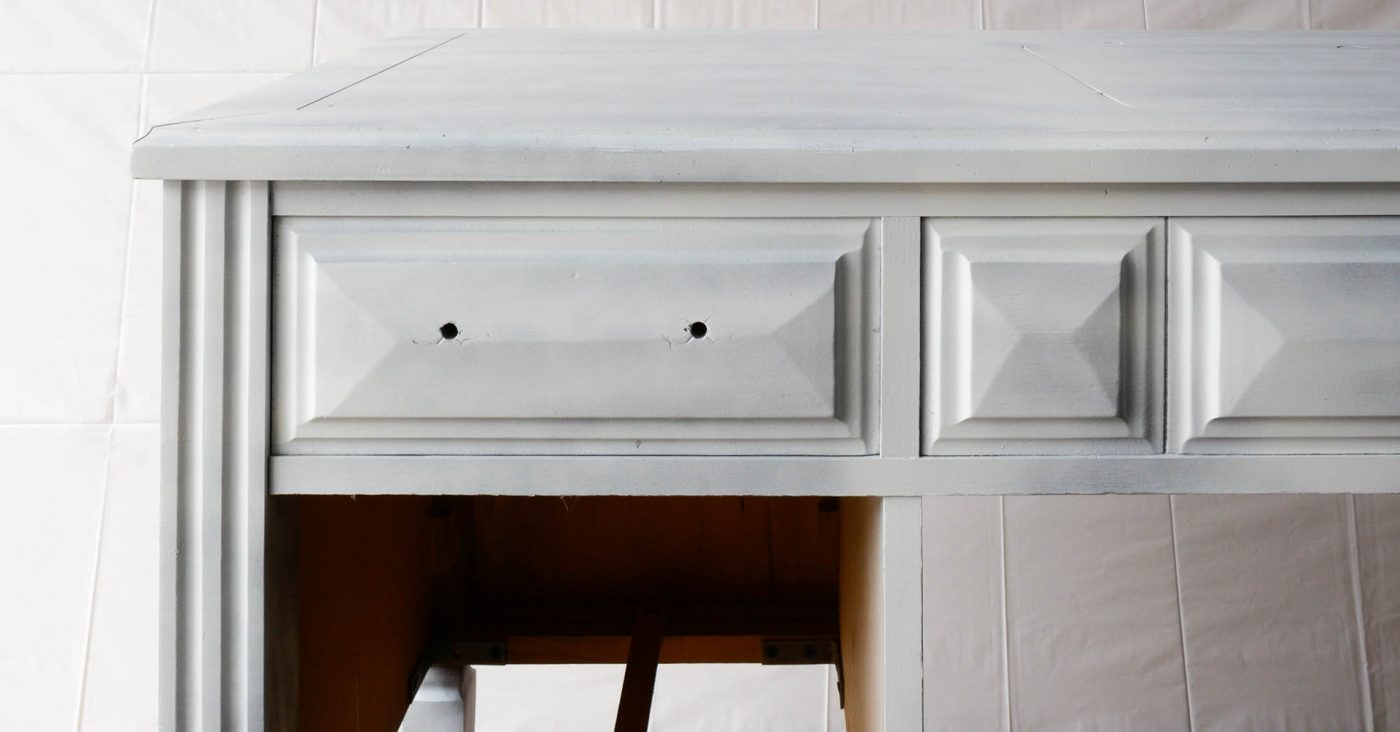
The primer does not need to cover completely, but make sure you cover the entire piece before moving on to paint. I love how fast the desk started to transform into a cuter version of itself after a few minutes of elbow grease.
Paint:
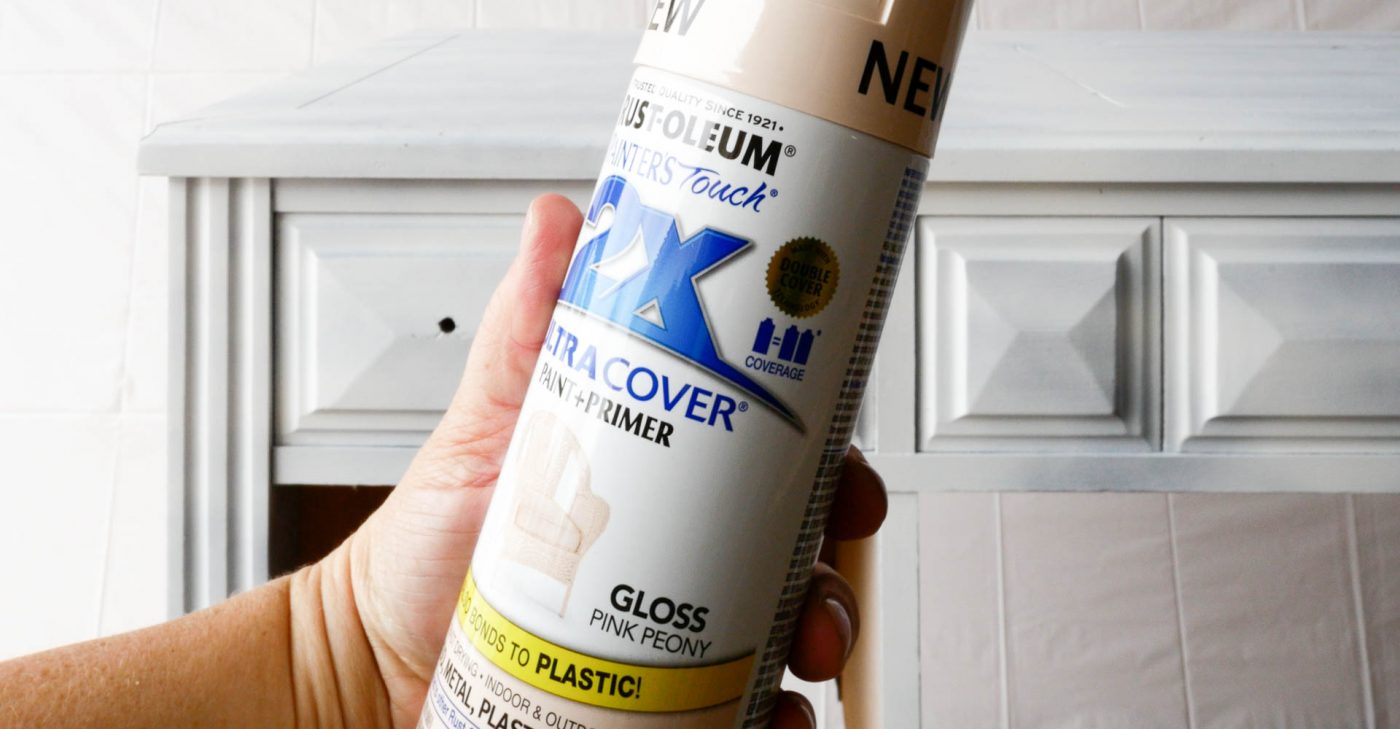
Next I grabbed my favorite kind of spray paint, Rust-Oleum 2x {I chose pink peony} and painted her with three coats waiting about 30 minutes in between each coat. I never wait too long because you need to re-coat within an hour or wait 48 hours for the paint to be completely cured.
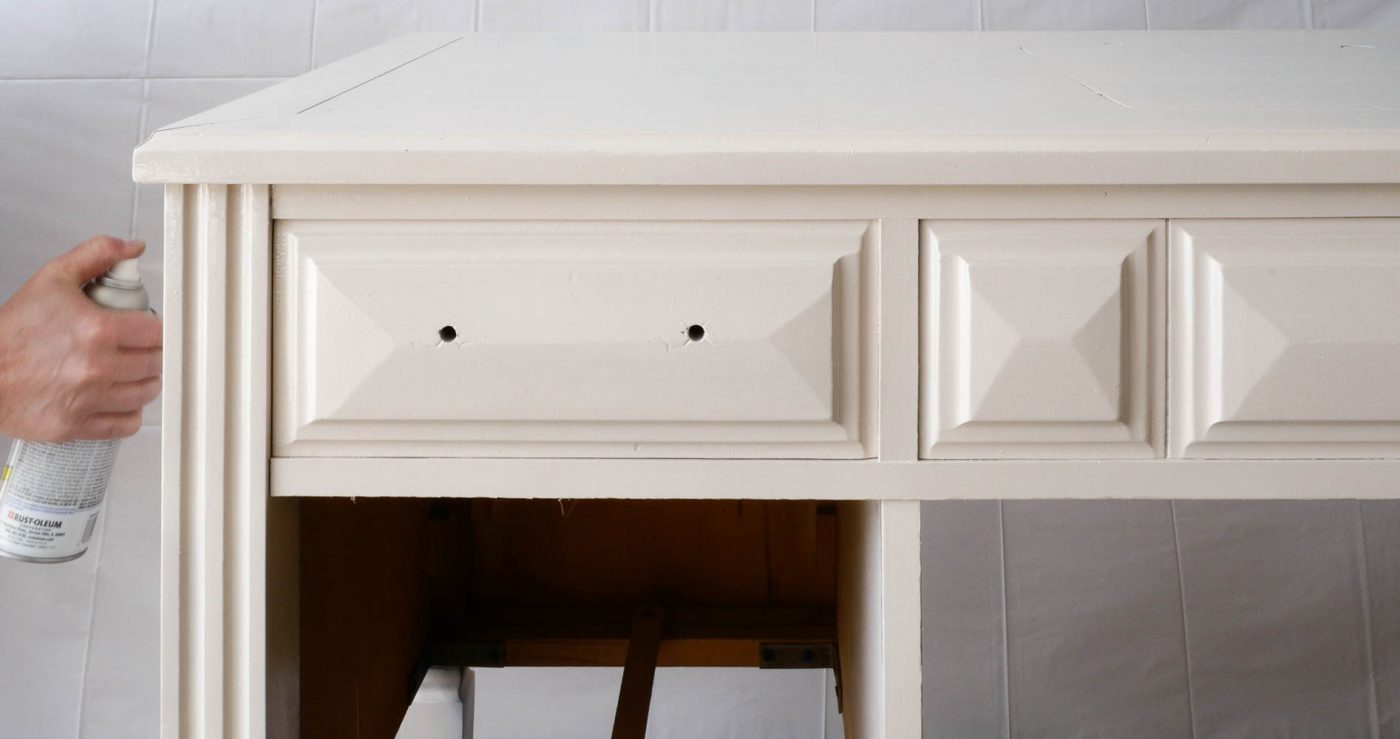
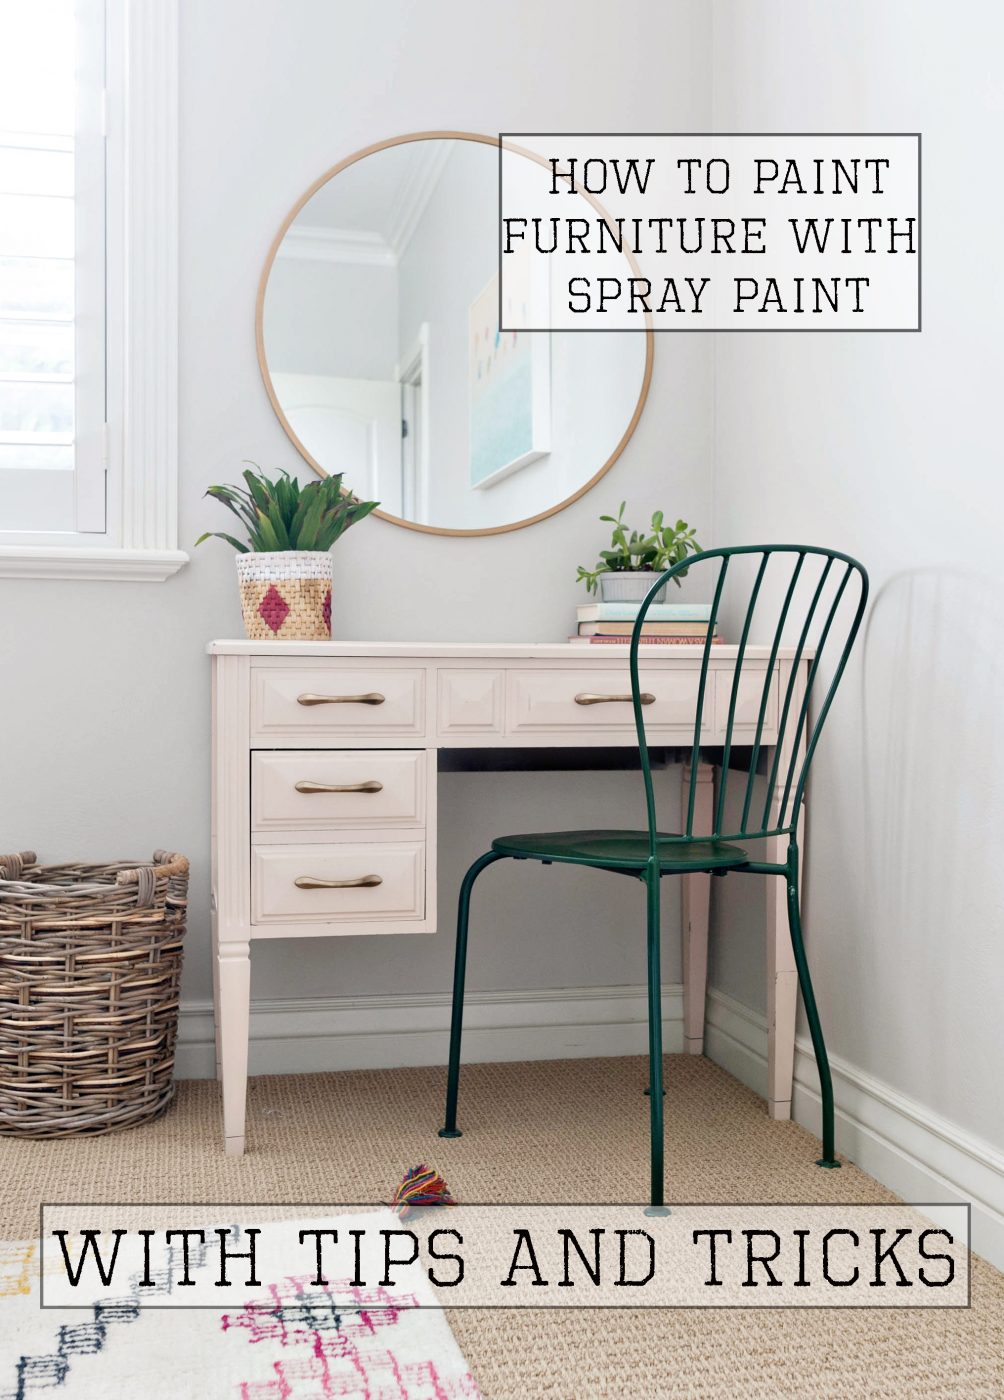
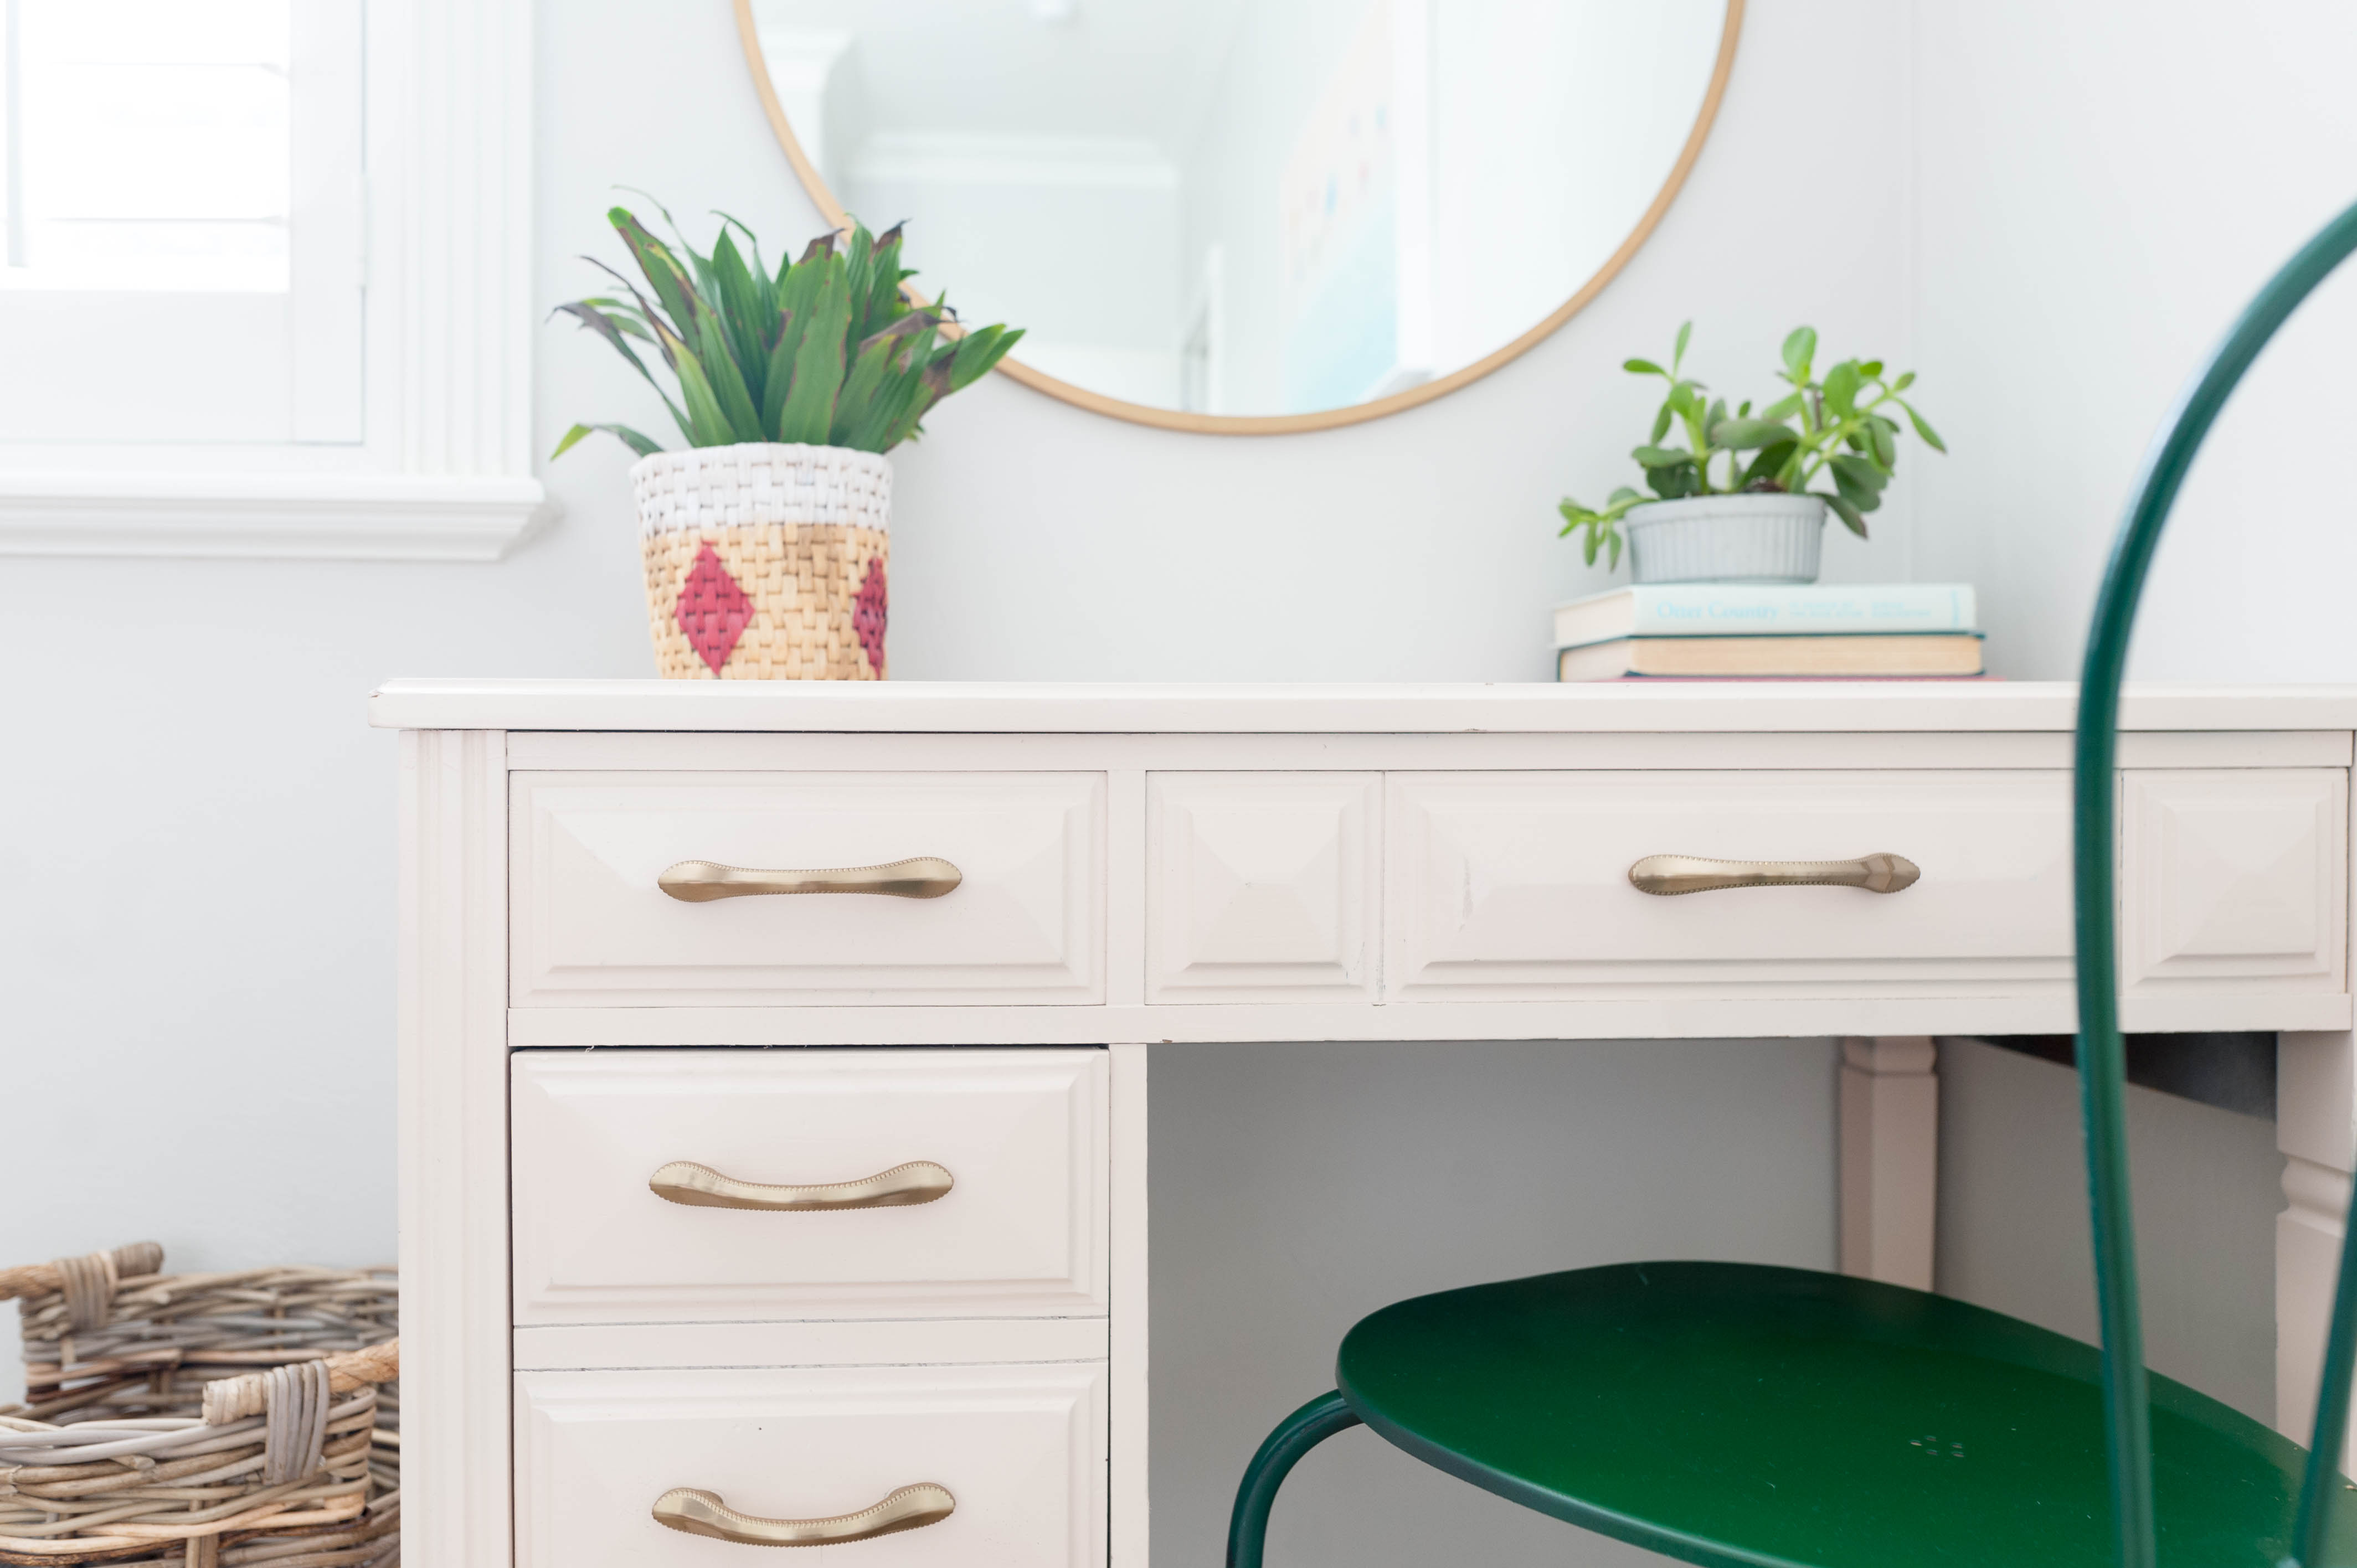
The new desk is a subtle blush pink color, and I absolutely love it.
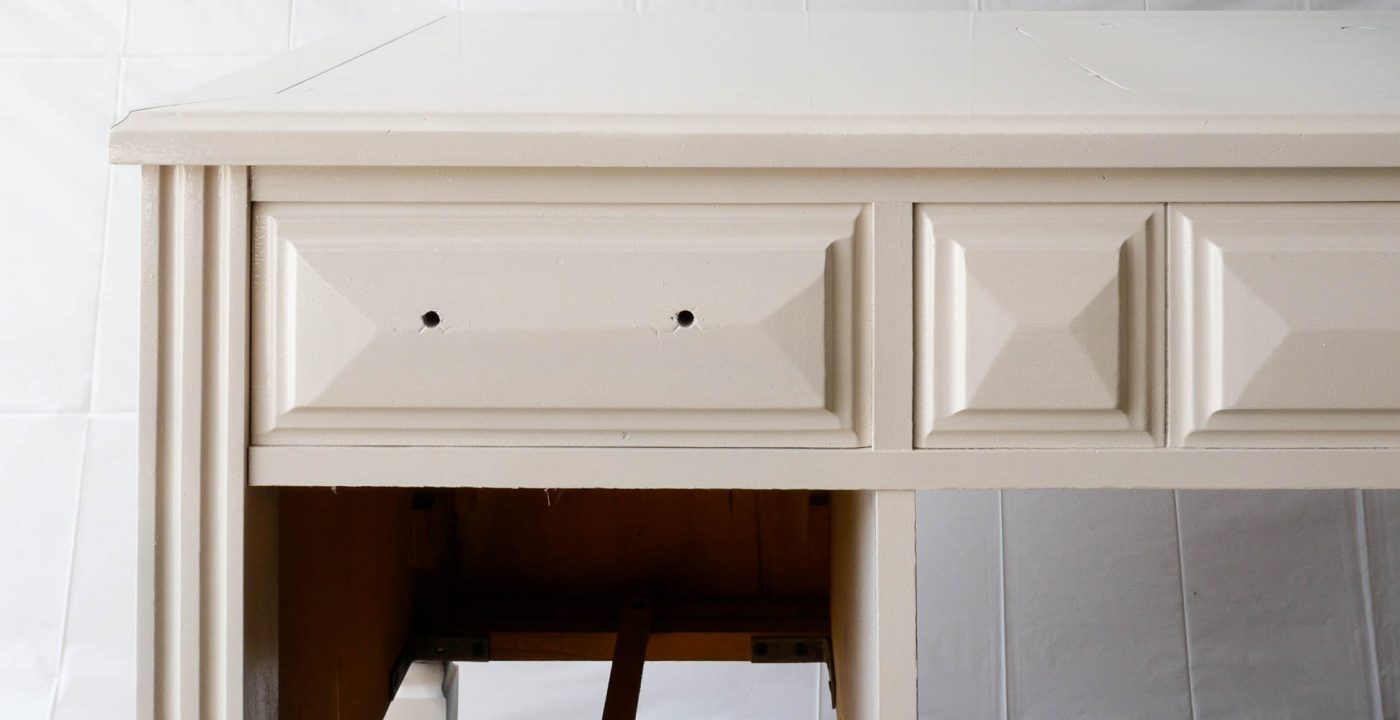
I added some new hardware from The Home Depot, and now the desk looks brand new!
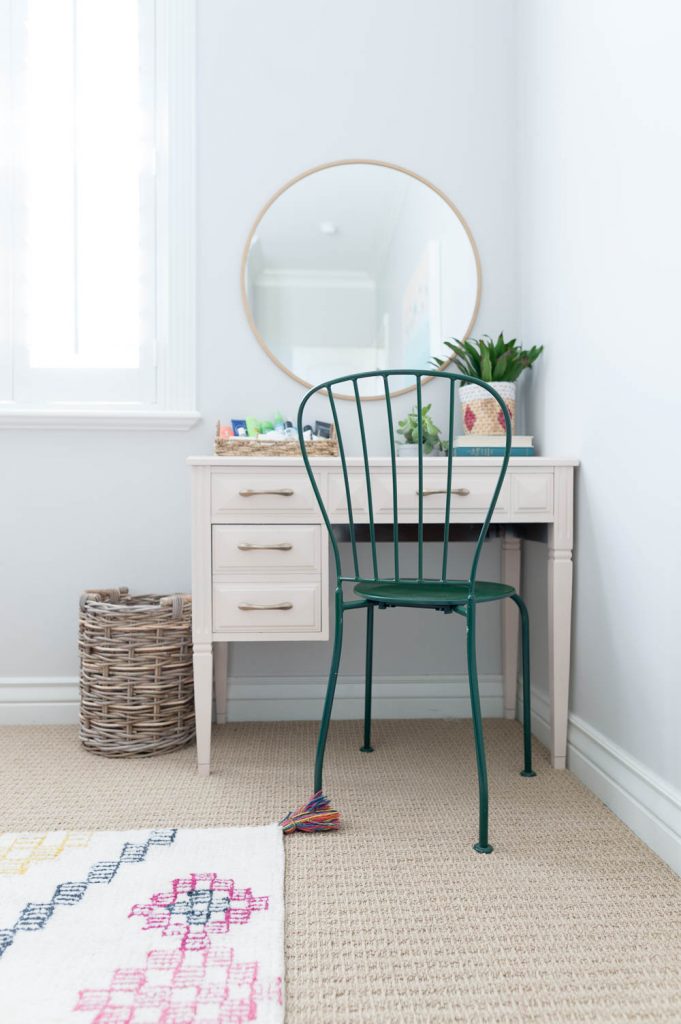
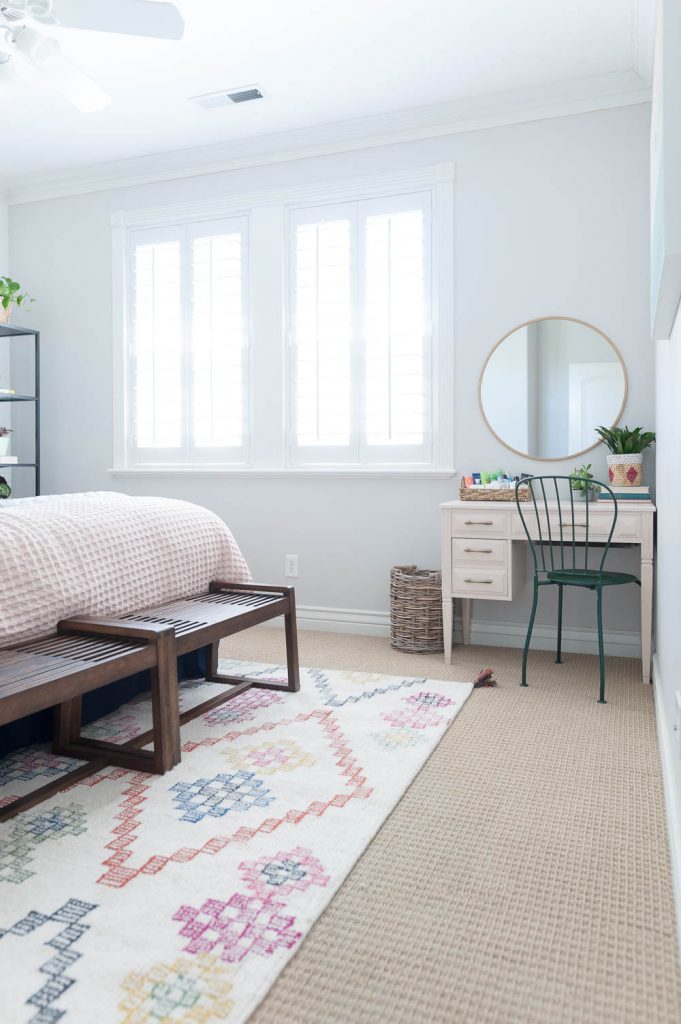
For more details about the rest of my guest room, check it out HERE.
If you have any questions, please let me know!
xoxo,
Brooke

This turned out so cute! I’ve been using spray pain’t more and more and these tips are greatly appreciated. I’ve also been curious about that new rustoleum color – so pretty!!