One of my top five fights ever with my husband was about a Super Saturday where a bunch of ladies from our ward get together and do projects all day. I had a major meltdown because I took over leading a project for someone else who went into preterm labor and for the life of me I could not get it to work. Granted, the projects we were making were not for beginners, and I had learned how to make the item too fast. It was a nightmare. I begged my husband to come help me, and at first he rebelled against my request. After I lost it {big time}, he finally came to my rescue.
I was mortified. I was suppose to be the one helping EVERYONE make this project. Everything I tried didn’t work. It was a disaster, and it changed my outlook on craft nights forever.
When organizing a craft night for 30 or more people, I’ve learned a valuable lesson, SIMPLIFY. If the craft is too complicated the results will be disappointing. Because oftentimes the learning curve has a major impact on the success of the evening. In other words, if you aren’t careful, the crafts will look crappy.
Who wants crappy crafts!!? No one.
No one wants to take home a gross looking craft. So when I was asked to be in charge of girls’ camp crafts. I knew what to do.
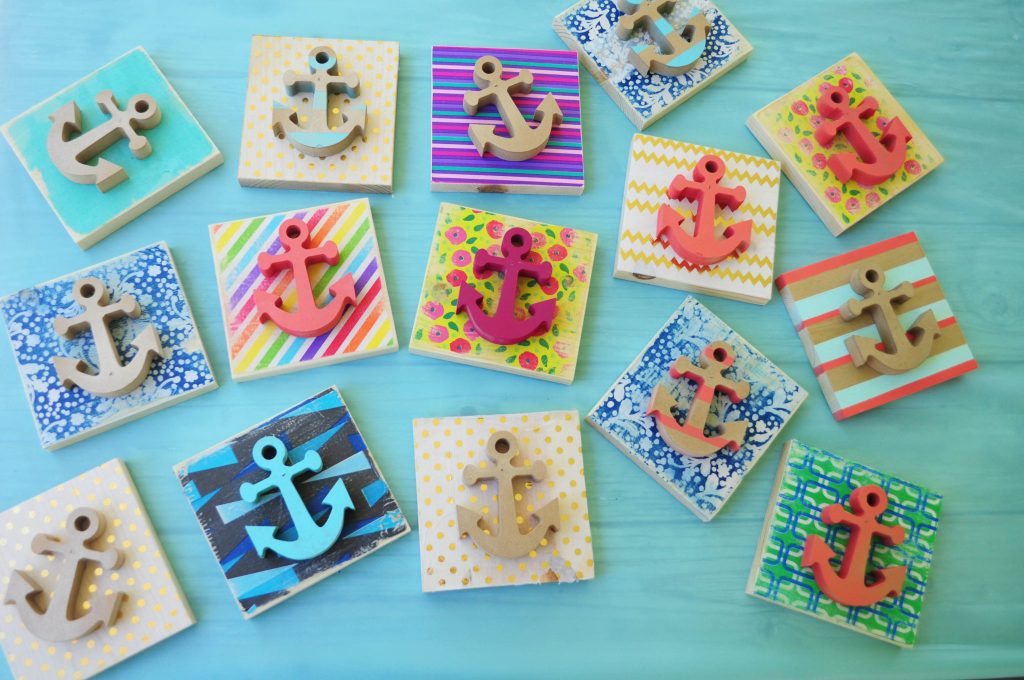
The anchor craft I used for Girls’ Camp was almost no fail. I say almost because I had one person who refused to listen to the instructions. I spent an hour trying to resuscitate the situation. But, all in all it went sooo good. Better than any other craft I’ve done with teenage girls, for sure. They turned out so darling, and it only took 20 minutes.
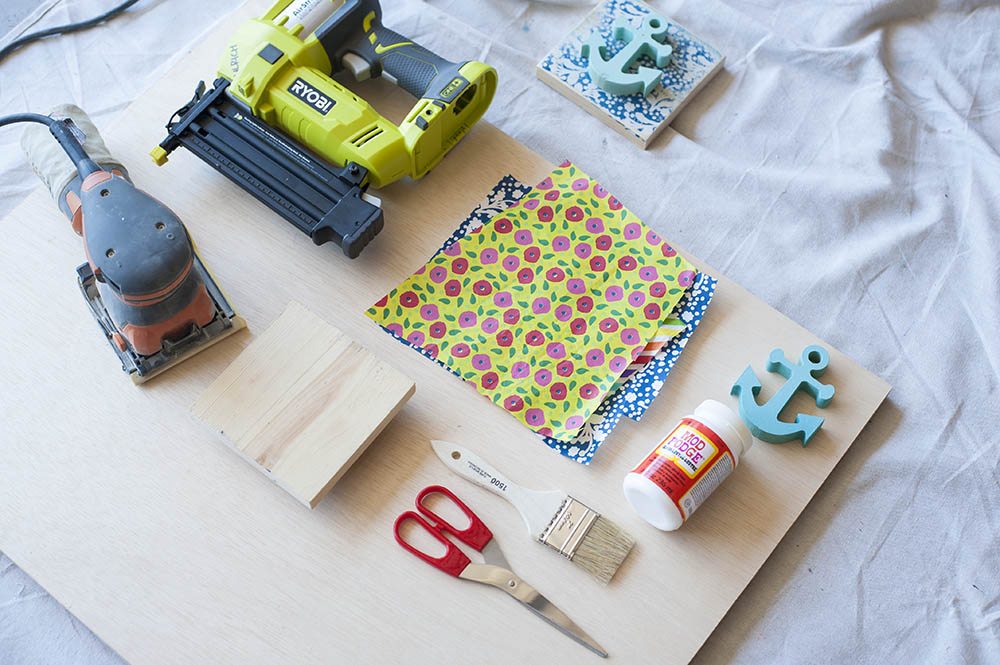
For this project, we used:
A Ryobi Air Strike Cordless Brad Nailer <—-my favorite new tool (affiliate),
A power sander (affiliate)
Patterned tissue paper {I bought mine at Target}
Mod Podge (afflilate)
Scissors
A cheap Paint Brush
Small wooden anchors {I got mine from 302 Woodworks a great Etsy shop I recommend}
Spray paint {my latest favorite: Coral Spray Paint} (affiliate)
220 grit sand paper
and a 6X6 block of wood
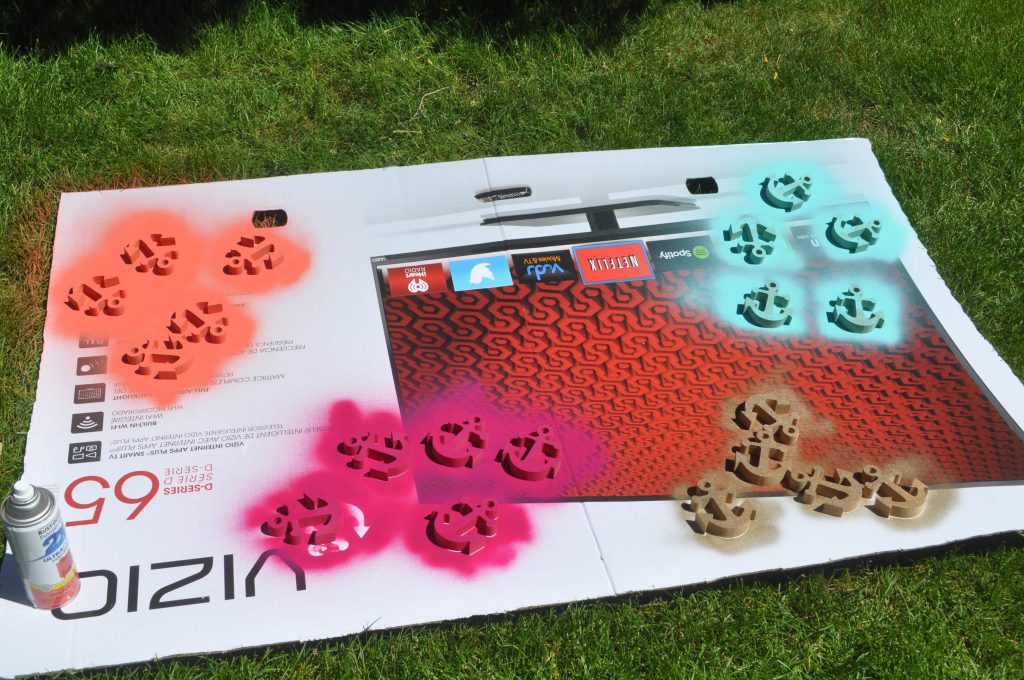
First we spray painted the anchors.
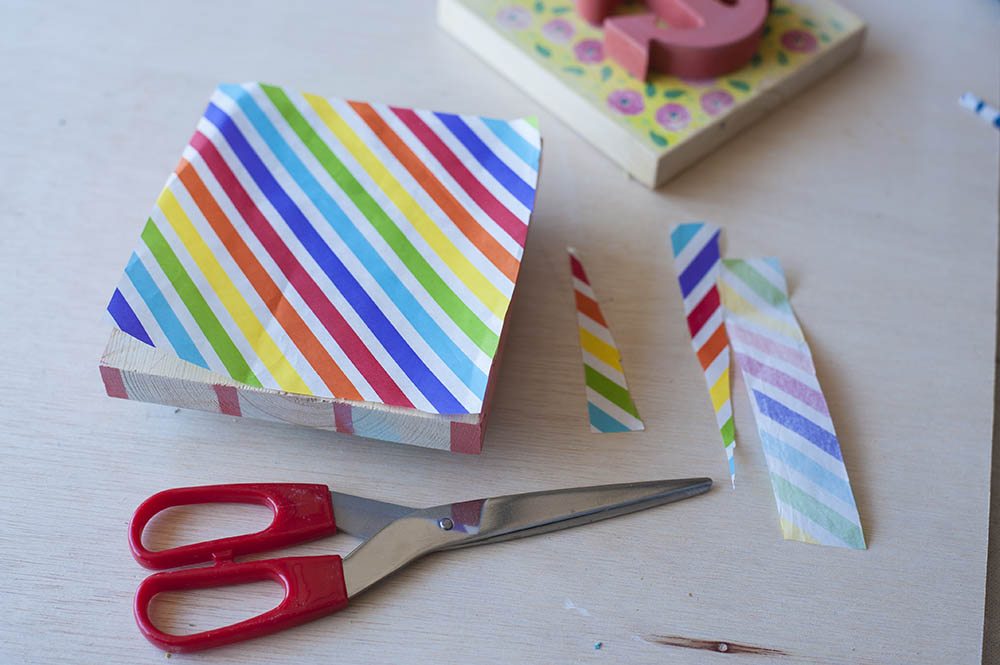
Then cut a piece of tissue paper slightly larger than the wooden block.
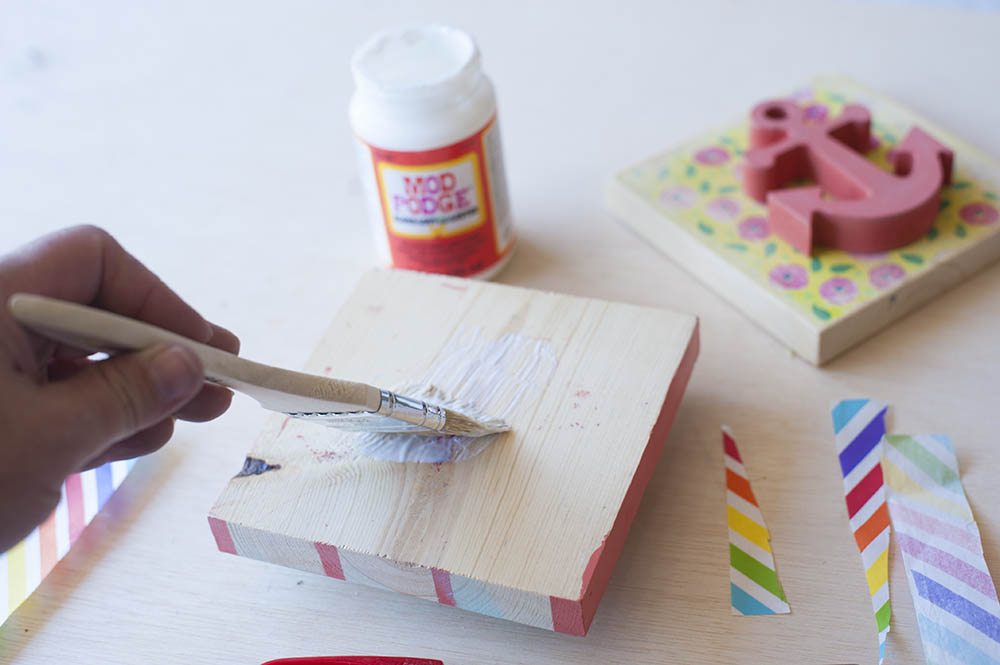
Next, paint a thin layer of mod podge on the wood making sure that it’s not too thick. If you put too much on the wood then the tissue paper will not smooth out easily. TIP: Make sure that the mod podge goes to the edge.
 Place the tissue paper on the wood block and smooth it out carefully.
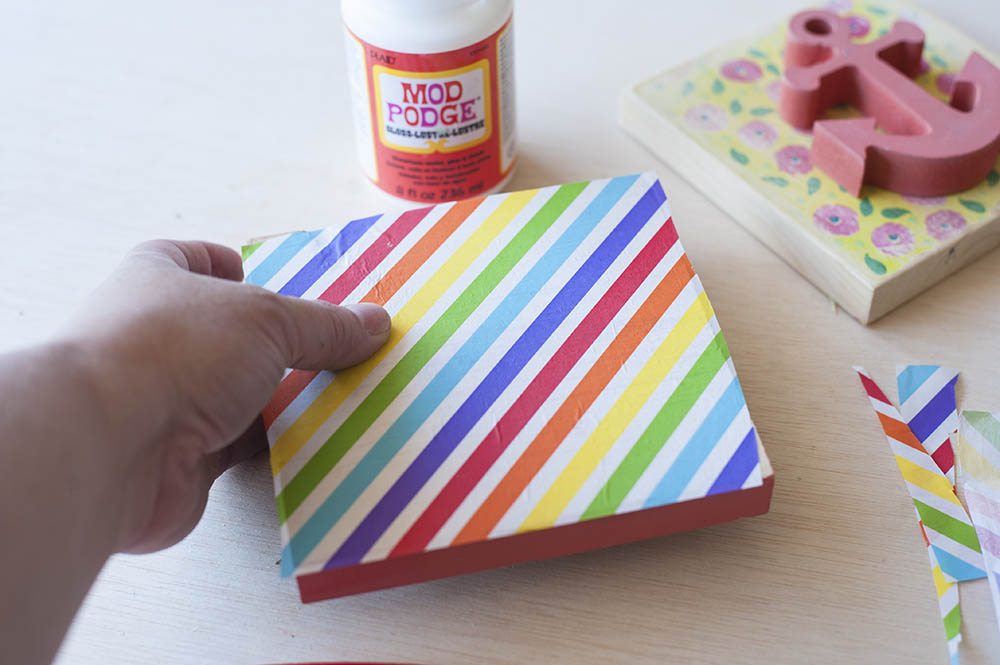
Let the mod podge dry completely {very important}, and then sand the edges by holding the sander on an angle. It will trim the excess tissue paper off perfectly for you.
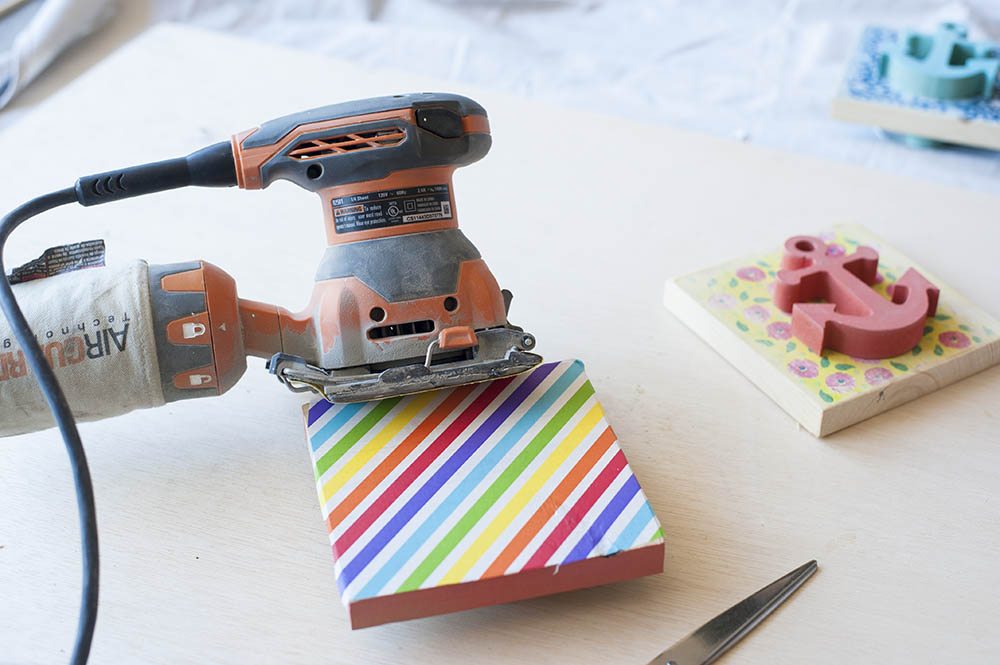
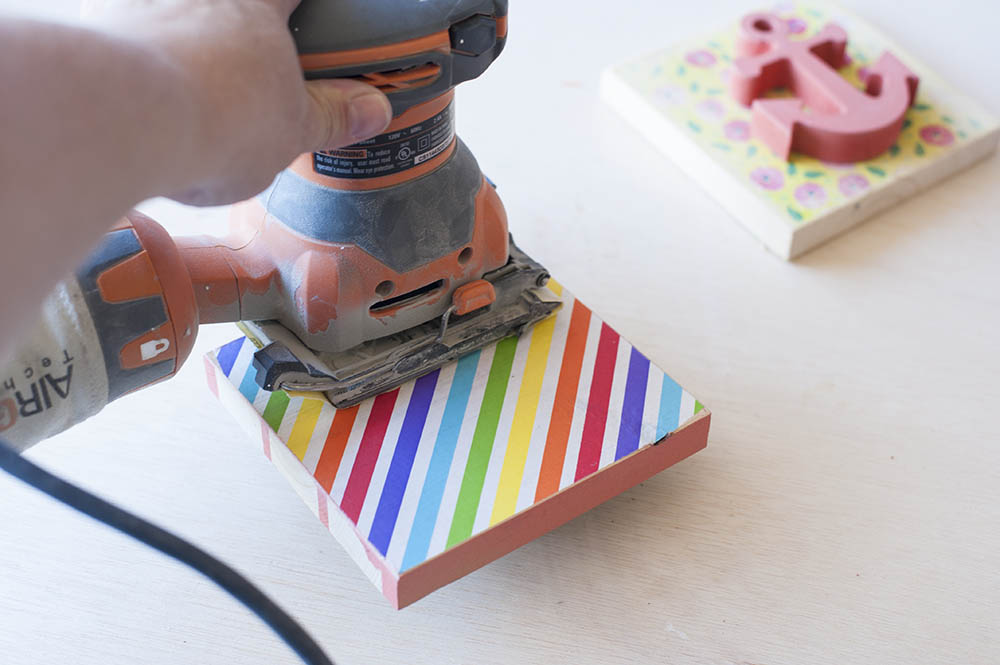
After the edges are nice and sanded, sand the tissue paper as much as you like. I have used scrap book paper before, but it always bubbled and it never looked as smooth as I wanted it to. This way, it looks like the tissue paper IS the wood, not that the paper is glued to it. Does that make sense? It looks a lot better this way in my opinion.
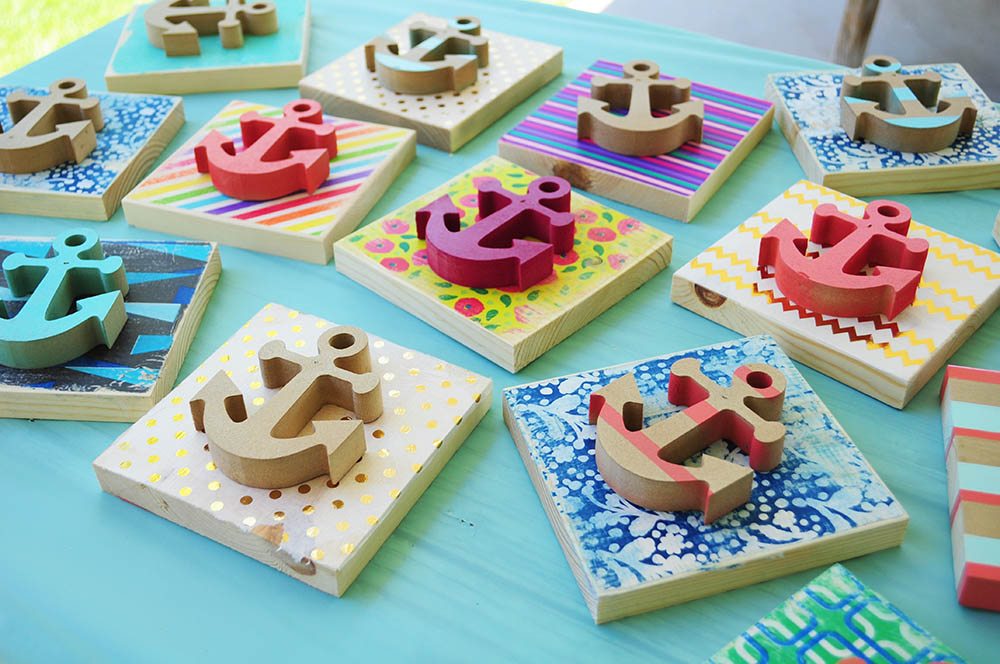
Finally, nail the anchor to the block of wood.
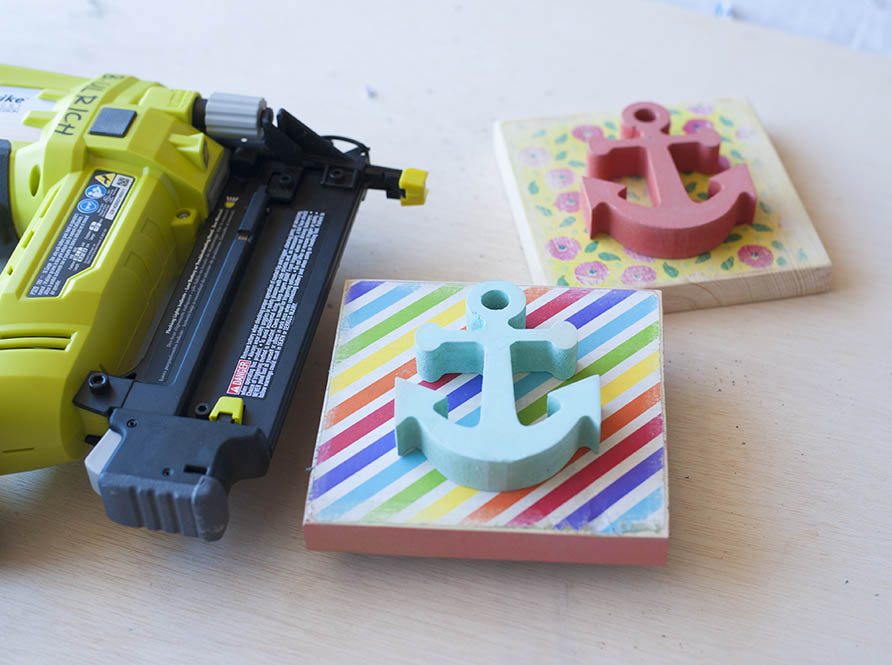
The best part about this craft is that each girl could personalize theirs easily without any extra effort.
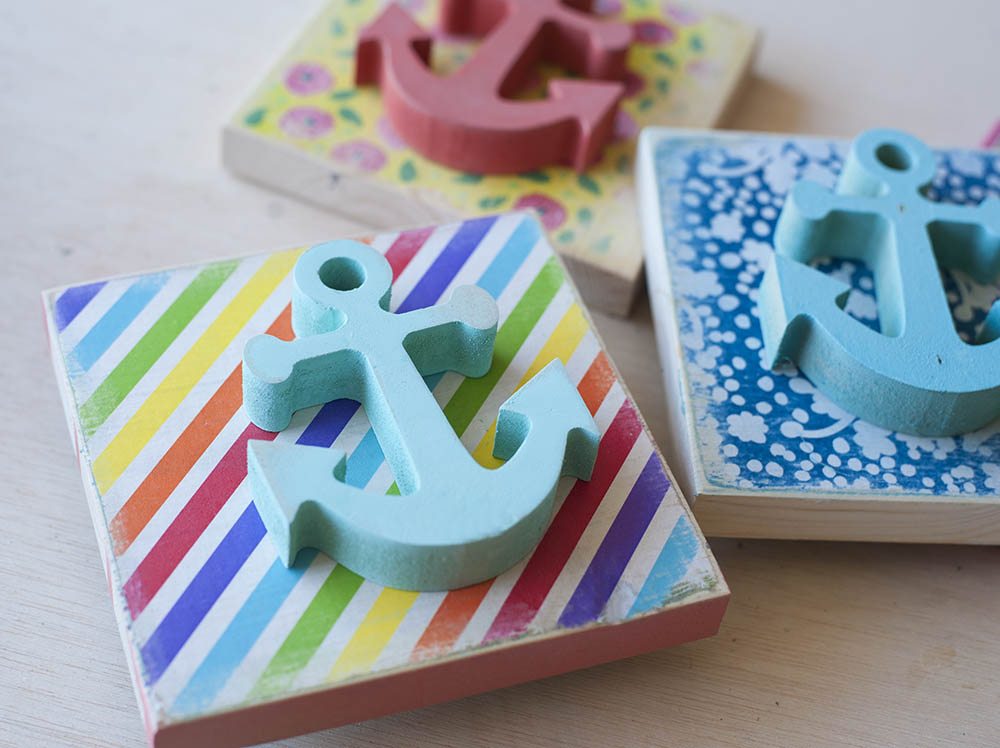
They turned out GREAT! I was so proud of all of them I couldn’t just show you one or two.

I hope you had a great weekend! I just got back from Haven Conference, and I had a BLAST!
xoxo,
Brooke

How adorable! I love how many possibilities you can create with this project! Perfect for a little kids room as well.
Would be pretty cool to maybe do a bunch of these on a wall or in a picture frame, add some color to a plain white wall! 🙂 Very cute idea!
How cute Brooke! I love the bright colors. I had a blast at Haven too. I didn’t get a chance to talk with you. Seems you are always surrounded by admirers. One of these years!
Kathy! Next year come find me! I would love to chat!
These are adorable…I bet they loved them. 🙂 I’m a new fan of your blog…I just came across you this evening! I’m fairly new to the blogging scene, so I’m always looking for good role models. 🙂
Thank you Shayna! xoxo
Those are very cute!!!