If you follow me on Instagram, you know I was too excited when I finished to keep my project to myself. So I posted a sneak peek a few weeks ago.
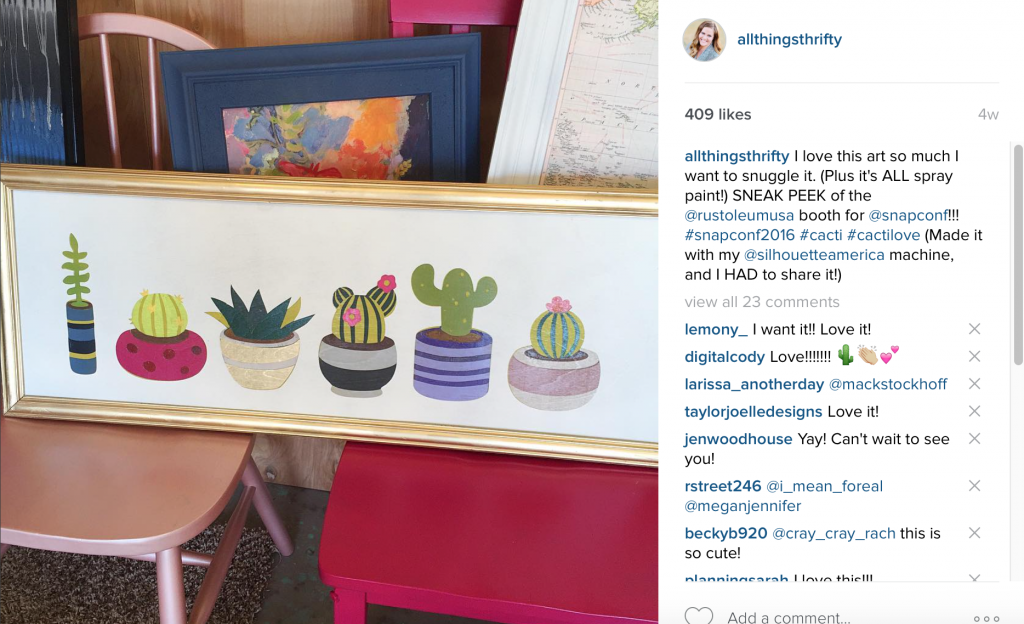
As you can see, I was pretty pumped. I mean, who says they want to snuggle a framed piece of artwork? I guess I do when I love it so much. 🙂
My Dad lived in Indonesia for 2 years on an LDS mission when he was 19 years old, and when I was in elementary school, I always chose something from his Indonesia stories to do my reports on. I remember doing a report on orangutans, and teaching my class how to say “bite the wall” in Indonesian.
He brought home some really cool batik art home as souvenirs, and we always loved pulling them out of the cedar chest to admire when we were young.
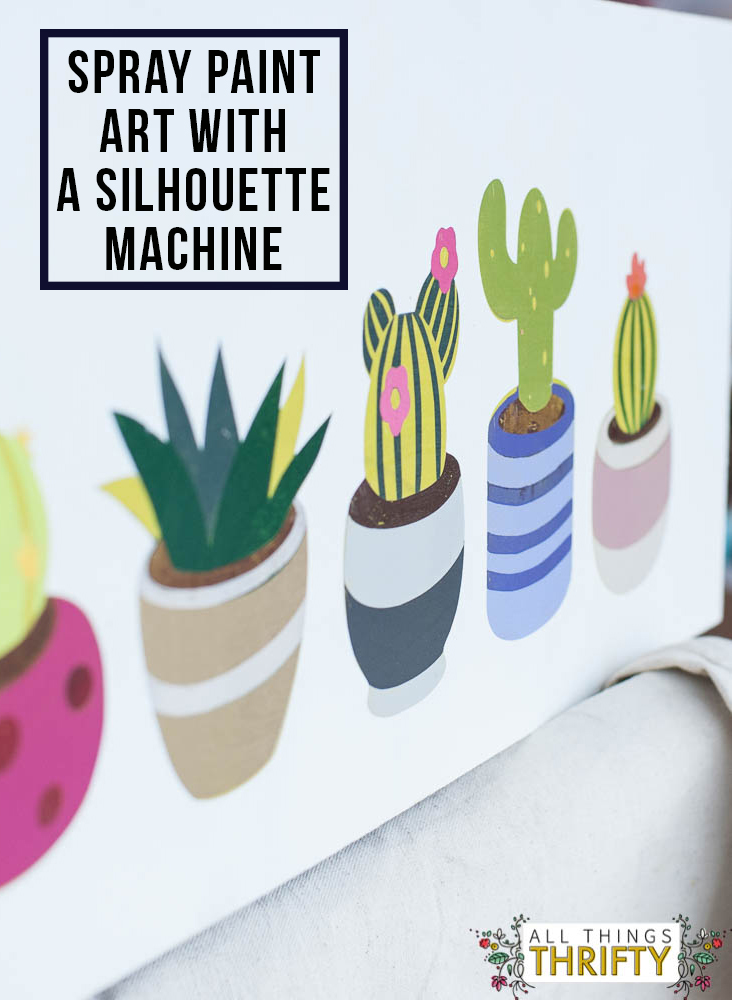
Batik is a really cool concept that the Indonesians use a lot. They dye fabric a certain color, and then use wax to persevere the color before dying the fabric a different color. Then they will paint the areas with wax that they want the second color to preserve that color, and will then dye the fabric again and again and create beautiful artwork!
I called my Dad a few years ago and asked him if he thought I could make artwork with the same technique. He LOVED the idea, and we carefully talked through the process. I never did it {whoopsie}. Fast forward a few years, and I was finally ready to try it. Maybe my creativity had to catch up with my brain, who knows? Does that happen to you!?!
The batik project was a long time coming, but it was totally worth it.
I did my project on a cut piece of 1/8 birchwood from The Home Depot that I cut specifically to fit inside a frame that I already had.
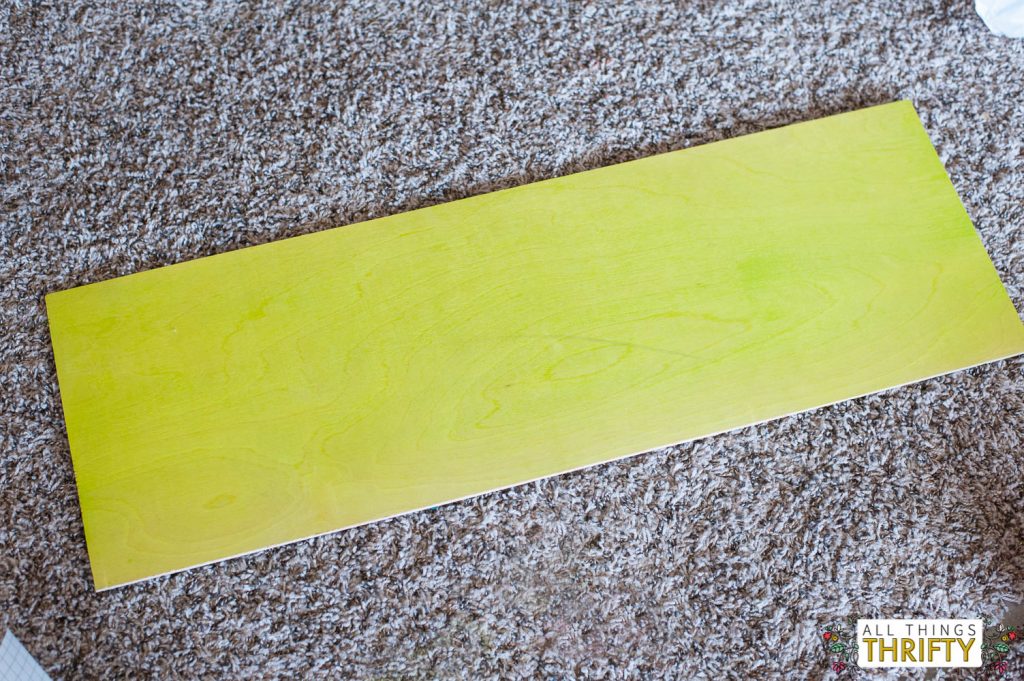
Step 1: Spray the board {or canvas} the color that you anticipate having the most of in your artwork.
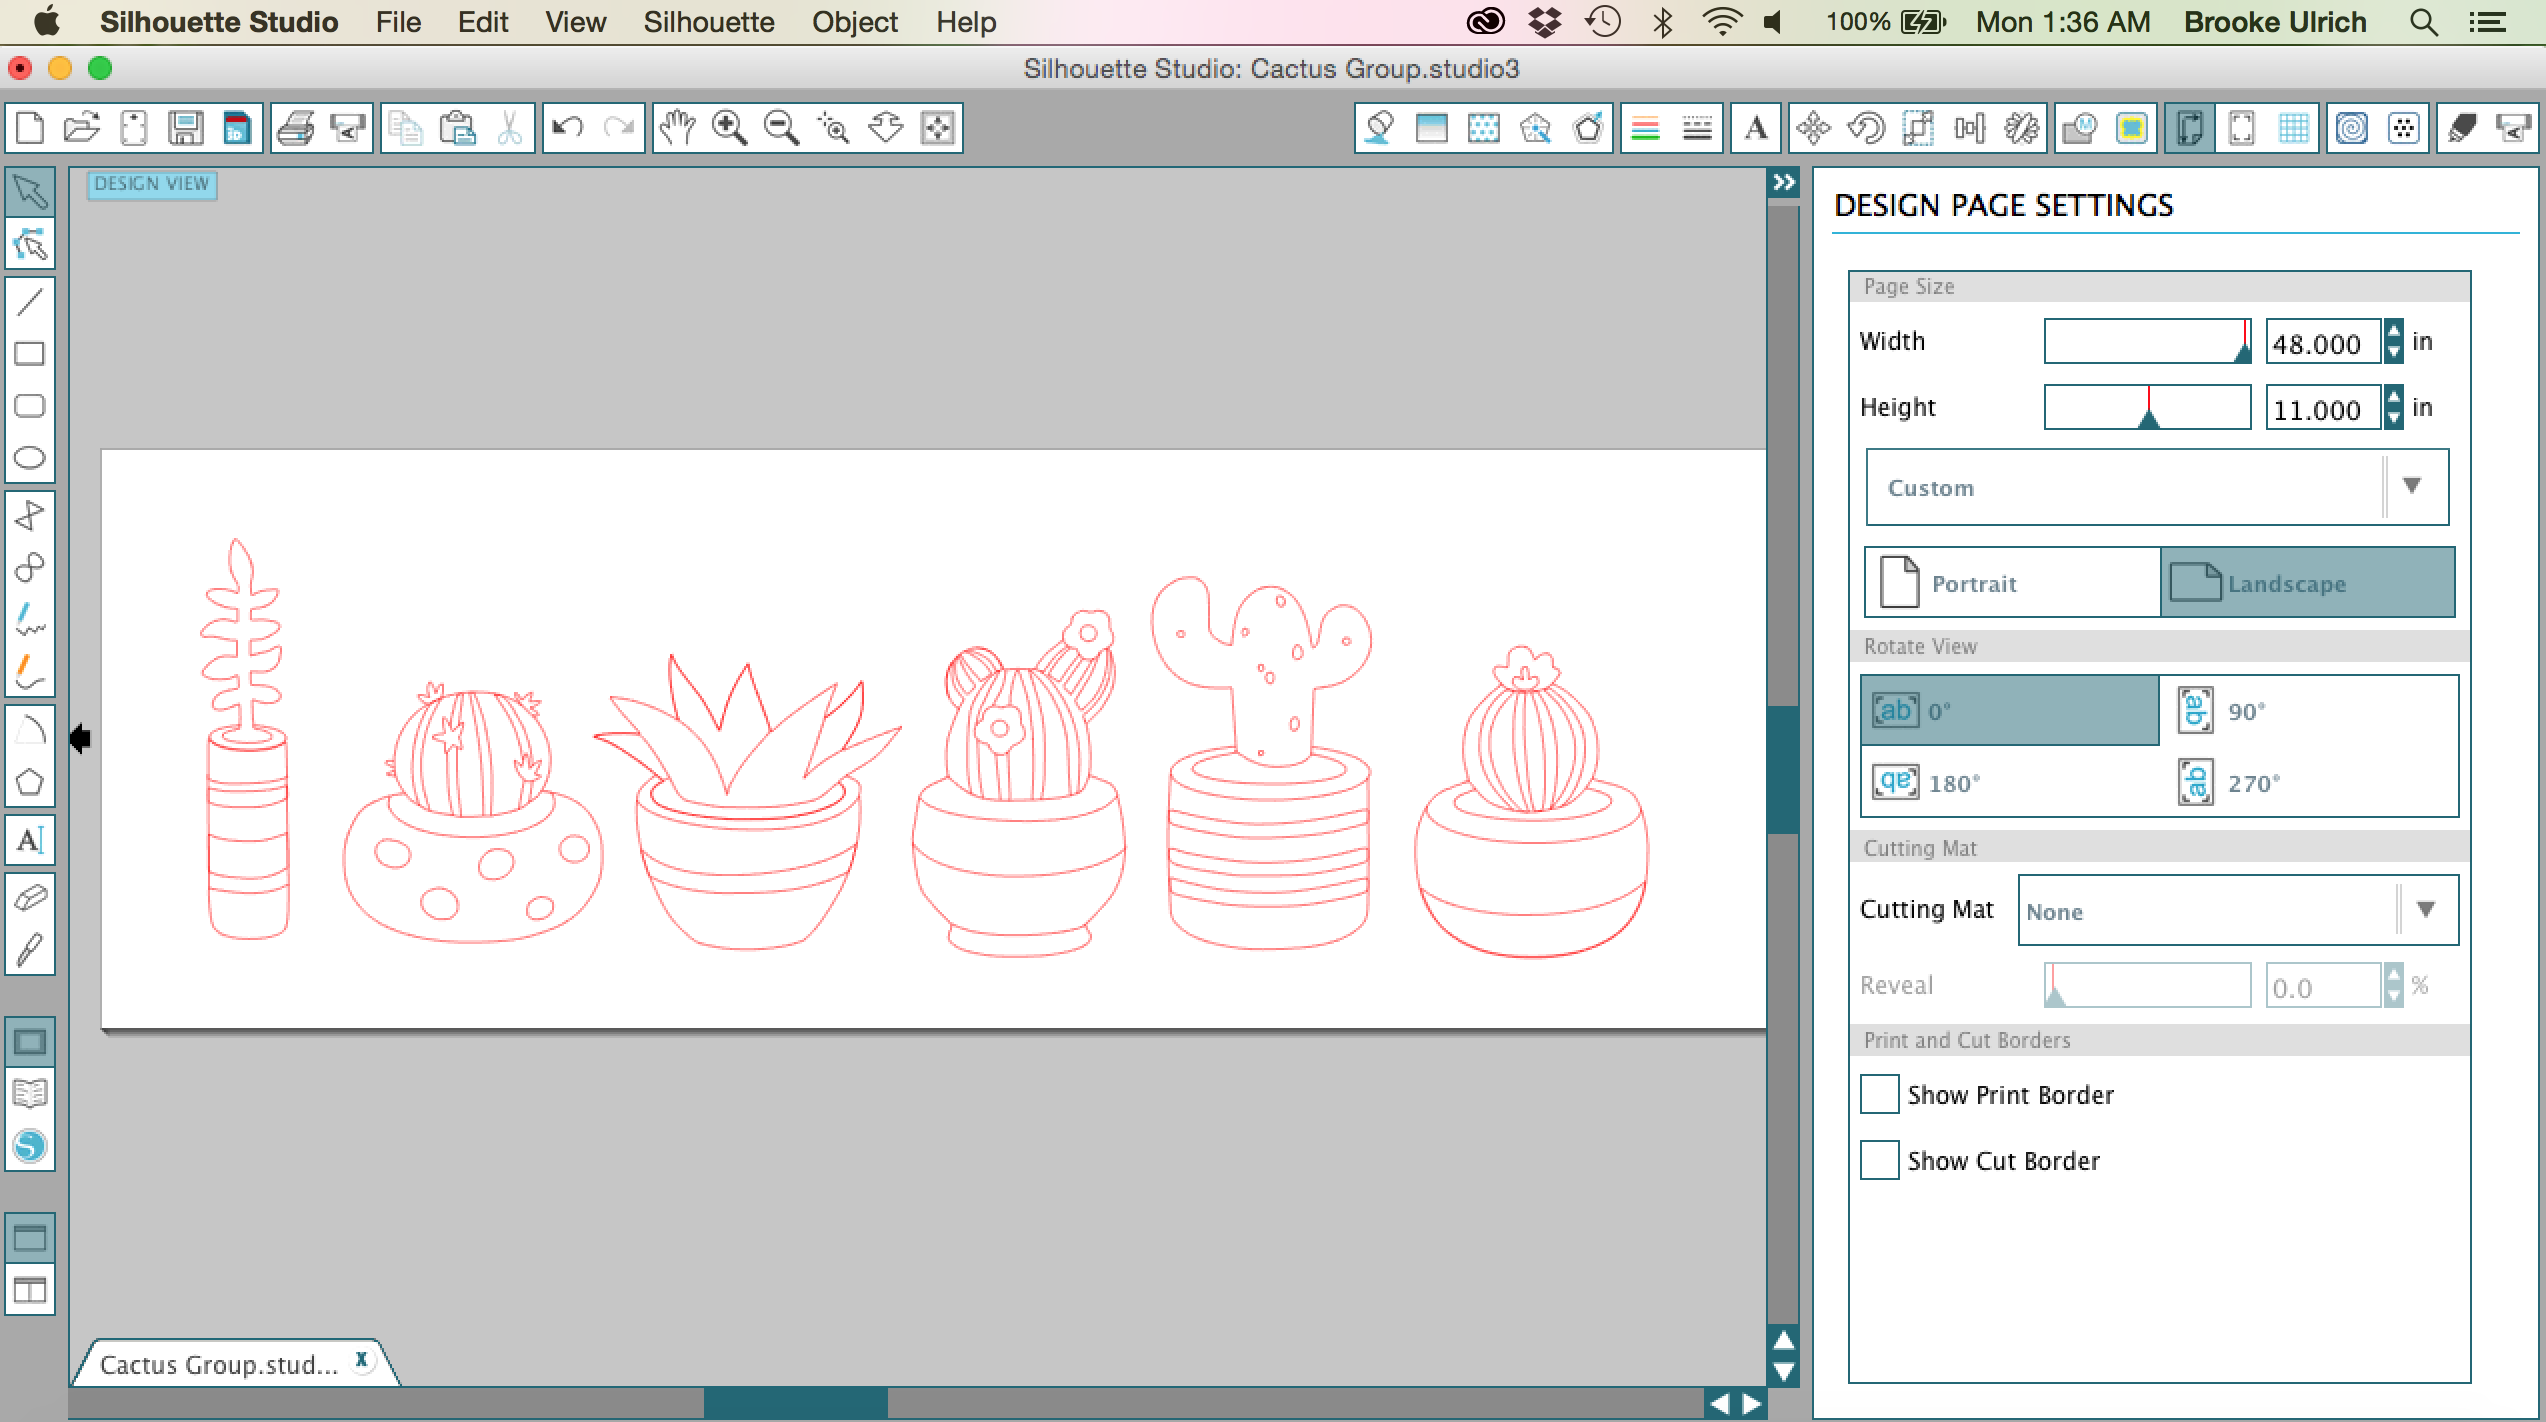
Step 2. Use a Silhouette® Cutting Tool to cut your desired artwork onto vinyl. I cut my artwork twice so that I could use the pieces for more steps of the process.
Step 3. After you base color is completely dry, place the entire image {without removing any pieces} to the painted board. You may need help with this if you have a large project.
Step 4. Remove a piece of vinyl that you wish to paint a different color underneath. Note: do this carefully so you can reuse the piece of vinyl later in the process. I place mine on some transfer paper nearby to preserve it and to avoid dust and debri from latching on to it.
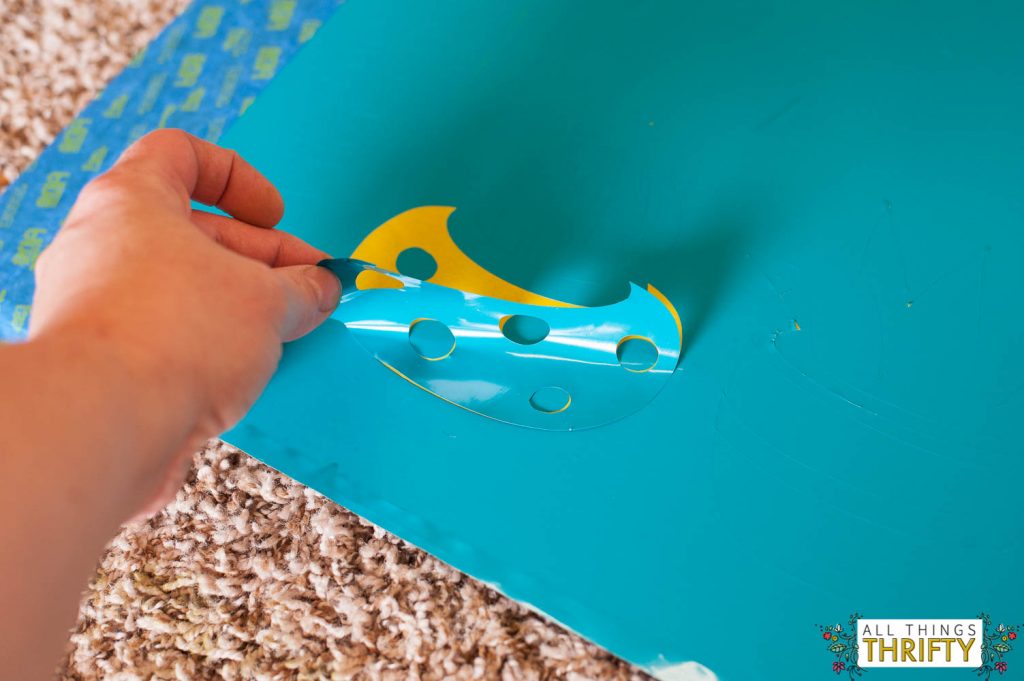
The bottom layer was green, so I made sure to choose something that I didn’t want to stay green.
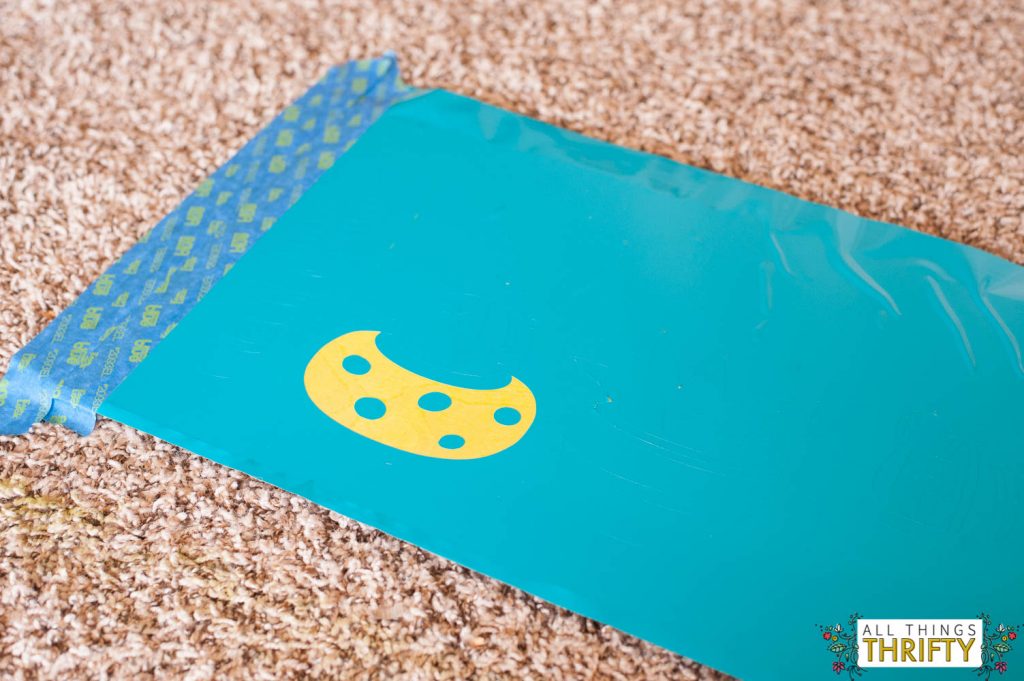
Step 5. Paint the exposed board with your second color.
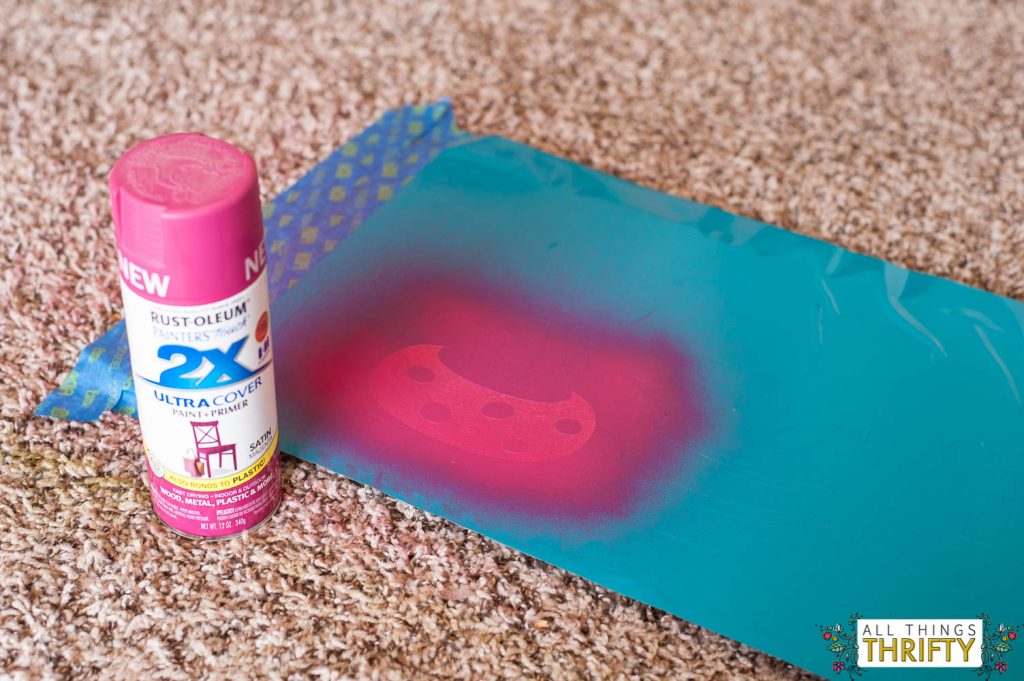
Step 6. Remove another part of the vinyl and while the first part is still drying, shield it with a piece of card stock paper. You do not want the first color to be contaminated by over spray.
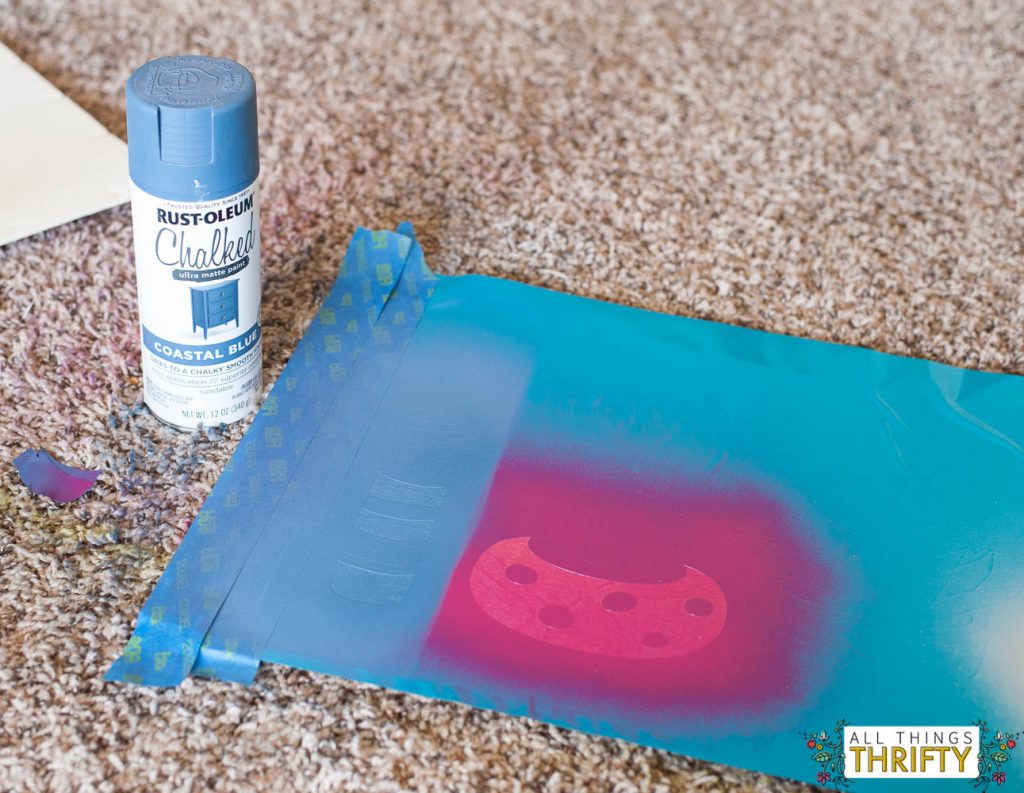
Step 7. Continue this process until you have used several colors, and let the art dry completely.
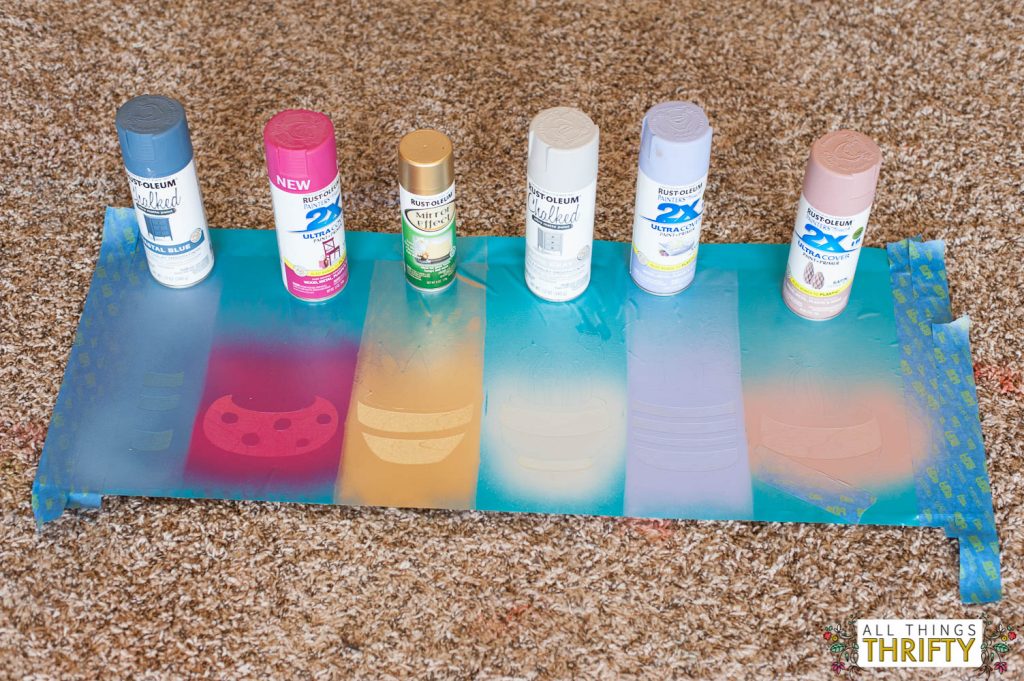
Step 8. After the piece is dry {about 10 minutes later-ish}. Place the previously removed vinyl pieces back onto the board to cover up and preserve your painted spots.
Step 9. Remove other spots of the vinyl and continue painting different colors. Be careful not to let overspray ruin the color next to it. I used a LOT of card stock paper to prevent this from happening.
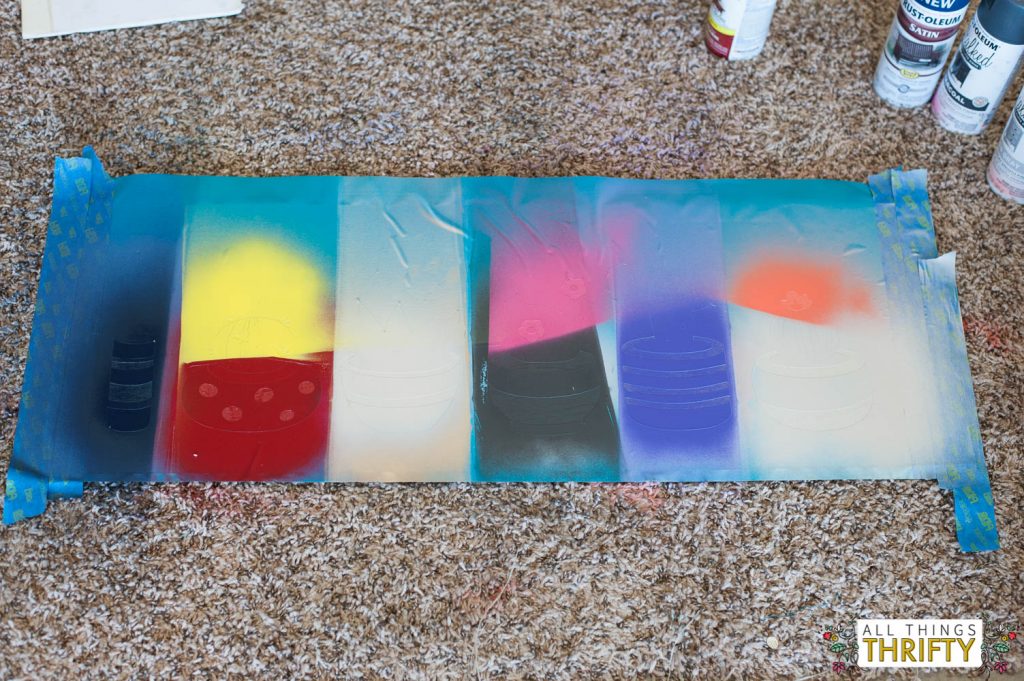
Step 10. Allow your colors to dry completely before moving to the next layer of paint. After the paint is dry, again, place the previous removed vinyl pieces back onto the board to cover up the painted portions.
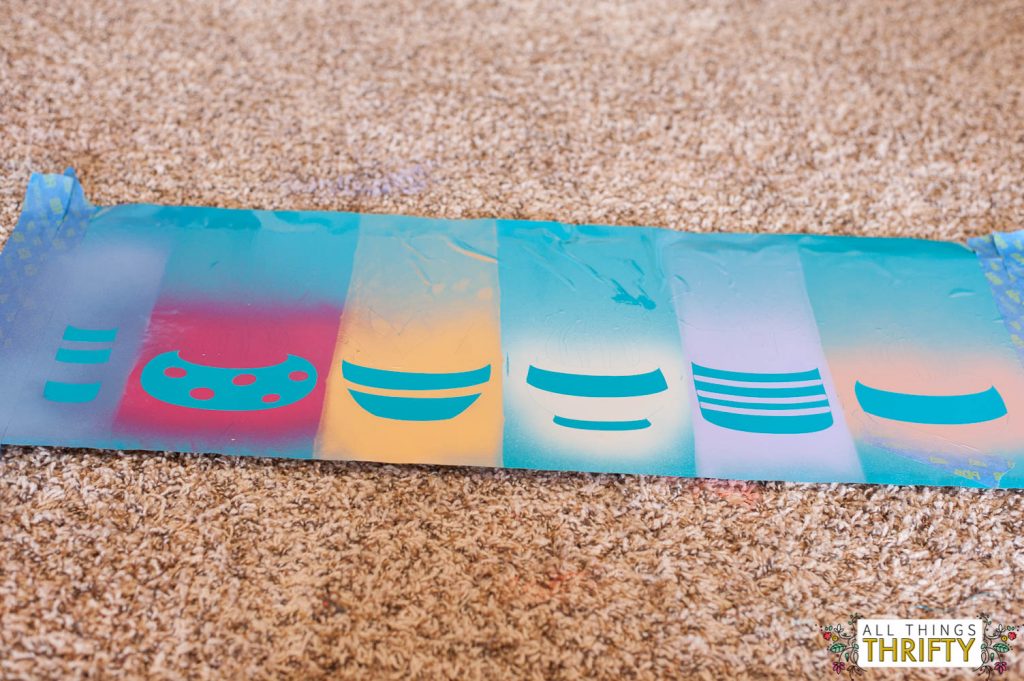
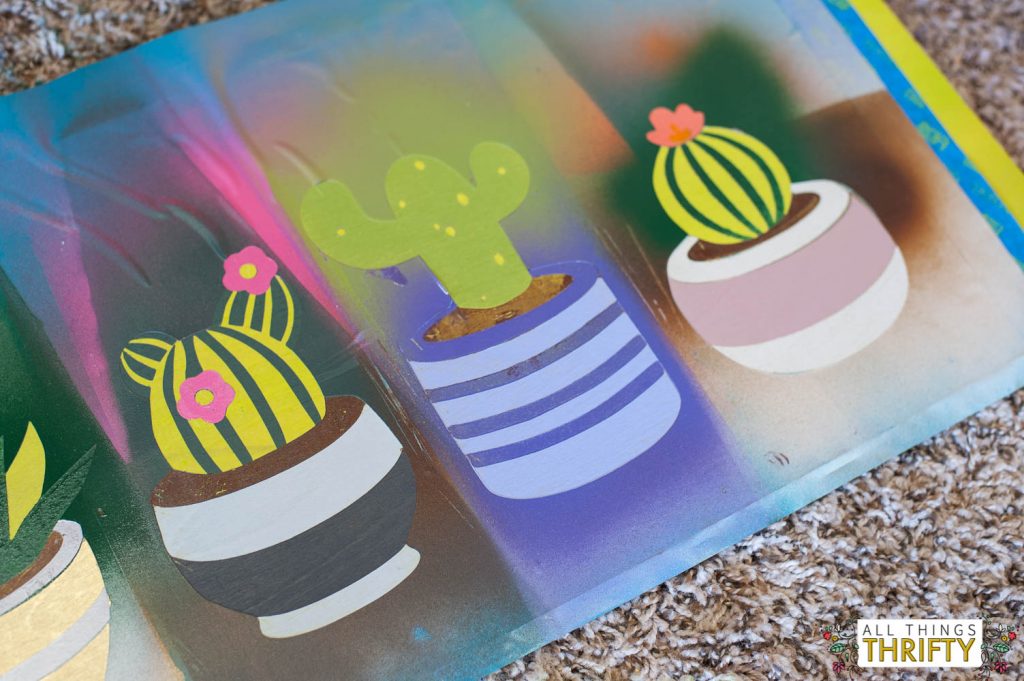
Step 11. After painting each part of your artwork, remove the vinyl off of the artwork to admire your work! This part is SO MUCH FUN!
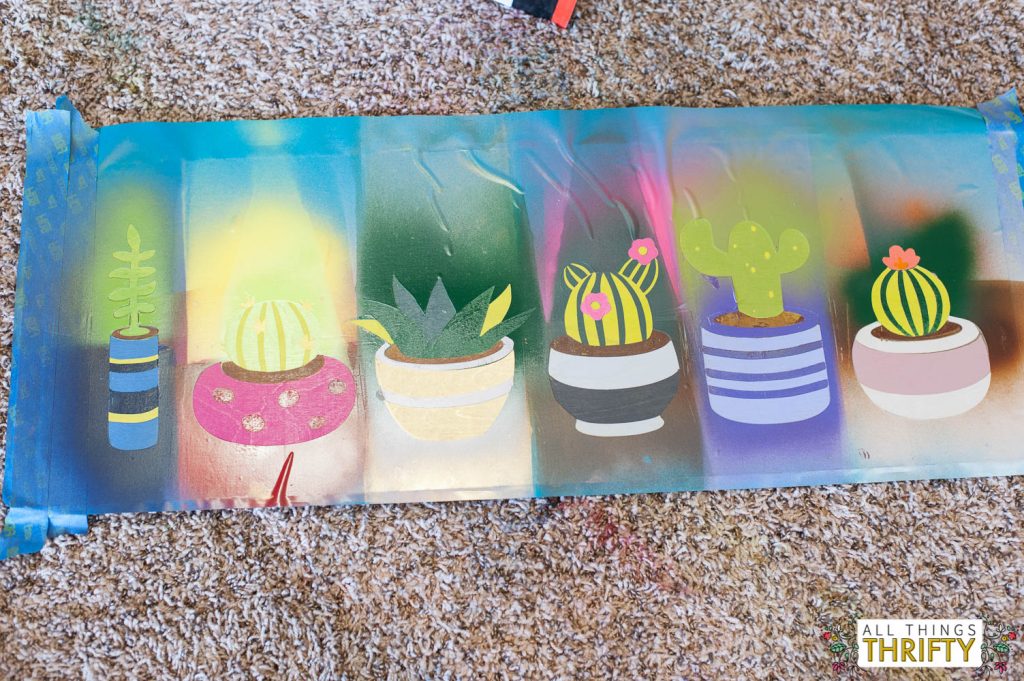
Don’t remove the outer piece of vinyl just yet.
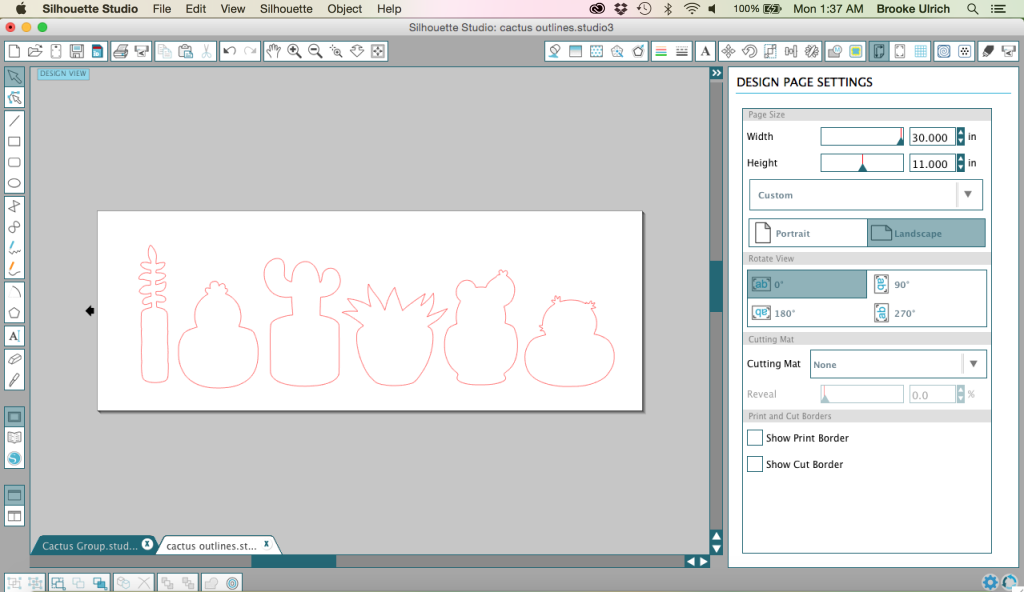
Step 12: Cut another piece of vinyl of your image, but this time you need just the outline of your artwork.
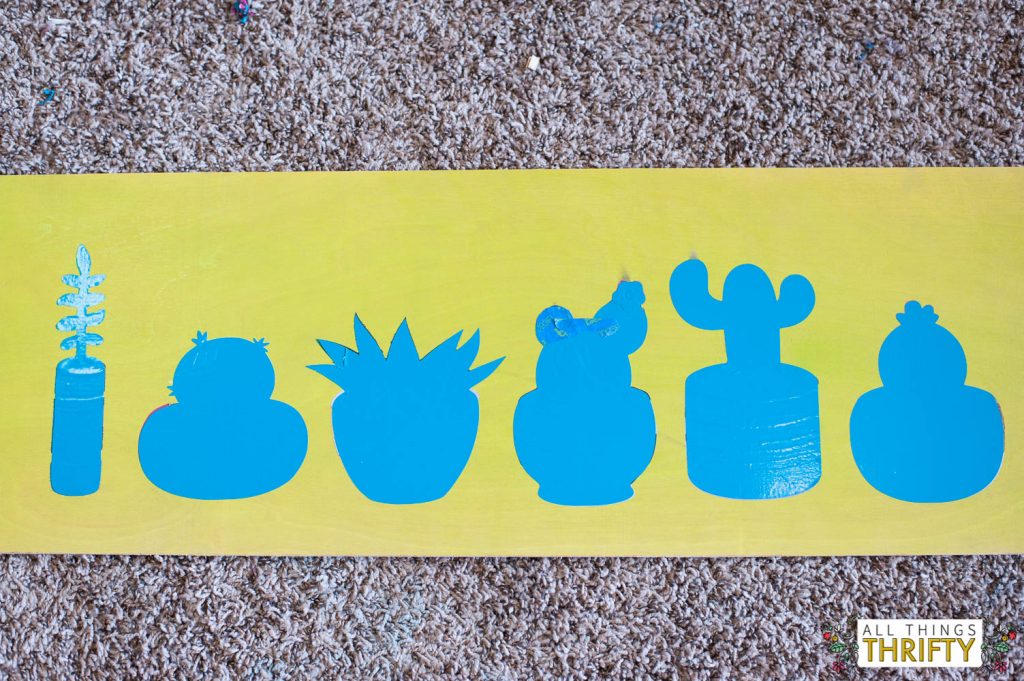
Step 12: After your artwork is completely dry, place the outline vinyl pieces into their correct spots to cover up the colors and remove the outer edge of vinyl from the board.
Step 13. Paint the outside of your board whatever you desired color is. I chose white for the outside.
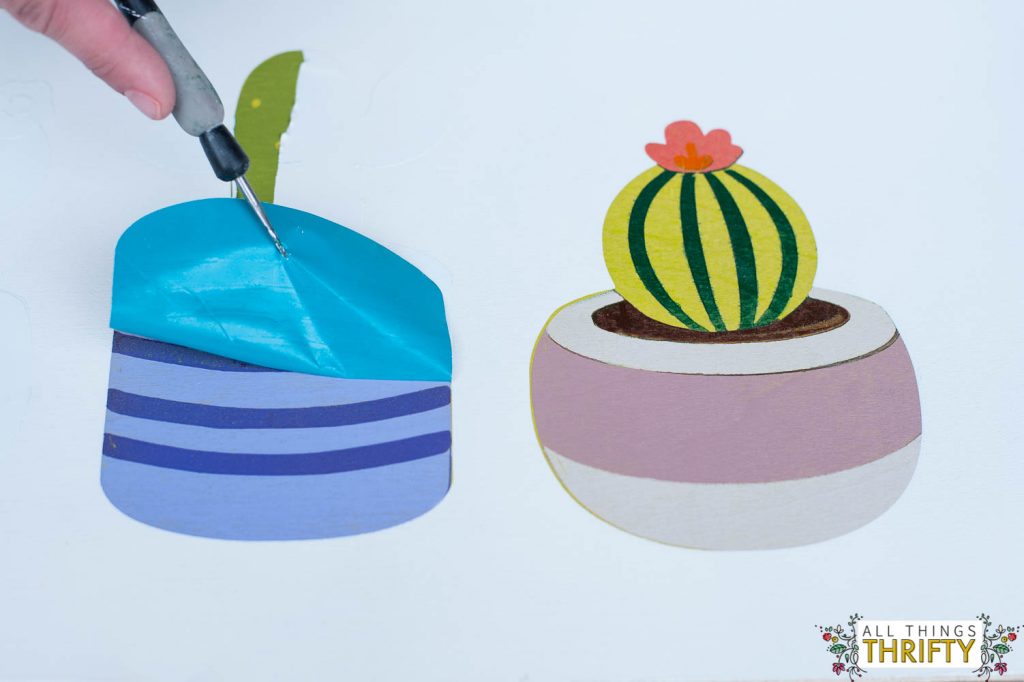
Step 13: carefully remove the vinyl from your art to reveal your colorful project beneath it!
Now you might see why I wanted to scream from the rooftops after I was done! I love it so much.
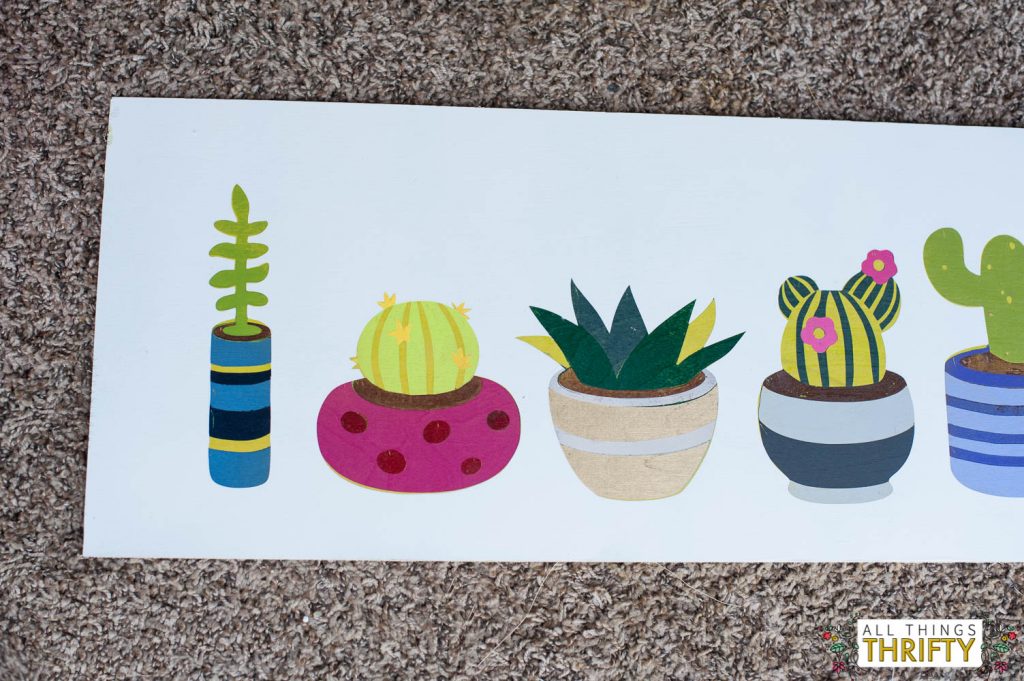
The process didn’t take as long as it seems either. As long as you are spray painting on a nice summer day, your paint will dry quickly in between coats.
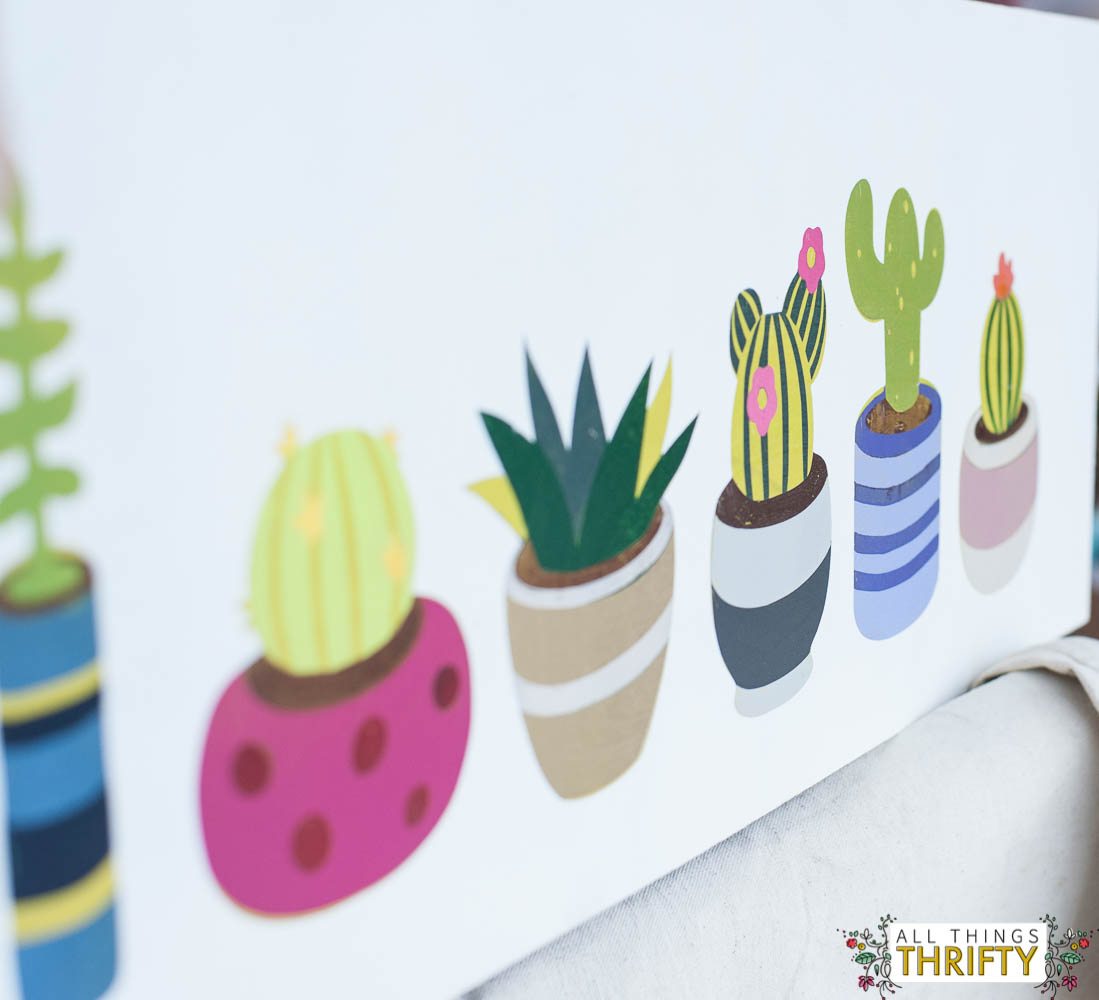
I feel in love with this process and you better believe my mind is SWIMMING with more batik spray painting ideas now. I hope you like it!
Happy Monday,
xoxo,
Brooke
Check out my “everything I know about spray paint” post. After nearly seven years of blogging I have learned A LOT!

Wow! I love this it’s gorgeous I’m going to have to try making this for myself it’s so pretty! I’m a bit obsessed with anything cactus related at the moment.
Ella xx
http://www.ellaselement.blogspot.co.uk
You’ve got skill girl!! Love ya!
Absolutely love this! My niece turns 2 next week and is having a boho-style themed party with cactus and fringe. This would be so cute! Did you design the cactus or is it in the Silhouette Design Store?
I bought the images and traced them in the silhouette store.
Great thanks! I’ll have to go on a hunt for them.