All I have to say is… HAPPY WEEKEND TO YOU!!! Can I get an amen?
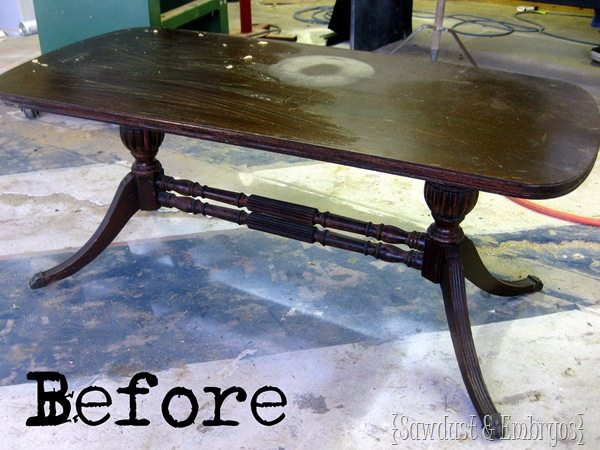
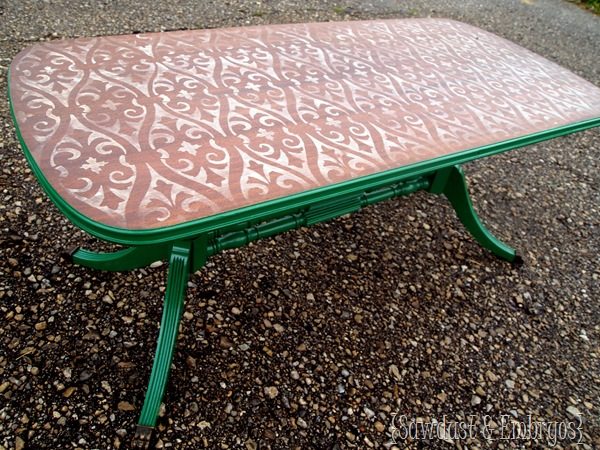
Beth here (from Sawdust and Embryos) and I’m going to go ahead and assume that you know me well enough by now that I can skip the formalities and jump right into our most recent furniture transformation!! We recently picked up this gorgeous antique Duncan Phyfe coffee table at a garage sale.
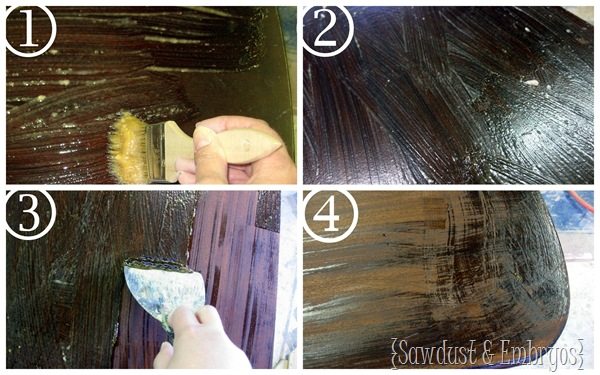
It had a LOT of lovin-years on it, and it showed. I decided I wanted to maintain some of the beautiful wood grain’s integrity, so I stripped down the top surface using Zinsser Stripper. After I had stripped off the finish, I sanded it till it was smooooooth!
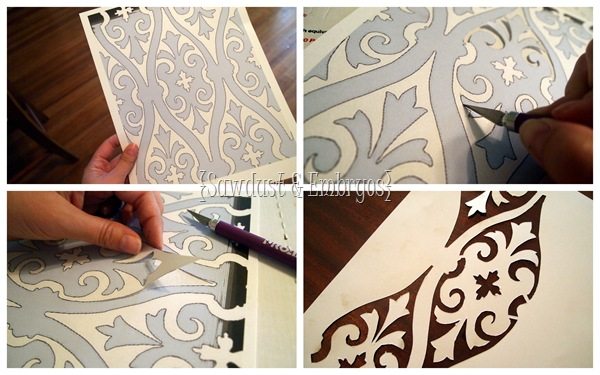
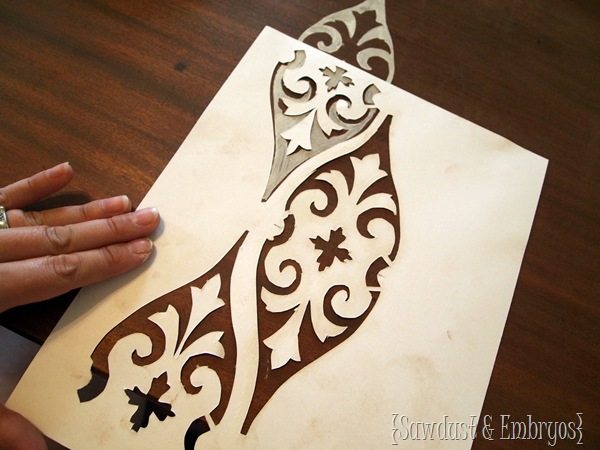
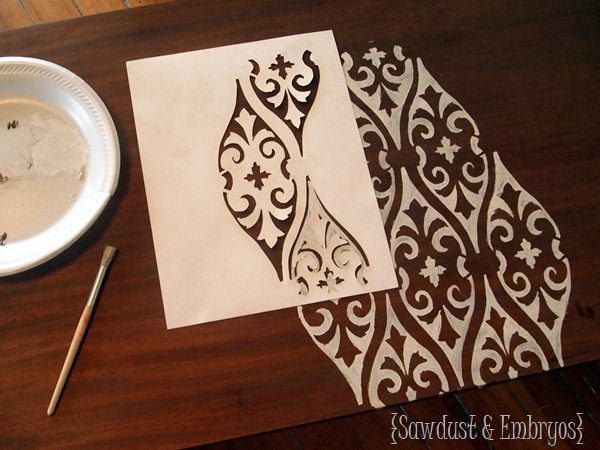
Now that I had a perfect smooth surface, I could jump to the fun part! There’s a technique by Ashley @ Domestic Imperfection that I’ve been dying to try. But instead of ordering a large scale stencil, I decided to make my own. Since this is such a small surface, I just printed out my pattern onto cardstock… and the sliced away with an Exacto knife. It was super simple. NOTE: if you have a more large-scale project, you should make your own using Brooke’s Amazing Tutorial!
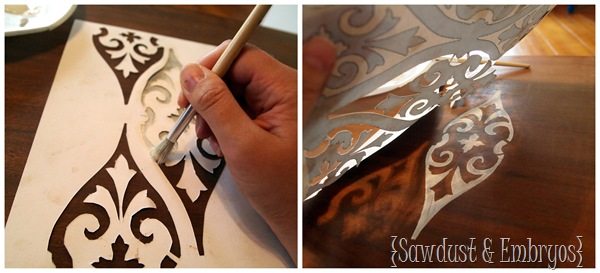
I found the center of the table and marked it with a pencil line, then I started stenciling there and worked my way out!
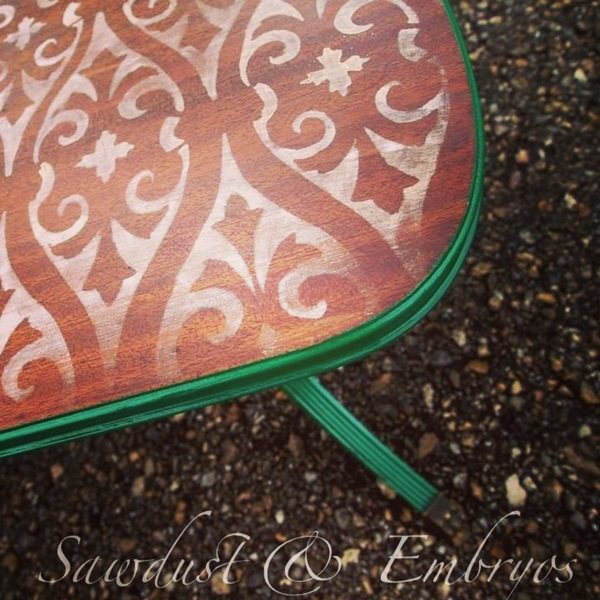
I used simple white acrylic paint and a stencil brush. I will admit that the cardstock got globby after 3-4 repetitions, so I took 30 minute breaks here and there to let me stencil dry.
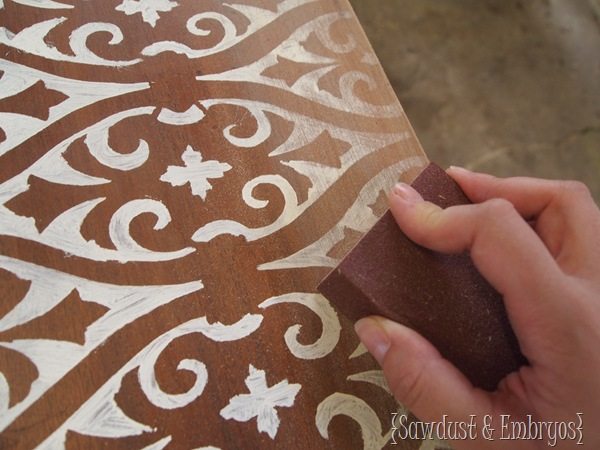
After letting everything dry, I sanded it down with 220 grit sand paper to make things look a little worn.
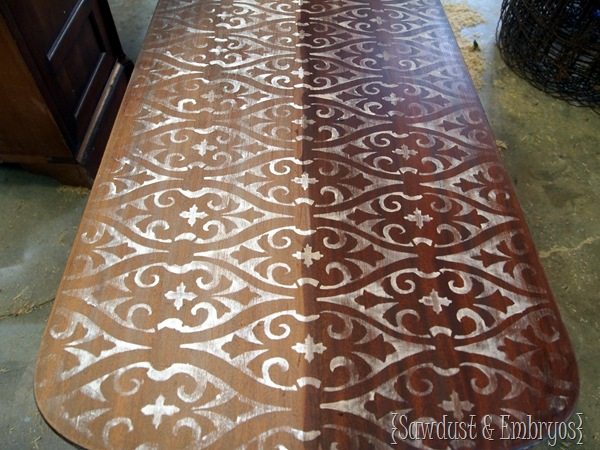
And then I stained with Rustoleum Dark walnut (THE BEST) stain. Can you believe how rich and amazing it looks? And the white really pops now too.
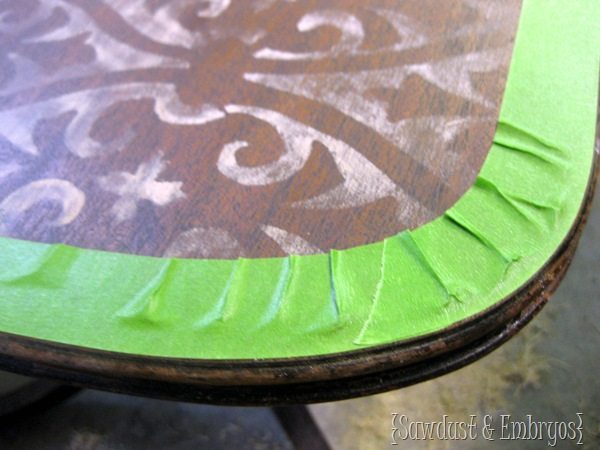
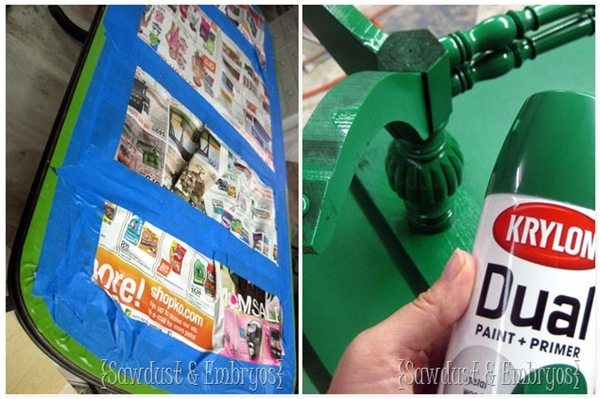
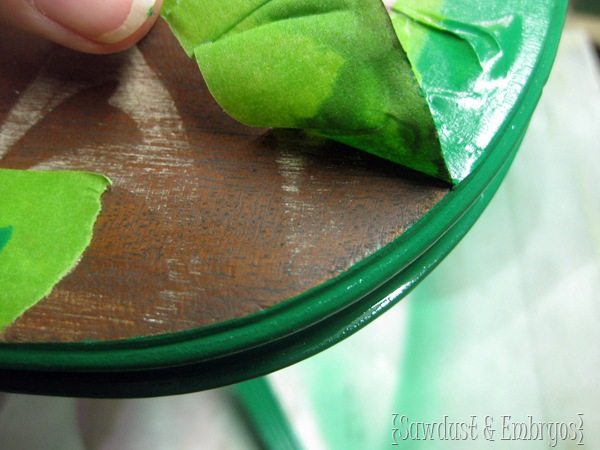
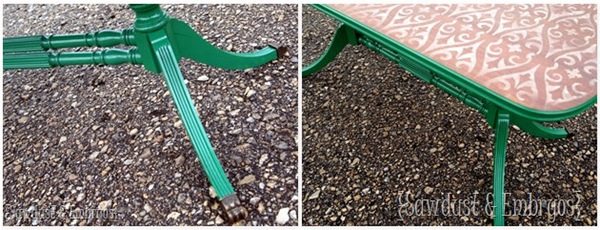
NEXT, I taped off my top surface to prepare the rest of the coffee table for a new fresh paint job! (for specifics on taping of edges like this with rounded corners, see my original tutorial for a full explanation and video tutorial).
I’ve been wanting to play around with emerald green for awhile now, with it being the ‘color of the year’ and all, and figure this would be the perfect piece to try it on!
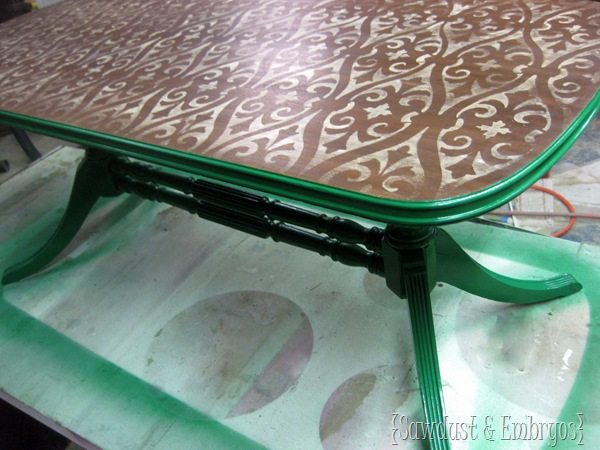
I absolutely love how it turned out!
I sealed the top with wax, because I wanted a matte finish… and I sealed the rest with glossy oil-based poly!
We love incorporating different textures and techniques into our furniture transformations, and are learning so much in the process!
Come on over and snoop around our various furniture rehabs and man-torials for so great information and inspiration! And if you’re new to our blog and are wondering how we got the name Sawdust and Embryos, consider reading our fertility story.
We’d love to have you come follow along on our various social media outlets… we have a BLAST! Thanks for having me Brooke! You da best!

Gorgeous! I’m so inspired by this transformation!
So unique and beautiful!
Gorgeous! I love the distressed look. Inspiration for sure.