It is official, the Halloween decorating has begun! It is not finished…by any means. In fact, if this year ends up like most years in the past, we keep decorating until Halloween is here. By the time it comes around, our house looks pretty SPOOKY. As of right now, though, it is just the beginning. We finished making some Spooky stick arrangements, so I thought I’d show you the simple directions. The great part about this was that it was basically FREE because the sticks were FREE and the black spray paint was sitting in my garage. So, that makes it FREE…right!?!? 🙂
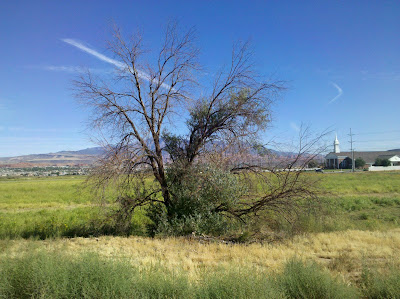
Step 1: Find an old tree that is dying (or already dead). This tree is only about 1/2 a mile from my house. It was perfect.
Step 2: Gather a bundle of dead sticks. Be careful not to hurt yourself. I might have scraped myself repeatedly in this process. I’d suggest to wear a long sleeve shirt (mental note for next year).
Load them into your mini-van, I mean vehicle and take them home. 🙂
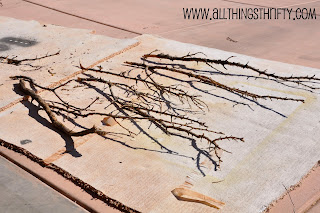
Step 3: Make sure the area is covered with some sort of paint drop cloth. I use old pieces of carpet to paint on, and lay the sticks out one by one.
Step 4: Depending how dirty your sticks are, they might need a little bit of cleaning. I used a blower to blow off the dirt and debris (bark falling off) before I began painting.
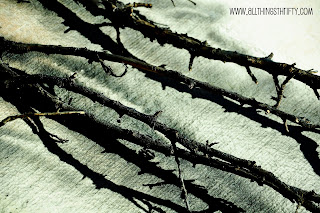
Step 5: Begin the painting process. I say “process” because you will need to rotate the sticks to get all the sides painted. So, paint the first side, let it dry and turn it over. Keep repeating until the entire stick is covered. It will depend on how many sticks you have as to how much paint is needed for this project. Don’t they look SPOOKY already!?!
Repeat the process until all your sticks are painted.
Step 7: Place the container where you want them. As for now, my two containers are outside. I will be decorating them with spider’s webs soon. Stay tuned. I would take a picture of my house, but it looks sooo “incomplete” that I just can’t bear it. I promise I will show you more soon.
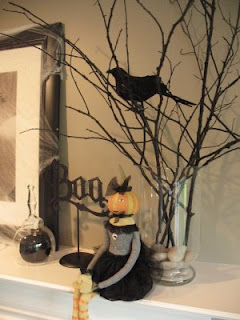
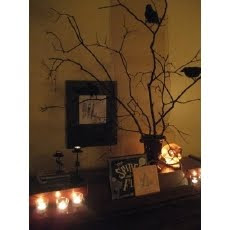
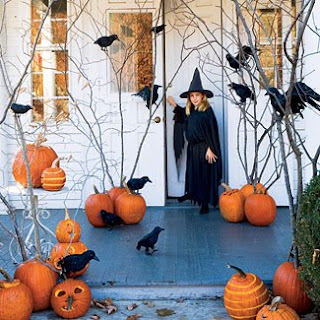
I have been gathering pictures of Halloween decor for inspiration for several years. Here are a few ideas that you could use your sticks for:
Photo source (Just a girl)
Photo Source (google image source unknown)
Picture (google image source unknown)
Stay tuned for more Hallowen Decor ideas!

 St
St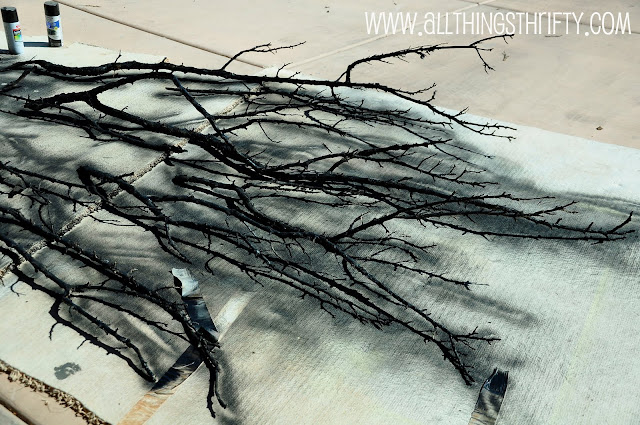

I'm always amazed by your creations, but decorating, for me, sort of sucks the life blood from my soul. But these are just sticks. I think I can do sticks.
This looks great and adds such a spooky feel. I love it. Thanks!
I love Halloween too and have already started my new decor projects. I'm making a corpse this year for my spooky graveyard…I enjoy your blog very much and was thrilled that you are a fellow Halloweenie! I'll be keeping an eye over here… Have fun!
Rainey
Can't wait to do this!! Thanks for sharing.
baby in the belly??? I missed that. BIG FAT CONGRATULATIONS TO YOU!!!! I love those sticks I might have to try a little spookiness on my new console table.
I've also incorporated sticks this year into my decor, they do give a more "spooky" feel. =)
what an awesome idea! Old sticks and a can of spray paint is my style! Thanks for posting such fun ideas:)
I have been putting off decorating for fall for as long as possible, I want it to stay warm, but…I love this idea. I may have to get on this one right away.
What an awesome idea! I looove it!
I showed my hubby your post so guess what we bought today? Crows! Lots and lots of them!
I love your blog! and as I was reading your post today I said "heyyyyyy I know that tree!! She lives in my hometown! My dad is a farmer down there so if you see a slightly bald man on a tractor give him a wave for me. 😉
Hi! I just stumbled upon your blog…. LOVE this idea. It actually came from a Martha Stewart catalog a few years ago. Just an FYI. 😉
Thanks for all the awesome ideas! 🙂
I never saw this in Martha Stewart, otherwise I would have mentioned it. Thanks for the heads up.